Outdoor water faucets are vital in various household tasks such as yard work, gardening, and washing vehicles. They provide a readily accessible water source, ensuring efficiency and simplicity when maintaining your outdoor spaces.
However, many homeowners encounter challenges with their current faucet setup. Some faucets are positioned too low to the ground, making them inconvenient to use, while others may be recessed or awkwardly located, leading to unnecessary strain and frustration during routine tasks. These issues can make outdoor chores more time-consuming and physically demanding.
This article aims to provide a detailed guide on how to extend an outside water faucet safely and effectively. Whether for improving accessibility, reducing strain, or enhancing functionality, extending your faucet can offer long-term convenience and practicality. With the right tools and techniques, this is a manageable DIY task that can significantly impact your outdoor routine.
Reasons to Extend an Outside Faucet
Ease of Access
Extending an outside faucet can greatly enhance convenience and accessibility. Connecting tools such as garden hoses, pressure washers, or sprinklers becomes significantly easier by adding an extension.
It eliminates the hassle of struggling to attach or detach equipment from faucets positioned too low or in awkward locations. This adjustment also reduces the need to bend, crouch, or crawl to access your faucet, thereby decreasing physical strain during routine outdoor tasks.
Improved Functionality
An extended faucet allows for more strategic placement, making watering garden beds, clean patios, or wash driveways easier. By relocating the faucet closer to high-use areas, you can streamline your workflow and make outdoor chores far less time-consuming.
Additionally, maintaining the landscaping, cleaning vehicles, or performing seasonal maintenance tasks becomes more efficient and manageable when the faucet is conveniently positioned.
Preventing Damage
An extension can protect your faucet and surrounding areas from unnecessary wear and tear. Constantly attaching and bending hoses at awkward angles can stress the faucet and lead to leaks or damage over time. By creating a setup that aligns with your usage, you can minimize strain and extend the lifespan of your outdoor plumbing.
Tools and Materials Needed
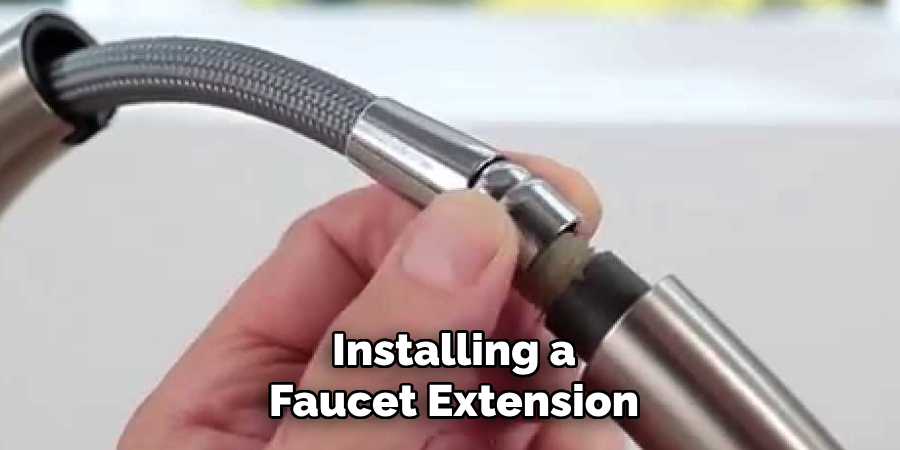
When installing a faucet extension, having the right tools and materials on hand is essential for a smooth and efficient process. Below is a list of tools and materials you’ll need to complete the task effectively:
Tools
- Adjustable Wrench: For tightening fittings and securing connections.
- Pipe Thread Seal Tape (Teflon Tape): Ensures leak-proof seals on threaded connections.
- Hacksaw or PVC Cutter: Required to cut the pipe to a custom length.
Materials
- Faucet Extension Kit or Pipe: Choose a length of pipe suitable for your plumbing system—options include copper, PVC, or PEX.
- Hose Bib or Spigot: The endpoint of your extension for attaching hoses or accessing water.
- Pipe Fittings and Connectors: These are necessary to join the extension pipe securely to your existing plumbing.
- Pipe Insulation (Optional): Provides freeze protection during colder months, helping to maintain the integrity of your outdoor plumbing system.
Gathering these tools and materials in advance will save time and help ensure a hassle-free installation process that keeps your outdoor water access functional and durable.
Shutting Off Water and Prepping Area
Proper preparation is crucial to ensure a smooth installation process and protect your plumbing system. Follow these steps to get started:
Step 1: Locate and Turn Off the Water Supply
Begin by locating your home’s main water supply valve or the valve that controls the outdoor faucet specifically. Turn this valve off to stop the water flow and prevent leaks during installation. Taking this step early on ensures safety and avoids water damage.
Step 2: Drain the Existing Faucet
After shutting off the water supply, open the outdoor faucet completely to allow any remaining water in the pipes to drain out. This step will prevent water from spilling or interfering with your work during the installation. Make sure the faucet is fully drained and not dripping before proceeding to the next step.
Step 3: Clear the Work Area
Inspect the area around the outdoor faucet for any obstructions. Remove plants, dirt, debris, or any other items blocking access to the faucet or wall. If you plan to change how the faucet is mounted or install a new extension pipe, ensure there is adequate clearance to work easily and safely. Prepping the area ensures a clean, efficient installation process.
Installing a Faucet Extension Using a Hose Adapter
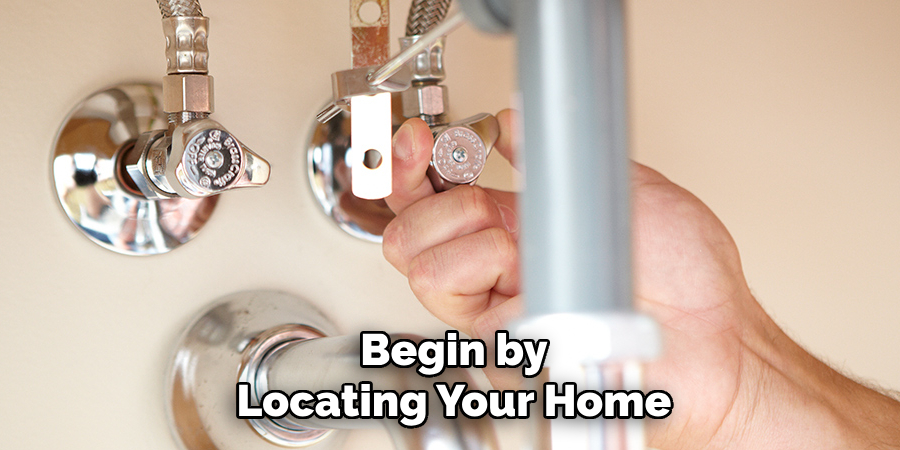
A hose adapter offers a quick and temporary solution for extending an outdoor faucet without needing advanced plumbing skills or tools. This method allows you to redirect the water flow to a more convenient location using a threaded extension or extension tube that connects directly to the spigot.
Step-by-Step Instructions
- Prepare the Faucet Threads
Begin by wrapping Teflon tape around the threads of the outdoor faucet. This ensures a watertight connection and prevents leaks once the extension is installed.
- Attach the Threaded Extension
Carefully screw the threaded hose extension or tube onto the faucet. Tighten the connection securely by hand, then use a wrench to ensure it is firmly in place. Avoid overtightening to prevent damaging the threads.
- Install a New Spigot or Y-Connector
At the new extension’s outlet, attach a spigot or Y-connector if you require multiple water lines. Secure this connection by hand and follow the same process of tightening with a wrench if necessary.
Pros and Cons
Pros:
- No cutting or modification of existing pipes is needed.
- Quick and easy to install, even without prior plumbing experience.
- The setup is portable and can be moved or removed as needed.
Cons:
- The extension may be less stable compared to permanent solutions.
- It is exposed to weather conditions, which might reduce durability over time.
- Primarily intended as a temporary fix rather than a long-term solution.
This approach is ideal for those seeking an efficient and simple way to extend an outdoor faucet without committing to permanent modifications.
How to Extend an Outside Water Faucet: Installing a Permanent Pipe Extension
Installing a permanent pipe extension is an excellent option for those seeking a durable and long-lasting solution to extend an outdoor faucet. This method requires more effort and basic plumbing knowledge but provides a stable and reliable connection that can withstand weather conditions over time. Follow these steps to complete the installation:
Step 1: Remove Existing Faucet
Begin by unscrewing the old spigot using an adjustable wrench. Do not damage the existing pipe or fittings during this removal process.
Step 2: Attach New Length of Pipe
Choose the appropriate pipe material for the extension, such as PEX, copper, or PVC, based on local regulations and personal preferences. Connect the new pipe to the existing supply line using compatible fittings. Ensure all joints are sealed with Teflon tape or pipe compound to create a watertight connection and prevent leaks.
Step 3: Reinstall Faucet at New Location
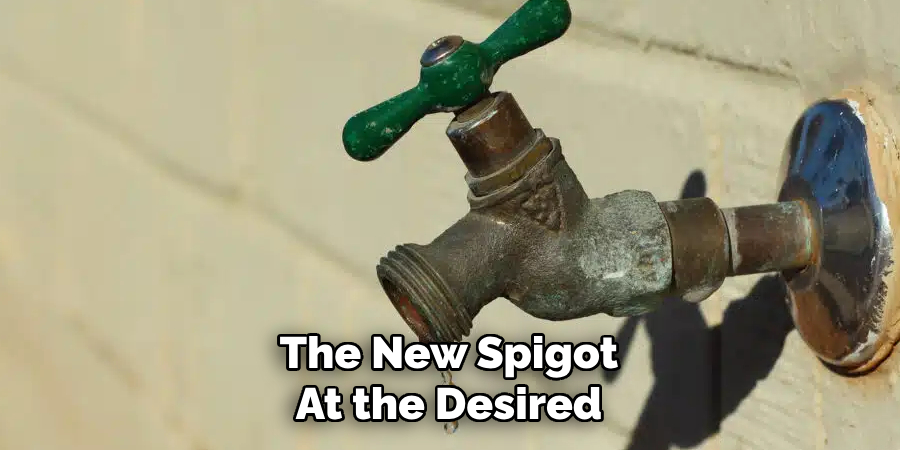
Once the pipe is in place, mount the new spigot at the desired height or position. Secure the pipe extension to nearby sidings, posts, or walls using pipe straps or brackets to ensure stability and prevent movement over time.
Step 4: Test the Installation
Finally, turn on the water supply and carefully inspect all joints and connections for leaks. Tighten the fittings or apply additional sealing to achieve a tight, leak-free result.
By following these steps, you can create a reliable, permanent outdoor faucet extension tailored to your needs.
Weatherproofing and Maintenance Tips
Protecting the Faucet and Pipe
To ensure your outdoor faucet extension lasts through all seasons, consider adding foam pipe insulation or faucet covers. These materials help to prevent freezing in colder climates, safeguarding the pipe and faucet from damage caused by expanding ice. Choose insulation products rated for outdoor use to provide maximum durability against moisture or UV exposure.
Routine Checks
Regular maintenance is essential to keep your faucet extension functioning properly. Inspect the extension pipe and joints at least once a year, looking closely for any signs of wear, leaks, or corrosion. Tighten fittings and replace damaged components to maintain a reliable, leak-free setup. Periodic checks will help you address minor issues before they turn into costly repairs.
Draining for Winter
When temperatures drop, preparing your faucet extension is crucial to prevent freezing. Shut off the water supply to the outdoor faucet and drain the pipe completely to avoid internal water freezing and causing the pipe to burst. If your system includes a shut-off valve indoors, use it to stop water flow, and leave the faucet open to ensure any remaining water escapes. Taking these steps will help protect your installation during harsh winter conditions.
Conclusion
Learning how to extend an outside water faucet can greatly enhance its functionality and prevent potential damage from improper positioning or excessive strain. Whether opting for a temporary hose-style extension or a more durable pipe relocation, this upgrade is a practical solution for improving outdoor water access.
The process can be completed in just a few hours with the proper tools, attention to detail, and adherence to basic instructions. This simple DIY task saves time and effort and ensures your outdoor faucet is more efficient and better protected for long-term use.

