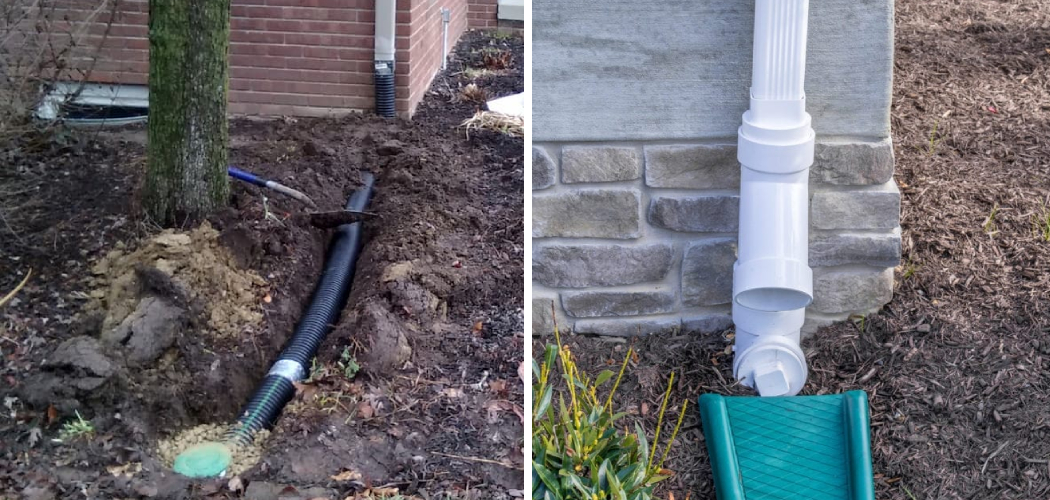
Are you tired of water pooling around your home’s foundation whenever it rains? Or are you tired of constantly cleaning clogged gutters that overflow and damage your landscaping? Well, we’ve got good news for you! In this comprehensive guide, we’ll be sharing expert tips and tricks on how to properly extend your gutter downspouts to prevent these issues and maintain the integrity of your home.
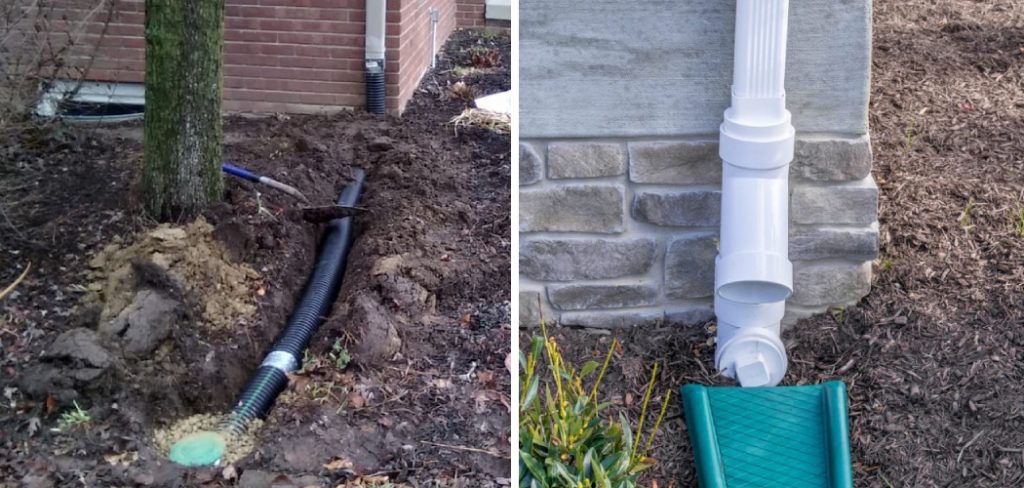
Whether you’re a seasoned DIYer or a first-timer, we’ve got you covered with step-by-step instructions on how to extend gutter downspout, helpful visuals, and recommendations for the best materials to use. Say goodbye to water damage and enjoy peace of mind knowing you’ve taken the necessary steps to protect your home. So, grab your tools, and let’s begin extending your gutter downspouts like a pro!
Necessary Items
Before we dive into extending your gutter downspouts, let’s ensure you have all the necessary items to get the job done. Here’s what you’ll need:
- Gutter Downspout Extensions: These can be found at your local home improvement store and come in various sizes and materials, such as vinyl, aluminum, or plastic.
- Measuring Tape: You’ll want to measure the length of your gutter downspout and the desired length you want it extended.
- Hacksaw or Tin Snips: These tools will cut through your existing downspout and extension pieces if needed.
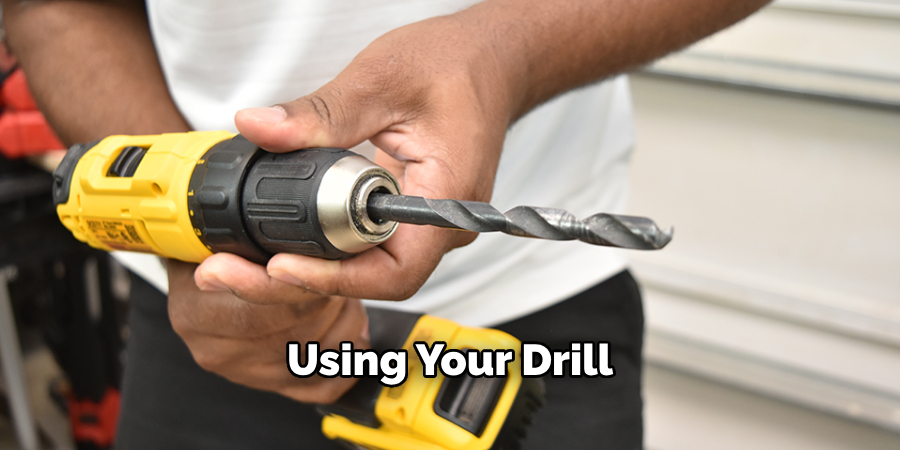
- Drill: A drill will come in handy for attaching the downspout extensions securely to your home’s exterior.
- Screws: Make sure to use screws that are appropriate for your home’s exterior material, such as wood or brick.
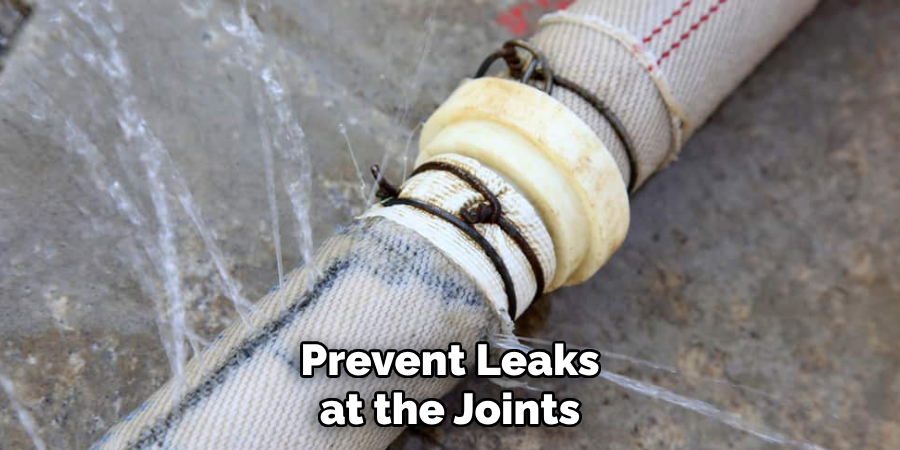
- Sealant: This will help prevent leaks at the joints where the downspouts and extensions meet.
- Ladder: Depending on the height of your gutter, you may need a ladder to reach it safely.
10 Steps on How to Extend Gutter Downspout
Step 1: Plan Your Downspout Extension Route
The first step is to determine where you want your downspout extension to lead the water. You’ll want to ensure it’s at least 6 feet away from your home’s foundation and in a direction that won’t cause any issues for your neighbors or damage to their property.
Step 2: Measure Your Existing Downsput Length
Using your measuring tape, measure the length of your existing downspout. This will help determine how much extension you’ll need to purchase. If you need more clarification, it’s always better to have an extension that’s too long than one that’s too short.
Step 3: Cut the Downspout
If your downspout is longer than your desired length, use a hacksaw or tin snips to cut it at the appropriate spot. Be sure to wear safety goggles and gloves for protection. If your downspout is already at the desired length, skip this step.
Step 4: Attach the Downspout Extension
Slide the downspout extension onto the end of your existing downspout. It should fit snugly and may require some force to push it on. If needed, you can use sealant to secure the joint.
Step 5: Secure the Downspout Extension
Using your drill and appropriate screws, attach the downspout extension to your home’s exterior. Be sure to have someone hold it in place while you do this if you’re using a ladder for extra stability.
Step 6: Check for Proper Slope
Ensuring that your downspout extension has a slight slope away from your home is essential. This will help direct the water away from your foundation and prevent pooling or clogging. Use your level to check the pitch and adjust if needed.
Step 7: Repeat for Multiple Extensions
If you need multiple extensions for a more extended downspout, repeat steps 4-6 until you reach your desired length. Be sure to secure each extension with screws and check for proper slope.
Step 8: Consider Using a Splash Block or Diverter
If your downspout extension ends in a grassy or landscaped area, using a splash block or diverter is an excellent idea to prevent erosion and keep the water from pooling. These can also be found at your local home improvement store.
Step 9: Test for Leaks
Test your new extended downspout for leaks after everything is securely attached and in place. Run water through a garden hose and check for any drips or leaks at the joints. If there are any, use sealant to fix them.
Step 10: Maintain Your Downspouts Regularly
To ensure that your gutter downspouts continue functioning correctly, it’s essential to maintain them regularly. This includes checking for clogs and debris, making repairs if necessary, and extending them further. By taking these steps, you can prevent potential water damage and save yourself from headaches.
Congratulations, you’ve successfully extended your gutter downspouts! Following these steps and using the necessary items can protect your home’s foundation and landscaping from water damage. Plan your downspout extension route carefully, use appropriate tools and materials, and maintain your gutter downspouts regularly for optimal performance. So, don’t wait any longer. Protect your home today by extending your gutter downspouts!
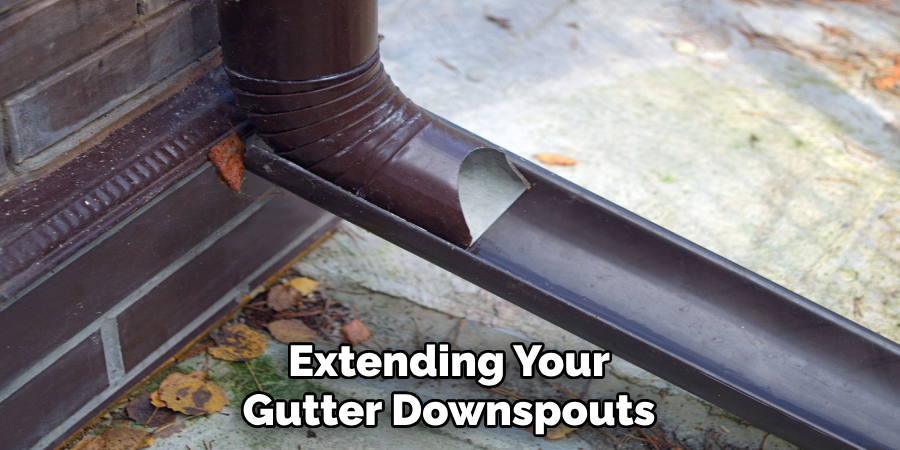
8 Things to Avoid When Extending Your Gutter Downspouts
Now that you know the proper steps to extend your gutter downspouts, let’s discuss some common mistakes that you should avoid:
1. Cutting the Downspout or Extension Pieces Too Short
It’s always better to have an extension that’s too long than one that’s too short. By cutting them too short, you risk not being able to attach the pieces properly or not having enough length to direct the water away from your home.
2. Using Incorrect Tools or Materials
Using tools or materials appropriate for your home’s exterior can lead to adequate attachment or potential damage. Use the proper tools and materials for a safe and secure installation.
3. Neglecting Proper Slope
As mentioned before, having a slight slope in your downspout extension is crucial to prevent any water from pooling or clogging. Be sure to check the pitch and adjust if needed.
4. Not Checking for Leaks
Before calling it a day, be sure to test your extended downspout for any leaks. This can save you from future water damage and repairs.
5. Skipping Regular Maintenance
It’s essential to regularly check and maintain your gutter downspouts to ensure they’re functioning correctly. Neglecting this can lead to clogs and potential water damage.
6. Not Considering Your Neighbors
When planning your downspout extension route, ensure it won’t cause any issues for your neighbors or damage to their property. Communicate with them if needed.
7. Forgetting About Splash Blocks or Diverters
These small additions can prevent erosion and pooling of water in your landscaping. Remember to include them in your downspout extension plan.
8. Doing It Alone
It’s always recommended to have someone hold the ladder or assist with installation for safety purposes. Only attempt to extend your gutter downspouts if you’re comfortable doing so. Safety first!
Avoiding these mistakes will ensure a successful and safe gutter downspout extension. Remember to plan carefully, use the proper tools and materials, and regularly maintain your downspouts for optimal performance. By taking these steps, you can protect your home from potential water damage and save yourself from future headaches.
8 Additional Tips for a Smooth Downspout Extension Experience
Now that you know what to avoid, here are some extra tips to ensure a successful downspout extension project:
1. Measure Carefully
Ensure you correctly measure your existing downspouts and the necessary length for the extensions. This will help avoid any mistakes or trips back to the store.
2. Choose the Right Downspout Extension Material
Different materials, such as vinyl, aluminum, and steel, are available for downspout extensions. Consider the best material for your home’s exterior based on durability and aesthetics.
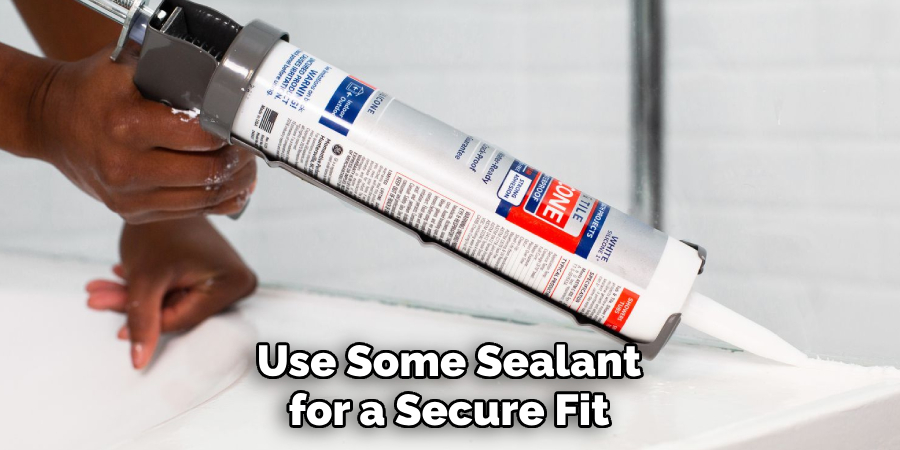
3. Use Sealant if Needed
If you’re using a slippery material like aluminum for your extensions, it may be necessary to use some sealant for a secure fit.
4. Check Local Building Codes
Some areas may have specific guidelines or regulations for extending gutter downspouts. Make sure to check with your local building authority before beginning the project.
5. Consider Professional Help
If you need more confidence in your DIY skills or the extensions require additional work, it’s always best to hire a professional for assistance.
6. Choose an Unobtrusive Color
If you’re concerned about the appearance of your downspout extensions, choose a color that matches your home’s exterior or blends in with the surroundings.
7. Keep Safety in Mind
Always prioritize safety when working on any home improvement project. Use a sturdy ladder and have someone assist you if needed.
8. Regularly Clean Your Gutters
Prevent clogs and debris buildup by regularly cleaning your gutters. This will also help maintain the effectiveness of your downspout extensions. With these additional tips on how to extend gutter downspout, your gutter downspout extension experience should go smoothly and effectively protect your home’s foundation and landscaping from water damage. So, follow these tips, avoid common mistakes, and enjoy the benefits of extended downspouts!
Frequently Asked Questions
How Long Should a Gutter Downspout Extension Be?
Extending downspouts at least 10 feet away from your home’s foundation is recommended. However, the length may vary based on the slope of your yard and potential obstructions.
Can You Use PVC Pipe for Downspout Extensions?
PVC pipe can be used for downspout extensions, but it may not be as durable as other materials and require additional support. Consider the climate and potential weather elements when choosing a material.
How Do You Know if Your Gutters Need to Be Extended?
If you notice water pooling near your home’s foundation or areas of erosion in your landscaping, it may be time to extend your gutter downspouts. Regularly checking and maintaining your gutters is also a good idea to prevent any potential damage.
How Often Should Downspout Extensions Be Cleaned?
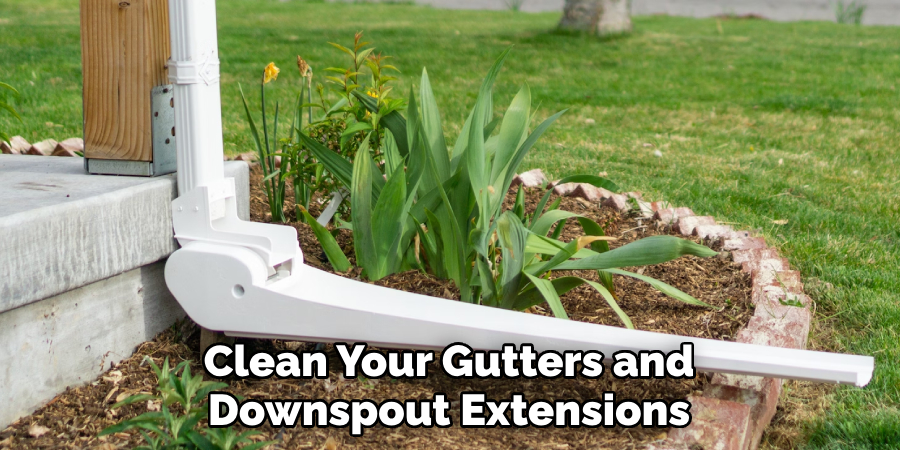
It’s recommended to clean your gutters and downspout extensions at least twice a year, in the spring and fall, to prevent clogs and ensure proper functioning. However, more frequent cleaning may be necessary if you live in an area with heavy rainfall or debris.
Can You Extend Downspouts Without Tools?
While extending downspouts without tools such as hacksaws and drills is possible, it’s not recommended. Using appropriate tools will ensure a safe and secure installation. So, investing in the necessary tools or hiring a professional for assistance is best.
Conclusion
In conclusion, extending your gutter downspout can improve the function of your rainwater drainage system, protect your home, and prevent costly repairs. By following the steps on how to extend gutter downspout outlined in this blog post, you can easily extend your downspout to a suitable length for your specific needs.
Remember to consider factors such as terrain, roof size, and local weather conditions when determining the length of your downspout extension. Remember to regularly inspect and clean your gutters to ensure they function correctly. With these tips in mind, you can protect your home from water damage and maintain its structural integrity for years to come.

