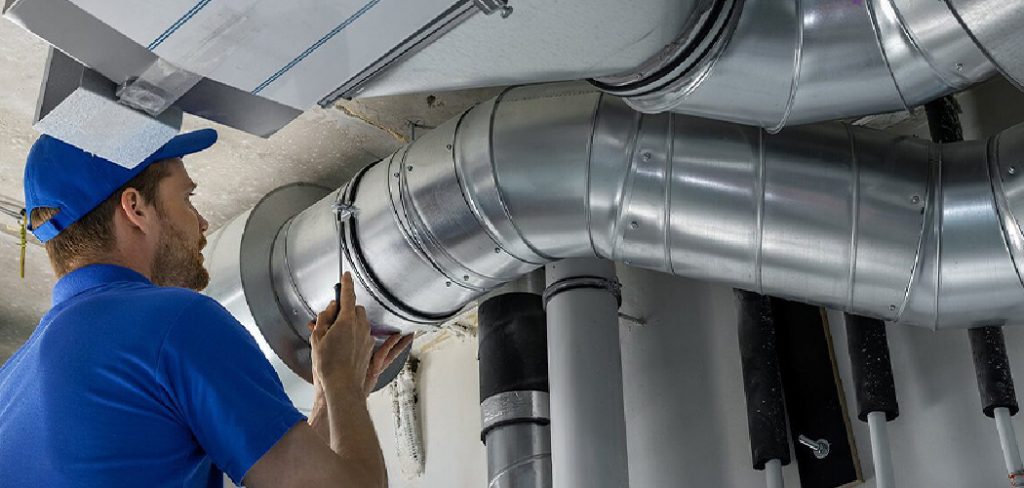
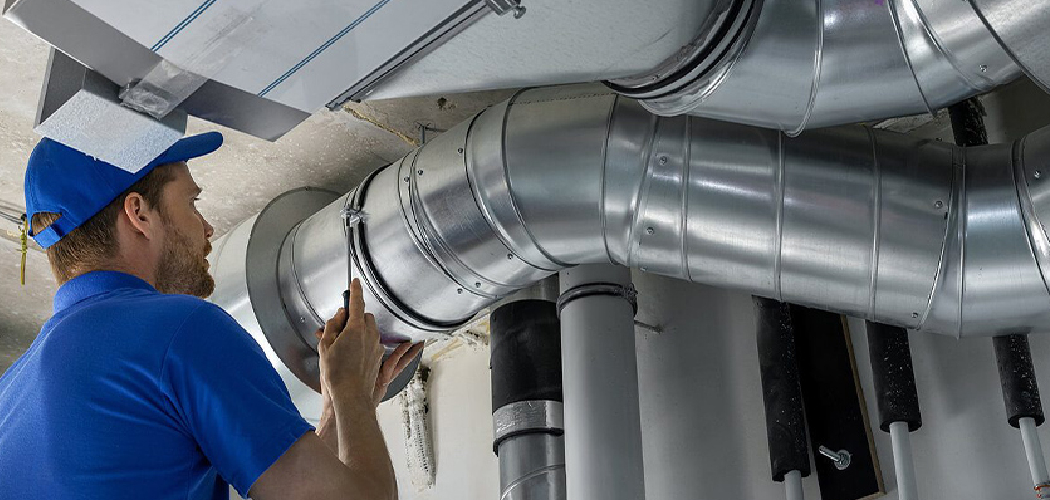
Fabricating ductwork is a crucial step in the installation of heating, ventilation, and air conditioning (HVAC) systems. Properly constructed ductwork ensures efficient airflow, temperature control, and energy conservation within a building.

This process involves cutting, shaping, and assembling materials such as metal sheets and fiberglass to create ducts that fit the specific dimensions of the space.
In this guide on how to fabricate ductwork, we will explore the essential tools, materials, and techniques needed for successful ductwork fabrication, highlighting best practices to achieve a high-quality installation.
Why is Ductwork Fabrication Important?
Ductwork fabrication is essential for several reasons, primarily impacting the efficiency and performance of HVAC systems. Well-fabricated ducts ensure optimal airflow, which is crucial for maintaining consistent temperatures throughout a building and for improving the overall comfort of its occupants. Additionally, properly designed and constructed ductwork minimizes energy loss and reduces operational costs by preventing leaks and maintaining pressure balance within the system.
Furthermore, custom fabrication allows for adaptability to unique architectural layouts, ensuring that the system operates effectively regardless of the complexity of a space. Ultimately, investing in quality ductwork fabrication contributes to the longevity of HVAC systems and enhances indoor air quality by efficiently circulating conditioned air while reducing the potential for dust and contaminants.
Needed Materials
To fabricate ductwork, you will need the following materials:
Metal Sheets:
The most commonly used material for ductwork fabrication is galvanized steel sheets, also known as galvanneal or sheet metal. These sheets are durable and resistant to corrosion, making them ideal for long-term use in HVAC systems. Other types of metal sheets such as aluminum and stainless steel, can also be used depending on specific requirements.
Fiberglass:
Fiberglass is another common material used for duct insulation. It is lightweight, easy to work with, and provides excellent thermal insulation properties. Fiberglass ducts are often preferred in industrial applications as they are highly resistant to heat and chemicals.
Duct Sealant:
Using a high-quality duct sealant is crucial to prevent air leaks from joints and seams in the ductwork. You can choose from a variety of sealants, such as mastic or foil tape, depending on the type of material used for the ducts.
Fasteners:
Fasteners, such as self-tapping screws and rivets, are needed to secure joints and connections between different pieces of ductwork. These should be resistant to rust and corrosion to maintain the integrity of the system.
Needed Tools
Several tools are required for successful ductwork fabrication, including:
Measuring Tape:
Accurate measurements are crucial in ductwork fabrication to ensure that the ducts fit precisely into the designated space. A measuring tape is a must-have tool for this task.
Tin Snips:
Tin snips, also known as aviation snips, are used to cut metal sheets and fiberglass accurately. They come in different designs for cutting straight lines, curves, or irregular shapes.
Hand Seamers:
Hand seamers are essential for bending and folding metal sheets to create corners and connections in the ductwork. They come in various sizes for different sheet thicknesses.
Duct Cutter:
A duct cutter is a specialized tool designed to make clean cuts on round ducts without distorting their shape. It is especially useful for cutting fiberglass ducts.

Duct Crimper:
A duct crimper is used to create crimped edges on metal sheets, which are necessary for securely connecting multiple pieces of ductwork.
9 Simple Step-by-step Guidelines on How to Fabricate Ductwork
Step 1: Measure the Space
The first step in fabricating ductwork is to accurately measure the space where the ducts will be installed. Begin by using a measuring tape to determine the length, width, and height of the areas that will require ducting. Pay special attention to any obstacles such as beams, columns, or existing piping that may affect duct placement.
It’s crucial to take multiple measurements to ensure precision, as even small discrepancies can lead to poor fitting and inefficiencies in airflow. Once you have compiled all the necessary measurements, create a detailed sketch of the layout to serve as a reference during the fabrication process. This foundational step is vital in achieving a successful and efficient ductwork installation.
Step 2: Cut the Metal Sheets
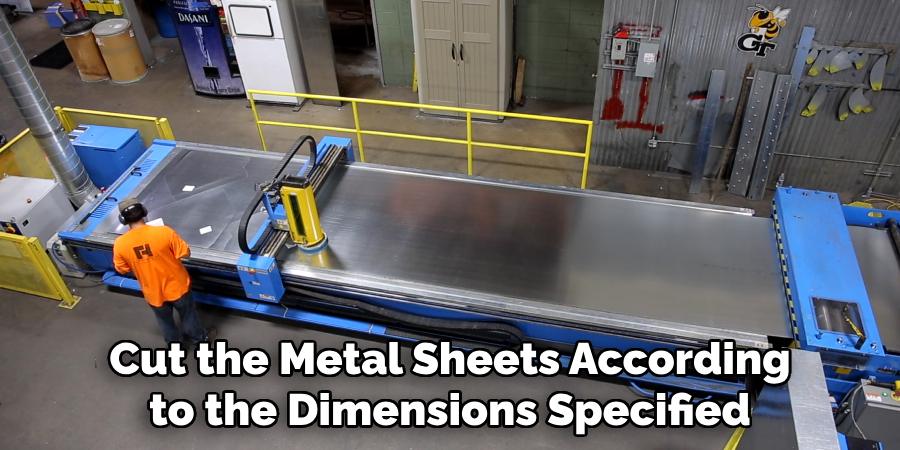
Once you have accurately measured the space and prepared your layout sketch, the next step is to cut the metal sheets according to the dimensions specified in your design. Begin by marking the cutting lines on the galvanized steel or other chosen metal sheets using a straight edge and a marker. Ensure that your markings are clear and accurate to avoid waste and ensure a precise fit.

Using tin snips, carefully cut along the marked lines, making sure to follow the contours of your design. If you are working with larger sheets or require more intricate cuts, a duct cutter can be employed to produce a cleaner finish. Always wear appropriate safety gear, including gloves and goggles, to protect yourself from sharp edges and metal shavings during the cutting process. After cutting, smooth any sharp edges with a metal file to ensure safe handling and preparation for assembly.
Step 3: Bend and Fold the Sheets
Next, use hand seamers to bend and fold the metal sheets according to your design. This step is essential in creating corners and connections between multiple pieces of ductwork. Depending on your design, you may also need to use a duct crimper to create crimped edges for secure connections.
Ensure that your bends are smooth and accurate as any kinks or unevenness can negatively impact airflow within the system. Once all necessary bends have been made, check again for any sharp edges and file them down if needed.
Step 4: Seal Joints and Seams
After bending and folding the metal sheets, the next crucial step is to seal all joints and seams to prevent air leaks. Begin by applying a high-quality duct sealant, such as mastic or foil tape, to all connection points between sections of ductwork. Ensure that the sealant is evenly applied and fills any gaps thoroughly to enhance the airtight integrity of the system. It’s important to follow the manufacturer’s instructions regarding drying times and application techniques for optimal performance.

Taking the time to properly seal joints will not only improve the efficiency of the HVAC system but also contribute to better overall indoor air quality by minimizing the potential for dust and contaminants to escape into the living spaces.
Step 5: Assemble the Duct Sections
With the ducts sealed and ready, the next step is to assemble the individual duct sections. Begin by aligning the sections according to your design layout, ensuring that any crimped edges fit snugly into adjacent pieces. It’s important to double-check that all sections are oriented correctly to maintain consistent airflow and optimize system efficiency.
Once aligned, use self-tapping screws or rivets to securely fasten the sections together, placing fasteners at regular intervals along each joint. This will ensure a stable connection that can withstand airflow pressure. Be mindful not to overtighten the screws, as this can lead to deformation of the ductwork. After securing all sections, inspect the connections to confirm that they are airtight and properly assembled, paving the way for the next steps in the duct installation process.
Step 6: Install Support Structures
To ensure the stability and structural integrity of your ductwork, it’s essential to install support structures throughout the system. This is especially crucial for larger or longer ducts, as they require additional reinforcement to prevent sagging and maintain proper airflow.
Depending on your design, these supports can include hangers, braces, clamps, or other specialized fitting devices. Always refer to your installation manual for specific recommendations and guidelines regarding support placement and quantity.
Step 7: Connect Ductwork to Vents and Registers
Once all sections are assembled and supported, you can connect the ductwork to vents and registers in each room. Begin by installing metal collar fittings onto each vent or register, ensuring a secure fit.
Next, insert the end of the ductwork into the collar fitting and use metal screws to fasten it in place. Make sure that all connections are secure and sealed with duct sealant for optimal performance.

Step 8: Test and Inspect
After completing the installation process, it’s important to thoroughly test and inspect your newly fabricated ductwork system. Begin by turning on the HVAC system and checking for any air leaks or irregularities in airflow. Use a smoke pencil or thermal camera to identify potential issues and make necessary adjustments or repairs.
Additionally, check all connections, seals, and supports to ensure that they are secure and functioning correctly. Make any necessary adjustments to improve the overall efficiency of the system before finalizing the installation process.
Step 9: Clean Up
Once you have confirmed that the ductwork is fully functional and properly installed, it’s time to clean up any debris or tools used during the fabrication process. Properly dispose of any scrap metal or leftover materials according to local regulations. Leave your workspace clean and organized for safe and efficient future use.
Following these steps on how to fabricate ductwork and best practices for ductwork fabrication will ensure a well-designed, high-performing HVAC system that will provide optimal comfort and air quality for years to come.
Frequently Asked Questions
Q1: How Long Does It Take to Fabricate and Install Ductwork?
A1: The time required for ductwork fabrication and installation can vary depending on the size and complexity of the system, as well as the experience and skill level of the installer. On average, it can take anywhere from a few hours to a few days to complete the process.
Q2: Can I Fabricate and Install Ductwork Myself?
A2: While it is possible to fabricate and install ductwork on your own, it requires a certain level of knowledge, skill, and specialized tools. Improper installation can result in airflow issues, energy inefficiency, and potential safety hazards. It’s always best to consult with a professional HVAC technician for complex or large-scale projects.
Q3: How Often Should Ductwork Be Cleaned?
A3: The frequency of ductwork cleaning depends on several factors such as the amount of use, the presence of pets or smokers in the household, and any existing health conditions. As a general rule, it’s recommended to have ductwork professionally cleaned every 3-5 years for optimal performance and air quality.
Conclusion
In conclusion, the successful fabrication and installation of ductwork is a multifaceted process that requires precision, attention to detail, and a solid understanding of HVAC principles. By following the outlined steps on how to fabricate ductwork—from cutting and bending the metal sheets to ensuring airtight connections and proper support—you can create an efficient duct system that maximizes airflow and enhances indoor air quality.
Investing time in thorough testing and inspection post-installation not only ensures the longevity of the system but also contributes to a healthier living environment. Maintaining a clean workspace and adhering to safety protocols throughout the process will further streamline your project and promote safe practices. With careful execution, your ductwork will operate optimally, providing comfort year-round.

