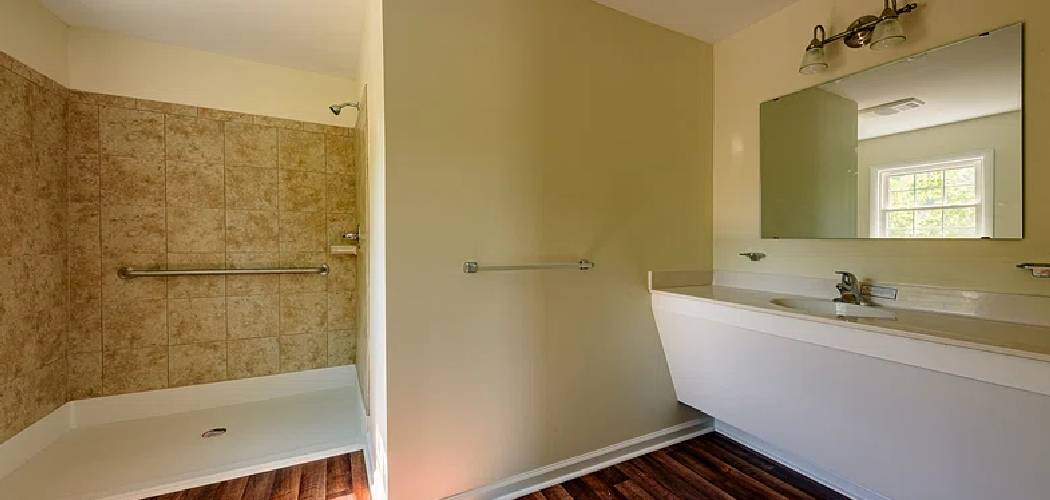
When it comes to transforming an unfinished basement into a functional and aesthetically pleasing space, one of the key elements to consider is the addition of a bathroom. Constructing a basement bathroom not only boosts the overall value of your home but also enhances convenience, especially for families or guests.
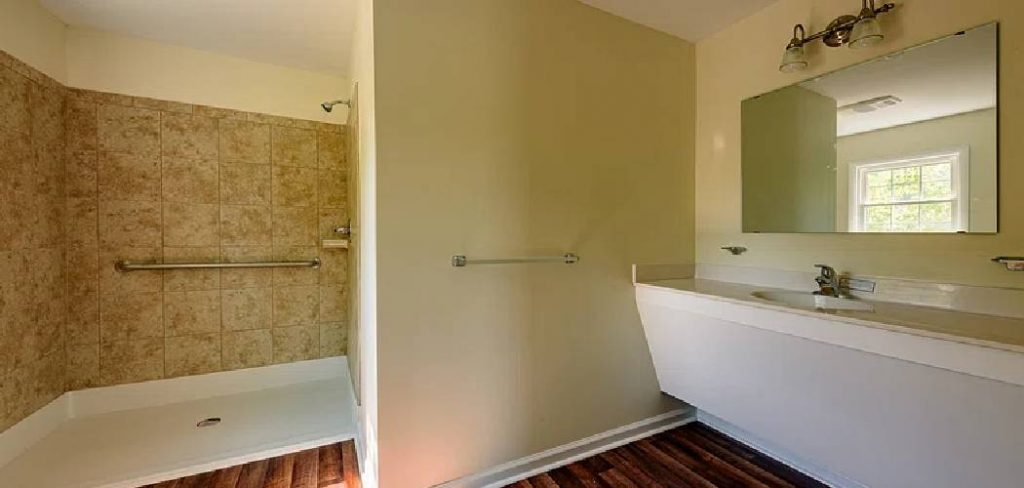
This guide will walk you through the essential steps for how to finish a basement bathroom with rough in plumbing, focusing on how to effectively work with rough-in plumbing. Understanding the existing plumbing infrastructure and how to connect to it will set the foundation for a seamless and efficient installation process.
Assessing the Existing Rough-In Plumbing
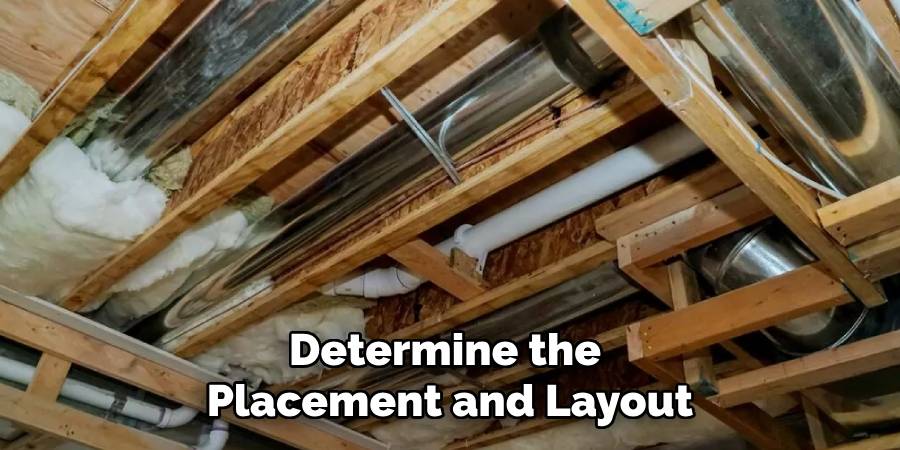
Before diving into the finishing touches of your basement bathroom project, it’s crucial to assess the existing rough-in plumbing to ensure that it meets your needs and complies with local building codes. Start by locating the rough-in plumbing, which typically includes the drain, waste, and vent lines. Use a flashlight to inspect the pipes for any signs of damage, leaks, or corrosion.
Measure the distances from the rough-in to the walls and any appliances you plan to install, such as the toilet, sink, and shower or tub. This will help you determine the placement and layout of each fixture.
Additionally, check the pipe diameter and slope to ensure they align with the manufacturer’s specifications for proper drainage. Document your findings, as this information will be essential when planning your new bathroom layout and making any necessary adjustments to the plumbing system.
Identifying Key Components
Once you have assessed the existing rough-in plumbing, the next step is to identify the key components required for your basement bathroom. These components typically include essential fixtures such as the toilet, sink, and shower or tub, as well as the associated plumbing materials necessary for installation.
- Toilet: Choose a toilet that suits your style and fits within the allotted space. Consider the rough-in measurements to ensure compatibility with your existing plumbing.
- Sink: Decide on the type of sink that complements your design preferences, whether it’s a pedestal sink, wall-mounted sink, or a vanity with integrated storage.
- Shower or Tub: If you’re opting for a shower, measure the space to select a suitable size and style, ensuring it works well with the existing plumbing configuration. Alternatively, if a bathtub is desired, ensure there is sufficient space and proper drainage.
- Faucets and Valves: Select compatible faucets for the sink and shower that match your overall design theme. Check connections for cold and hot water to avoid any issues during installation.
- Drainage Components: Ensure you have the necessary drainage fittings like P-traps, couplings, and adapters to connect your fixtures to the existing plumbing system.
By carefully selecting and arranging these key components, you will lay the groundwork for a functional and aesthetically pleasing basement bathroom that meets your family’s needs.
10 Methods How to Finish a Basement Bathroom with Rough in Plumbing
1. Plan and Design the Layout
The first step in finishing a basement bathroom is to design the layout. Consider the location of the rough-in plumbing, including the drain, water supply lines, and vent pipes, as these will dictate the placement of fixtures such as the toilet, sink, and shower or bathtub. Create a detailed floor plan that incorporates the plumbing layout and optimizes the use of space. Pay attention to the placement of electrical outlets, lighting, and ventilation. Ensure that the design meets local building codes and provides adequate space for movement and accessibility.
2. Install Drywall and Insulation
Once the design is finalized, begin by installing drywall and insulation. Start by insulating the walls and ceiling to improve energy efficiency and comfort in the basement bathroom. Use fiberglass batt or foam board insulation, ensuring that all gaps and seams are sealed.
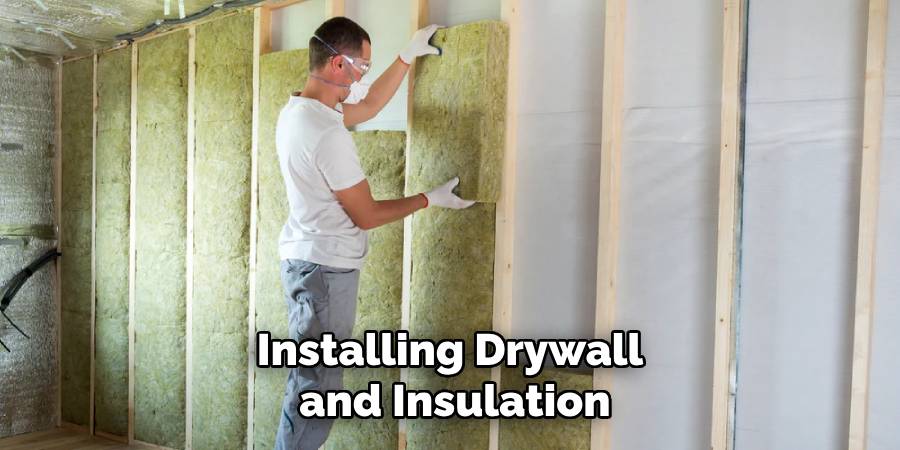
Next, install drywall over the insulated walls, cutting it to fit around the rough-in plumbing and other fixtures. Secure the drywall with screws and tape the joints before applying joint compound and sanding for a smooth finish. Proper insulation and drywall installation provide a solid foundation for the rest of the bathroom construction.
3. Complete the Plumbing Connections
With the drywall in place, focus on completing the plumbing connections. Begin by connecting the water supply lines to the fixtures, including the toilet, sink, and shower or bathtub. Use flexible PEX tubing or rigid copper pipes, ensuring that all connections are secure and leak-free. Next, connect the drain lines to the existing rough-in plumbing, including the waste pipe and vent lines. Test all connections for leaks by turning on the water supply and checking for any issues. Properly completing the plumbing connections ensures that the bathroom fixtures function correctly and efficiently.
4. Install the Bathroom Fixtures
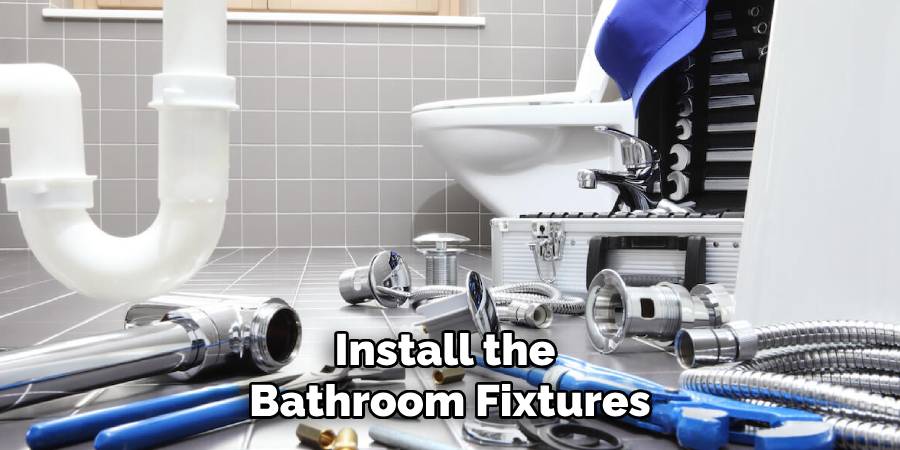
After the plumbing connections are complete, install the bathroom fixtures. Start with the toilet, ensuring it is properly aligned with the drain and secured to the floor with bolts. Follow with the sink, connecting it to the water supply and drain lines. For the shower or bathtub, ensure that the unit is level and securely attached to the wall and floor.
Install any additional fixtures, such as towel bars or shelving, according to your design plan. Carefully follow manufacturer instructions for each fixture to ensure proper installation and functionality.
5. Tile the Walls and Floor
Tiling adds both functionality and aesthetics to a basement bathroom. Begin by preparing the surfaces for tiling, ensuring they are clean, dry, and smooth. Apply a waterproof membrane to the walls and floor to protect against moisture. Next, lay out the tile pattern and cut tiles as needed to fit around fixtures and edges. Apply thin-set mortar to the surface and set the tiles in place, using spacers to maintain consistent grout lines. Once the tiles are set, allow the mortar to cure before grouting. Apply grout between the tiles and wipe away any excess. Seal the grout lines to prevent moisture penetration and staining. Tiling creates a durable and attractive finish for the bathroom.
6. Install Lighting and Electrical Fixtures
Proper lighting and electrical fixtures are essential for a functional basement bathroom. Begin by installing the overhead lighting, choosing fixtures that provide adequate illumination and complement the bathroom’s design. Install wall sconces or vanity lights near the mirror for additional lighting. Ensure that all electrical wiring is properly connected and meets local building codes. Install outlets for any electrical appliances or devices, such as a hair dryer or electric toothbrush. Consider adding a vent fan to improve air circulation and reduce humidity. Properly installed lighting and electrical fixtures enhance both the functionality and ambiance of the bathroom.
7. Add Storage Solutions
Storage solutions help keep the basement bathroom organized and functional. Consider installing cabinets or shelving units above the toilet or sink for toiletries and other essentials. Choose materials that are moisture-resistant, such as water-resistant MDF or sealed wood. Install a medicine cabinet or vanity with built-in storage to keep items neatly arranged. If space allows, add a linen closet or additional shelving for extra storage. Thoughtful storage solutions contribute to a well-organized and efficient bathroom space.
8. Finish with Paint and Trim
Painting and adding trim completes the aesthetic of the basement bathroom. Start by applying a primer to the walls and ceiling to ensure proper paint adhesion. Choose a moisture-resistant paint designed for bathrooms to prevent mold and mildew growth. Apply the paint in multiple coats, allowing each coat to dry completely before applying the next.
Once the paint is dry, install trim and moldings around the edges of the walls, floor, and ceiling. Choose trim styles that complement the bathroom’s design and add a polished, finished look. Paint and trim contribute to the overall appearance and ambiance of the space.
9. Install Bathroom Accessories
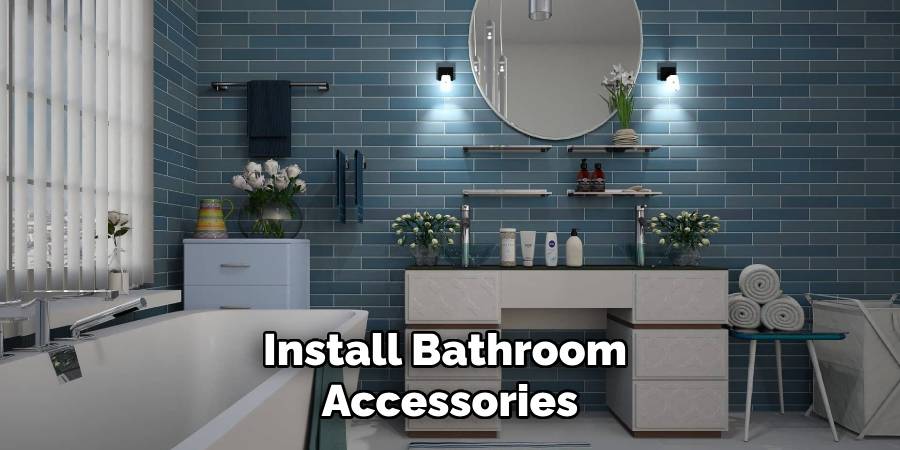
Bathroom accessories add both functionality and style to the finished space. Install items such as towel bars, toilet paper holders, and soap dishes according to your design plan. Consider adding a shower caddy or shelving for convenience.
Choose accessories that match the bathroom’s overall design and finish. Properly installed accessories enhance the usability and visual appeal of the bathroom, making it a more comfortable and enjoyable space.
10. Perform Final Inspections and Adjustments
After completing the installation and finishing touches, perform a final inspection of the basement bathroom. Check all fixtures and plumbing connections for leaks or issues, ensuring everything is functioning properly. Test the lighting, electrical outlets, and ventilation to confirm they are working as expected. Make any necessary adjustments or repairs before using the bathroom. Final inspections ensure that all aspects of the bathroom are in good working order and meet your design and functional requirements.
Conclusion
Finishing a basement bathroom with rough-in plumbing involves a series of methodical steps to create a fully functional and aesthetically pleasing space. From planning and designing the layout to installing fixtures, tiling, and adding finishing touches, each method contributes to the successful completion of the project.
Properly completing plumbing connections, installing bathroom fixtures, and adding storage and accessories enhance both the functionality and appearance of the bathroom. Thanks for reading, and we hope this has given you some inspiration on how to finish a basement bathroom with rough in plumbing!

