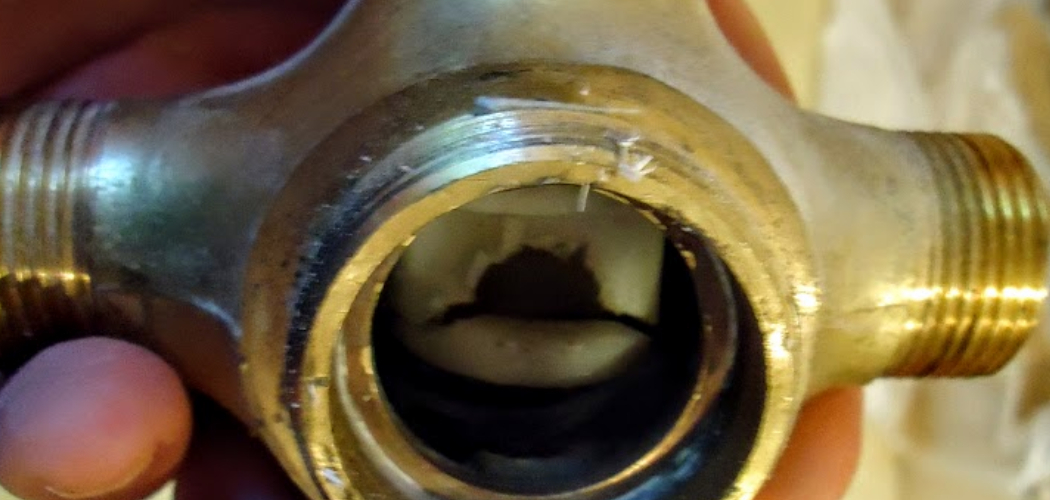
Before beginning the process of fitting a diverter valve, it’s essential to understand its purpose and functionality. A diverter valve is commonly used in plumbing and heating systems to control the flow of water or steam.
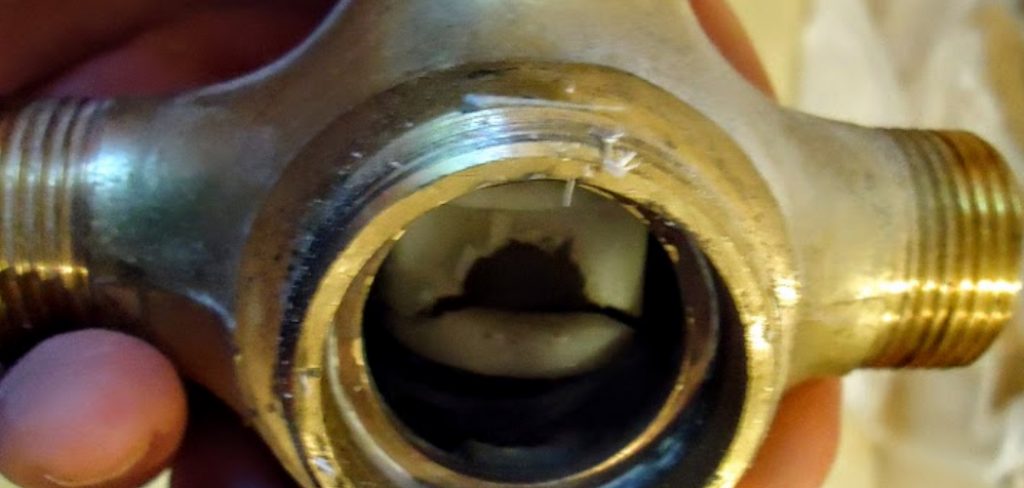
By redirecting flow between different outlets, it ensures efficient operation and optimal system performance. Whether you’re replacing an old valve or installing a new one, proper preparation and attention to detail are crucial for a successful installation.
This guide on how to fit a diverter valve will walk you through the necessary steps to fit a diverter valve safely and effectively.
Things to Consider Before Fitting a Diverter Valve
Before starting the installation process, there are a few essential things to consider. These include:
The Type of Valve You Need:
There are various types of diverter valves available in the market, including three-way and four-way valves. Make sure to select a valve that’s compatible with your system’s requirements.
Tools and Materials:
You will need some basic tools and materials to complete the installation process, such as a wrench, pliers, Teflon tape, and a new valve.
Safety Precautions:
Always make sure to turn off the water supply before beginning any plumbing work. Additionally, wear appropriate protective gear such as gloves and eye protection.
8 Step-by-Step Guide on How to Fit a Diverter Valve
Step 1: Shut off the Water Supply
Before beginning the installation, it is critical to shut off the water supply to prevent leaks or water damage. Locate the main water supply valve in your home and turn it off completely. If you are working on a specific section of the plumbing system, you may opt to shut off the localized valve for that section.
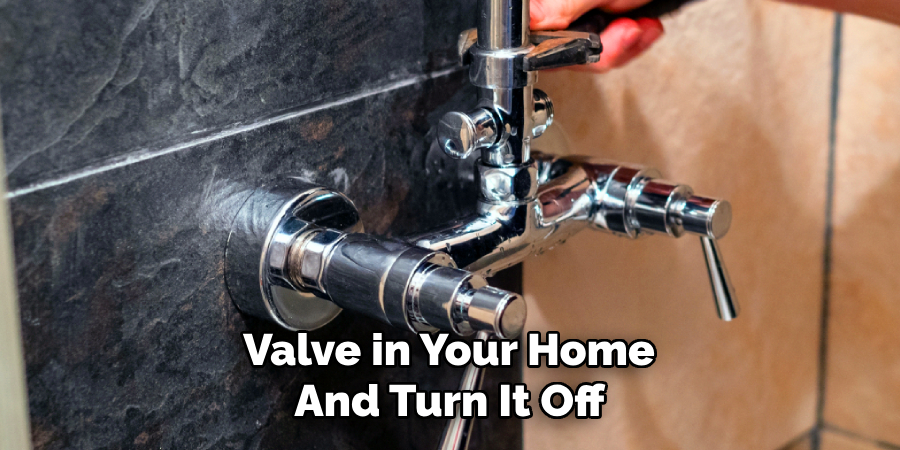
Once the water supply is turned off, open a nearby faucet to drain any remaining water from the pipes. This step ensures a safe and dry workspace to proceed with the installation.
Step 2: Prepare the Valve
Before installing the new diverter valve, it’s important to prepare it for a proper fit. Start by inspecting the valve for any defects or damage that may affect its functionality. If the valve appears to be in good condition, apply Teflon tape or pipe thread sealant to the valve’s threaded connections. This step ensures a tight, leak-free seal once the valve is installed.
Additionally, double-check that the valve type matches the system’s specifications and orientation. This preparation step will help streamline the installation process and minimize potential issues later on.
Step 3: Remove the Old Valve
If you are replacing an old valve, carefully remove it using a wrench or pliers. Take note of how the valve is connected to the pipes and fittings for reference during installation. Once removed, thoroughly clean any debris or residue from the pipe connections to prepare for the new valve.
But if you are installing a new valve, skip this step and proceed to the next one.
Step 4: Connect the New Valve
Carefully connect the new valve to the system’s pipes using your hands or appropriate tools. Make sure all connections are secure and avoid over-tightening them, as it can damage the threads and cause leaks.
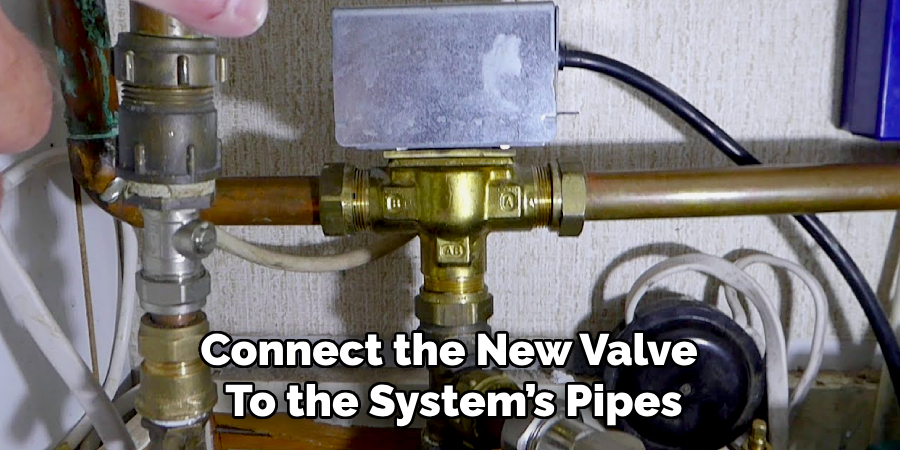
The valve should fit snugly onto the pipe connections, providing a sturdy and stable attachment. If using Teflon tape or sealant, ensure that it’s applied correctly to prevent leaks.
Step 5: Test the Valve
After securely connecting the new diverter valve, it’s essential to test it to ensure proper functionality. Begin by slowly turning the water supply back on and checking for any signs of leaks around the valve connections. If you notice any leaks, turn the water off again and tighten the connections or apply additional Teflon tape as needed.
Once you’ve confirmed that there are no leaks, test the valve by operating it according to its intended use—redirect the flow of water or steam to different outlets and ensure it transitions smoothly and without resistance. Verify that the system flows correctly and the valve responds as expected. This step will ensure that the diverter valve is installed and working effectively before completing the process.
Step 6: Secure the Valve
With the valve functioning properly, it’s time to secure it in place. Use the appropriate fittings, brackets, or clamps specified for your system to hold the valve firmly. Ensure that the valve is aligned correctly with the pipes or connections, as misalignment can affect performance and lead to potential issues over time.
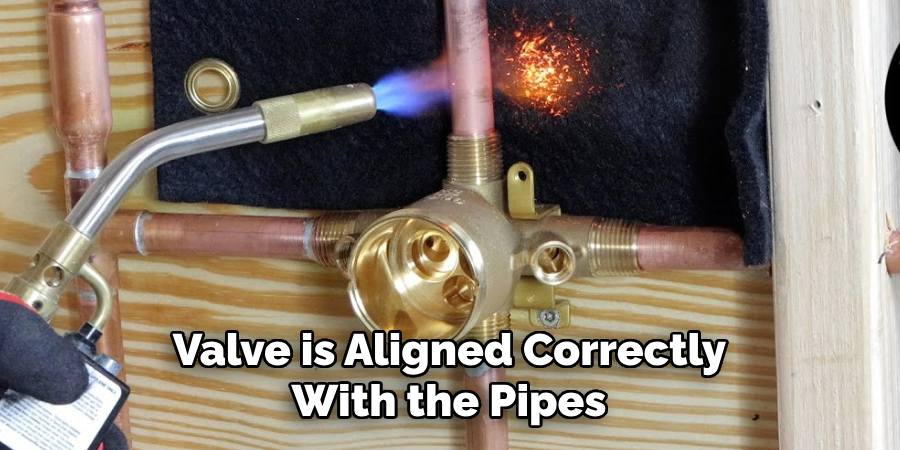
Double-check each connection point to confirm they are tight, but be cautious not to over-tighten as this could cause damage. A well-secured valve will remain stable, preventing unnecessary vibrations or movement during operation, which could lead to wear or leaks. Once this step is complete, proceed to review the installation and finalize the process.
Step 7: Inspect for Leaks
After completing the installation, it’s crucial to inspect the system thoroughly for any signs of leaks. Turn on the water supply and check all connections, joints, and fittings for any water leakage. If you notice any leaks, turn the water off immediately and address them before proceeding.
The most common issue with leaks is loose connections, so make sure to tighten them accordingly. If the leaks persist, consider seeking professional assistance to prevent any further damage or complications.
Step 8: Test Again
Once you’ve addressed any leaks or issues, test the valve once more to ensure everything is functioning correctly. Check for smooth transitions between outlets and proper flow redirection. With everything in working order, congratulations! You have successfully fitted a diverter valve.
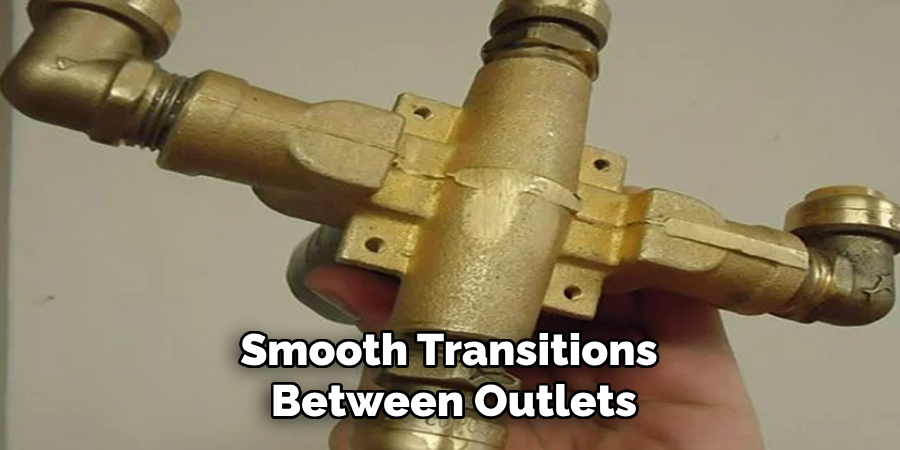
Following these steps on how to fit a diverter valve will help you properly install a diverter valve and ensure it functions efficiently within your plumbing system. Remember to always prioritize safety, follow instructions carefully, and seek professional assistance if needed. With the right tools and techniques, you can easily complete this DIY project and improve the functionality of your plumbing system. Happy plumbing!
Additional Tips
- Regular maintenance of the diverter valve can help prolong its lifespan and prevent potential issues.
- If you are unsure about any step in the installation process, consult a professional plumber for guidance.
- Always refer to the manufacturer’s instructions for specific details on your particular type of diverter valve.
- Check for any local building codes or regulations regarding the installation of plumbing components.
- In case of any unexpected issues during the installation, have a backup plan in place to prevent water damage or disruption to your plumbing system.
- Consider investing in high-quality materials for the valve and its connections to ensure durability and prevent future leaks.
- Keep an eye out for any unusual noises, changes in water pressure, or other signs of malfunction after installing the diverter valve. Address these promptly to avoid potentially costly repairs down the road.
- Properly dispose of old valves and materials used during installation according to local guidelines.
- Regularly check on your plumbing system and make necessary adjustments or repairs to ensure it continues to function effectively.
When to Call a Professional
While installing a diverter valve can be a simple DIY project, there are instances where it’s best to call a professional plumber. If you encounter any of the following situations during installation, it’s recommended to seek expert assistance:
- Complicated or outdated plumbing system
- Lack of necessary tools or experience with plumbing work
- Unexpected issues arise during the installation process
- Difficulty accessing the valve’s location for installation
Remember, safety should always come first when working on your home’s plumbing system. Don’t hesitate to reach out for help if needed, and always prioritize proper installation and maintenance for optimum performance and longevity of your plumbing components.
Maintenance and Care of Diverter Valves
To ensure the continuous and efficient operation of your diverter valve, proper maintenance is essential. Here are a few tips to help you keep your diverter valve in good condition:
- Regularly check for leaks, corrosion, or other signs of wear and tear on the valve a few times a year. Address any issues promptly to prevent further damage or malfunctions.
- Clean the valve periodically with a damp cloth to remove any dirt, debris, or buildup that may affect its performance. Avoid using harsh chemicals or abrasive materials that could damage the valve.
- If you notice any changes in water pressure or flow after using the diverter valve, inspect it for clogs and clean it as needed.
- Consider investing in a water softener if your home’s water supply has high levels of minerals that can cause buildup and damage to plumbing components over time.
- Follow manufacturer recommendations for maintenance and care specific to your type of diverter valve.
Conclusion
Fitting a diverter valve may seem daunting at first glance, but with the right tools and proper technique, it can be a straightforward and manageable task. By following these steps on how to fit a diverter valve and additional tips, you can successfully install a diverter valve in your plumbing system and improve its functionality.
Remember to prioritize safety, carefully prepare and inspect the valve, secure it firmly in place, and test for any leaks or issues before completing the process. With this knowledge in hand, you can confidently handle any future diverter valve installations or replacements. Happy plumbing!

