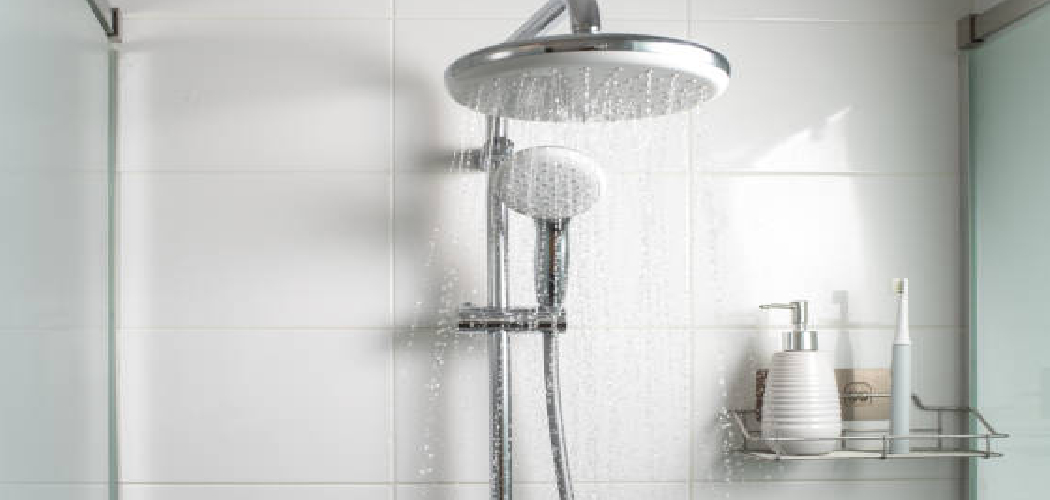
Fitting a shower arm is a simple yet essential task that can help refresh the look and functionality of your bathroom. Whether you’re replacing an old shower arm or installing a new one, the process requires just a few tools and some basic know-how. By following the right steps, you can ensure a secure and leak-free installation, saving time and effort while improving your shower experience. In this blog post, we’ll walk you through the steps on how to fit a shower arm so that you can get back to using it in no time! So grab your tools, and let’s get started!
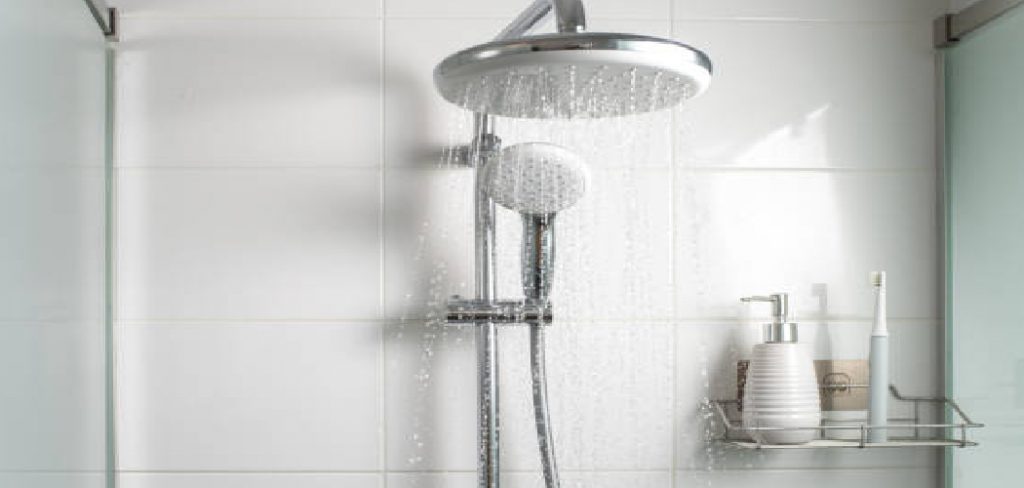
Types of Shower Arms
When it comes to selecting a shower arm, there are various types designed to suit different preferences and bathroom layouts. Here are some of the most common options:
- Standard Wall-Mounted Shower Arms
These are the most common type of shower arm, designed to be installed directly into the wall. They work well with fixed or adjustable showerheads and are ideal for traditional bathroom setups.
- Ceiling-Mounted Shower Arms
Perfect for rain showerheads, ceiling-mounted shower arms provide a luxurious and immersive showering experience. They are ideal for bathrooms with higher ceilings or for those who prefer a spa-like ambiance.
- Gooseneck or S-Shaped Shower Arms
Featuring an elegant curved design, gooseneck shower arms extend the showerhead further from the wall and provide added height. These are great for creating extra headspace and are a popular choice for taller individuals.
- Right-Angle Shower Arms
These shower arms are designed to protrude straight out from the wall before turning downward. They are sleek and modern, often used to complement minimalist bathroom designs.
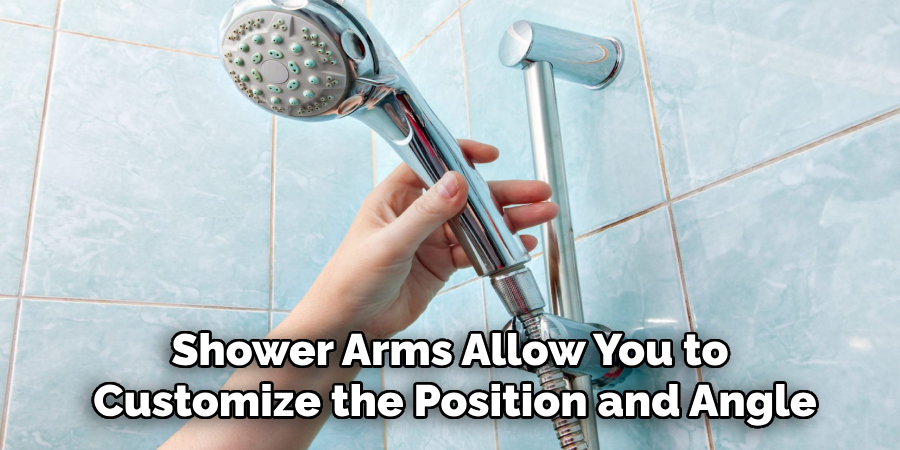
- Adjustable Shower Arms
Adjustable shower arms allow you to customize the position and angle of your showerhead. They are flexible and perfect for households with varying needs and shower preferences.
Choosing the right type of shower arm depends on your bathroom’s layout, your personal style, and the functionality you desire. Understanding these options can help you make the best choice for your space.
10 Methods How to Fit a Shower Arm
1. Select the Right Shower Arm for Your Setup
Before you start, the first step is selecting the right shower arm for your bathroom’s plumbing and aesthetic needs. Shower arms come in various shapes—standard straight arms, gooseneck styles, S-shaped arms, and adjustable options. Consider the showerhead type, desired height, and clearance from the wall.
Measure the threading size on the water supply pipe and confirm it matches the new arm, typically ½-inch NPT (National Pipe Thread). Additionally, choose a finish that complements your existing fixtures, such as brushed nickel, chrome, or matte black. This ensures compatibility and enhances the visual appeal of your shower space.
2. Gather the Necessary Tools and Supplies
To perform a proper installation, gather essential tools: a pipe wrench or adjustable pliers, plumber’s tape (Teflon tape), a soft cloth or rubber strap wrench to protect finishes, and possibly a ladder or step stool for higher installs. Having all materials at hand helps avoid delays and ensures each step flows smoothly. If the arm is particularly tight or corroded from years of use, consider using penetrating oil or WD-40 to loosen it. Preparation is key to a clean and efficient installation process.
3. Remove the Existing Shower Arm Safely
To remove an existing shower arm, grip the arm near the wall using pliers or a wrench. Wrap a cloth around it first to avoid scratching the finish. Turn the arm counterclockwise to loosen it from the fitting inside the wall. If it resists, apply a bit of penetrating oil and let it sit for several minutes before trying again. Gently wiggle the arm while turning to help break any corrosion or buildup. Once free, pull the old arm out, being careful not to damage the pipe fitting or surrounding wall materials.
4. Clean the Threads of the Wall Fitting
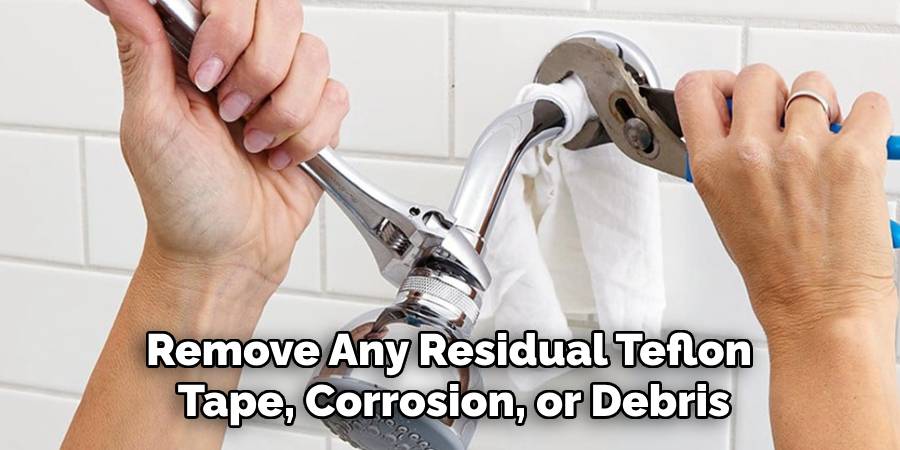
After removing the old shower arm, inspect and clean the threads inside the wall fitting. Use a wire brush or old toothbrush to remove any residual Teflon tape, corrosion, or debris. This ensures a clean, smooth surface for the new arm to seat against. Neglecting this step can result in cross-threading or poor sealing, which may cause leaks over time. If the threads appear damaged or heavily rusted, consider consulting a plumber for further inspection, as damaged plumbing can cause long-term issues.
5. Apply Plumber’s Tape to New Shower Arm Threads
Before threading the new arm into place, apply two to three layers of Teflon tape to the threads. Wrap the tape clockwise (in the same direction you’ll turn the arm to install it) to ensure it stays secure during installation. The tape helps create a watertight seal and makes future removal easier by reducing metal-on-metal friction. Be careful not to overwrap or extend tape past the threads, which can interfere with proper seating. A snug but clean wrap is ideal for leak prevention.
6. Hand-Tighten and Align the Shower Arm
Insert the taped end of the new shower arm into the wall fitting and hand-tighten it. As you turn clockwise, make sure the arm is threading smoothly—do not force it if resistance feels uneven, which might indicate cross-threading. Once hand-tight, continue turning until the arm is securely fitted and the showerhead end is facing downward (or as desired). You may need to make a final adjustment with a wrench, but avoid overtightening, which could crack fittings or damage wall piping.
7. Use a Strap Wrench or Protected Tool for Final Tightening
For final adjustments, use a strap wrench or a wrench with a cloth wrapped around the shower arm to avoid scratching its finish. Gently tighten until the arm feels firm and secure, with the outlet facing the correct direction. Avoid applying excessive torque, which may not only damage the arm but also stress the pipe behind the wall. This careful final tightening ensures the arm is secure enough to support the showerhead without risking a break.
8. Attach the Showerhead and Check for Leaks
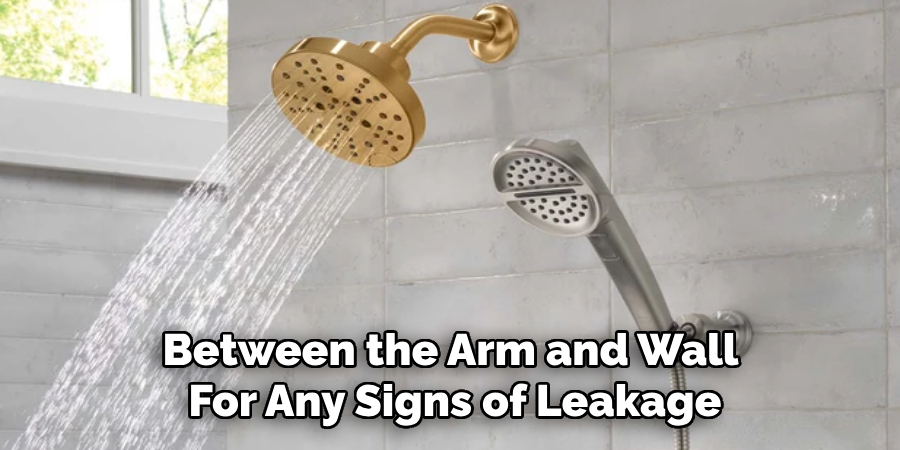
Once the shower arm is fully installed, apply plumber’s tape to the threads on the exposed end, then screw on your showerhead. Again, hand-tighten first, then use pliers with a cloth for a snug fit if necessary. Turn on the water and observe the connection between the arm and wall for any signs of leakage. If a small drip appears, gently tighten the arm or reapply the Teflon tape. A secure fit at this stage is essential to prevent water damage within the wall over time.
9. Conceal the Installation with a Flange or Escutcheon Plate
A finishing touch that is both functional and aesthetic is the installation of a shower arm flange or escutcheon plate. This decorative ring covers the hole in the wall where the pipe enters and helps seal the opening from water and moisture. Slide the flange over the shower arm until it sits flush against the wall. Ensure it’s level and snug, giving your installation a polished and professional appearance. Some flanges include a small set screw to hold them in place if needed.
10. Test with Water Pressure and Reinspect After 24 Hours
After initial testing, it’s wise to allow the shower to run for several minutes at full pressure, then turn it off and check the arm and pipe for any residual moisture. Use a dry paper towel to dab around the base where the arm meets the wall to detect hidden leaks. After 24 hours of regular use, recheck for any signs of water at the connection point. Sometimes minor leaks become evident after a few hours due to pressure changes. Confirming a leak-free fit at this stage ensures long-term durability and prevents water damage inside your wall.
Maintenance and Upkeep
Proper maintenance of your shower arm and pipe is crucial to ensure their longevity and to prevent future leaks. Periodically inspect the connection point for any signs of wear, rust, or corrosion, as these can weaken the seal and lead to leaks over time. Clean the area with a mild detergent and a soft brush to remove any build-up of soap scum or mineral deposits that could compromise the fitting.
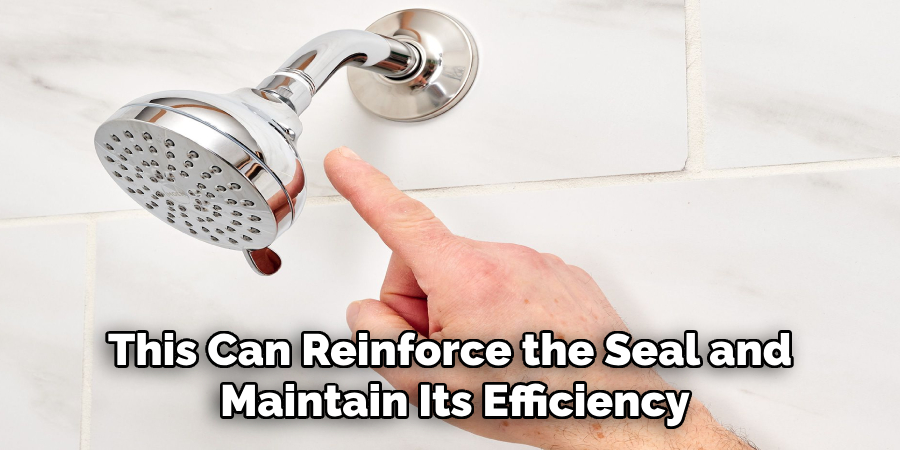
If you notice any cracks or damaged threads, consider replacing the components promptly to avoid more extensive repairs later. Additionally, it’s good practice to reapply plumber’s tape at least once every few years during routine maintenance, as this can reinforce the seal and maintain its efficiency. Consistent upkeep not only ensures the functionality of your shower but also helps protect your home from moisture-related issues.
Conclusion
Fitting a shower arm is a manageable home project that greatly enhances both the functionality and style of your bathroom. With the proper tools, careful preparation, and attention to detail, the process can be completed in under an hour with lasting, professional results. Whether replacing a worn-out piece or customizing your shower setup, following these ten elaborated methods ensures a leak-free, sturdy, and stylish installation. Thanks for reading our blog post on how to fit a shower arm! We hope you found it helpful and informative.

