Installing a thermostatic mixing valve is an essential step for ensuring safe and consistent water temperatures in your home or workplace. These devices are designed to blend hot and cold water to deliver a stable output temperature, reducing the risk of scalding and enhancing comfort.
This guide on how to fit a thermostatic mixing valve will walk you through the process of fitting a thermostatic mixing valve, highlighting the tools you’ll need, the steps to follow, and important safety considerations to keep in mind.
Why Should You Install a Thermostatic Mixing Valve?
Before we dive into the steps for fitting a thermostatic mixing valve, it’s important to understand why these devices are necessary. Here are a few key reasons:
Prevent Scalding:
Hot water can cause serious burns in just seconds, especially for young children and older adults. A thermostatic mixing valve helps maintain a safe and comfortable water temperature by blending hot and cold water. This prevents sudden spikes in water temperature that could lead to scalding.
Energy Efficiency:
By delivering a consistent output temperature, a thermostatic mixing valve helps improve energy efficiency by reducing the need for constant adjustments of hot and cold water. This can result in cost savings on your energy bills.
Enhanced Comfort:
With a thermostatic mixing valve, you don’t have to worry about getting blasted with cold or hot water while taking a shower. The device ensures a consistent and comfortable water temperature, making your shower experience more enjoyable.
Tools You’ll Need
Before you start installing your thermostatic mixing valve, make sure you have the following tools handy:
Adjustable Wrench:
You’ll need an adjustable wrench to loosen and tighten nuts and bolts.
Pipe Cutter:
A pipe cutter will come in handy for cutting copper pipes to the required length.
Teflon Tape:
Teflon tape is used to create a watertight seal on threaded fittings. This is important for preventing leaks.
Screwdriver:
A screwdriver may be needed to secure the valve onto your wall or sink.
8 Step-by-step Guides on How to Fit a Thermostatic Mixing Valve
Step 1: Turn Off the Water
Before starting the installation, it is crucial to turn off the water supply to the area where the valve will be installed. Locate the main water shut-off valve or the localized water supply valve for your sink, shower, or appliance.
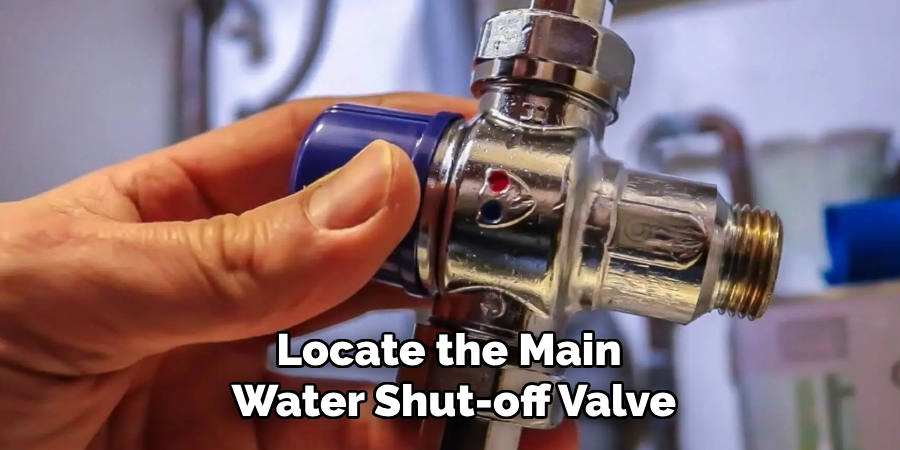
Turn the valve clockwise until it is fully closed to ensure no water flows during the installation process. This step helps prevent water leakage and ensures a safe and efficient installation. Once the water is off, open the taps to drain any remaining water from the pipes.
Step 2: Determine the Correct Valve Position
Identify the location where the thermostatic mixing valve will be installed. Typically, the valve is placed close to the outlet, such as underneath a sink or near the supply pipes for a shower or appliance, to ensure accurate temperature control. Ensure there is enough space for the valve and that it is accessible for maintenance or adjustments in the future.
Take note of the direction of water flow and align the valve’s inlets and outlets accordingly; these are usually marked with “hot,” “cold,” and “mix” indicators. Proper positioning will ensure optimal functionality and ease during installation.
Step 3: Cut the Copper Pipes
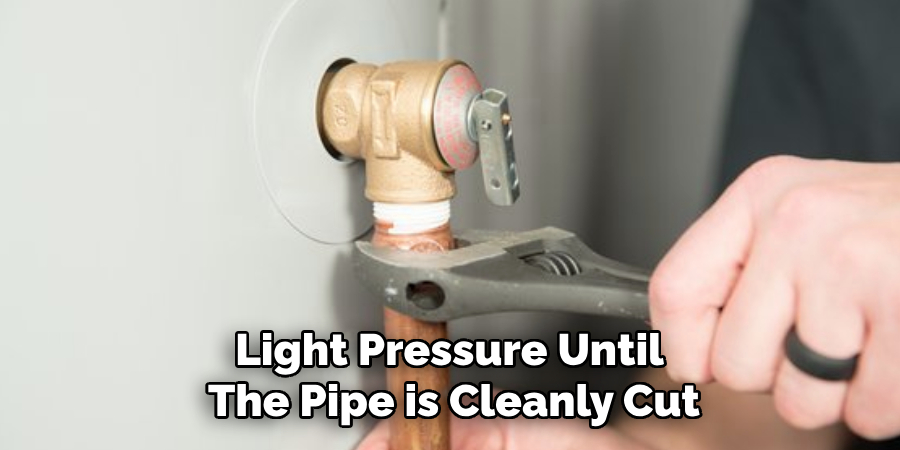
Using a pipe cutter, carefully cut the copper pipes to the required lengths for connecting to the thermostatic mixing valve. Before cutting, measure and mark the pipes to ensure precise cuts that will fit the valve’s inlets and outlets. Keep in mind the orientation of the “hot,” “cold,” and “mix” connections when determining the lengths.
Secure the pipe cutter around the marked section and rotate it gradually, applying light pressure until the pipe is cleanly cut. After cutting, remove any burrs or sharp edges with a deburring tool or sandpaper to ensure smooth connections and prevent potential damage to the fittings.
Step 4: Prepare the Fittings and Pipes
Before attaching the pipes to the valve, prepare the fittings by applying Teflon tape on all threaded connections. This ensures a tight seal that prevents any water leakage. When wrapping the tape, make sure it is applied in a clockwise direction to prevent it from unraveling when you tighten the fittings onto it.
Once prepared, attach the fittings to their designated inlets and outlets on the thermostatic mixing valve. Tighten each fitting securely with an adjustable wrench, making sure they are flush against the valve and do not leak when tested.
Step 5: Connect the Valve to the Water Supply
Once the fittings and pipes are prepared, it’s time to connect the thermostatic mixing valve to the water supply. Begin by attaching the hot and cold water supply pipes to their respective inlets on the valve. Ensure that the pipe labeled “hot” is connected to the hot water inlet and the pipe labeled “cold” is connected to the cold water inlet.
Carefully align the pipes with the fittings to prevent cross-threading or misalignment. Tighten the connections using an adjustable wrench, but avoid over-tightening as this could damage the fittings or valve threads. After connecting the inlets, attach the outlet pipe labeled “mix” to the intended water fixture or appliance. Verify that all connections are secure, and ensure the pipes are positioned in a way that avoids kinks or unnecessary strain.
Step 6: Mount the Valve
Once all the connections are complete, mount the thermostatic mixing valve onto your wall or sink. If mounting on a wall, use screws and anchors to secure it in place. For sinks, you may need to use a bracket or existing fixtures to hold the valve securely.
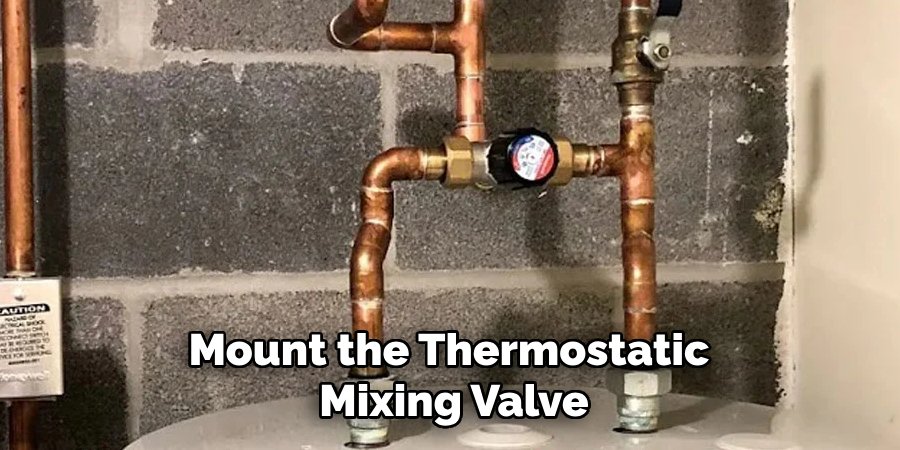
Ensure that the valve is mounted in an upright position with all connections facing downwards for optimal performance and water flow.
Step 7: Test the Valve
Before turning on the water supply, make sure all connections are tight and secure. Then, slowly turn on the water supply valves to allow water to flow through the pipes and fill up any air gaps within them. Once the water is flowing smoothly, turn on the thermostatic mixing valve and test it by adjusting the temperature setting.
Verify that the water temperature stays consistent and comfortable throughout the adjustment range. If there are any issues, double-check all connections and fittings for leaks or potential obstructions.
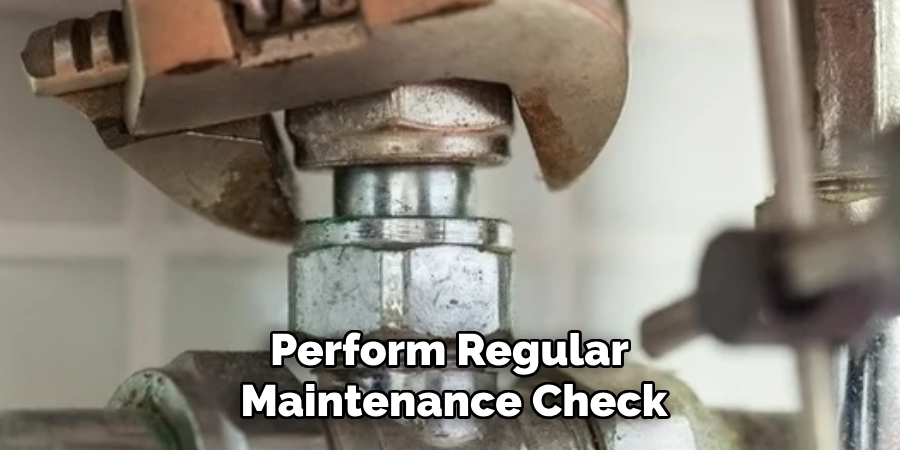
Step 8: Regular Maintenance Check-Ups
To ensure your thermostatic mixing valve continues to function efficiently, it’s important to perform regular maintenance check-ups. This includes checking for leaks, cleaning or replacing filters if necessary, and ensuring all connections and fittings are tight and secure. You should also periodically test the valve’s temperature control to make sure it is functioning as expected.
Regular maintenance will prolong the lifespan of your valve and ensure it continues to provide safe and consistent water temperatures for years to come.
Following these step-by-step instructions on how to fit a thermostatic mixing valve will allow you to easily and safely install a thermostatic mixing valve in your home. Remember, if you are unsure or uncomfortable with any step, it is always best to seek professional help to ensure a proper installation and avoid any potential damage or hazards.
Frequently Asked Questions
Q: What is a Thermostatic Mixing Valve?
A: A thermostatic mixing valve is a device that mixes hot and cold water to maintain a safe and consistent temperature for your plumbing fixtures, such as showers or sinks. The valve contains a temperature-sensitive mechanism that adjusts the water flow to maintain the desired temperature.
Q: Why Should I Install a Thermostatic Mixing Valve?
A: A thermostatic mixing valve is a crucial safety feature for your plumbing system, as it prevents scalding or freezing water temperatures. It also helps maintain consistent water temperature and can save energy by reducing the need to constantly adjust hot and cold water valves.
Q: Can I Install a Thermostatic Mixing Valve Myself?
A: While it is possible to install a thermostatic mixing valve yourself, it is recommended to seek professional help if you are unsure or uncomfortable with any step. This will ensure proper installation and avoid any potential damage or hazards.
Q: How Often Should I Perform Maintenance on my Thermostatic Mixing Valve?
A: It is recommended that maintenance check-ups be performed on your thermostatic mixing valve at least once a year. However, it is best to check for leaks and test the temperature control periodically throughout the year to ensure optimal performance.
Conclusion
Congratulations, you have successfully installed a thermostatic mixing valve! By following these step-by-step guides on how to fit a thermostatic mixing valve, you can now enjoy accurate and comfortable water temperatures in your home or workplace. Remember to always turn off the water supply before starting any installation, and regularly maintain your valve for optimal performance.
If you encounter any issues during the installation or notice any problems with your valve, do not hesitate to seek professional help. With proper installation and maintenance, your thermostatic mixing valve will continue to provide safe and consistent water temperatures for years to come.

