A ball valve is a commonly used plumbing fixture that controls the flow of water in pipes. Due to its frequent use, it can develop leaks over time, causing inconvenience and potentially damaging your property. Knowing to fix a ball valve leak can save you from costly repairs and ensure the smooth functioning of your plumbing system.
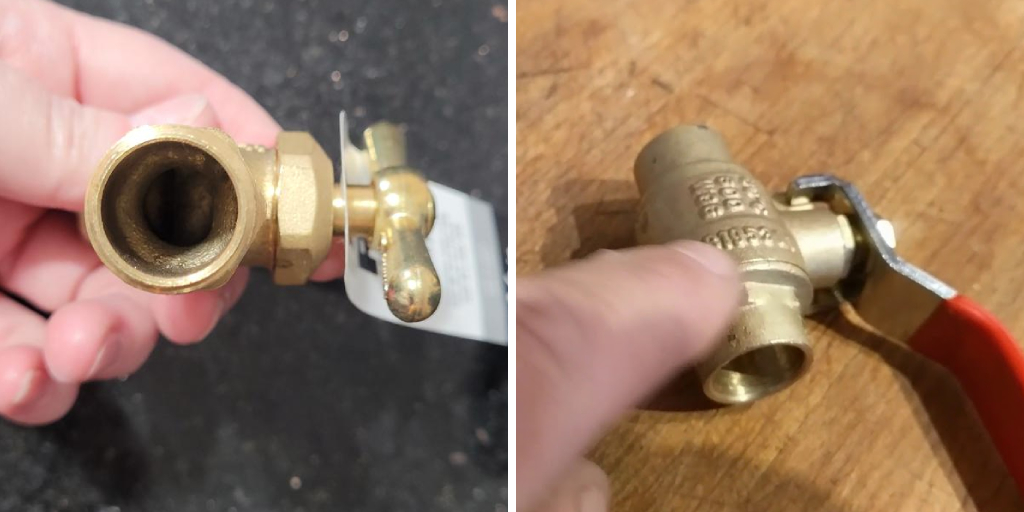
The main advantage of fixing a ball valve leak is that you can save both time and money by not having to hire a professional plumber. Ball valves are commonly used in plumbing systems as they provide a reliable way to control the flow of water. However, like any other type of valve, they can develop leaks over time due to wear and tear or improper installation. You can find step-by-step instructions on how to fix a ball valve leak in this blog article.
Tools You Will Need
- Wrench
- Pliers
- Screwdriver
- Adjustable wrench
- Pipe cutter
- Slip joint pliers
- Teflon tape
- Replacement valve stem or ball valve kit
- Bucket or container to catch water
The first step in fixing a ball valve leak is to gather all the necessary tools and materials.
Step-by-step Instructions for How to Fix a Ball Valve Leak
Step 1: Inspect the Ball Valve
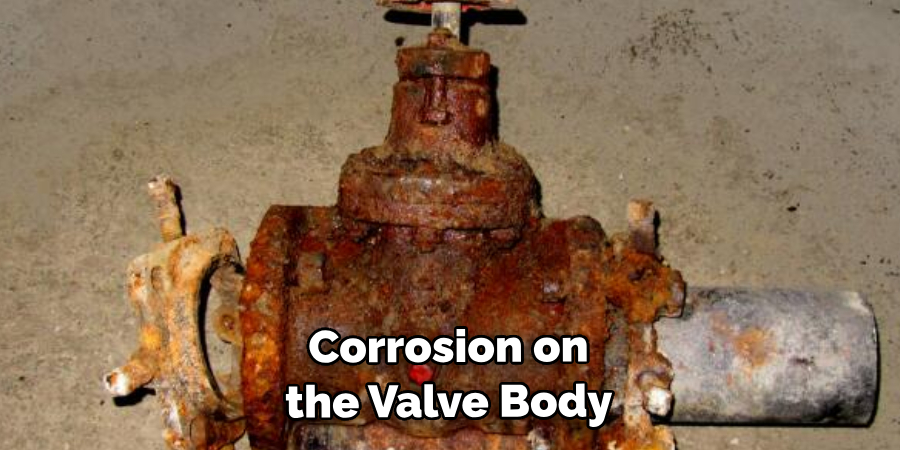
First and foremost, it is important to inspect the ball valve for any visible signs of a leak. This may include water or gas leakage around the valve, rust or corrosion on the valve body, or loose fittings. If you have identified that your ball valve is indeed leaking, it is crucial to shut off the water supply to prevent further damage. This can typically be done by turning off the main water valve.
Step 2: Release Pressure
Before attempting to fix the leak, it is important to release any pressure that may have built up in the system. This can be done by opening a faucet or draining the system. To fix a ball valve leak, you will need some basic tools and materials such as an adjustable wrench, Teflon tape, replacement seals or O-rings, and possibly a new valve if the damage is severe.
Step 3: Disassemble the Valve
Using your adjustable wrench, carefully disassemble the ball valve by loosening any fittings and removing the handle. This will allow you to access the internal components of the valve. If the leak is caused by damaged seals or O-rings, now is the time to replace them. Simply remove the old ones and install new ones in their place.
Step 4: Clean and Lubricate Internal Components
Before reassembling the valve, it is important to clean and lubricate the internal components. This will help ensure smooth operation of the valve and prevent future leaks. Carefully reassemble the ball valve, making sure all fittings are tightened properly. Use Teflon tape on any threaded connections for added security against leaks.
Step 5: Turn Water Supply Back On
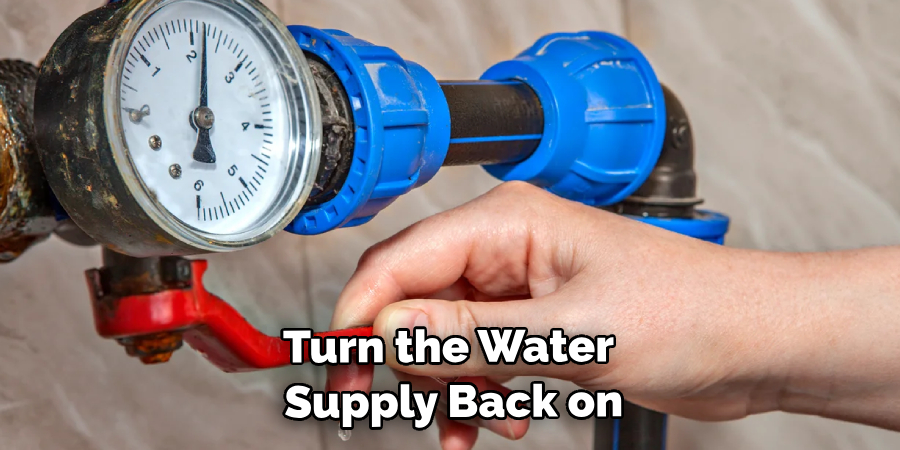
Once you have reassembled the valve, turn the water supply back on and check for any remaining leaks. If there are none, congratulations! You have successfully fixed your ball valve leak. It is important to keep an eye on your ball valve in case any future leaks occur. Regular maintenance and inspections can help prevent and catch leaks before they become a bigger issue.
By following these step-by-step instructions, you can easily fix a ball valve leak and save yourself from potential damage and costly repairs. Remember to always take proper safety precautions and consult a professional if you are unsure or uncomfortable with performing the task yourself.
Safety Tips for How to Fix a Ball Valve Leak
- Always shut off the water supply before attempting to fix a leak to prevent further damage or injury.
- Use caution when handling tools and equipment, and wear protective gear if necessary.
- Make sure the area around the ball valve is clear and free of any obstructions to avoid accidents.
- Do not attempt to fix a leak on your own if you are unsure or uncomfortable with the process. Consult a professional plumber instead.
- Use proper techniques and tools, following manufacturer instructions if available.
- Regularly inspect and maintain your ball valve to prevent future leaks and potential hazards.
- If you are working with gas valves, make sure to follow specific safety measures for handling gas lines.
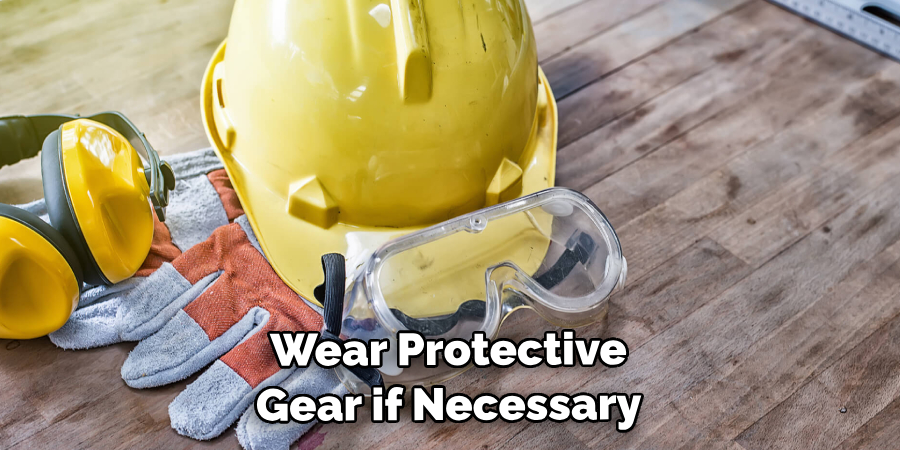
Following these safety tips will ensure the task of fixing a ball valve leak is done safely and effectively. Always prioritize your safety and seek professional help if needed.
What Are the Common Causes of a Ball Valve Leak?
Ball valves are widely used in plumbing systems to control the flow of water. They are known for their durability and reliability, but like any other mechanical component, they can also develop issues over time. One of the most common problems with ball valves is leaks. A leaky ball valve not only wastes water but can also cause damage to your property if left untreated. Possible Causes of a Ball Valve Leak:
1. Damaged O-ring
O-rings are rubber rings used in ball valves to create a watertight seal. If the O-ring gets damaged or worn out, it can cause water to leak around the handle of the valve. This is a common issue with older ball valves, as the O-ring can deteriorate over time.
2. Loose Packing Nut
The packing nut is another component that helps to create a seal in a ball valve. It is located just behind the handle and can become loose due to frequent use or vibration. If this happens, it can cause water to leak from around the stem of the valve.
3. Cracked or Damaged Valve Body
The valve body is the main part of a ball valve that houses the ball and seals. Over time, it can develop cracks or get damaged due to corrosion, mineral buildup, or excessive pressure. This can cause water to leak from various points in the valve body.
4. Loose Connections
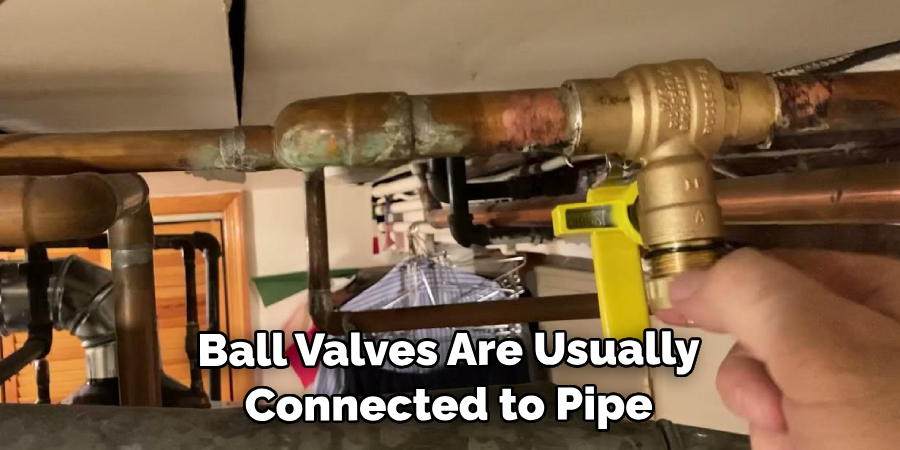
Ball valves are usually connected to pipes using threads or compression fittings. If these connections become loose, they can cause water to leak from the valve joints.
5. Improper Installation
If a ball valve is not installed correctly, it can cause leaks due to misaligned parts or damaged components.
By understanding the potential causes of a ball valve leak, you can quickly identify and fix the issue. Now, let’s discuss to fix a ball valve leak.
How Do You Properly Clean and Lubricate a Ball Valve Before Reassembly?
Ball valves are important components in many plumbing and industrial systems, but they can experience leaks over time due to wear and tear. If you’re experiencing a ball valve leak, it’s important to address it as soon as possible to prevent further damage and potential downtime.
One of the first steps in fixing a ball valve leak is properly cleaning and lubricating the valve before reassembly. This ensures that the valve can function properly and effectively prevent leaks in the future. Here are some steps to follow for cleaning and lubricating a ball valve:
- Shut Off the Water Supply: Before you begin any work on the ball valve, make sure to shut off the water supply to prevent any mess or accidents.
- Disassemble the Valve: Use a wrench to remove the nuts and bolts that are holding the valve together. Take note of the order in which you remove them so that reassembly is easier.
- Remove Any Debris: Once the valve is disassembled, use a clean cloth or brush to remove any debris, dirt, or buildup from both the ball and socket surfaces.
- Clean With Solvent: Use a solvent such as acetone or alcohol to thoroughly clean the ball and socket surfaces. This will help remove any remaining residue and ensure a smooth surface for proper sealing.
- Inspect O-rings: Check the O-rings for any signs of wear or damage. If necessary, replace them before reassembly.
- Apply Lubricant: Once the surfaces are clean, apply a small amount of lubricant to the ball and socket surfaces. This will help ensure smooth movement and prevent any sticking or binding.
- Reassemble the Valve: Carefully reassemble the valve in the reverse order that you disassembled it, making sure all nuts and bolts are tightened securely.
- Test for Leaks: Finally, turn on the water supply and test the valve for any leaks. If there are still leaks, you may need to disassemble and clean the valve again or check for other possible issues.
Cleaning and lubricating a ball valve is an important step in fixing a leak and ensuring proper functioning in the future. By following these steps, you can effectively address a ball valve leak and prevent further damage to your system.
What Are Some Common Mistakes to Avoid When Trying to Fix a Ball Valve Leak?
When it comes to fixing a ball valve leak, there are a few common mistakes that people tend to make. These mistakes can end up causing more damage and potentially making the leak even worse.
In this section, we will discuss some of these mistakes and how you can avoid them. Firstly, many people make the mistake of tightening the valve too much in an attempt to stop the leak. While this may seem like a logical solution, it can actually lead to over-compression of the valve and cause even more leaks. Instead, try gently tightening the valve and see if that helps.
Another common mistake is using the wrong tools or materials to fix the ball valve leak. It is important to use the correct size wrench or pliers for your specific valve as using the wrong size can damage the valve and make the leak worse.
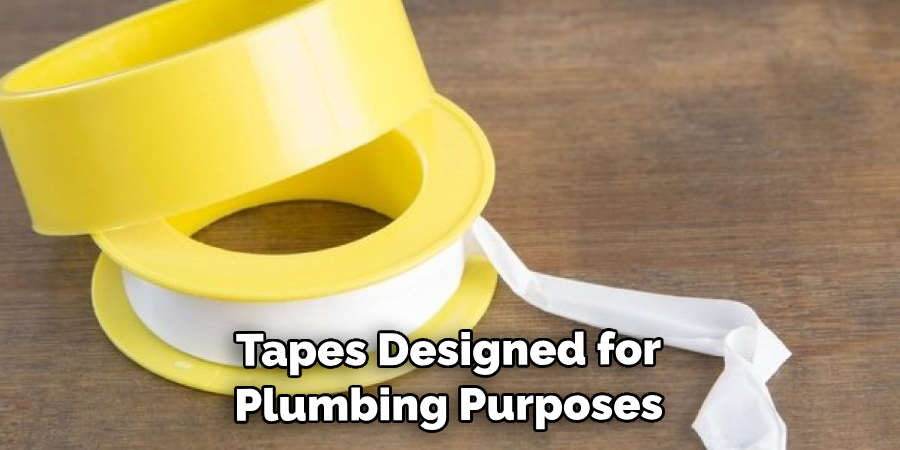
Also, be sure to use appropriate sealants or tapes designed for plumbing purposes. One of the biggest mistakes people make is attempting to fix a ball valve leak without shutting off the water supply first. This can lead to not only a bigger mess but also potential injury from hot water or pressure build-up. Always remember to shut off the water supply before attempting any repairs on a ball valve.
Conclusion
In conclusion, fixing a ball valve leak is not as complicated as it may seem. With the right tools and knowledge, you can easily fix a leaky ball valve yourself and save money on calling a professional plumber. Remember to always turn off the water supply before attempting to fix any plumbing issue, and follow the step-by-step guide we have provided in this blog.
It is important to regularly check and maintain all the valves in your home to avoid any potential leaks or damages. If you notice a leak, don’t ignore it as even a small leak can result in significant water wastage and damage to your property. I hope this article has been beneficial for learning how to fix a ball valve leak. Make Sure the precautionary measures are followed chronologically.

