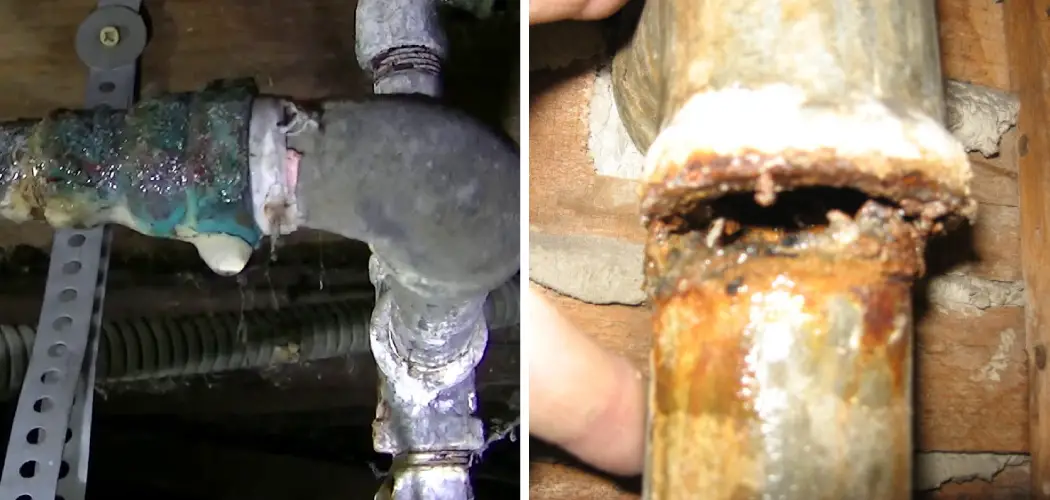
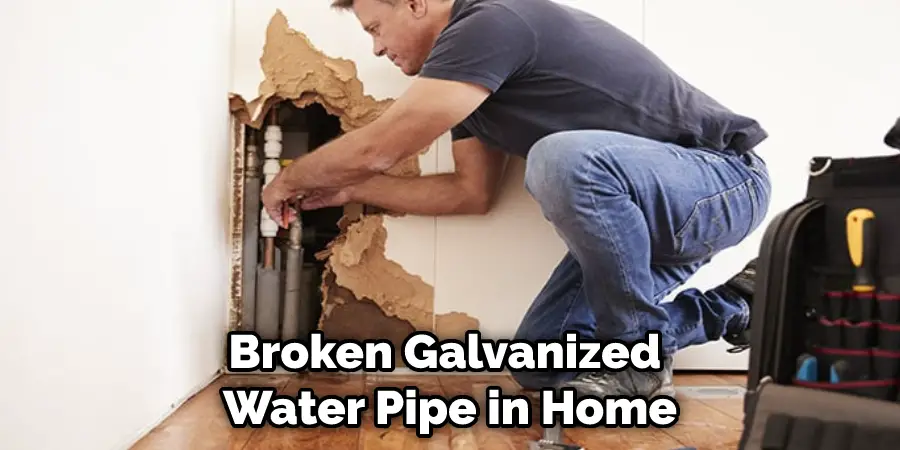
Do you have a leaky or broken galvanized water pipe? Don’t panic! You are not alone, and repairing it yourself can be a simple fix.
If you have a broken galvanized water pipe, you may be tempted to try fixing it yourself. However, this is not always a wise decision. In some cases, it is best to call a professional plumber.
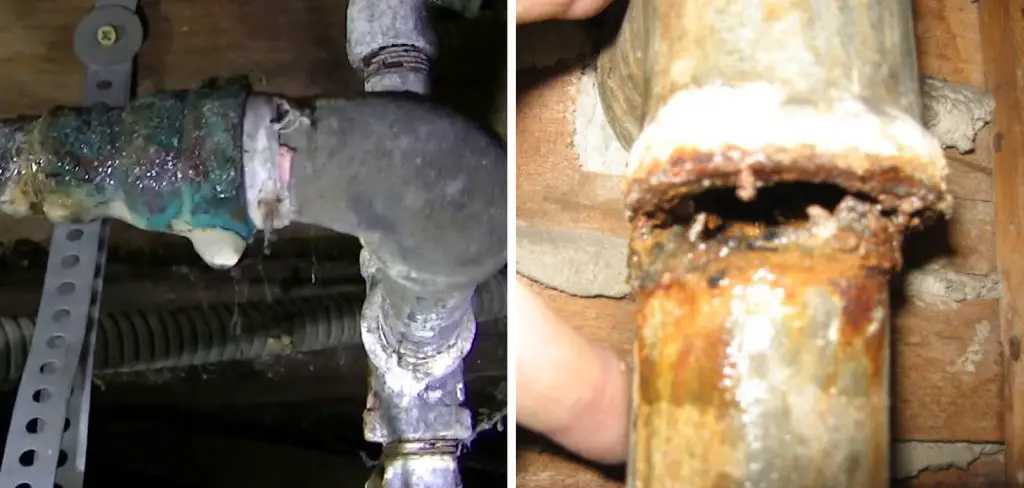
Pipe repairs can be a hassle. But when it comes to repairing galvanized water pipes, the process is a little more complicated than just snaking a new pipe through the old one. In this blog post, we’ll show you how to fix a broken galvanized water pipe using our simple step-by-step guide. So read on, and get ready to fix that leaky faucet!
What Can Break a Galvanized Pipe?
- Corrosion: Galvanized pipes are coated with zinc. However, over time this coating can wear away and lead to corrosion.
- Age: Galvanized pipes were commonly used in homes, so if your home is older, it may be more likely to have galvanized pipes. As these pipes age, they can become brittle and crack or break.
- Improper installation: An improperly installed pipe can also lead to cracks and breaks over time.
- Pressure: Pressure from tree roots or other outside forces can also damage pipes.
10 Effective Steps on How to Fix a Broken Galvanized Water Pipe
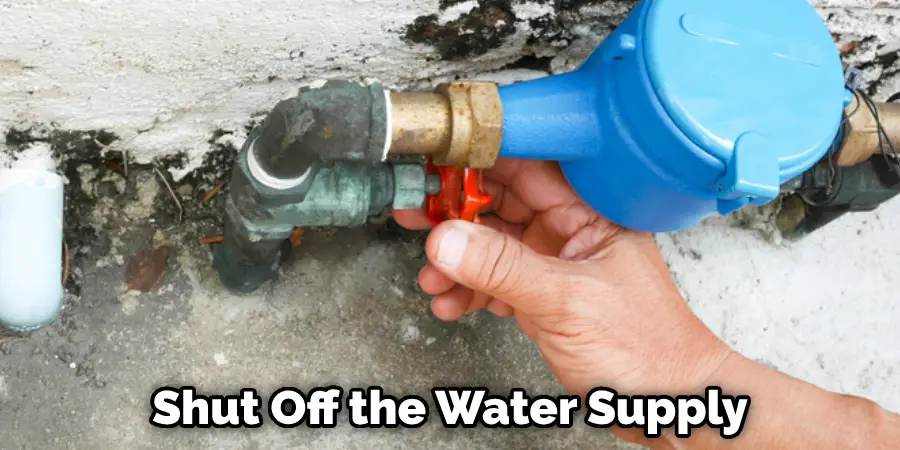
Step 1: Turn Off Water Supply
Before you begin any repair, it is important first to shut off the water supply to the affected area. This can be done by turning off the main water valve or shutting off individual valves near the broken pipe. Be careful not to turn off the water supply to the entire house unless necessary.
Step 2: Cut Out the Damaged Section
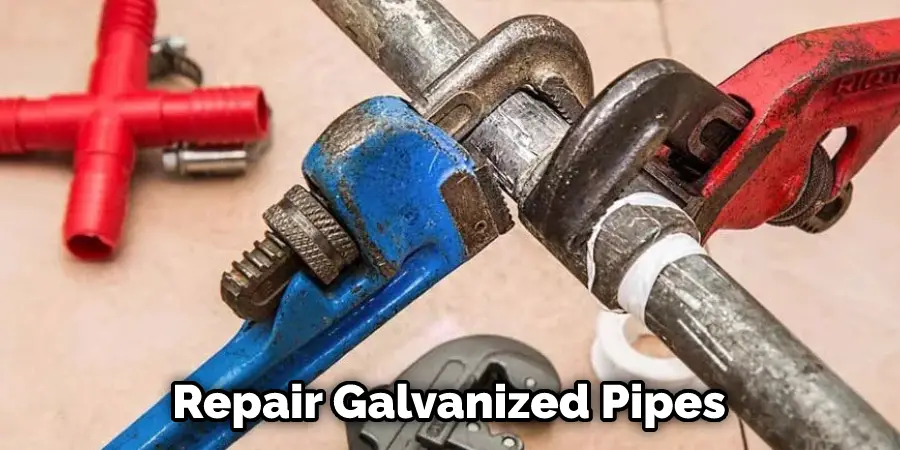
Using a pipe cutter or hacksaw, cut out the section of galvanized pipe that is damaged or broken. Be sure to leave about an inch of extra piping on either side where the break occurs. This will give you enough room to fit in a coupling or patch.
Step 3: Install Coupling or Patch
If the damage to your pipe is small, you may be able to use a coupling to join the two sections of pipe back together. Simply clean the ends of the pipes and slide the coupling on, tightening it with a wrench until it is secure.
If there is too much damage for the coupling to work effectively, you may need to use a patch or sleeve in order to repair the broken section. These patches can be found at most hardware stores and are easy to install by simply sliding them over the damaged section and securing them with clamps provided in the kit.
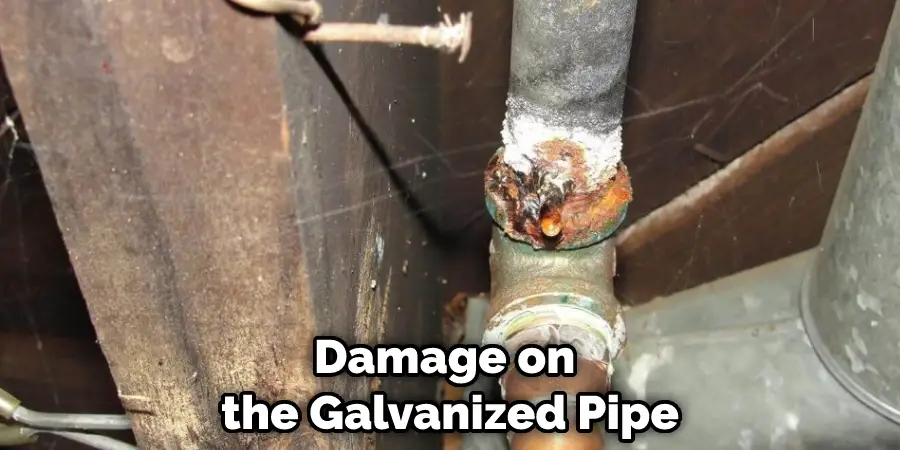
Step 4: Assess and Clean the Damage
Once you have shut off the water supply, assess the damage on the galvanized pipe. If there is any debris or dirt surrounding the break, clean it out using a wire brush. This will make it easier for you to work on repairing the pipe.
Step 5: Apply Primer & Cement
Apply primer to both cleaned end sections, as well as the ends of your replacement pipe and any necessary fittings. Then apply cement glue to all primed surfaces and quickly assemble the pieces, twisting them into place until they are tight. Use clamps to secure the joints while they dry.
Step 6: Allow Adequate Drying Time
Allow the cement glue enough time to dry completely before turning the water supply back on. This drying time will vary based on the type of cement used, so be sure to follow the drying time instructions on the product label.
Step 7: Turn on the Water & Test for Leaks
Once the glue is dry, re-open the water supply and test for leaks by running water through the pipes and checking for any drips or weak spots. If there are any leaks, tighten joints or reapply glue as necessary.
Step 8: Insulate Pipes
To prevent future breaks, consider insulating your pipes with foam insulation sleeves or electrical heat tape. This can help to protect against frozen pipes in the winter and general wear and tear over time. Ensure all safety and installation instructions for any insulation materials used.
Step 9: Monitor for Future Leaks
Continue to monitor the repaired section of the pipe for any leaks or weak spots and make repairs as necessary. It may be helpful to mark the date of your repair on a calendar to remind yourself to check on it regularly. It will help to prolong the life of your galvanized pipe and prevent future breaks.
Step 10: Consider Pipe Replacement
Suppose your galvanized water pipes are old or show signs of frequent damage. In that case, replacing them with more durable materials such as copper or PEX piping may be worth replacing them altogether. Consult a professional for advice on your situation’s best course of action.
We hope this guide helps you successfully fix a broken galvanized water pipe in your home. Remember always to exercise caution and use proper safety measures when attempting DIY plumbing repairs. Happy fixing!
You Can Check It Out to Fix Rusty Water Pipes
6 Additional Tips and Tricks
- Have a bucket and towels on hand to catch any water leaking during the repair process.
- Wear protective eyewear and gloves while working on the pipes.
- Double check that you have shut off all appropriate valves before beginning repairs.
- Have spare fittings or replacement pipe on hand in case something does not fit properly or needs to be cut out entirely.
- Use your pipe cutter to cut out the damaged section of the pipe. If there are fittings attached, use a hacksaw to remove them as well. Be careful not to damage any surrounding pipes or wires.
- Consider calling a professional for more serious damage or if you are unsure about how to proceed with the repair. Safety is important!
These tips will ensure that the repair process is smooth and successful. Good luck!
5 Preventive Measures to Keep Your Pipe Secure
- Regularly check for corrosion or rust buildup on the pipe and address it immediately
- Use proper support for the pipe to avoid excessive strain or pressure
- Inspect joints and connections regularly and tighten if necessary
- Avoid using chemical drain cleaners as they can corrode the pipes
- Perform routine maintenance on your plumbing system overall to catch any issues before they become major problems.
Prevention is better than cure, so taking the necessary steps to maintain your galvanized pipes properly can save you from a costly and messy repair in the future.
Frequently Asked Questions
Can You Use SharkBite on Galvanized Piping?
No, SharkBite fittings are not recommended for use on galvanized pipes. These fittings are specifically designed for copper and PEX piping and using them on galvanized pipes can cause leaks or other damage. It is best to stick with traditional methods, such as cement glue and clamps, when repairing galvanized piping.
What Kind of Glue is Best for Galvanized Piping?
Cement glue, also known as PVC cement, is the recommended glue for use on galvanized pipes. This type of glue creates a strong bond and dries quickly. It is important to follow the drying time instructions on the product label to ensure a secure repair. Other adhesive options, such as epoxy putty, may be suitable in certain situations, but it is best to consult a professional or do further research before using alternative methods.
Can You Weld Galvanized Pipe?
Yes, welding can be used to repair galvanized pipes. However, it is important to keep in mind that welding may affect the integrity and durability of the pipe and should only be done by a trained and experienced professional. In most cases, traditional repair methods such as cement glue and clamps will suffice. It is best to consult a professional before attempting to weld galvanized pipes.
You Can Check It Out to Repair Cracked Sewer Pipe
Can You Paint Galvanized Pipe?
Yes, you can paint galvanized pipe if desired. However, it is important to use specially formulated paint made for use on metal surfaces and to properly prepare the surface of the pipe before painting. Consult with a professional or do research on the best methods for painting galvanized piping. Keep in mind that regular touch-ups may be necessary as painted areas may chip or wear over time.
You Can Check It Out To Fix Leaking Jacuzzi Jets
Conclusion
While a broken galvanized water pipe can be frustrating, it is generally an easy fix. By following the steps outlined in this blog post, you should have your galvanized water pipe as good as new in no time!
In conclusion, it is important to be familiar with the steps of how to fix a broken galvanized water pipe. This will come in handy if your home or business suffers from this type of problem. With these easy-to-follow instructions, you can quickly and effectively resolve the issue without spending a lot of money on professional repairs.
Hopefully, by taking preventive measures and regularly maintaining your pipes, you can avoid future broken galvanized water pipes. Good luck with all of your plumbing endeavors!
You Can Check It Out Fix a Septic Tank That Backs Up

