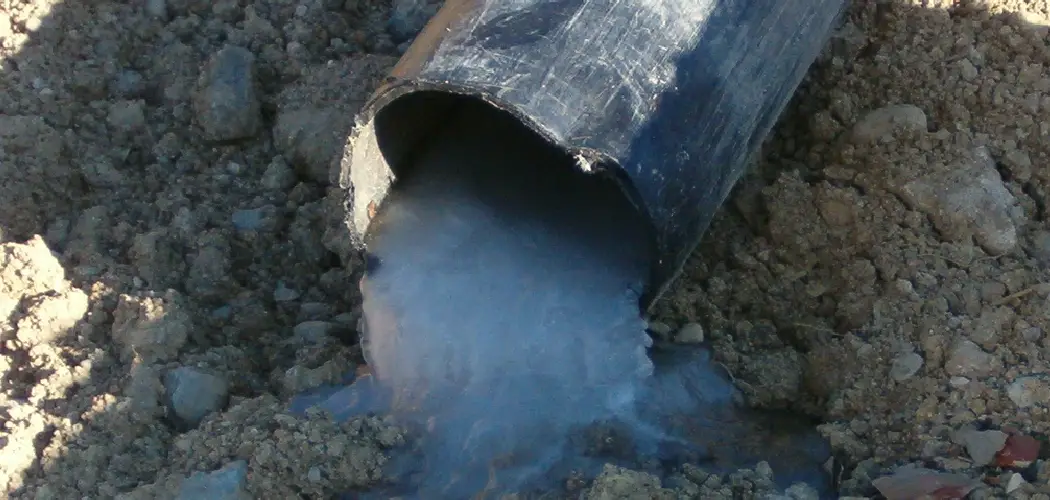
If you recently discovered a broken sewer pipe in your home, then you are probably feeling overwhelmed and unsure of what to do. Your first inclination might be to call a professional plumber or call up an emergency plumbing service, but if you’re trying to avoid spending too much money on the repair process then this article is for you!
In it, we’ll cover the basics of how to fix a broken sewer pipe yourself at home with only minimal tools or equipment. With just some basic knowledge and access to any hardware store, you can make your drainage system as good as new again without breaking your budget!
Why is It Important to Fix a Broken Sewer Pipe?
Fixing a broken sewer pipe should be your top priority if you’ve discovered a problem with your home’s drainage system. A damaged or leaking sewer pipe can lead to serious health hazards, along with unpleasant odors and the inconvenience of having to live without any running water in your home. It can also cause water damage to your property and even compromise the structural integrity of your house if left untreated.
Not only that, but a broken sewer pipe can also lead to costly repairs and potential fines from local authorities if it is not fixed promptly. So don’t wait any longer, follow these simple steps to get your sewer pipe back in working order as soon as possible.
Tools and Materials You Will Need
Before you begin the repair process, make sure that you have all the necessary tools and materials ready. Here is a list of items that you will most likely need:
- Shovel
- Pipe Cutter or Hacksaw
- Pipe Wrench or Channel Lock Pliers
- Rubber Couplings or PVC Repair Couplings
- PVC Primer and Cement
- Safety Gear (gloves, goggles)
12 Step-by-step Guidelines on How to Fix a Broken Sewer Pipe
Step 1: Locate the Problem
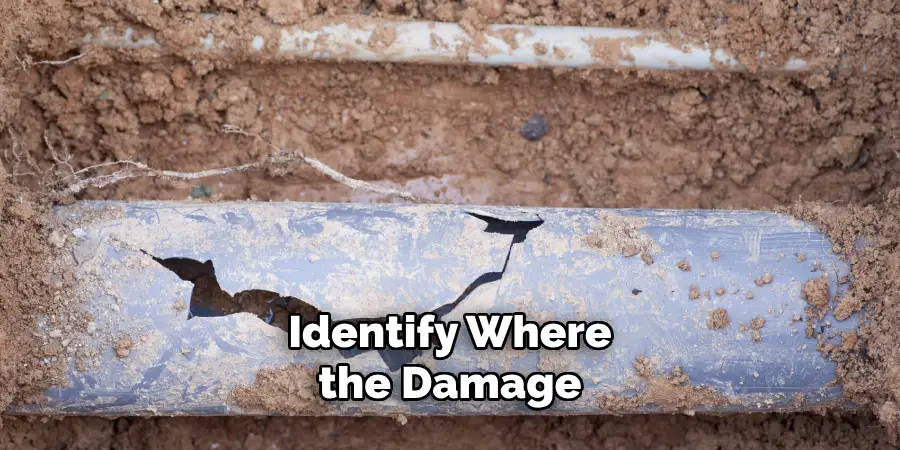
The first step is to identify where the damage in your sewer pipe is located. If you are unsure, it may be best to call a professional plumber for help. It is important to know the extent of the damage before you begin making any repairs.
But if you are confident in your ability to locate the issue, then proceed to the next step. You can also look for common signs of a broken sewer pipe such as sewage backups, slow draining sinks or toilets, and foul odors.
Step 2: Dig the Area
Once you have located the problem area, you will need to dig around the damaged section of the sewer pipe. Make sure that you give yourself enough room to work with and that you are not digging too deep underground. Use caution while digging to avoid hitting other utility lines or any potential hazards. You can also use a small hand trowel or shovel to make the digging process easier.
Step 3: Clear the Area
Before you begin working on the broken pipe, make sure that you clear away any debris or obstructions from around it. This will give you enough space to work and prevent anything from falling into the open sewer line. But make sure to wear your safety gear while doing this step, as the area may contain hazardous materials or sharp objects.
Step 4: Cut Out the Damaged Section
Using a pipe cutter or hacksaw, cut out the damaged section of the sewer pipe. Make sure to measure and mark the section you want to remove beforehand for precision. You can also use a PVC cutter if your pipes are made of plastic instead of metal.
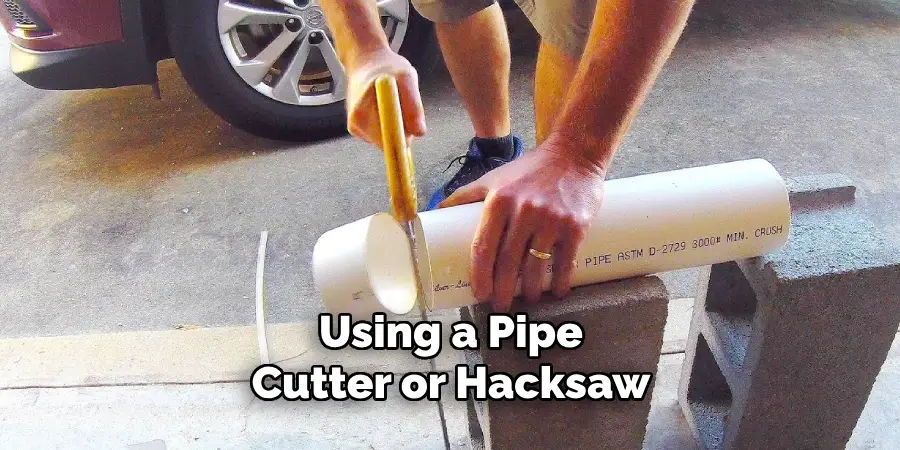
It is important to make clean and straight cuts to ensure a proper fit for the new pipe. This is also where your safety gear comes in handy, as there may be sharp edges on the cut pipe.
Step 5: Measure and Cut a Replacement Pipe
Measure the length of the gap left by the removed section of the sewer pipe and cut a replacement piece to fit using a saw or cutter. Make sure that it is slightly longer than needed, so you have enough room for fittings on either side. It is always better to have a slightly longer replacement pipe than one that is too short. You can always trim it down later if needed.
Step 6: Clean and Prepare the Pipe Ends
Using sandpaper or a wire brush, clean and smooth out the ends of both the replacement pipe and the existing pipes. This will ensure that they fit together properly and create a strong bond when connected.
You can also use a primer to clean any dirt or grease off the surface of the pipes and fittings. You can find pipe cleaning and priming solutions at your local hardware store. It is important to follow the instructions on the product label.
Step 7: Apply Primer to Pipe Ends
Once the surfaces are clean, apply a coat of primer on both ends of the replacement pipe and the existing pipes. This will help create a stronger bond between the pipes when you connect them.
Make sure to follow the manufacturer’s instructions for proper application and drying time. Otherwise, the pipes may not adhere correctly. It is important to wear gloves while handling pipe primers. You may also want to wear goggles for added protection.
Step 8: Apply Cement to Pipe Ends
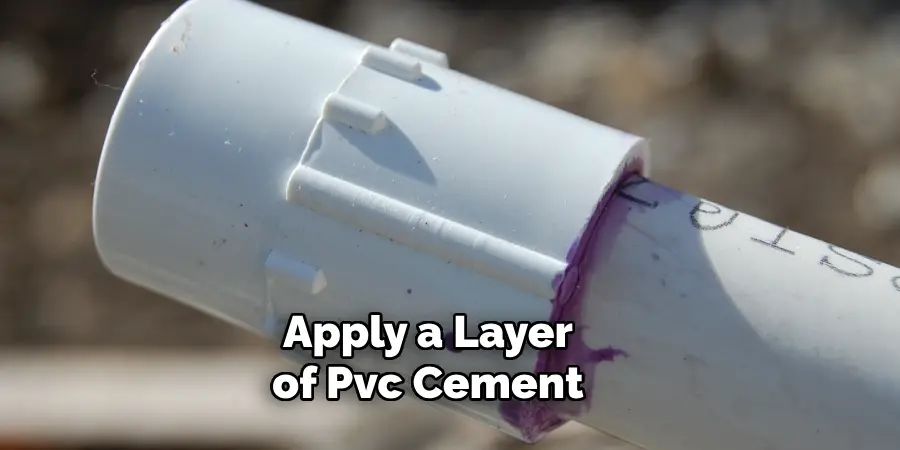
After the primer has dried, apply a layer of PVC cement on the primed ends of the pipes and fittings. Spread it evenly with a brush or applicator and make sure that all areas are covered.
You can also use clear cement if you want a cleaner finish. Follow the instructions on the cement for proper application and drying time. You can also use a clamp to hold the pipes and fittings together while the cement is drying.
Step 9: Connect the Pipes
Once both ends of the replacement pipe and existing pipe are coated with primer and cement, connect them together. Make sure that they are properly aligned and push them together until the joints are snug.
If you are using rubber couplings, make sure to tighten the clamps securely. If you are using PVC repair couplings, make sure to twist them in place for a tight fit. You can also use a rubber mallet to tap the couplings into place.
Step 10: Let the Cement Dry
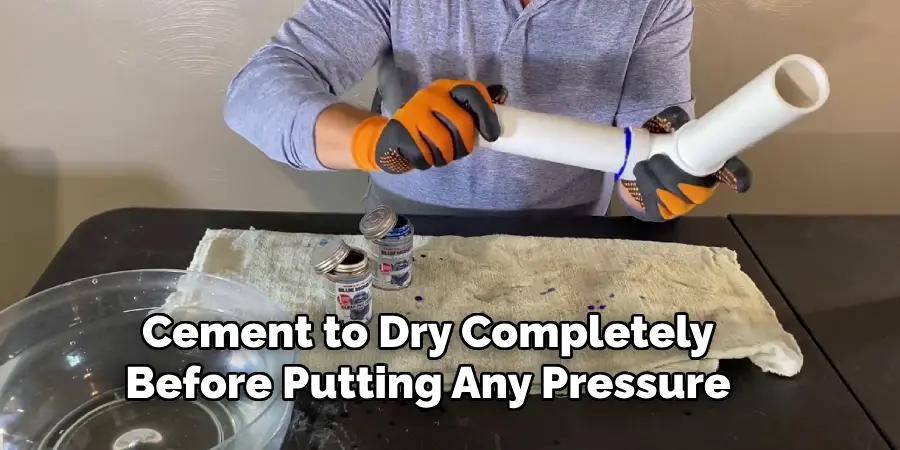
Allow the cement to dry completely before putting any pressure on the repaired section of your sewer pipe. The drying time will vary depending on the type and brand of cement you use, so make sure to follow the instructions carefully.
Avoid using water or running any appliances in your home until the cement has fully dried. This will ensure a strong and secure connection between the pipes. If you are unsure if the cement has dried, wait a few more hours or consult a professional.
Step 11: Cover the Area
Once the pipes are securely connected and the cement is dry, you can fill in the area that was dug up earlier with soil. Make sure to pack it down firmly to prevent any future sinkholes or collapsing.
You can also add mulch or grass over the area for a more aesthetic look. If there were any plants or landscaping in the area before, make sure to replant them. This will help restore the area to its original state before the repair.
Step 12: Check for Leaks
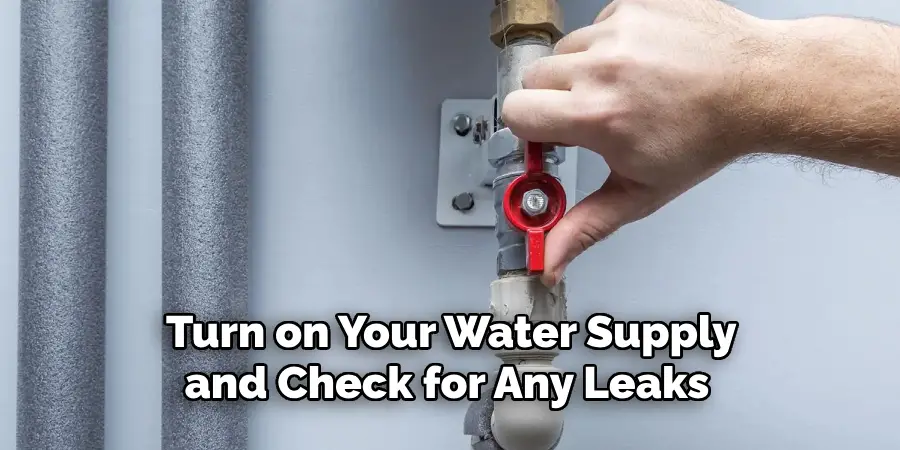
After everything is complete, turn on your water supply and check for any leaks in the repaired section. If there are no visible leaks, flush your toilets and run some water through your sinks to make sure that everything is functioning properly. It may also be a good idea to schedule a professional plumbing inspection after completing the repair to ensure there are no other issues with your sewer pipe system. Remember to monitor the area for any future problems and address them immediately if they arise.
Following these steps on how to fix a broken sewer pipe will help you efficiently and effectively fix a broken sewer pipe. It is important to take proper safety precautions, use the right tools and materials, and follow instructions carefully for a successful repair. If at any point you feel uncomfortable or unsure about the process, it is best to consult a professional plumber for assistance. With these tips in mind, you can confidently tackle any broken sewer pipe issue that may arise.
How Much Will It Cost?
The cost of repairing a broken sewer pipe can vary depending on the severity and location of the damage. The materials needed for the repair, such as primers and cement, also add to the overall cost. On average, homeowners can expect to pay anywhere from $1,500 to $4,000 for a professional repair job.
However, if you have experience with plumbing repairs and feel confident in tackling the project yourself, you can save money by purchasing your own materials and doing the labor yourself.
Just make sure to weigh the cost of materials and any potential mistakes against the cost of hiring a professional. It is also important to note that in some cases, insurance may cover a portion of the repair costs. Check with your insurance company to see if this applies to your situation.
Do You Need to Seek Professional Support?
While it is possible to fix a broken sewer pipe on your own, it is not always recommended. If you are inexperienced or unsure about the process, it may be best to seek professional help. Professionals have the necessary knowledge and equipment to complete the repair safely and effectively.
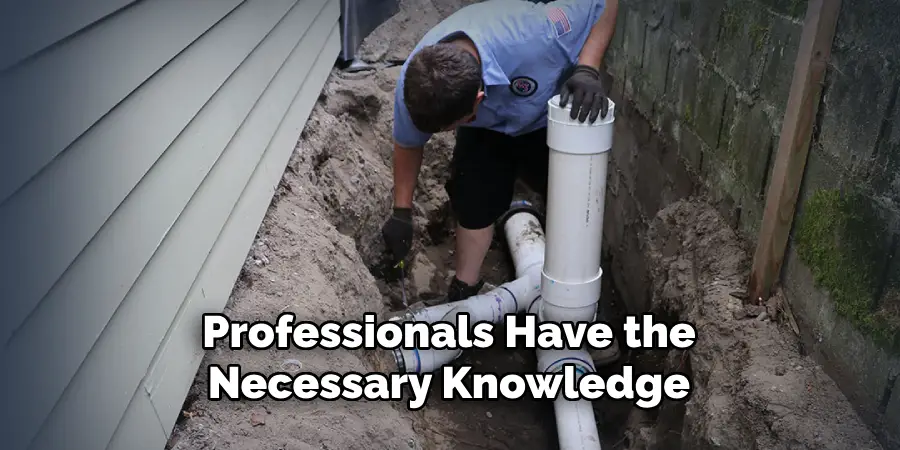
Additionally, if there are any complications during the repair, a professional will be able to handle them efficiently. It is especially important to seek professional support if your home is older or has a complex plumbing system. Ultimately, the decision should depend on your level of comfort and expertise with plumbing repairs.
Frequently Asked Questions
Q1. Can I Use Any Type of Cement for the Repair?
A1. It is important to use PVC cement specifically designed for sewer pipes, as it will create a strong bond and withstand the harsh conditions of the underground environment. It is not recommended to use regular household cement for this type of repair.
Q2. How Long Will the Repair Last?
A2. With proper installation and maintenance, a repaired sewer pipe can last for many years. However, it is important to regularly inspect your pipes and address any issues that may arise in order to prevent future damage.
Q3. Can I Repair a Sewer Pipe Without Digging?
A3. In some cases, trenchless sewer repair methods may be available and can save time and disruption to your property. However, these methods may not be suitable for all types of damage and it is best to consult a professional plumber for the most appropriate solution for your specific situation.
Q4. What Should I Do if I Encounter Complications During the Repair?
A4. If at any point during the repair process, you encounter complications or are unsure about what to do, it is best to stop and seek professional help. Attempting to fix the issue on your own may result in further damage and could potentially be dangerous.
So, it is important to prioritize safety and seek assistance when needed. Overall, fixing a broken sewer pipe may seem like a daunting task, but with proper knowledge and precautions, it can be successfully repaired by homeowners themselves
Conclusion
Overall, fixing a broken sewer pipe can be a messy task, yet it is something that needs to be done in order to keep your house and its surrounding environment safe. Before attempting any repairs, you should always contact a licensed plumber who can assess the situation and give you advice on how best to fix the problem. Furthermore, it’s important to remember that safety should always come first when performing DIY tasks such as these.
That being said, if this project is handled in the right way with proper tools and care, you could save yourself a great deal of money and continue to enjoy a working plumbing system! So don’t be afraid – go out there and get those pipes working again! Thanks for reading this article on how to fix a broken sewer pipe.

