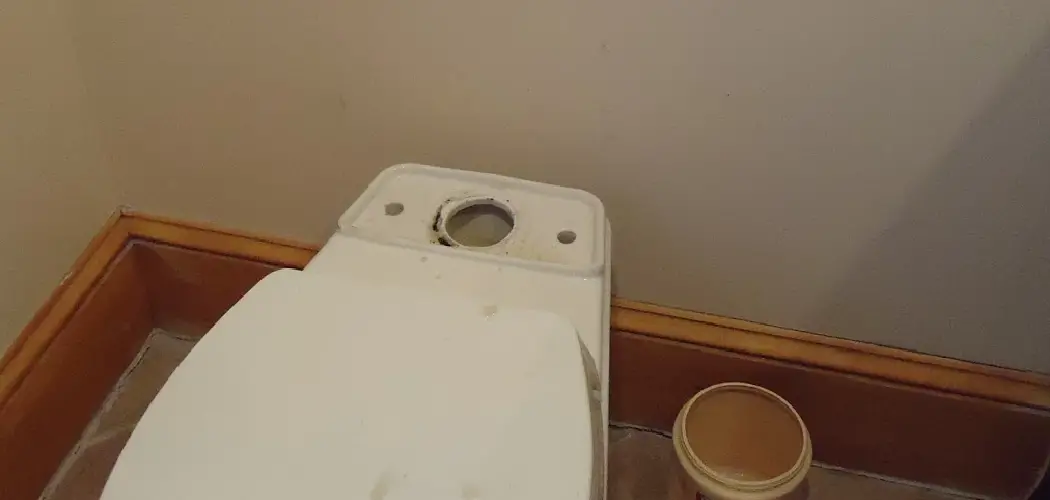
A broken toilet can be a significant inconvenience, causing disruption in daily life and potentially leading to more extensive plumbing issues if not addressed promptly. Understanding the common problems that can arise, from clogs to leaks, is the first step towards effective repairs.
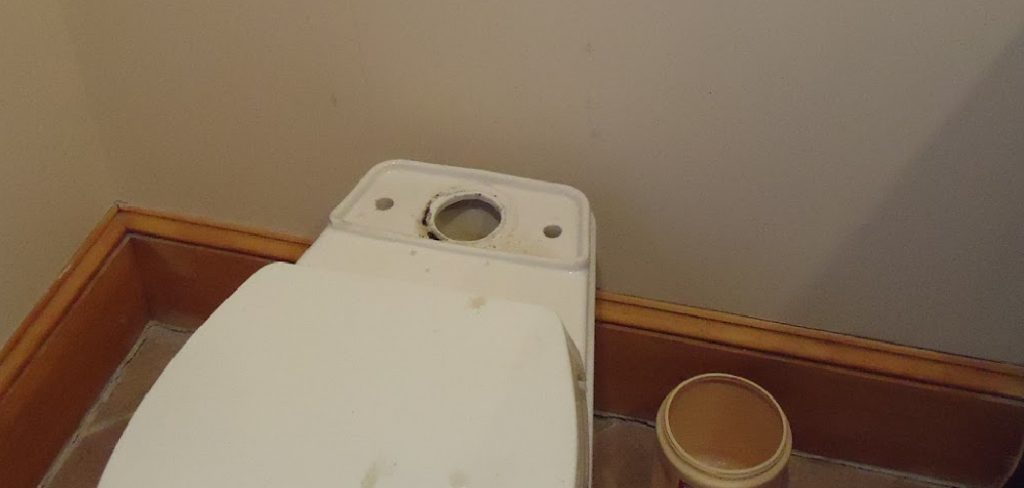
In this guide, we will explore essential troubleshooting methods and step-by-step instructions for how to fix a broken toilet. Whether you’re a novice DIYer or have some experience under your belt, these practical tips will assist you in restoring your toilet to proper working order.
Importance of Fixing Toilet Issues Promptly
Addressing toilet issues promptly is crucial for several reasons. Firstly, delaying repairs can exacerbate the problem, leading to more severe damage and costly repairs down the line. For instance, a minor leak can quickly escalate into widespread water damage, affecting floorboards and surrounding areas. Secondly, unresolved toilet problems can lead to unsanitary conditions. Clogs or persistent leaks can cause unpleasant odors and create an ideal environment for mold and bacteria to thrive.
Common Causes of Toilet Problems
Understanding the common causes of toilet issues can help you troubleshoot effectively and make timely repairs. One of the most frequent problems is a clog, often resulting from excessive use of toilet paper, foreign objects, or the buildup of waste. Another common issue is a faulty flapper, which can lead to continuous running water and increased utility bills.
Additionally, tank leaks may occur due to worn out seals or connections, causing water to seep and potentially damage flooring. Lastly, issues with the fill valve can result in inadequate flushing power or an inability to refill the tank properly. Identifying these common causes is essential for taking the right steps towards effective toilet repairs.
10 Methods How to Fix a Broken Toilet
1. Unclogging a Toilet Using a Plunger
One of the most frequent toilet problems is a clog. A clogged toilet can be caused by excessive paper use, foreign objects being flushed down the drain, or an underlying blockage in the plumbing. The simplest solution to this problem is using a plunger. A standard cup-shaped plunger works well for sinks, but a flange plunger is ideal for toilets because it seals better around the curved drain hole.

To unclog a toilet, position the plunger over the drain at the bottom of the bowl, ensuring a tight seal. Push down slowly, then pull up quickly to create suction. Repeat the process several times, maintaining a strong suction effect. Once the blockage is cleared, the water will drain normally.
2. Fixing a Weak Flush by Adjusting the Water Level in the Tank
If your toilet isn’t flushing with enough force, the issue may be with the water level in the tank. A low water level can result in a weak flush that doesn’t adequately clear the bowl. The water level should ideally be about one inch below the top of the overflow tube inside the tank.
To adjust the water level, remove the tank lid and locate the fill valve. In most toilets, this is either a float ball or a float cup. If it’s a float ball, bend the arm upward slightly to increase the water level. For float cups, find the adjustment screw or clip and move the float up.
3. Replacing a Worn Flapper to Stop Constant Running
A constantly running toilet not only wastes water but can also increase your utility bill. The culprit is often a faulty flapper, which is the rubber part at the bottom of the tank that controls the release of water into the bowl. Over time, the flapper can become warped, allowing water to continuously leak from the tank into the bowl.
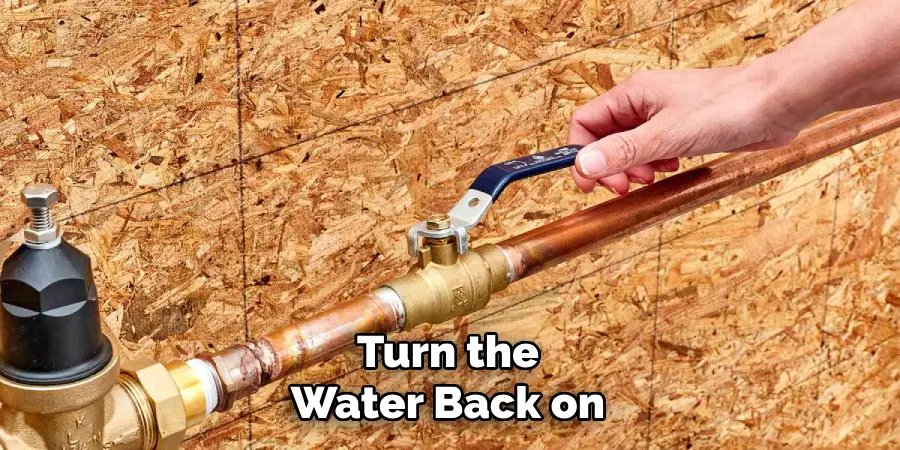
To replace the flapper, first turn off the water supply to the toilet by turning the valve located near the floor. Flush the toilet to drain the tank, then remove the old flapper by unhooking it from the chain and the arms attached to the overflow tube. Install the new flapper in the same position, reconnect the chain, and turn the water back on.
4. Fixing a Loose or Broken Handle
A loose or broken toilet handle can prevent the toilet from flushing properly. This is often caused by a worn-out or corroded handle or a loose mounting nut. Fortunately, this is one of the easiest problems to fix.
Start by removing the tank lid and locating the nut that holds the handle in place. Use a wrench or pliers to tighten the nut if it’s loose. If the handle is broken or corroded, you’ll need to replace it. Unscrew the nut completely and remove the handle. Take the old handle to a hardware store to ensure you buy the correct replacement.
5. Stopping a Toilet Leak at the Base
If you notice water pooling around the base of your toilet, there could be a leak in the wax seal that connects the toilet to the floor. This seal prevents water from leaking out of the bottom of the toilet and into your bathroom. Over time, the wax ring can wear out or become damaged, leading to leaks.
To fix this, you’ll need to replace the wax ring. Begin by turning off the water supply and flushing the toilet to empty the bowl and tank. Use a sponge to soak up any remaining water. Next, disconnect the water line and unbolt the toilet from the floor. Carefully lift the toilet and set it aside. Scrape off the old wax ring, then install a new one around the drain hole. Finally, reposition the toilet over the new ring, bolt it back into place, and reconnect the water supply.
6. Repairing a Broken Fill Valve
If your toilet is slow to refill after flushing or the tank makes noise as it fills, the fill valve may be malfunctioning. This valve controls the flow of water into the tank after a flush. A faulty fill valve can cause slow filling or even prevent the toilet from flushing at all.
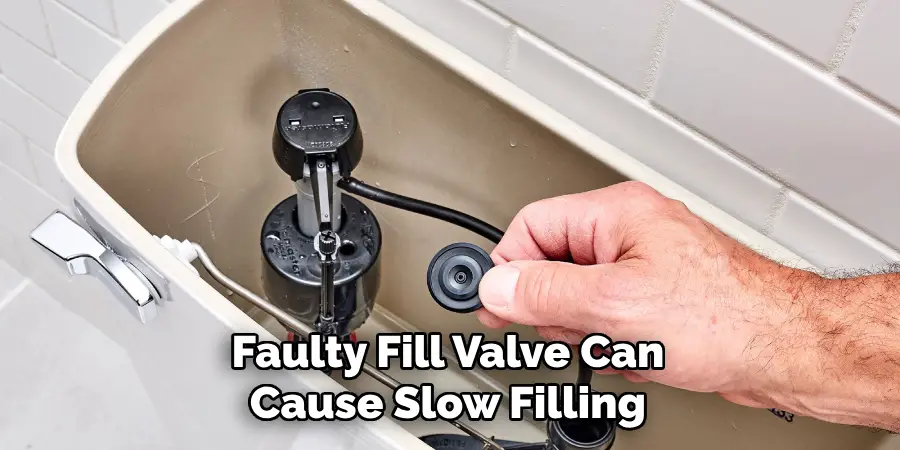
To fix this, turn off the water supply and flush the toilet to drain the tank. Remove the fill valve by unscrewing the nut that holds it in place. Take the old valve to a hardware store to find a matching replacement. Install the new fill valve according to the manufacturer’s instructions, tighten the mounting nut, and reconnect the water supply.
7. Clearing a Blocked Vent Stack
A lesser-known cause of toilet problems is a blocked vent stack. The vent stack is a pipe that extends from your plumbing system to the roof, allowing air to circulate and maintain proper water flow. If this vent becomes blocked by debris, birds’ nests, or leaves, it can cause slow drainage or gurgling sounds in your toilet.
To clear the vent stack, you’ll need to access the roof. Once you’ve located the vent pipe, use a plumbing snake to clear out any blockages. If the blockage is particularly stubborn, you may need to use a hose to flush water through the pipe. After clearing the vent, test the toilet to ensure that the drainage has improved.
8. Fixing a Cracked Toilet Tank
A crack in the toilet tank can lead to water leaks that cause damage to your bathroom floor. Depending on the size and location of the crack, you may be able to repair it using waterproof epoxy. For larger cracks or cracks that compromise the structural integrity of the tank, replacing the tank may be necessary.
To repair a small crack, start by turning off the water supply and draining the tank. Clean the area around the crack thoroughly and allow it to dry. Apply waterproof epoxy to the crack, following the product instructions. Once the epoxy has dried, turn the water back on and monitor the tank for any signs of leakage.
9. Tightening Loose Mounting Bolts
Sometimes, a toilet may feel unstable or wobbly because of loose mounting bolts. These bolts secure the toilet to the floor, and over time they can become loose due to constant use or improper installation.
To tighten the mounting bolts, remove the caps covering them at the base of the toilet. Use a wrench to tighten the bolts, but be careful not to overtighten, as this could crack the porcelain. Once the bolts are secure, test the toilet by sitting on it and gently rocking back and forth. If the wobbling persists, the issue may be with the wax ring, and you’ll need to replace it as described earlier.
10. Resolving a Slow Draining Toilet
If your toilet flushes but drains slowly, it could be due to a partial clog or mineral buildup in the drainpipe. To fix this, you can use a toilet auger or a drain cleaning solution. For mineral buildup, try pouring a mixture of vinegar and baking soda into the bowl and letting it sit for 30 minutes before flushing.
Conclusion
Fixing a broken toilet doesn’t always require professional help. With the right tools and a basic understanding of how toilets function, you can tackle a variety of common problems on your own. From unclogging the drain to replacing a worn flapper, these methods offer practical solutions to keep your toilet in top working condition. Thanks for reading, and we hope this has given you some inspiration on how to fix a broken toilet!

