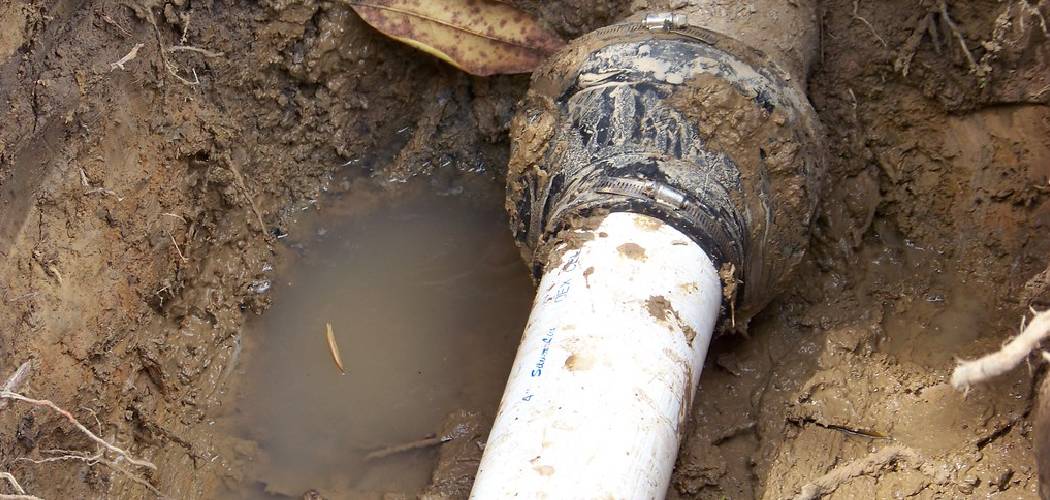
Dealing with a broken water pipe underground can be a challenging and stressful situation. Not only can it disrupt your water supply, but it can also lead to significant property damage if not addressed promptly. Fortunately, with the right tools and knowledge, you can fix the issue efficiently and minimize further complications. This guide will walk you through the necessary steps of how to fix a broken water pipe underground quickly and effectively.
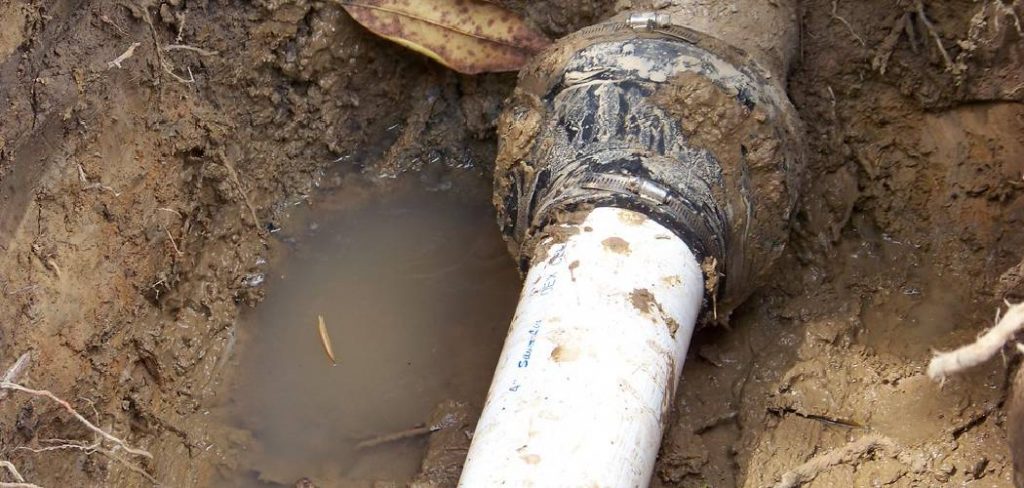
Signs You May Have a Broken Underground Water Pipe
Detecting a broken underground water pipe early can save you time, money, and prevent extensive damage. Here are some common signs to look out for:
- Unexplained Increase in Water Bills – A sudden spike in your water bill without an increase in usage could indicate a leak in the underground pipe.
- Wet or Soggy Spots in Your Yard – Patches of grass that are greener, wetter, or soggier than the surrounding area may suggest water is escaping from a pipe below.
- Low Water Pressure – If you notice a significant drop in water pressure in your faucets or fixtures, it could be due to water escaping from a damaged pipe.
- Unusual Sounds – Hissing, bubbling, or gurgling noises coming from your plumbing system could signal water leakage underground.
- Visible Sinkholes or Cracks – Sinkholes, cracks in concrete, or soil shifting near your home might be caused by water leaking underground.
If you notice any of these signs, it’s critical to investigate further to confirm the presence of a broken pipe and take immediate action to address it.
Tools and Materials Needed
To effectively locate and repair an underground water leak, having the right tools and materials is essential. Here is a list of commonly required items:
- Shovel – For digging and exposing the leaking pipe.
- Pipe Cutter or Saw – To cut out the damaged section of the pipe.
- Replacement Pipe and Fittings – To replace the faulty section of the pipe.
- Pipe Glue or Sealant – For securely connecting the new pipe sections.
- Plumber’s Tape – To ensure leak-proof connections.
- Leak Detection Equipment – Such as an acoustic leak detector or thermal imaging camera for precise location of the leak.
- Protective Gear – Gloves, safety goggles, and sturdy boots to ensure personal safety during repair work.
- Bucket or Wet/Dry Vacuum – For clearing water from the work area.
- Tape Measure – To measure and accurately cut replacement pipe sections.
- Wrench Set – For tightening pipe fittings and connections.
Having these tools and materials ready will help streamline the process and ensure a more efficient and effective repair.
Safety Precautions Before Starting
Before beginning any pipe repair work, it is crucial to prioritize safety to avoid injuries and ensure a smooth process. Here are some key safety precautions to follow:
- Turn Off Water Supply – Always shut off the water supply to the affected area to prevent further leakage or flooding.
- Switch Off Electrical Sources – If water leakage is near electrical components, turn off the power at the main circuit breaker to avoid electrical hazards.
- Wear Protective Gear – Equip yourself with gloves, safety goggles, and sturdy boots to protect against sharp objects, chemicals, and slippery surfaces.
- Ventilate the Area – Ensure proper ventilation when working in enclosed spaces to prevent the buildup of fumes or mold exposure.
- Use Proper Tools – Operate tools correctly and inspect them for damage before use to avoid accidents.
- Stay Aware of Surroundings – Assess the workspace for potential risks like unstable surfaces or hidden obstacles and keep the area well-lit.
By taking these precautions, you can minimize risks and create a safer environment for completing the repair successfully.
10 Methods How to Fix a Broken Water Pipe Underground
1. Identify the Signs and Locate the Leak
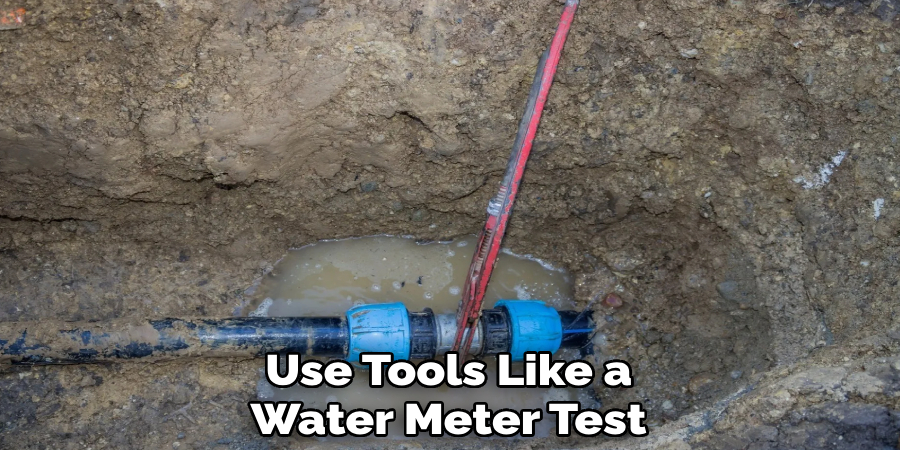
The first step in addressing a broken underground water pipe is to recognize the warning signs. These often include an unexplained spike in your water bill, pooling water in the yard, areas of lush grass in dry conditions, or a sudden drop in water pressure. Once you suspect a leak, use tools like a water meter test or acoustic listening device to pinpoint the location. In some cases, professionals may use ground-penetrating radar or thermal imaging. Locating the break accurately reduces unnecessary digging and makes the repair more efficient and less disruptive.
2. Shut Off the Water Supply
Once the leak has been detected, shut off the main water supply to prevent further water loss and reduce the risk of erosion or additional damage. The main shutoff valve is usually located near the water meter or where the line enters your home. If the break is on a private line between the meter and the house, you’ll need to ensure no water flows through that portion of the pipe during the repair. Turning off the water allows you to safely expose the damaged pipe without working in muddy, waterlogged conditions.
3. Call 811 Before Digging
Before you start digging to expose the pipe, always call 811 or your local utility locating service. It’s a legal requirement in most places and essential for safety. Utility companies will mark underground lines for gas, electricity, cable, and other services to prevent accidental strikes. This ensures that your repair process is not only safe but also avoids hefty fines and dangerous mishaps. Waiting for proper marking—usually within a couple of days—saves time, money, and potential injury.
4. Excavate Carefully to Expose the Broken Pipe
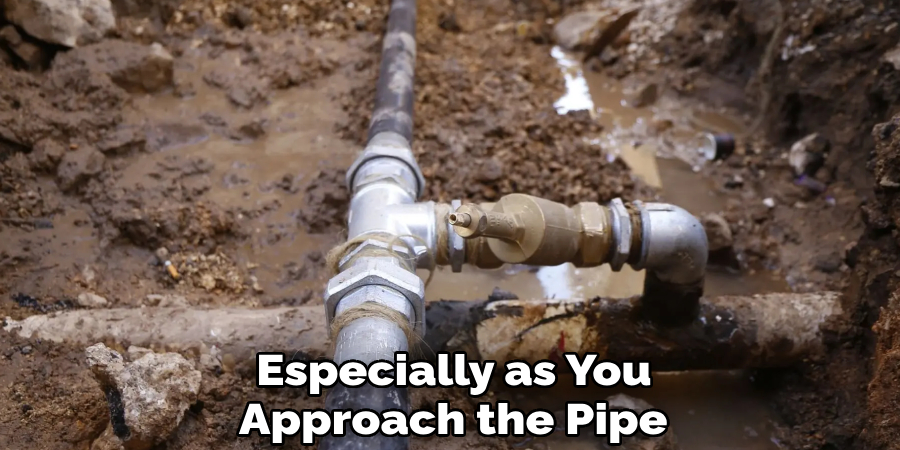
With the location marked and utilities cleared, begin excavating the area using a shovel or a trenching tool. Dig slowly and carefully, especially as you approach the pipe. Try to expose a few feet on either side of the suspected break to give yourself working room. For deeper pipes, shore the sides of the trench or use trench boxes for safety. Hand-digging near the pipe prevents accidental damage from aggressive digging and helps preserve the surrounding infrastructure and landscape.
5. Assess the Damage and Type of Pipe
Once the pipe is fully exposed, clean the area around the break and evaluate the extent of the damage. Determine the type of pipe—common materials include PVC, PEX, copper, galvanized steel, or HDPE. Some pipes may have hairline cracks, while others might be split completely. Understanding the material and severity of the break informs which tools, connectors, and repair techniques to use. For older or corroded lines, you may consider replacing a longer section rather than repairing just the break.
6. Cut and Remove the Damaged Section
Use a pipe cutter, hacksaw, or reciprocating saw to remove the broken portion of the pipe. Make clean, straight cuts at least a few inches beyond the crack on both ends. Be sure to support the pipe on both sides as you cut to avoid additional stress. Once removed, clean and dry the ends thoroughly. Deburring tools may be used on PVC or copper to smooth the edges and prepare the surface for bonding or fittings. Proper preparation of the cut edges ensures a secure and lasting connection.
7. Install a Repair Coupling or Replacement Section
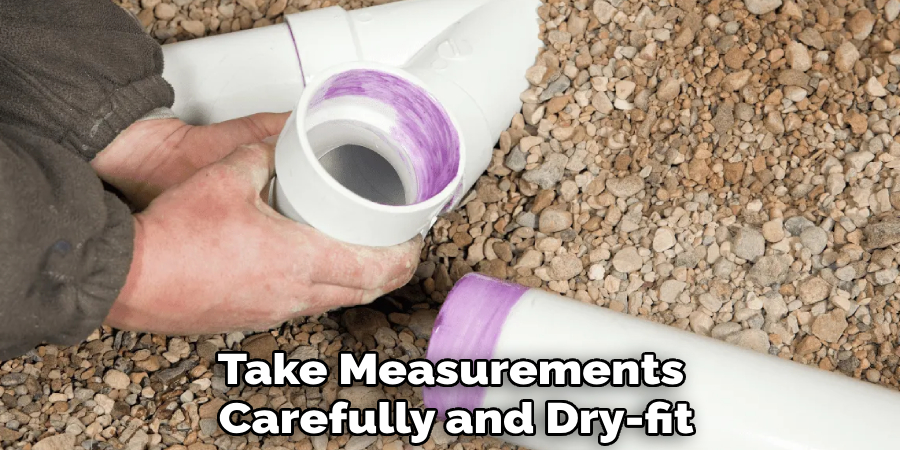
Depending on the pipe type and damage length, you may use repair couplings, compression fittings, or a new section of pipe to bridge the gap. For PVC pipes, solvent weld couplings are standard—just apply primer and cement, then insert the replacement section. For PEX, use crimp or push-fit connectors. Copper pipes can be soldered or joined with compression fittings. Take measurements carefully and dry-fit all pieces before final assembly. Ensure the connections are firm and aligned, which is crucial for preventing future leaks.
8. Test the Repair Before Backfilling
Before covering the pipe, it is essential to test the integrity of your repair. Turn the water supply back on slowly and observe the repaired section for leaks. Let the water run under pressure for several minutes to verify that the fittings are holding and there’s no seepage. If you notice any drips or pressure drops, shut off the water again and tighten or rework the fittings as needed. Only when you’re confident that the repair is secure should you proceed to fill the trench.
9. Backfill the Trench Properly
Once the repair is verified, carefully begin backfilling the trench. Start with fine, loose soil or sand around the pipe to provide cushioning and prevent sharp rocks from damaging it. Tamp the soil gently to minimize future settling. Continue to fill in layers, compacting as you go to maintain the ground’s integrity. Replace any sod or surface material removed during excavation. A well-compacted backfill ensures long-term stability and avoids future depressions or uneven surfaces in your yard.
10. Prevent Future Breaks with Protective Measures
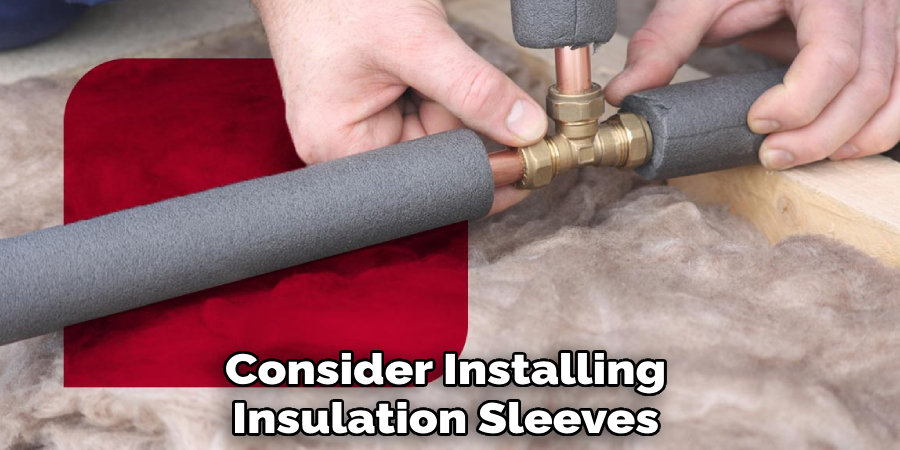
The final method involves taking proactive steps to prevent future underground pipe failures. If freezing was the cause, consider installing insulation sleeves or re-routing shallow pipes below frost lines. For corrosion-prone materials like galvanized steel, upgrading to modern alternatives like PEX or copper can add years to your plumbing system. Tree roots can be a hidden danger—avoid planting large species near water lines or install root barriers. Also, install a pressure regulator if your home suffers from water pressure fluctuations. Preventative maintenance saves money and prevents repeat repairs.
Conclusion
Fixing a broken water pipe underground may seem daunting, but with the right preparation, tools, and techniques, it becomes a manageable process. From the moment you spot signs of a leak to the final shovelful of soil, each step plays a critical role in ensuring a successful and lasting repair. Thanks for reading, and we hope this has given you some inspiration on how to fix a broken water pipe underground!

