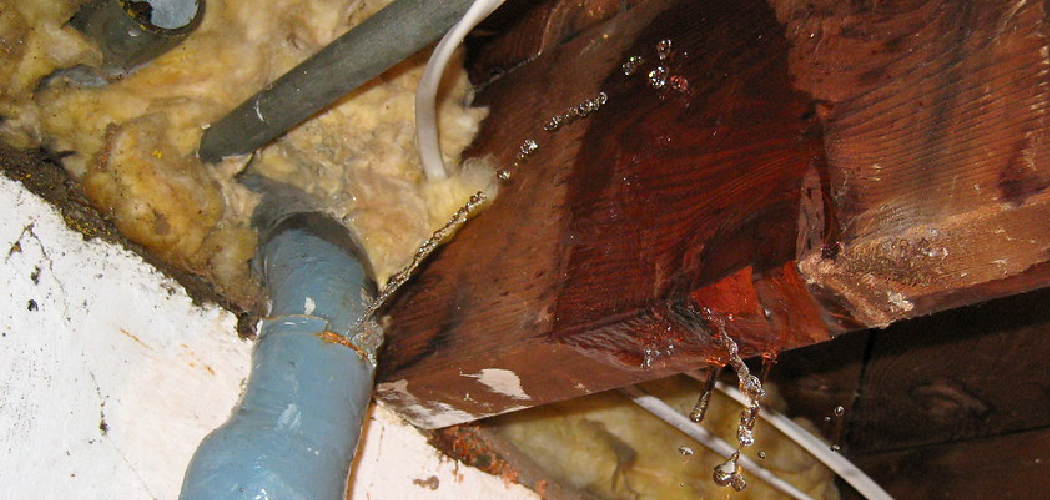
Dealing with a burst water pipe in the wall can be a stressful and potentially damaging situation. Water leaks can lead to structural issues, mold growth, and costly repairs if not addressed quickly. Knowing how to manage this issue effectively can save time, money, and further complications. This guide will walk you through the steps of how to fix a burst water pipe in the wall.
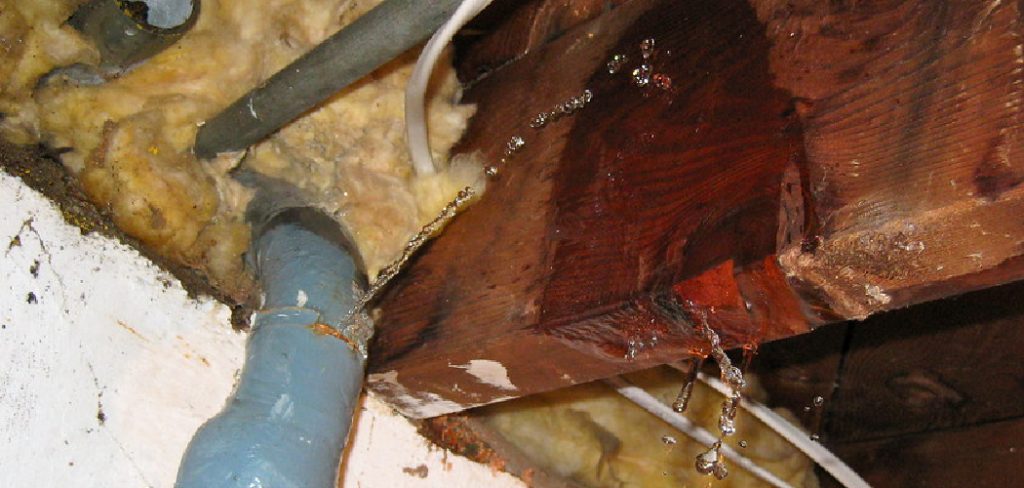
Signs of a Burst Pipe in the Wall
Recognizing the signs of a burst pipe early can help you minimize damage and address the problem promptly. Here are some of the most common indicators to watch for:
- Water Stains on Walls or Ceilings – Discolored patches or wet spots on the wall or ceiling may indicate water leaking from a hidden pipe.
- Unexplained Increase in Water Bills – A sudden spike in your water bill could be the result of water continuously leaking from a damaged pipe.
- Reduced Water Pressure – A noticeable drop in water pressure when using faucets or showers might signal a problem in the plumbing system.
- Dripping or Water Sounds – Hearing water dripping or flowing behind walls, even when no taps are running, is a clear sign of a potential leak.
- Presence of Mold or Mildew – Excess moisture from a burst pipe can lead to mold and mildew growth, which often appears as dark patches accompanied by a musty odor.
- Peeling Paint or Wallpaper – Water seeping into the walls can weaken adhesive materials, causing paint or wallpaper to blister or peel.
If you notice any of these signs, it’s important to investigate further and take action to prevent more extensive damage.
What Causes a Water Pipe to Burst in the Wall
Several factors can contribute to a water pipe bursting within a wall. One of the most common causes is freezing temperatures. When the temperature drops below freezing, any water inside the pipes may freeze and expand, creating enough pressure to crack the pipe. Another common cause is aging or corrosion of the pipes over time, which weakens their structural integrity and increases the likelihood of failure. High water pressure is another culprit; excessive pressure puts undue stress on the pipes, leading to potential bursts.
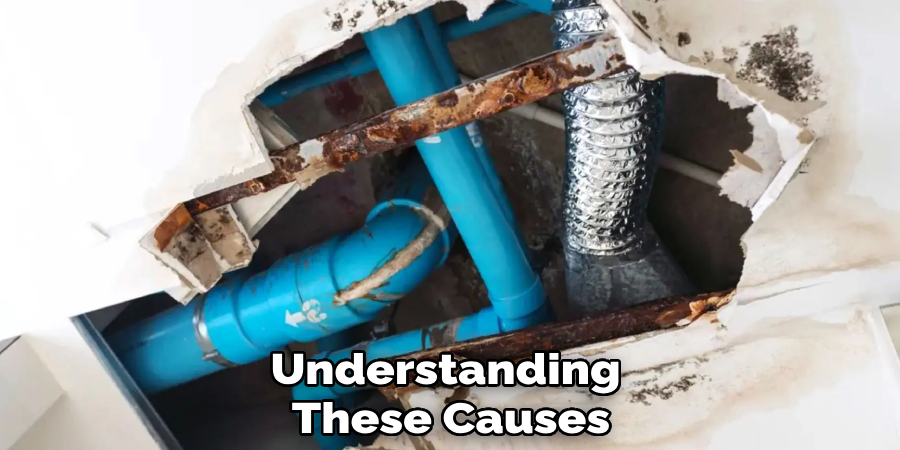
Additionally, poor installation or the use of substandard materials can result in vulnerabilities that make the pipes prone to breaking. Understanding these causes can help homeowners take preventative measures to protect their plumbing systems.
10 Methods on How to Fix a Burst Water Pipe in the Wall
A burst pipe can turn into a homeowner’s nightmare in minutes, causing water damage to walls, flooring, and even furniture. If left unchecked, it can also lead to structural issues and skyrocketing repair costs. Knowing how to address this problem quickly and effectively can save you time, money, and stress.
This listicle outlines 10 practical methods to fix a burst water pipe in the wall, ranging from temporary DIY fixes to longer-term solutions. By the time you finish reading, you’ll have a clear understanding of what to do to protect your home and minimize damage.
1. Turn Off the Main Water Supply Immediately
The first step in fixing a burst pipe is stopping the flow of water. Locate your home’s main water shut-off valve and turn it off right away. This will prevent further water damage and allow you to address the pipe safely.
Pro Tip: Make sure everyone in your household knows where the shut-off valve is and how to operate it to prepare for future emergencies.
2. Drain the Water From Your Pipes
After shutting off the water, open all the faucets in your home to drain any remaining water from the system. Start with the lowest faucets (basement or ground floor) and work your way up. This reduces water pressure in the pipes, making repairs easier.
3. Assess the Damage
Once the water has stopped flowing, identify the exact location and extent of the burst pipe. Look for visible water stains on walls, pooling water, or damp drywall. The size of the damage will determine your next steps.
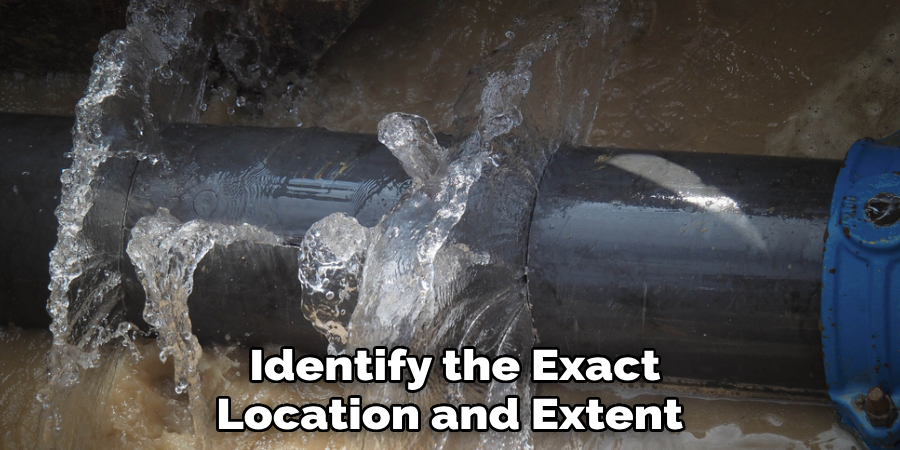
Quick Check: A small crack can often be fixed temporarily, while larger damage may require replacing the pipe entirely.
4. Cut Out the Damaged Section of the Drywall
If the burst pipe is hidden behind a wall, you’ll need to cut open the drywall for access. Use a utility knife or drywall saw to carefully remove the damaged section. Be precise to avoid unnecessary mess or extra repairs.
Safety Tip: Turn off electricity to the affected area if there’s wiring nearby to avoid electrical hazards.
5. Apply a Temporary Pipe Wrap or Tape
For minor repairs, a pipe repair kit or waterproof pipe tape can temporarily seal the leak. These are quick fixes to stop the water from escaping, giving you time to schedule a professional repair if needed.
Product Note: Self-fusing silicone tape is a popular option as it bonds strongly to the pipe surface without adhesive.
6. Use a Pipe Clamp for Added Security
Pipe clamps are another effective temporary solution. These metal clamps fit securely around the pipe and provide a tighter seal than tape. They’re especially useful for high-pressure leaks.
7. Replace the Damaged Section of the Pipe
For a more permanent fix, consider replacing the burst section of the pipe. Here’s how:
Cut out the damaged piece using a pipe cutter.
Measure and cut a replacement piece of pipe.
Connect the new piece with slip couplings or solder (depending on the type of pipe material).
While it may seem intimidating, following step-by-step tutorials online or consulting a professional can make this manageable for DIY enthusiasts.
8. Use Epoxy Putty for Small Cracks
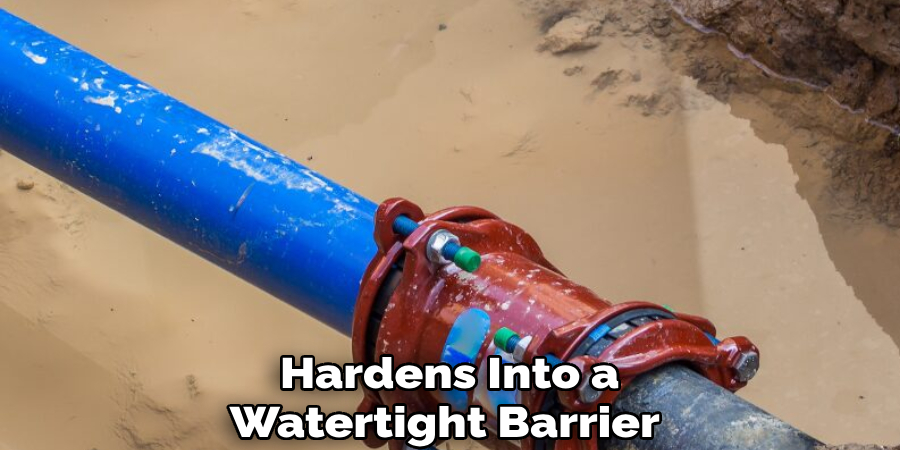
Epoxy putty is a fantastic option for sealing small cracks in pipes. This compound can be molded around the damaged area and hardens into a watertight barrier. It’s particularly useful for copper or PVC pipes.
9. Insulate Pipes to Prevent Future Bursts
A burst pipe often results from freezing during colder months. Insulating your pipes with materials like foam tubing or fiberglass wrap can help regulate their temperature and prevent freezing.
Pro Tip: Pay extra attention to pipes located in unheated areas like basements, garages, or crawl spaces.
10. Contact a Licensed Plumber for Major Repairs
Sometimes, attempting repairs on your own can make the situation worse. If the damage is extensive or you’re not confident in your skills, call a licensed plumber to ensure the job is done right. They’ll have the tools and expertise to replace or repair pipes while minimizing further damage.
A Quick Checklist to Prevent Future Issues
Once you’ve repaired a burst water pipe, take preventative measures to avoid similar incidents in the future:
- Regularly inspect your pipes for wear and tear.
- Wrap vulnerable pipes with insulation.
- Keep your home heated during the winter to prevent freezing.
- Install a leak detection device for early warning.
Protect your home from water disasters by taking swift and effective action. Whether you’re confident in a DIY approach or prefer to leave it to the pros, restoring your pipes as soon as possible is vital.
Need help from a professional? Reach out to a trusted plumber in your area today to ensure your home stays safe and dry!
Maintenance and Upkeep
Regular maintenance is crucial for keeping your plumbing system in top condition and avoiding unnecessary repairs. Here are some essential tips to help maintain your pipes and prevent future issues:
- Inspect for Leaks: Regularly check under sinks, around appliances, and along exposed pipes for any signs of water leakage or corrosion. Early detection can save you from costly damage.
- Clean Drainage Lines: Prevent clogs by periodically cleaning out your drainage lines using safe methods, such as a mixture of baking soda and vinegar or utilizing a plumbing snake.
- Avoid Harsh Chemicals: While chemical drain cleaners might seem convenient, they can damage your pipes over time. Stick to safer, more environmentally friendly options.
- Monitor Water Pressure: Ensure that your water pressure remains within a safe range to avoid stress on your pipes. A pressure regulator can help maintain a consistent level.
- Seasonal Precautions: During colder months, keep a trickle of water running on extremely cold days and ensure outdoor hoses are disconnected to prevent freezing.
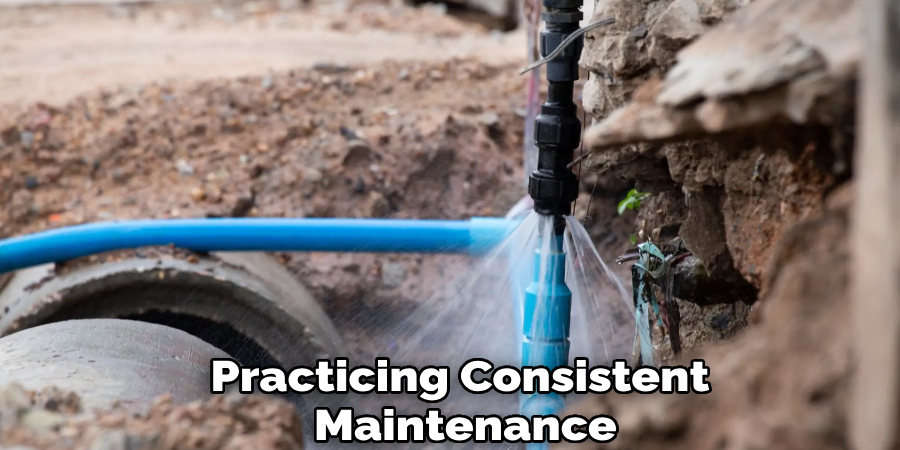
By practicing consistent maintenance and addressing minor issues promptly, you can extend the life of your plumbing system and maintain a safe, water-efficient home.
Conclusion
Proper plumbing maintenance is essential for the longevity and efficiency of your home’s water system. By implementing these simple practices and staying proactive in addressing potential issues, you can prevent costly repairs and ensure the reliability of your plumbing. Remember, a well-maintained system not only saves money but also conserves water, contributing to a more sustainable future for everyone. Thanks for reading, and we hope this has given you some inspiration on how to fix a burst water pipe in the wall!

