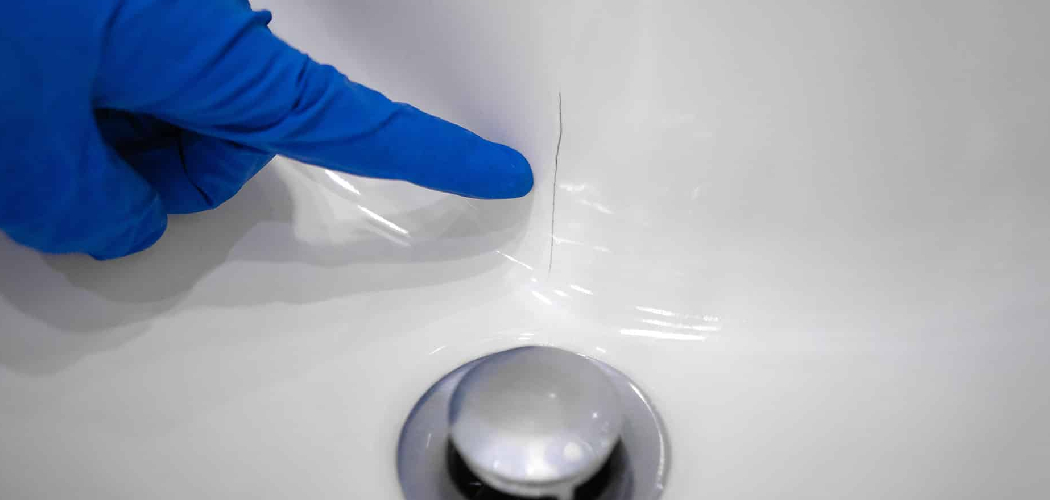
A cracked bathtub can lead to water leaks and potential damage to your bathroom if left unaddressed. Fortunately, fixing
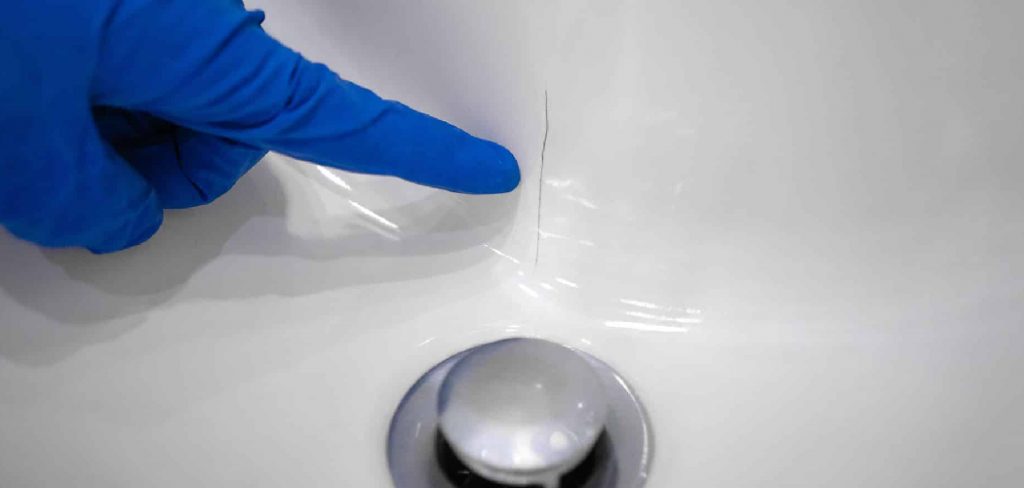
a crack in a bathtub is a straightforward process that can save you the cost of a full replacement. With the right tools, materials, and a bit of patience, you can restore your bathtub to its original condition and prevent further issues. This guide will walk you through the steps of how to fix a crack in the bathtub effectively.
The Impact of Cracks on a Bathtub
Cracks in a bathtub may seem like minor issues at first, but they can lead to significant problems over time. One of the most immediate concerns is water leakage, which can seep into the underlying structure of your bathroom. This can cause water damage to floors, walls, and ceilings, potentially leading to costly repairs. Additionally, cracks can become breeding grounds for mold and mildew, which thrive in damp environments and pose health risks. Over time, small cracks can expand due to the bathtub’s regular use and exposure to water, compromising its structural integrity. Addressing cracks promptly ensures the longevity of your bathtub and helps maintain the safety and hygiene of your bathroom.
Benefits of Fixing a Crack Yourself vs. Replacing the Tub
Fixing a crack in your bathtub yourself comes with several advantages compared to replacing the entire tub. First and foremost, it is significantly more cost-effective. The materials and tools required for repairing a crack are far less expensive than the cost of purchasing and installing a new bathtub. Additionally, repairing the crack yourself saves time, as replacing a bathtub often involves extensive labor, from removing the old tub to preparing the area for the new installation.

Another benefit of repairing a crack is that it reduces waste and is more environmentally friendly. Tubs are bulky items that contribute to landfill waste when discarded, whereas a simple repair allows you to extend the life of your bathtub. Finally, fixing the crack on your own can be a satisfying DIY project that builds your confidence and skills in home maintenance. By addressing the problem yourself, you maintain control over the process and avoid the disruptions that come with a major bathroom renovation.
Types of Bathtub Cracks
Understanding the types of cracks that can appear in a bathtub is essential for determining the correct repair method. The most common types of bathtub cracks include:
Hairline Cracks
These are thin, superficial cracks that often appear on the surface of the bathtub. While they may seem minor, they can expand over time if not addressed, leading to more serious damage.
Stress Cracks
Stress cracks are usually caused by improper installation or the lack of adequate support beneath the tub. These cracks often develop in areas where the most weight pressure is applied, such as the center of the tub or around the drain.
Spiderweb Cracks
Spiderweb cracks look like a network of tiny fissures and are often a result of the material aging or exposure to extreme temperature changes. They can weaken the surface and make it more susceptible to further cracking.
Impact Cracks
Impact cracks occur when a heavy object is dropped onto the bathtub, causing a noticeable break in the surface. These types of cracks can be deeper and more challenging to repair depending on the severity of the impact.
Identifying the type of crack is the first step to effectively addressing the problem. Each type of crack may require slightly different materials or techniques to achieve a long-lasting repair.
10 Methods How to Fix a Crack in the Bathtub
1. Assess the Severity of the Crack
Before choosing a repair method, evaluate the size and depth of the crack. Hairline cracks may only require surface treatments, whereas larger, deeper cracks might need reinforcement with a filler or fiberglass patch. Additionally, check if
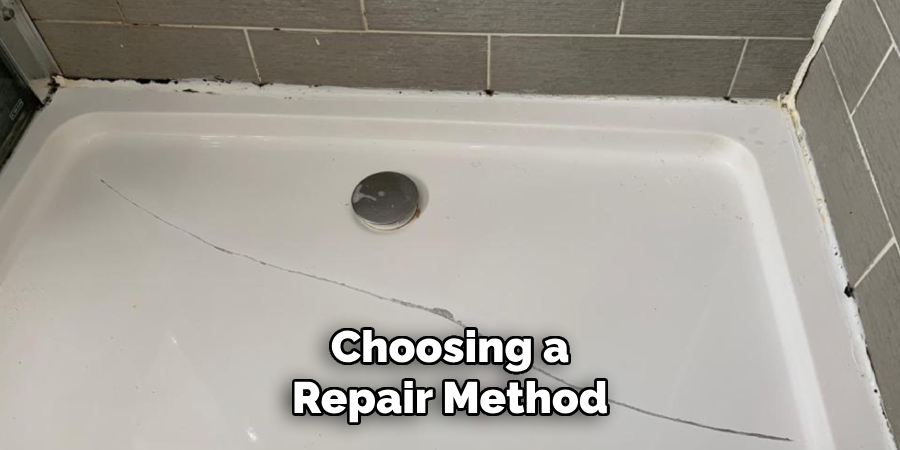
the bathtub is made of acrylic, fiberglass, or porcelain, as different materials require different repair approaches.
2. Clean the Damaged Area Thoroughly
A proper cleaning is essential for the repair materials to adhere effectively. Use a non-abrasive cleaner, warm water, and a soft sponge to remove dirt, soap scum, and oils from the cracked area. After cleaning, dry the surface completely with a lint-free cloth. Any moisture or residue left behind can affect the bonding process of the repair materials.
3. Sand the Crack to Create a Rough Surface
Using fine-grit sandpaper (220 to 400 grit), lightly sand the cracked area to remove any glossy finish and create a rough texture. This step helps the repair material adhere better to the bathtub surface. After sanding, wipe away dust and debris with a damp cloth and let the area dry completely before proceeding.
4. Use a Bathtub Repair Kit for Small Cracks
For hairline cracks, a bathtub repair kit specifically designed for acrylic and fiberglass tubs is the best solution. These kits typically include epoxy, resin, or putty that can be applied directly to the crack. Follow the manufacturer’s instructions to mix and apply the material evenly. Allow the repair to cure for the recommended time before sanding and polishing the surface.
5. Apply Epoxy Resin for a Stronger Repair
Epoxy resin is an effective solution for sealing moderate cracks. Mix the two components of the epoxy according to the manufacturer’s guidelines and apply it with a small spatula or putty knife. Ensure the epoxy is spread evenly and slightly
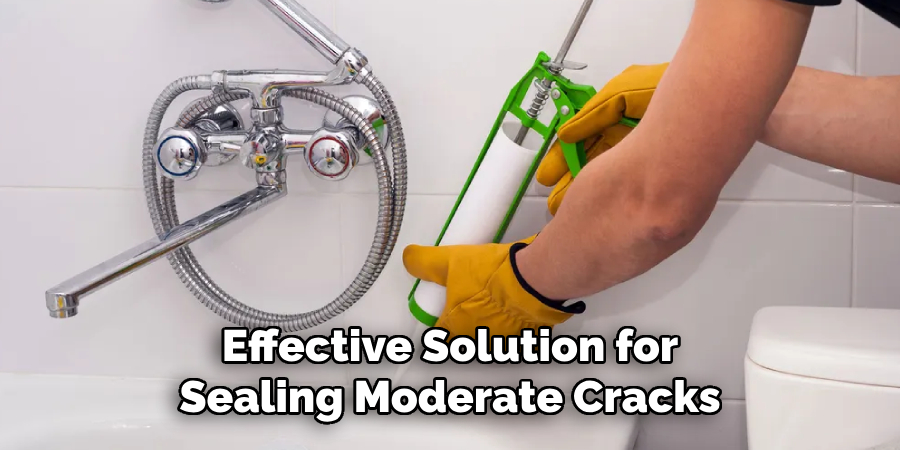
overfills the crack to allow for sanding later. Once dried, sand the area smooth and apply a finishing coat to match the surrounding tub.
6. Reinforce with a Fiberglass Patch for Larger Cracks
For deeper or wider cracks, a fiberglass patch kit provides extra strength and durability. Cut the fiberglass cloth to size and place it over the crack. Apply a layer of epoxy resin or fiberglass resin on top of the patch, ensuring complete saturation. Let it cure fully before sanding the surface smooth. This method works well for preventing further expansion of the crack.
7. Use Acrylic Filler for Acrylic Bathtubs
If the bathtub is made of acrylic, using an acrylic-based filler is ideal. These fillers blend seamlessly with the tub’s surface and create a watertight seal. Apply the filler directly into the crack, smooth it out with a putty knife, and let it dry completely. Once dried, sand the area and apply a color-matched topcoat for a professional finish.
8. Seal the Repair with Waterproof Paint or Sealant
After repairing the crack, applying a waterproof sealant or bathtub paint ensures long-lasting protection. Choose a sealant specifically designed for bathtubs to prevent future water damage. Use a brush or spray applicator to evenly coat the repaired area, allowing it to dry fully before using the tub.
9. Prevent Future Cracks with Regular Maintenance
To prevent new cracks from forming, avoid using harsh cleaners or abrasive scrubbing pads that can weaken the tub’s surface. Instead, clean with mild soaps and soft sponges. Also, be mindful of placing heavy objects in the tub, as excessive pressure can cause stress fractures over time. Regular inspections can help catch minor damage before it worsens.
10. Consider Professional Refinishing for Extensive Damage
If the bathtub has multiple cracks or extensive damage, professional refinishing may be the best option. A refinishing expert will apply a specialized coating that restores the tub’s original look and durability. This process not only fixes existing cracks but also provides an entirely new protective layer to prevent future damage.
Troubleshooting Common Issues
Even with proper repair techniques, you may encounter challenges when addressing bathtub cracks. Here are some common issues and how to troubleshoot them:
1. Repair Material Doesn’t Adhere Properly
If the repair material fails to stick to the cracked surface, it could be due to improper cleaning or surface preparation. Ensure the area is thoroughly cleaned, sanded, and free of any oils, soap scum, or moisture. Additionally, verify that the repair material is compatible with your bathtub’s material (acrylic, fiberglass, or porcelain).
2. Uneven Surface After Repair
An uneven surface may occur if the repair material was not smoothed out during application. To fix this, use fine-grit
sandpaper to sand the area until it blends seamlessly with the surrounding surface. Remember to apply a topcoat or polish afterward for a uniform finish.
3. Persistent Leaks After Repair
If the repaired crack continues to leak, it may indicate that the sealant or epoxy was not applied thoroughly. Reevaluate the area by cleaning it and reapplying the repair material, ensuring complete coverage over the crack. Adding a waterproof sealant as a final layer can also improve the watertightness.
4. Discoloration Around the Repaired Area
Discoloration can sometimes occur if the topcoat or finishing material doesn’t match the bathtub’s original color. To resolve this, use a color-matched finishing product or a specialized bathtub repair paint to blend the repair with the rest of the tub.
Conclusion
Fixing a cracked bathtub requires careful assessment, proper cleaning, and selecting the right repair materials. Whether dealing with small hairline cracks or larger structural issues, following these ten methods ensures a long-lasting and effective repair. With proper maintenance and occasional touch-ups, your bathtub can remain in excellent condition for years to come, saving you from costly replacements and water damage repairs. So, there you have it – a quick and easy guide on how to fix a crack in the bathtub.

