Nothing is more frustrating than hearing water suddenly gurgling and bubbling up from your bathroom or basement drain. You know immediately what has happened – your cast iron sewer pipe has cracked, and wastewater is now leaking up from below. The sound of water rushing underground is unsettling, making your mind race with worries about flooding, damage, and potential costs to repair the problem.

But take a deep breath – while never desirable, cracked sewer lines are, unfortunately, a common plumbing issue that homeowners face. With the right tools and materials, it can often be fixed yourself to save thousands in plumber fees. In this blog post, I will walk you through how to fix a cracked cast iron sewer pipe under your home.
Necessary Items
First and foremost, you will need to gather a few necessary items before you can begin repairing the cracked sewer pipe. These items include:
- Safety gear such as gloves and goggles
- A shovel or other digging tool
- A hacksaw or reciprocating saw with metal-cutting blades
- Sandpaper or wire brush for cleaning the pipe surface
- Epoxy repair putty or sealant
- Fiberglass mesh tape
- A pipe cutter (if necessary)
- PVC piping and fittings (if a section of the pipe needs to be replaced)
Ensure you have all these items on hand before beginning the repair process. It will save you from making multiple trips to the hardware store in the middle of your project.
10 Steps on How to Fix a Cracked Cast Iron Sewer Pipe
Step 1: Locating the Crack
The first step in fixing a cracked cast iron sewer pipe is locating the crack. This may seem obvious, but sometimes cracks can be hidden or difficult to spot. Use a flashlight and inspect your pipes closely, looking for any signs of damage, such as discoloration, rust, or leaking water. Once you have located the crack, mark it with a piece of tape or chalk for easy reference.

Step 2: Prepare the Area
Before you start digging, call your local utility companies and have them come out to mark any underground pipes or lines. This will ensure you avoid accidentally hitting any other necessary plumbing or electrical systems while digging.
Step 3: Digging Up the Pipe
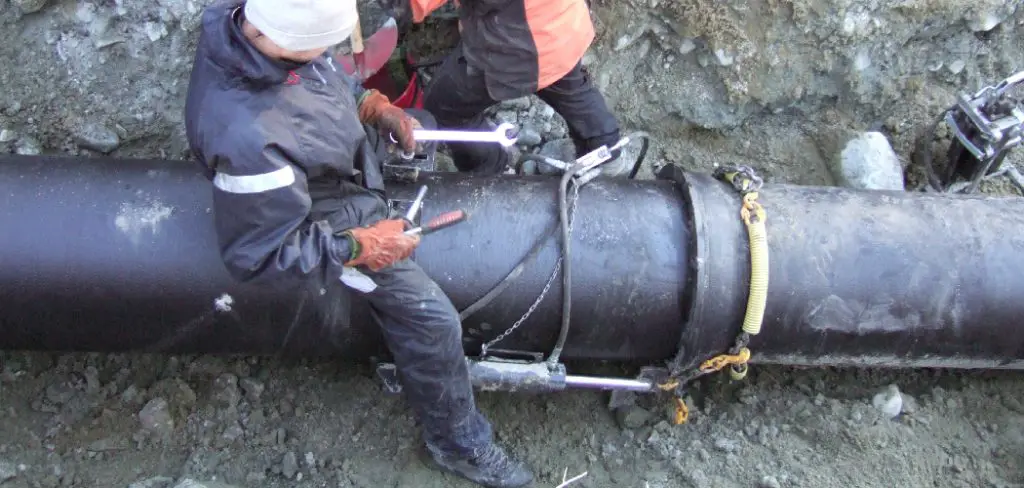
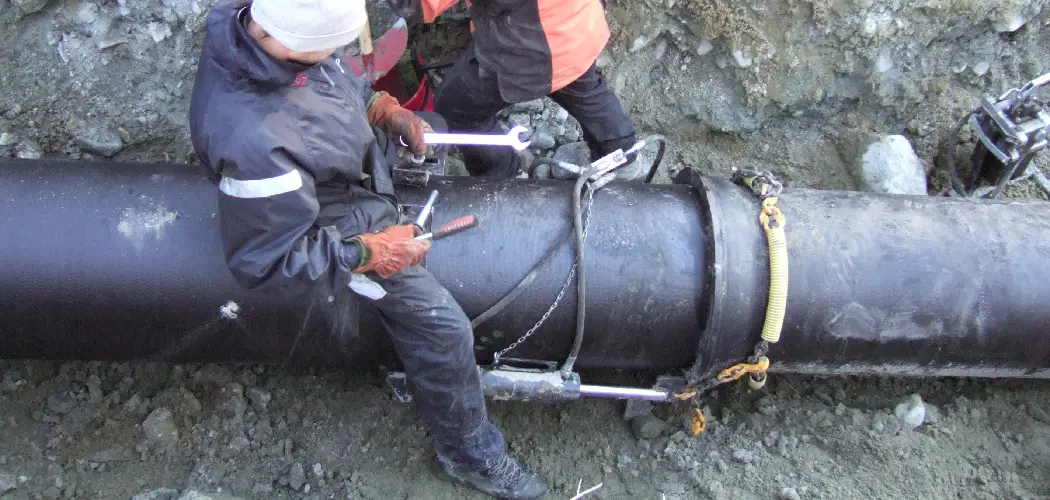
Carefully excavate the area around the cracked pipe using your shovel or other digging tool. Be sure to dig a few feet deep enough to expose the entire damaged section on either side of the crack. This will give you enough room to work and ensure you do not miss any other shots or issues.
Step 4: Cut Out the Damaged Pipe
Using a hacksaw or reciprocating saw, carefully cut out the damaged section of the pipe. If there is only one crack, you may only need to replace a small portion of the line. However, if there are multiple cracks or significant damage, replacing a more extensive section may be necessary.
Step 5: Clean the Pipe Surface
Once the damaged pipe has been removed, use sandpaper or a wire brush to clean the surface of the remaining line. This will help ensure proper adhesion of the repair putty and sealant. Be sure to clean the pipes if any debris or rust has accumulated.
Step 6: Apply Epoxy Repair Putty
Knead and mix the epoxy repair putty using your hands according to the manufacturer’s instructions. Then, apply a generous amount to cover the entire crack length outside the pipe. This will create a strong bond and seal any leaks.
Step 7: Cover with Fiberglass Mesh Tape
After applying the epoxy repair putty, cover it with fiberglass mesh tape. This will provide additional reinforcement and stability to the repaired area. Be sure to smooth out any air bubbles or wrinkles in the video.
Step 8: Replace the Pipe Section (If Necessary)
If you need to replace a more extensive section of pipe, cut a piece of PVC piping to fit and use appropriate fittings to connect it to the existing line. Make sure all connections are secure and leak-free. If you are uncomfortable with this step, consult a plumber.
Step 9: Fill in the Hole
Once your repair is complete and everything is secure, fill the hole with soil and pack it down firmly. Also, add some gravel or sand to help with drainage. Tamp down the ground to make sure it is level and compact.

Step 10: Test Your Repair
The final step is to test your repair. Turn on the water from a nearby faucet and watch for any signs of leaks or irregularities in the repaired section. If everything looks good, you have successfully fixed your cracked cast iron sewer pipe!
8 Additional Tips and Tricks
1. Always Wear Safety Gear
When working with plumbing, always wearing gloves and safety goggles is essential. This will protect you from any sharp or dangerous objects and chemicals.
2. Take Your Time
Repairing a cracked cast iron sewer pipe may seem overwhelming, but taking your time and following the steps carefully will ensure a successful repair.
3. Consider Creating a Drainage System
Consider installing a drainage system around the pipes to prevent future issues with your sewer line. This can help redirect any excess water away from the pipes and to avoid cracking.
4. Use a Pipe Cutter
If you need to cut out a more extensive section of pipe, using a pipe cutter may be easier than a hacksaw or reciprocating saw. This will provide more precise and cleaner cuts.
5. Check for Any Other Damage
While you are repairing the cracked pipe, take the time to inspect the rest of your sewer line for any other cracks or damage. It is better to catch and fix these issues early on before they become more significant problems.
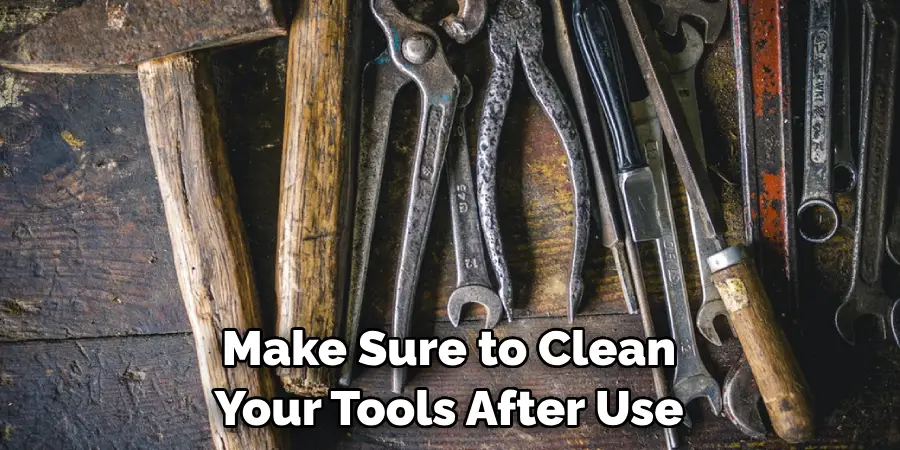
6. Keep Your Tools Clean
Make sure to clean your tools after use, mainly if you use them on rusty pipes. This will help prevent contamination and prolong the life of your devices.

7. Use High-Quality Materials
Investing in high-quality epoxy repair putty and sealant will ensure a longer-lasting and more secure repair. It may cost more upfront but will save you from repeating the repair process shortly.
8. Don’t Hesitate to Call a Professional
Call a professional plumber if you are uncomfortable with DIY plumbing repairs or if the damage needs to be more extensive. They have the expertise and proper tools to handle any repair job safely and effectively. Overall, taking care of your plumbing systems and addressing issues promptly can save you from expensive repairs in the future. Always follow safety precautions, take your time, and use high-quality materials for a successful repair.
Frequently Asked Questions
What Causes Cast Iron Sewer Pipes to Crack?
Cast iron sewer pipes can crack due to age, corrosion, and ground shifting or settling. They can also be damaged by heavy objects being dropped on them or excessive pressure from tree roots.
Can I Use Epoxy Repair Putty on Other Types of Pipes?
Epoxy repair putty is suitable for use on various pipes, including copper, PVC, and galvanized steel. However, it may not adhere to certain materials like polyethylene or polypropylene. Always check the manufacturer’s instructions for compatibility before use.
How Long Does Epoxy Repair Putty Take to Cure?
The curing time for epoxy repair putty can vary depending on the brand and type. It is typically best to refer to the manufacturer’s instructions for specific guidelines. In general, the putty can take a few hours to a full day to fully cure and harden. If unsure, it is better to wait longer before testing the repair. This will ensure the putty has fully cured and strengthens the bond.
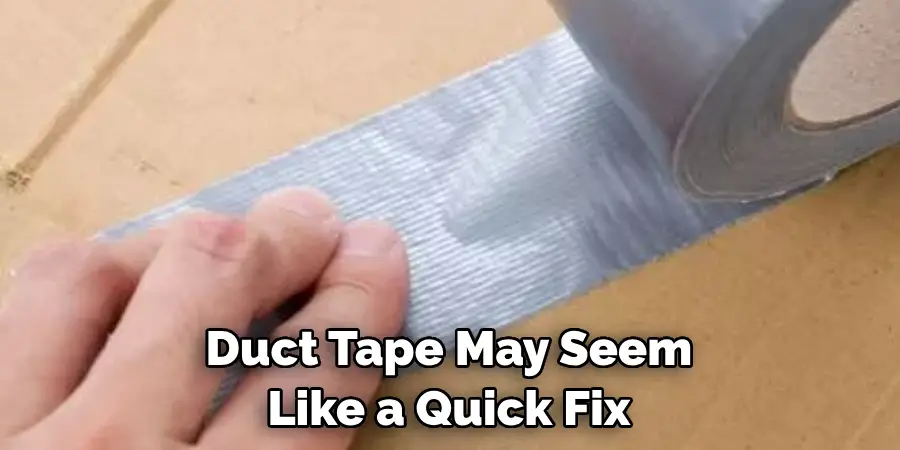
Can I Use Duct Tape Instead of Fiberglass Mesh Tape?
While duct tape may seem like a quick fix, it is not recommended for sewer pipes. It does not provide the same level of reinforcement and stability as fiberglass mesh tape and may deteriorate quickly when exposed to water and sewage.

How Can I Prevent My Sewer Pipes from Cracking in the Future?
Regularly inspecting your plumbing systems, addressing any issues promptly, and avoiding excessive pressure or damage can help prevent cracked sewer pipes in the future. Installing a drainage system around your pipes may also be beneficial to redirect excess water away from them.
Additionally, using high-quality materials and proper maintenance can prolong your pipes’ lifespan. If you are still determining any potential issues with your plumbing, it is best to consult a professional plumber for advice.
Conclusion
Nothing is more stressful than having plumbing issues in your home, especially involving your sewer line. A cracked cast iron sewer pipe is a common problem that can wreak havoc. If you’ve recently noticed unpleasant odors from your drains or seen drain water slowly backing up into your bathtub or shower, you may have developed a crack in your underground cast iron sewer pipe.
Left unaddressed, a cracked pipe can cause significant headaches like sewage backups or, worse – the embarrassment of a plumber having to snake a camera down your line on the front lawn. With the right tools and techniques on how to fix a cracked cast iron sewer pipe, you can usually fix it yourself and avoid expensive plumber bills. In this blog post, I’ll walk you through the entire process from start to finish so you can say goodbye to pipe problems for good.

