Are you dealing with an annoying, smelly water backup in your home from a clogged drain? If so, it’s likely the P Trap has dried up. While this isn’t typically the most complex repair job and can easily be fixed by any homeowner looking to do it themselves, if done incorrectly or without caution it can have disastrous consequences for your whole plumbing system.
But that doesn’t mean you should shy away from tackling this DIY project! In today’s blog post, we will walk you through how to fix a dry P Trap – to help get your plumbing back in order quickly and efficiently.
What is a P Trap?
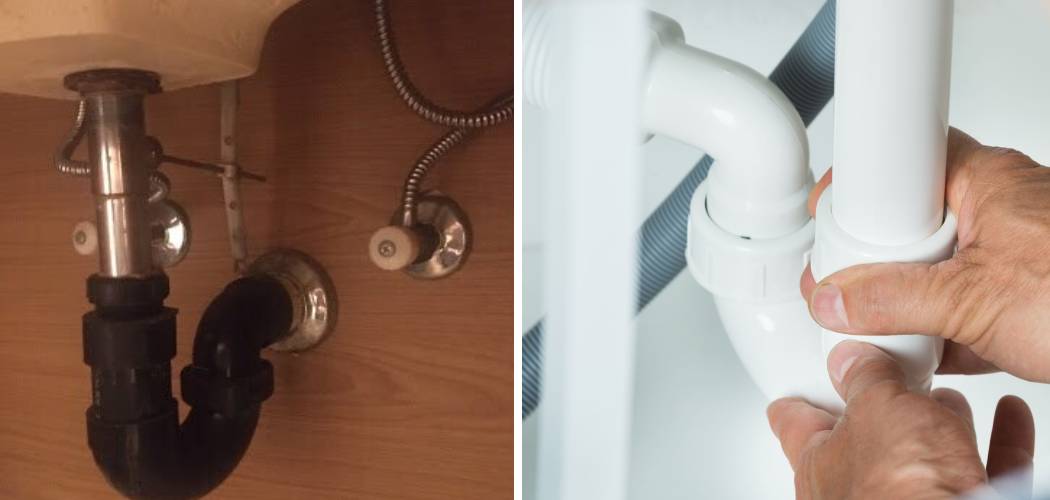
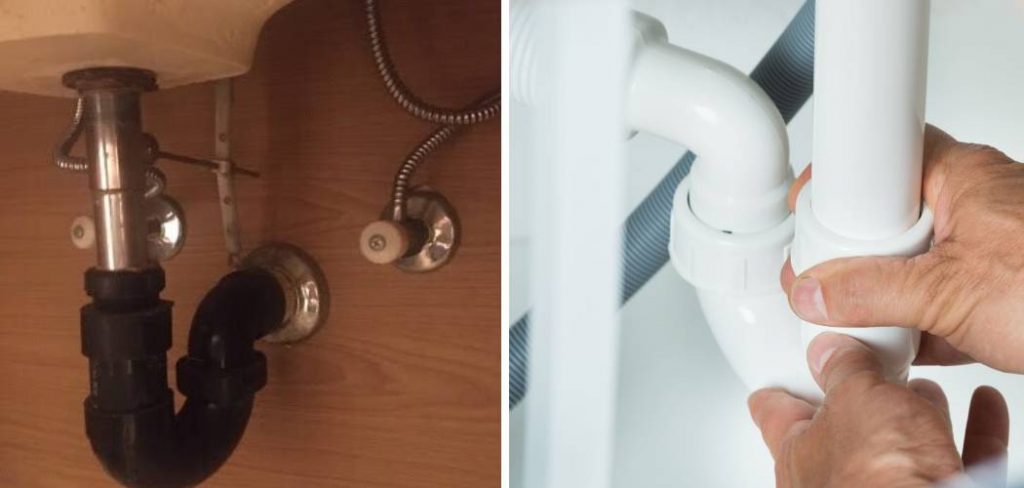
Let’s start with the basics. A P Trap, or U Bend, is a curved section of pipe that connects your sink drain to the main drainage system in your home. Its purpose is to trap water and create a seal that prevents sewer gases from entering your living space. It’s called a “P” trap because it looks like a sideways letter “P” when viewed from the side.
Tools and Materials You Will Need to Fix a Dry P Trap
- Cup or bucket
- Rubber gloves
- Old towel or rag
- Pipe wrench (optional)
- P Trap replacement kit (if needed)
Step-by-step Guidelines on How to Fix a Dry P Trap
Step 1: Turn off the water supply
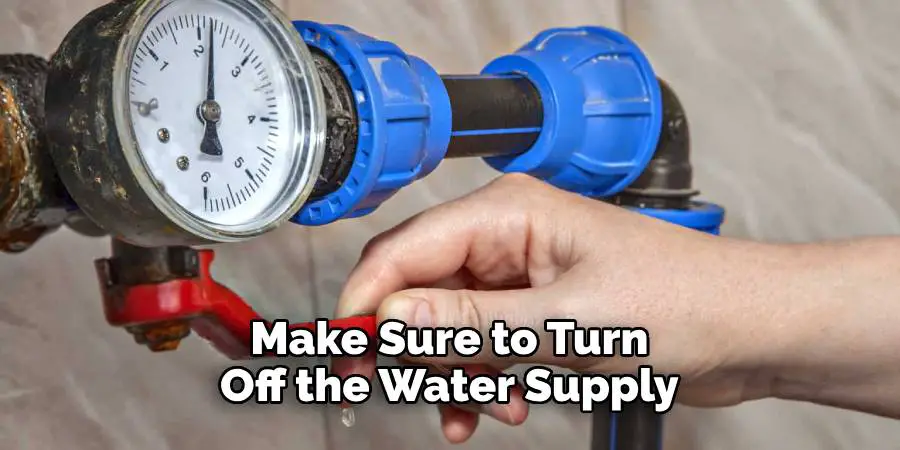
Before you start working on your P Trap, make sure to turn off the water supply to your sink. This will prevent any potential water damage or mess when disassembling the trap. If you are unsure how to do this, consult your plumbing manual or call a professional plumber. This is also a good time to put on your rubber gloves and place a towel or rag under the sink to catch any water that may leak out.
Step 2: Remove the P-Trap
Using your hands, loosen the slip nuts on either end of the P Trap and carefully remove them from the drain pipe and sink pipe connections. If they are too tight, you can use a pipe wrench, but be careful not to damage the pipes. While removing the P Trap, be sure to keep it upright to avoid spilling any trapped water.
Step 3: Check for Clogs and Clean the P-Trap
Once you have removed the P Trap, check for any clogs or debris that may have accumulated inside. If there are no major clogs, simply clean out any gunk and buildup from the trap using a cup or bucket of water and a brush. If there is a clog, you can use a plunger or plumbing snake to clear it out. If the P Trap is damaged or excessively dirty, it may be best to replace it with a new one.
Step 4: Reassemble and Test
After cleaning and checking for clogs, reattach the P Trap to the drain pipe and sink pipe connections. Be sure to tighten the slip nuts securely but not too tight to prevent damage. Once everything is back in place, turn the water supply back on and check for any leaks. If everything looks good, run some water through the sink to make sure it is draining properly.
Following these simple steps can save you time and money in the long run by preventing potential plumbing disasters caused by a dry P Trap. Remember to always use caution when working with plumbing, and if you’re unsure about any steps, it’s best to consult a professional plumber. With this knowledge and guide, you can confidently tackle this DIY project and have your plumbing back in good working order in no time. So go ahead and fix that dry P Trap – your nose (and your wallet) will thank you!
Additional Tips and Tricks to Fix a Dry P Trap
1. If the water in your P trap has dried out due to long periods of non-use, you can try using a plunger to create suction and push water back into the trap. This may help restore the seal and prevent odors from coming up through the drain.
2. If using a plunger doesn’t work, you can try pouring hot water down the drain to soften any hardened debris or residue that may be preventing the P trap from holding water.
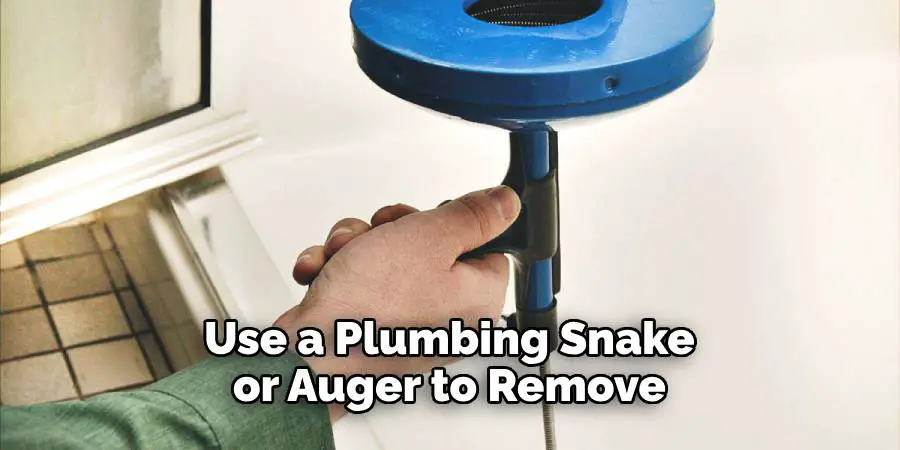
3. Another option is to use a plumbing snake or auger to remove any clogs that may be causing the problem. Make sure to follow proper safety precautions and carefully use the tool to avoid damaging the trap or pipes.
4. If all else fails, it may be time to replace the P trap altogether. This can be done by purchasing a new P trap from a hardware store and following instructions for installation.
5. To prevent future problems with your P trap, make sure to regularly run water through all drains in your home, even those that are not frequently used. This will help keep the P trap from drying out and maintain a proper seal.
6. Additionally, avoid pouring any harsh chemicals down your drains as they can damage the P trap and cause it to dry out more quickly. Instead, use natural cleaners or try using a mixture of baking soda and vinegar to clear clogs.
7. If you live in a colder climate, make sure to insulate any exposed pipes and drains to prevent freezing temperatures from causing the P trap to dry out.
8. Lastly, if you notice a foul odor coming from your drains, it may be a sign of a more serious issue such as sewer gas leaks. In this case, it’s best to seek professional help and have a plumber inspect and fix the problem.
By following these tips and tricks, you can easily fix a dry P trap and keep your drains running smoothly. Remember to always exercise caution when attempting any DIY plumbing fixes and seek professional help if needed. So don’t let a dry P trap ruin your day – use these methods to quickly and effectively solve the issue! Happy plumbing!
Safety Precautions Need to Be Followed for Fixing a Dry P Trap
1. Before attempting to fix a dry P trap, ensure that you have turned off the water supply valve to avoid any accidental leakage.
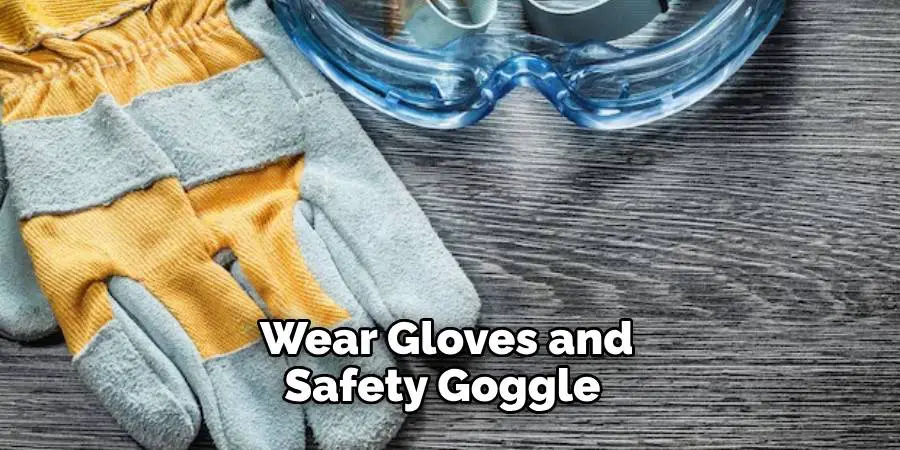
2. Make sure to wear gloves and safety goggles while working with any plumbing system.
3. If you are using any tools, such as pliers or wrenches, make sure they are in good condition and properly sized for the job.
4. If you are fixing a dry P trap in a confined space, make sure to have proper ventilation and be cautious of any potential hazards.
5. It is always recommended to have a professional plumber inspect and fix any plumbing issues if you are not familiar with the process or do not feel confident in doing so.
Following these safety precautions is crucial to avoid any accidents or injuries while fixing a dry P trap. Make sure to also read and follow any safety instructions provided by the manufacturer of the P trap. Safety should always be a top priority when working with plumbing systems.
Frequently Asked Questions
How Do I Know if My P Trap is Dry?
You can tell if your P trap is dry by checking for any foul smells coming from your drain. Dry P traps often emit bad odors due to the lack of water acting as a barrier for sewer gases. You may also notice slow draining or gurgling sounds when using your sink, tub, or toilet. These are all signs that your P trap may be dry and needs to be fixed.
Why Does My P Trap Keep Drying Out?
There are several reasons why your P trap keeps drying out. It could be due to infrequent use, high temperatures, clogs, or leaks. If you notice that your P trap is consistently drying out, it may be a sign of a larger issue with your plumbing system that requires professional attention.
How Can I Prevent My P Trap from Drying Out?
To prevent your P trap from drying out, make sure to use water frequently in the drains connected to it. This will keep the water barrier intact and prevent any foul odors from escaping. You can also pour a small amount of cooking oil down the drain to create a thin film on the surface of the water, which will slow down evaporation. Regularly check for leaks or clogs and address them promptly to ensure your P trap remains functional.
What Should I Do if My P Trap Continues to Dry Out?
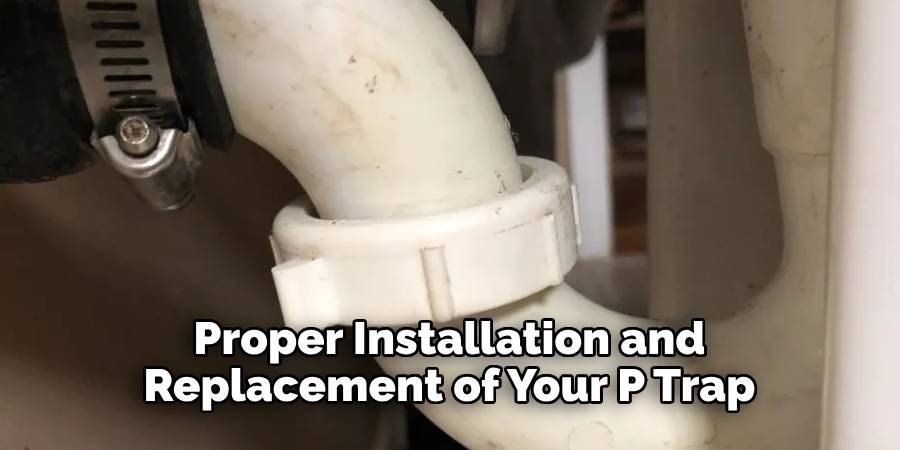
If your P trap continues to dry out even after taking preventive measures, it may be time to replace it. Over time, P traps can become corroded or damaged, leading to frequent drying out. It is best to consult a professional plumber for the proper installation and replacement of your P trap.
Conclusion
To conclude, a dry P trap can be easily fixed by first identifying the source of the blockage, and then fixing it with the accessible tools found in any handyman’s toolbox. Make sure you know what type of plumbing is needed for this particular job as the installation and repair of these parts can involve intense labor and handling.
If it seems like too much work to take on yourself, don’t hesitate to call a professional who can lend their expertise and make sure that your plumbing system will be functional again soon. Now that you understand how to fix a dry P Trap, you can tackle this plumbing issue confidently and ensure that all your pipes are running properly.

