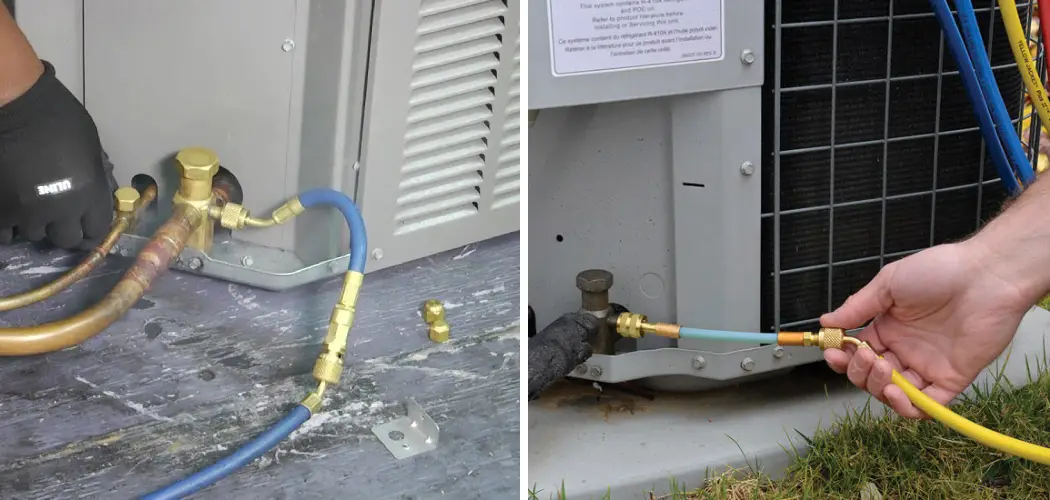
Addressing a Freon leak in a heat pump is crucial for maintaining optimal heating and cooling efficiency while also being environmentally responsible. Freon, or refrigerant, is integral to the heat exchange process within these systems, and a leak can not only compromise performance but also contribute to ozone depletion. In this comprehensive guide, we will navigate through how to fix a freon leak in heat pump, locating, and fixing a Freon leak in a heat pump.
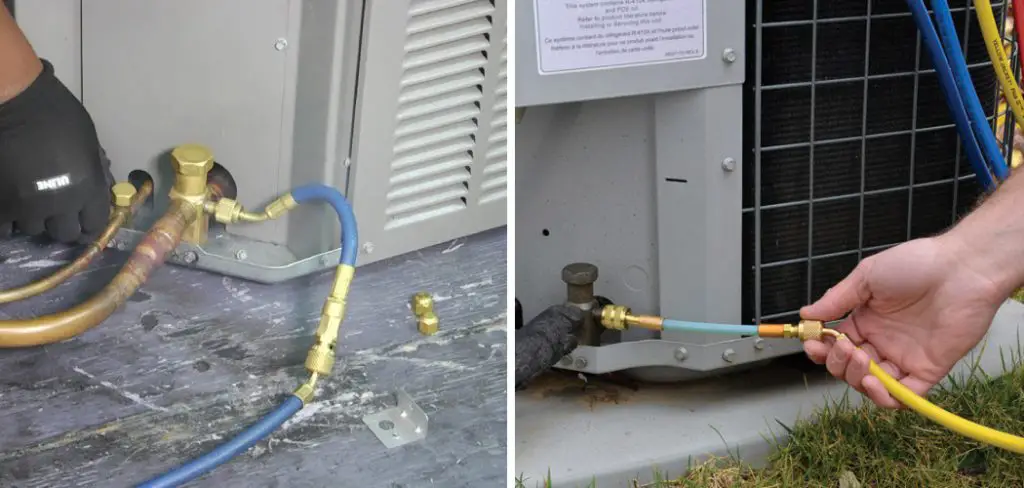
From understanding the signs of a leak to employing proper repair techniques and adhering to safety protocols, homeowners and HVAC enthusiasts will gain valuable insights into remedying this common issue.
By delving into the intricacies of Freon leak repair, individuals can not only restore the functionality of their heat pumps but also contribute to sustainable practices in home climate control. This guide aims to empower users with the knowledge needed to address Freon leaks promptly and responsibly, ensuring long-lasting efficiency for their heat pump systems.
Importance of Addressing Freon Leaks in Heat Pumps
Freon leaks are a common issue in heat pumps and can significantly affect their performance. Freon (also known as refrigerant) is a crucial component of the heat pump, responsible for absorbing heat from the surrounding air. Without enough Freon, the heat pump will struggle to transfer heat effectively, resulting in poor heating or cooling performance.
But aside from affecting the overall functionality of the heat pump, Freon leaks can also have serious consequences for your health and the environment. Freon is a chemical compound that, when released into the atmosphere, contributes to ozone layer depletion and climate change. Moreover, Freon exposure can cause respiratory problems, dizziness, and even loss of consciousness.
Therefore, it is essential to address Freon leaks in heat pumps promptly. Not only will it improve the heat pump’s efficiency and save you from potential health risks, but it is also crucial for protecting the environment.
Causes of Freon Leaks in Heat Pumps
There are several reasons why a heat pump may develop a Freon leak. The most common causes include normal wear and tear, corrosion, physical damage, and poor installation. Over time, the heat pump’s components can deteriorate, leading to small cracks or holes that allow Freon to escape. Corrosion, typically caused by exposure to moisture and chemicals, can also cause leaks in the heat pump’s refrigerant lines.
Physical damage, such as accidental punctures or cuts from nearby objects, is another common cause of Freon leaks. Even something as seemingly harmless as grass clippings or debris can cause damage to the heat pump’s refrigerant lines if it gets caught in the fan blades.
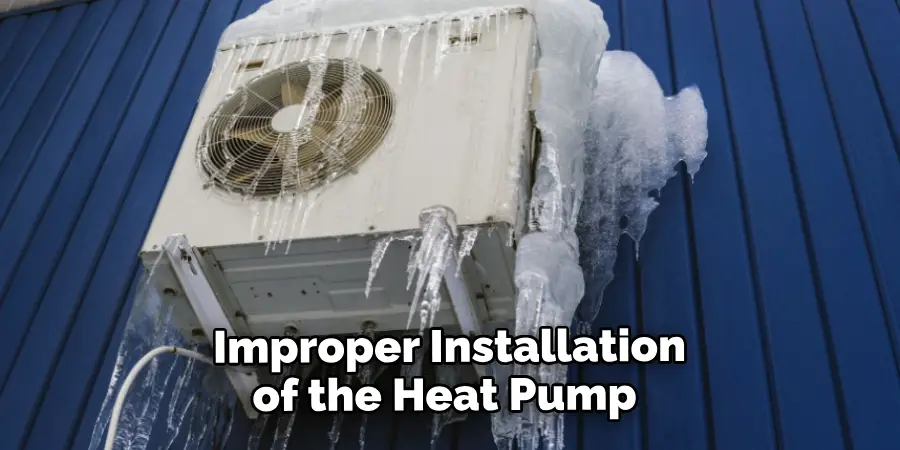
Lastly, improper installation of the heat pump can also contribute to Freon leaks. If not installed correctly, the refrigerant lines may be bent or damaged, causing leaks. It is crucial to hire a professional and experienced technician to install your heat pump to avoid such issues.
10 Methods How to Fix a Freon Leak in Heat Pump
1. Check for Visible Leaks
The first step to fixing a Freon leak in a heat pump is to check for any visible signs of a leak. This can include checking around the compressor, evaporator coil, and condenser coil for any signs of oil or refrigerant leakage. If you notice any signs of a leak, it is important to address it as soon as possible.
2. Repair or Replace Damaged Components
If you have identified a damaged component that is causing the Freon leak, then you will need to repair or replace it before continuing with the repair process. This can include replacing an O-ring seal, tightening loose connections, or replacing faulty valves and hoses. It is important to make sure that all components are properly installed and tightened before continuing with the repair process.
3. Clean and Degrease
Once all damaged components have been replaced or repaired, it is important to clean and degrease the system in order to remove any dirt, debris, or grease that may be blocking the flow of Freon through the system. This can be done using an approved cleaning solution and a soft cloth or brush.
4. Recharge Refrigerant
After cleaning and degreasing the system, you will need to recharge it with new refrigerant in order to fill any gaps caused by the Freon leak. You should use an approved refrigerant according to the manufacturer’s specifications when recharging your heat pump’s refrigerant system.
5. Inspect All Connections
Once all components have been replaced or repaired and the system has been recharged with new refrigerant, it is important to inspect all connections for any signs of further leakage or damage. This includes checking all hoses, fittings, valves, and other connections for any signs of wear or tear which could lead to further leaks in the future if not addressed promptly.
6. Test System Pressure
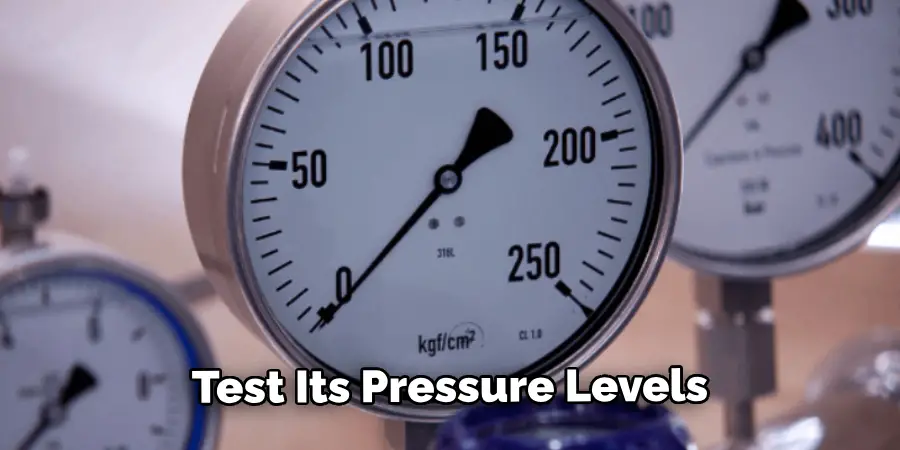
In order to ensure that no further leaks are present in your heat pump’s refrigerant system after repairs have been made, you should test its pressure levels using an approved pressure gauge. If there are any discrepancies between your heat pump’s actual pressure levels and its recommended levels according to the manufacturer’s specifications, then further repairs may be necessary before continuing with the repair process.
7. Check Temperature Readings
Once all repairs have been made and your heat pump’s pressure levels have been tested successfully using an approved pressure gauge, then you should also check its temperature readings using an approved thermometer in order to ensure that they are within the manufacturer’s specifications as well. Any discrepancies between these readings could indicate further issues with your heat pump’s refrigerant system, which would need to be addressed before continuing with repairs if necessary.
8. Run System Diagnostics
In order to ensure that no further issues exist within your heat pump’s refrigerant system after repairs have been made, it is important to run a diagnostic test on it using an approved diagnostic tool such as a multimeter. This will allow you to identify any potential problems, such as electrical faults, which could lead to further leaks if not addressed promptly.
9. Replace Parts As Necessary
If necessary, after running diagnostics on your heat pump’s refrigerant system you may need to replace certain parts such as O-rings, valves, hoses, connectors, etc, depending on what issue has been identified during testing. It is important to ensure that all parts are compatible with each other before installation so as not to cause more damage than good when attempting to fix a Freon leak in your heat pump.
10. Monitor Performance Regularly
Finally, once all repairs have been made it is important to monitor performance regularly by checking temperature readings periodically over time so as to identify any potential issues early on before they become major problems requiring expensive repairs down the line. Doing this will help keep your heating costs low while also ensuring the efficient operation of your heat pump over the long term.
Things to Consider When Fixing a Freon Leak in Heat Pump
Fixing a freon leak in your heat pump is not an easy task and requires certain considerations to be made. It is important to understand the potential risks involved and the necessary precautions that need to be taken in order to successfully fix the leak. Here are some important things to consider when fixing a freon leak in your heat pump:
Safety First

Before attempting to fix a freon leak, it is crucial to prioritize safety. Freon is a harmful chemical that can cause skin irritation, respiratory problems, and even frostbite if handled improperly. Make sure to wear protective gear such as gloves, goggles, and a respirator when working with freon.
Identify the Source of the Leak
The first step in fixing a freon leak is to identify where the leak is coming from. This will help determine the best course of action and prevent further damage to your heat pump. Common areas where leaks occur include joints, valves, and tubing.
Determine the Severity of the Leak
Not all freon leaks are created equal. Some may be small and easily fixable, while others may be larger and require professional assistance. It is important to determine the severity of the leak before attempting to fix it.
Gather Necessary Tools and Materials
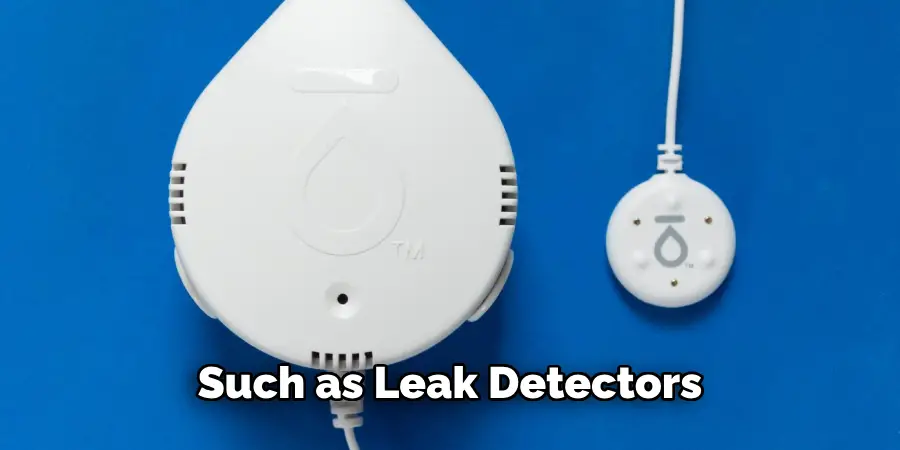
Fixing a freon leak will require specific tools and materials such as leak detectors, tubing cutters, soldering equipment, and replacement parts. Make sure to have everything you need before starting the repair process.
Follow Proper Repair Procedures
Each heat pump may have different repair procedures, so it is important to refer to your manufacturer’s instructions or consult a professional for guidance. Improper repairs can cause more harm than good and may even lead to further leaks.
Test for Effectiveness
After completing the repair, it is crucial to test for effectiveness. Use a leak detector to ensure that the freon leak has been successfully fixed and there are no other leaks present.
Consider Regular Maintenance
Prevention is key when it comes to freon leaks in heat pumps. Consider scheduling regular maintenance checks with a professional to catch any potential issues before they become major problems.
Conclusion
A freon leak in a heat pump can be a scary and costly problem, but it doesn’t have to be. With the right knowledge and tools, you can fix even the most difficult of freon leaks. As demonstrated above, there are a few options available to you when it comes to repairing or replacing parts and recharging your system with new refrigerant.
Hopefully this blog post has helped demystify the process of how to fix a freon leak in heat pump and given you confidence that you can tackle the repairs yourself – or correctly assess if this is one job best left to an HVAC professional. Bottom line: don’t let a concerning freon leak prevent you from getting temperatures back up around your home – knowledge truly is power when it comes to common repair problems like this one!

