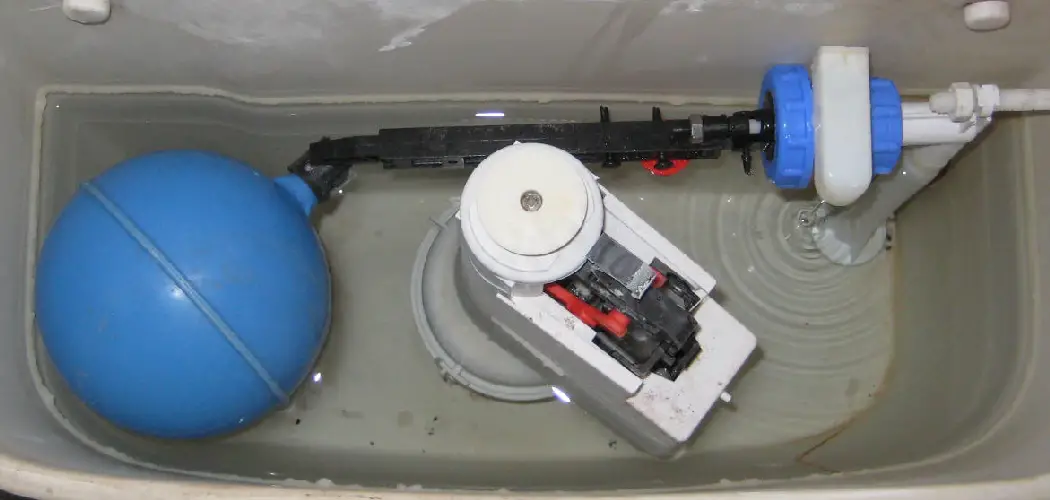
Are you tired of plunging your toilet every time you use it? Do you find yourself constantly jiggling the handle to get it to flush?
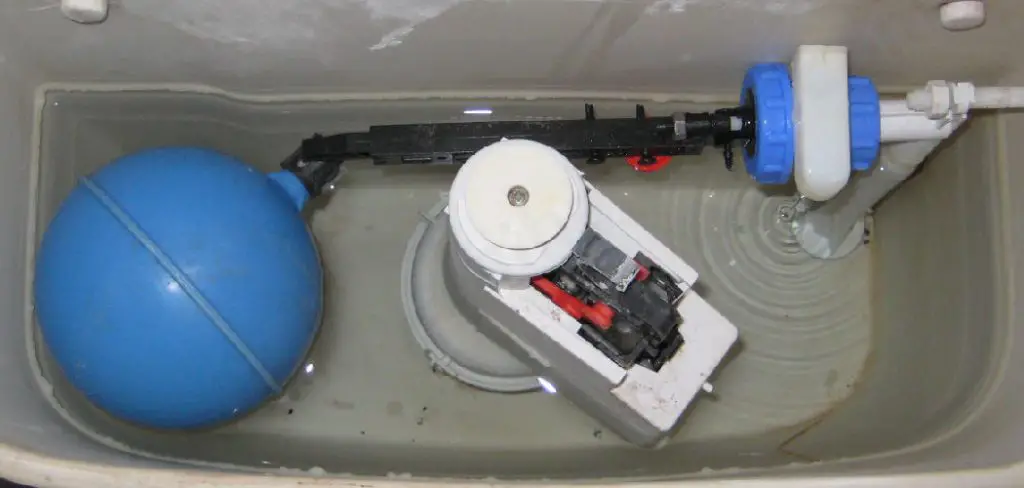
A hard-to-flush toilet can be a frustrating inconvenience for any household. When your toilet doesn’t perform as it should, it can lead to repeated flushes, water waste, and potentially bigger plumbing issues if left unattended. Understanding the common causes behind flushing difficulties—such as clogs, worn-out flapper valves, or low water levels—can empower homeowners to troubleshoot and resolve these problems quickly.
With a handful of simple tools and time, you can restore your toilet’s flushing efficiency, ensuring it works smoothly and reliably. In this guide, we will walk you through practical steps and tips on how to fix a hard to flush toilet.
What Will You Need?
- Plunger
- Toilet auger (optional)
- Cleaning brush
- Bucket
- Rubber gloves
- Replacement flapper valve (if necessary)
Once you have gathered these tools, you can begin troubleshooting and solving the problem.
10 Easy Steps on How to Fix a Hard to Flush Toilet
Step 1: Check the Water Level in the Tank
The first step in resolving a hard-to-flush toilet is to ensure that the water level in the tank is adequate. The water level should be about an inch below the overflow tube, typically marked inside the tank. If the water level is too low, the flush may need more force to clear the bowl effectively.
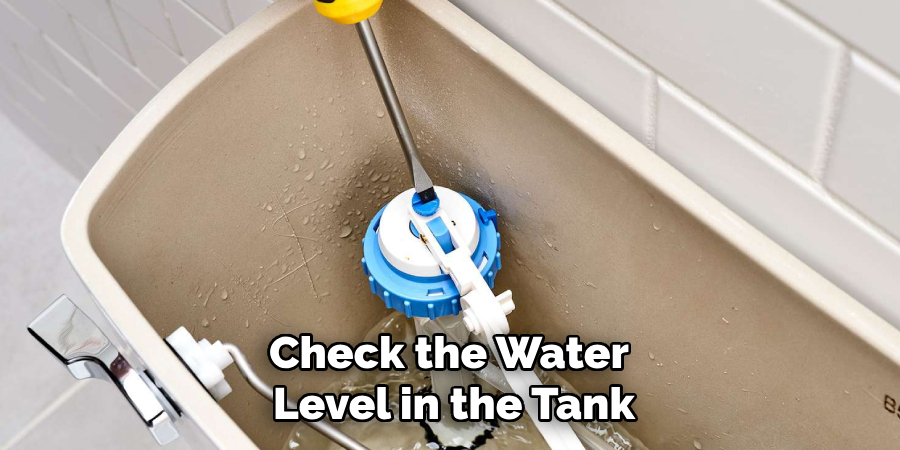
To check this, remove the tank lid and observe the water. If it’s below the desired level, adjust the float mechanism, which can be a ball or cylinder float, depending on the toilet model. Turning the adjustment screw on the float or sliding the float arm up will raise the water level.
After making adjustments, flush the toilet to see if the performance improves. If the water level is consistently low even after adjustments, an issue with the fill valve may need further investigation or replacement.
Step 2: Inspect the Flapper Valve
The flapper valve is a crucial component of the toilet’s flushing system. It’s responsible for sealing the tank and allowing water to flow into the toilet bowl during a flush. Over time, flapper valves can become worn out or develop mineral deposits that prevent them from sealing properly.
To inspect the flapper, remove the tank lid and check for any signs of damage or buildup. If the flapper appears warped, cracked, or dirty, it may need to be cleaned or replaced. To replace it, disconnect the chain from the flush lever, unclip the old flapper from the mounting pegs, and then install the new flapper by reversing the process.
Once replaced, flush the toilet to ensure the new flapper functions correctly and seals tightly.
Step 3: Clear Any Clogs
If the toilet is still hard to flush after checking the water level and inspecting the flapper valve, it may be due to a clog in the trap or drain line. Start using a plunger to create a strong seal over the toilet drain. Use a firm but controlled motion, plunging up and down vigorously to generate suction.
After 15–20 seconds of falling, try flushing the toilet to see if the clog has cleared. A toilet auger (or snake) may be necessary if the plunger doesn’t resolve the blockage. Insert the auger into the toilet bowl and carefully push it down the drain until you feel resistance.
Turn the handle to break up or retrieve the obstruction, then carefully remove the auger, flush the toilet, and check if the flushing improves.
Step 4: Check for Mineral Buildup
Another common cause of a hard-to-flush toilet is a mineral buildup in the rim jets or the siphon hole at the toilet bowl’s bottom. Over time, minerals from hard water can accumulate in these areas, restricting water flow during a flush. To address this, inspect the rim jets for any visible buildup. A cleaning brush or a small wire can help dislodge any debris.
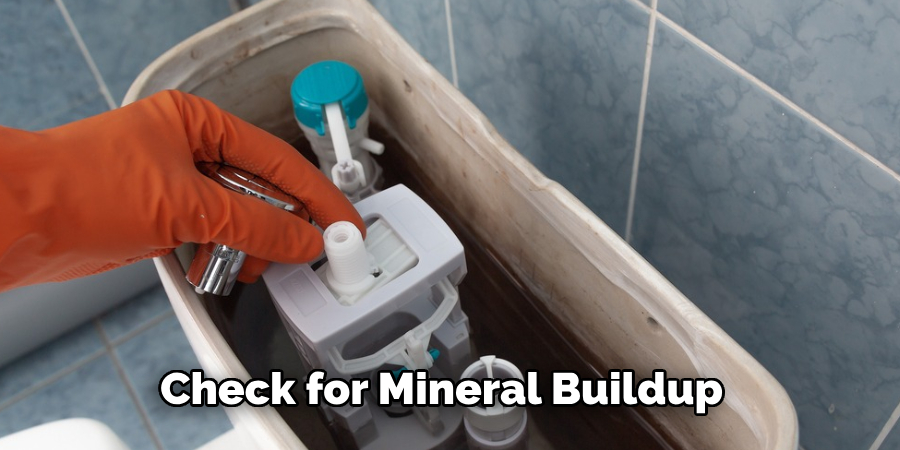
If the buildup is stubborn, use a vinegar solution to soak the jets. Pour vinegar into the bowl, allowing it to sit for a few hours before scrubbing and flushing. This should help restore proper water flow and improve flushing efficiency.
Step 5: Examine the Flush Handle and Chain
The flush handle and chain mechanism play an essential role in engaging the flapper valve during a flush. If either component is malfunctioning or improperly adjusted, it can prevent the toilet from flushing effectively. Start by inspecting the handle for any signs of damage or looseness. If the handle feels floppy or is difficult to push down, it may need tightening or replacement.
Next, check the chain that connects the handle to the flapper valve. Ensure the chain has the right amount of slack; it should be taut enough to lift the flapper fully when the handle is pressed but not so tight that it hinders movement. If the chain is too long, adjust it by removing any extra links. After making these adjustments, test the flush to see if the toilet functions correctly.
Step 6: Assess the Fill Valve
The fill valve is responsible for refilling the toilet tank after each flush. If this component is malfunctioning, it can result in insufficient water levels in the tank, leading to poor flushing performance. To assess the fill valve, inspect it for any signs of damage or wear. Listen for unusual noises, such as continuous running water, which may indicate a problem.
If the fill valve appears clogged or damaged, it may need cleaning or replacement. To clean it, turn off the water supply, drain the tank, and remove the fill valve. Rinse it thoroughly to remove debris, then reinstall and test the toilet. If performance does not improve, consider replacing the fill valve with a new one.
Step 7: Verify the Toilet Bowl’s Siphon Jet
The siphon jet, located at the bottom of the toilet bowl, plays a crucial role in flushing by allowing water to exit the bowl quickly. A partially blocked siphon jet can impede flushing, causing the toilet to struggle during operation.
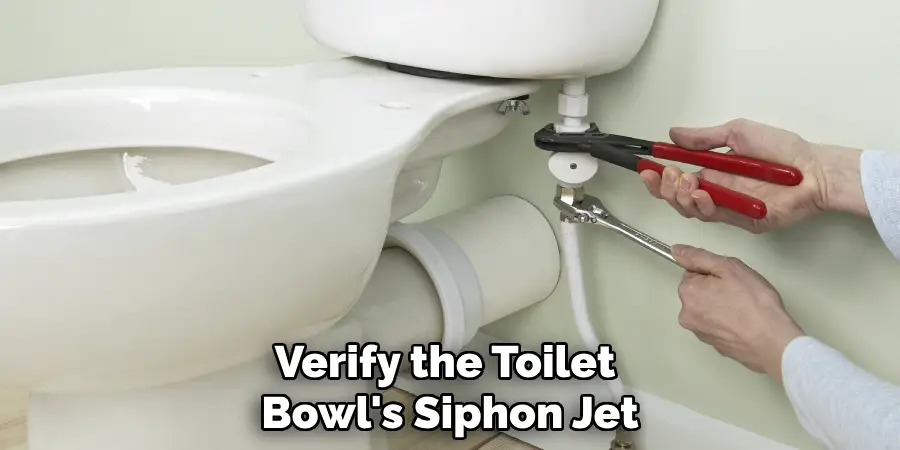
To verify its condition, look for any visible obstructions or mineral deposits. Clean around the siphon jet using a wire or brush to ensure it is clear. Pouring a vinegar solution into the bowl can also help dissolve any lingering buildup. After cleaning, perform a flush to see if the toilet’s performance has improved.
Step 8: Inspect the Toilet for Age and Wear
Older toilets may naturally experience a decline in flushing efficiency due to wear and tear. It’s essential to assess the overall condition of your toilet. Signs of age include persistent leaks, cracks in the ceramic, or increasingly frequent repairs.
If your toilet is over 20 years old, it may be worth considering replacing it with a newer, high-efficiency model designed to use less water while still providing a powerful flush. Evaluating the age of your toilet can help you decide whether further repairs are sensible or if investing in a new unit is the best option.
Step 9: Call a Plumber
If you have followed all of these steps and your toilet is still not functioning properly, it may be time to call a professional plumber. Sometimes, the issue may be due to more complicated plumbing problems that are not easily detectable.
A qualified plumber can help diagnose hidden issues, such as problems in the main drain line or sewer, which may not be visible during basic inspections. Investing in professional help can save time and prevent further damage to your plumbing system.
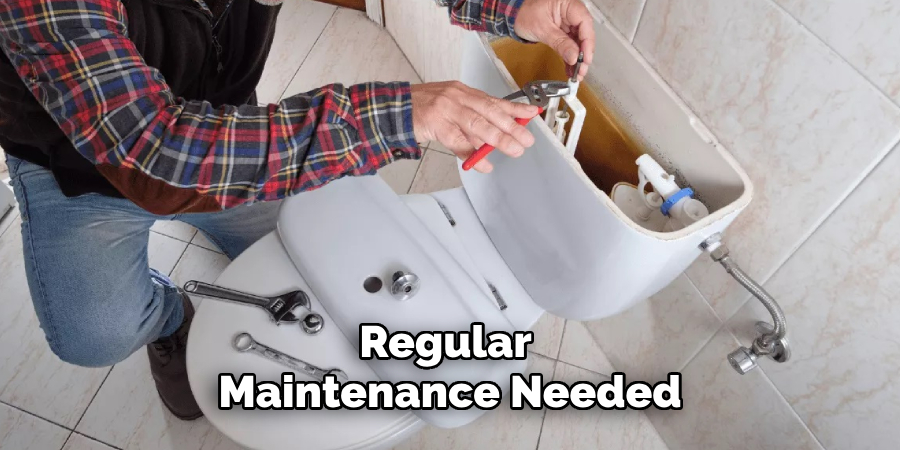
Step 10: Regular Maintenance
Once your toilet is functioning correctly, implementing regular maintenance can help avoid future flushing issues. Periodically check the water level, inspect key components, and clean any mineral buildup to keep your toilet operating efficiently.
Establishing a routine for maintenance ensures that minor problems are handled before they become significant issues, extending the life of your toilet and providing reliable performance for years to come.
By following these steps, you can troubleshoot and resolve common flushing problems with your toilet.
What are the Reasons for a Toilet Flushing Poorly?
There are several reasons why a toilet may flush poorly, including:
- Clogged Drain: A clogged drain is the most common reason for poor flushing performance. Objects such as excessive toilet paper, wipes, or foreign objects can obstruct the water flow, leading to inadequate flushing.
- Mineral Buildup: Mineral deposits from hard water can accumulate in the toilet’s rim jets or siphon holes, restricting water flow and affecting the flushing efficiency.
- Malfunctioning Components: Issues with the flush handle, chain, fill valve, or siphon jet can all contribute to poor flushing performance.
- Age and Wear: Over time, toilets can deteriorate, resulting in decreased flushing power and frequent repairs.
- Plumbing Problems: Sometimes, the issue may be caused by more significant plumbing problems, such as a blocked main drain line or sewer.
Regular maintenance and prompt attention to any issues can help prevent poor toilet flushing performance.
Conclusion
How to fix a hard to flush toilet requires a systematic approach, starting with thorough inspections of essential components such as the handle, chain, fill valve, and siphon jet.
Addressing clogs, mineral buildup, and worn parts can significantly enhance flushing performance. If persistent problems continue after troubleshooting, it may indicate deeper plumbing issues that necessitate the expertise of a professional plumber. Regular maintenance, including periodic checks and cleaning, prevents future flushing difficulties.
Ultimately, by being proactive and attentive, you can ensure your toilet operates efficiently, providing reliable performance for many years to come.

