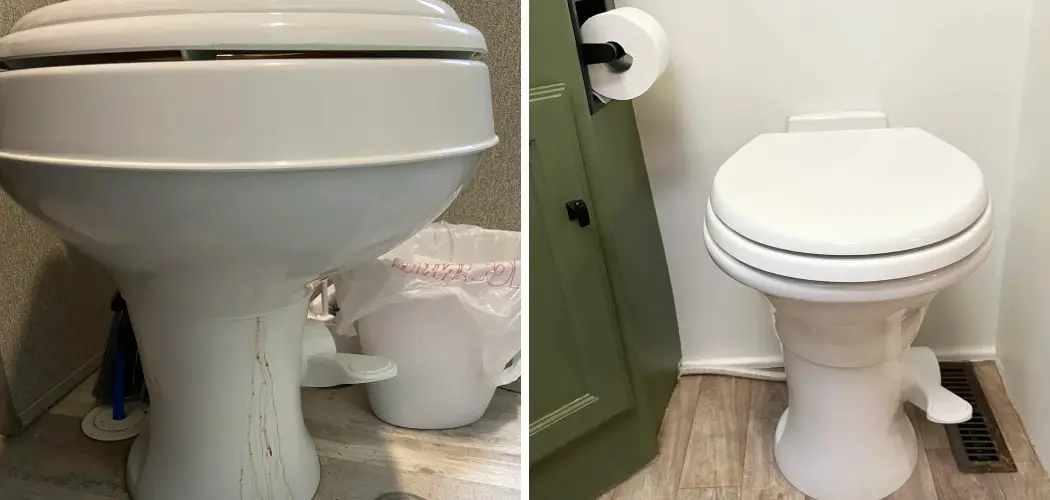
A leaking camper toilet can be a frustrating issue, especially when you’re on the road and hoping to enjoy your adventures without worries. Not only can a leak lead to unpleasant odors and unsanitary conditions, but it can also cause water damage and costly repairs if left untreated.
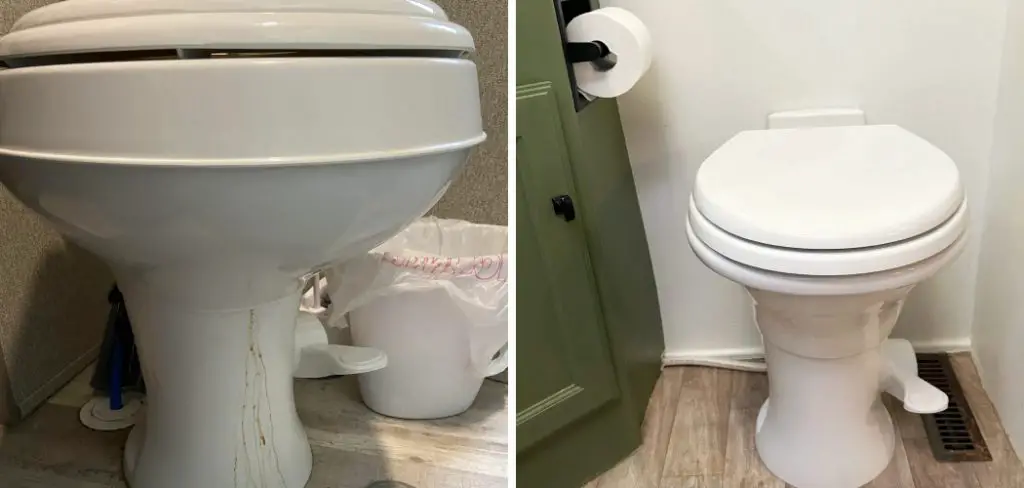
In this guide on how to fix a leaking camper toilet, we will provide you with practical steps to identify the source of the leak and offer effective solutions to fix it, ensuring your camper toilet functions properly and efficiently during your travels.
Why Is My Camper Toilet Leaking?
Before we dive into the solutions, it’s essential to understand the common causes of a leaking camper toilet. Some of the most frequent reasons for a leak include:
- Loose Connections Between Pipes and Fittings
- A Damaged O-ring or Gasket
- Cracks or Holes in the Toilet Bowl or Tank
- Worn Out Seals or Valves
- Issues with the Water Supply Line or Tank Flapper
- Improper Installation
Once you have identified the root cause of the leak, you can move on to implementing the necessary steps to fix it.
8 Steps on How to Fix a Leaking Camper Toilet
Step 1: Shut Off the Water Supply
The first step in fixing a leaking camper toilet is to shut off the water supply. Locate the water valve that connects to your toilet, typically found near the base of the toilet or along the water line. Turn the valve clockwise until it’s fully closed to prevent any water from flowing into the system while you work on the repairs.
This step is crucial to avoid making a mess and to ensure your safety while addressing the leak. After shutting off the water supply, it’s a good idea to flush the toilet to empty the tank and bowl as much as possible, giving you clearer access to the components you’ll need to inspect and repair.
Step 2: Inspect the Pipes and Fittings
With the water supply turned off and the toilet emptied, the next step is to thoroughly inspect the pipes and fittings for any signs of leaks or damage. Begin by examining the connections between the toilet and the plumbing system, looking for loose fittings or visible water accumulation. Tighten any loose connections with appropriate tools; however, be cautious not to overtighten, as this could cause further damage.
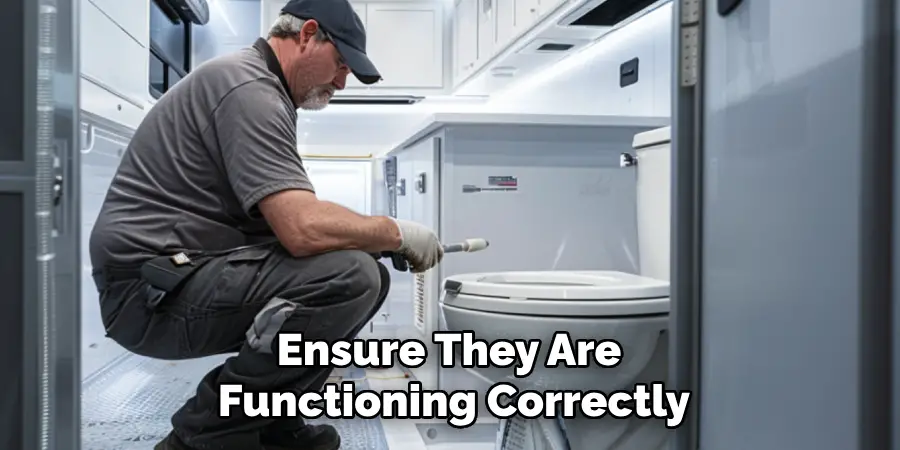
Additionally, check the pipes for cracks or corrosion, which may indicate the need for replacement. If you spot any damaged components during your inspection, make a note of them, as repairing or replacing these parts will be essential for resolving the leak effectively.
Step 3: Check the Seals and Valves
Next, inspect the seals and valves on your camper toilet. These components are responsible for controlling the flow of water into and out of the tank, so it’s crucial to ensure they are functioning correctly. Start by examining the seal between the tank and bowl, commonly known as the spud gasket. If this gasket is worn or damaged, it can cause leaks between the two components. Replace it if necessary.
Then, move on to check the flush valve located at the bottom of the tank. This valve controls water flow from the tank into the bowl when flushing. If it appears worn or damaged, you may need to replace it. Lastly, inspect the fill valve, which regulates the water level in the tank and can also be a potential source of leaks if not functioning correctly.
Step 4: Replace O-rings or Gaskets
If you notice that a specific component is causing the leak, such as an O-ring or gasket, replace it with a new one. These small rubber pieces are responsible for sealing connections between various toilet parts and can wear out over time due to usage and exposure to chemicals. It’s best to have spare O-rings or gaskets on hand when traveling in your camper to quickly address any leaks that may occur.
It’s essential to ensure you are using the correct type and size of O-ring or gasket for the specific component you are replacing. Consult your camper toilet’s manual or a professional for assistance if needed.
Step 5: Patch Any Cracks or Holes
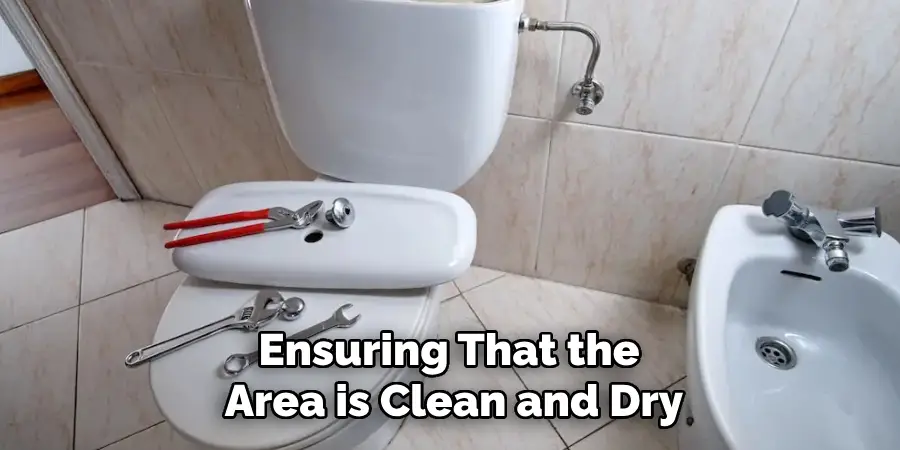
If you discover cracks or holes in the toilet bowl, tank, or any other components during your inspection, it’s crucial to address these issues immediately to prevent further leaking. For small cracks, you can use waterproof epoxy or a sealant specifically designed for plumbing repairs.
Follow the manufacturer’s instructions to apply the patching material, ensuring that the area is clean and dry before application. If the damage is extensive or the cracks are deep, it may be more effective to replace the affected component entirely rather than attempt a temporary fix. Always ensure that any repairs made are fully cured before turning the water supply back on to avoid complications.
Step 6: Clean the Tank and Bowl
Once you’ve addressed any leaks and replaced damaged components, it’s time to clean the tank and bowl to ensure optimal hygiene and functionality. Start by using a toilet brush along with a mild cleaner specifically designed for RV or camper toilets. Scrub the interior of the bowl vigorously to remove any buildup or stains that may have formed over time. Pay special attention to the rim and the areas around the flush valve, as these spots can accumulate grime.
Next, clean the tank by adding some of the cleaning solution directly to the tank, then fill it with water to dilute the cleaner. Allow the solution to sit for a while to effectively break down any deposits or odors, then flush the toilet to rinse the tank thoroughly. This step not only helps to maintain a clean environment but also ensures that any remaining debris from your repairs is flushed away, contributing to the overall performance of your camper toilet.
Step 7: Reconnect and Turn the Water Supply Back On
After completing all necessary repairs and cleaning, it’s time to reconnect the water supply line and turn it back on. Be sure to check each connection for any potential leaks before fully opening the valve.
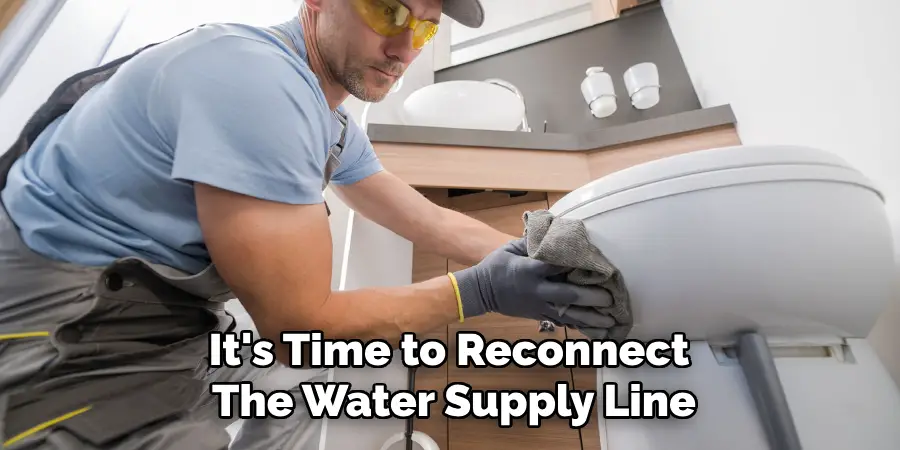
Once you’ve confirmed that there are no more leaks, allow the tank to fill completely by flushing it several times. This will help to remove any air pockets and ensure a consistent water level in the tank.
Step 8: Test Your Repairs
The final step is to test your repairs by using the toilet as you normally would. Flush multiple times and keep an eye out for any signs of leaking or malfunctioning components. If everything seems to be in working order, congratulations – you have successfully repaired your camper toilet! If any issues persist, it may be best to consult a professional for further assistance.
Remember to perform regular maintenance and inspections on your camper toilet to prevent future leaks and ensure its longevity. With proper care, your portable bathroom will continue to serve you well on all your adventures.
Following these steps on how to fix a leaking camper toilet and taking necessary precautions will help ensure that your camper toilet functions properly, avoiding any unpleasant surprises while on the road. Take care of your toilet, and it will take care of you!
Frequently Asked Questions
Q: How Often Should I Inspect My Camper Toilet for Leaks?
A: It is recommended that a thorough inspection and maintenance be performed every six months or before and after extended trips. However, if you notice any issues or signs of leakage during regular use, it’s best to address them immediately.
Q: Can I Use Regular Household Cleaners on My Camper Toilet?
A: It is not recommended to use household cleaners on your camper toilet as they may contain harsh chemicals that could damage the components or leave residue behind. Instead, use a mild cleaner specifically designed for RV or camper toilets.
Q: What Should I Do If I Am Unable to Fix the Leak Myself?
A: If you are unable to fix the leak yourself, it’s best to consult a professional for assistance. They will have the necessary knowledge and tools to properly diagnose and repair any issues with your camper toilet. It’s important to address leaks promptly to avoid further damage and potential water waste.
Q: How Can I Prevent Leaks from Occurring in the Future?
A: Proper maintenance and care are key to preventing leaks in your camper toilet. Regularly inspect and clean all components, avoid using harsh chemicals, and address any issues or damages promptly. It’s also helpful to keep spare parts on hand for quick replacements if needed.
Conclusion
In conclusion, maintaining a camper toilet is essential for ensuring comfort and hygiene during your travels. By systematically inspecting components, replacing worn parts, and performing regular cleanings, you can effectively prevent leaks and extend the life of your toilet system.
Remember that timely repairs and routine maintenance are key to avoiding larger issues and ensuring that your camper remains a pleasant and functional space. Keep these steps on how to fix a leaking camper toilet in mind, and you can confidently enjoy your camping adventures without the worry of plumbing mishaps. Safe travels!

