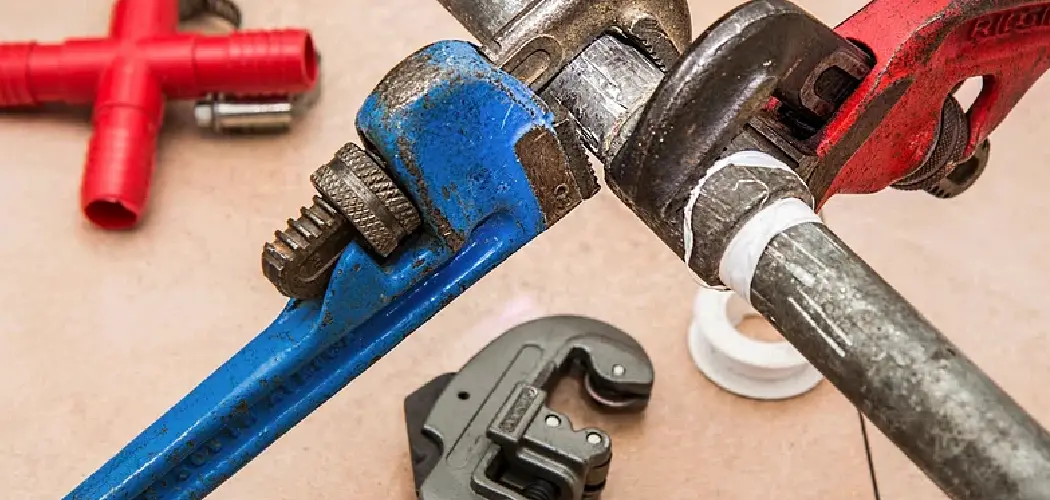
Leaking gas pipe joints pose significant dangers, including the risk of fire, explosion, and various health hazards. When gas escapes from a joint, it can accumulate in enclosed spaces, creating an environment ripe for catastrophic incidents.
Therefore, it is crucial to address any suspected leaks immediately to ensure the safety of occupants and prevent further property damage.
This article aims to provide comprehensive guidance on how to fix a leaking gas pipe joint, detailing the essential steps and precautions necessary for effective detection and repair. From identifying the signs of a leak to implementing temporary fixes and permanent repairs, readers will be equipped with the knowledge needed to tackle this serious issue safely and efficiently.
Identifying the Leak
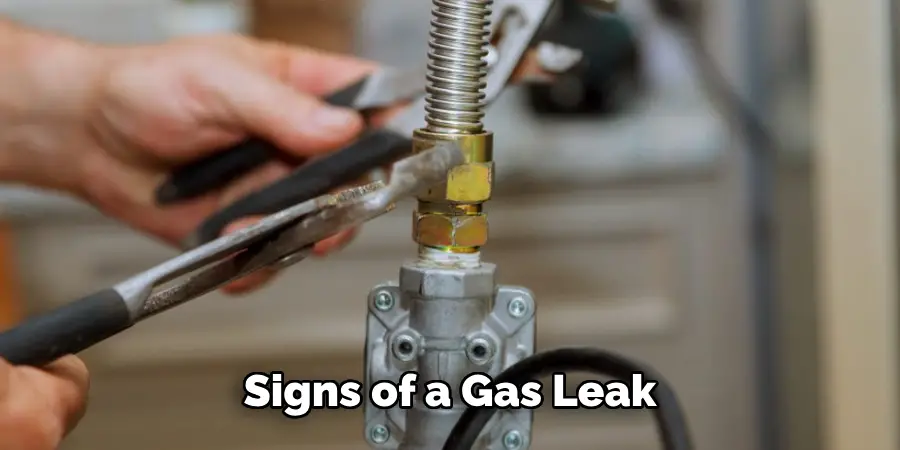
Signs of a Gas Leak
One of the most prominent indicators of a gas leak is the distinct odor of natural gas. An odorant called mercaptan is added to the gas to enhance detection, creating a scent often described as resembling rotten eggs.
This smell makes it easier for individuals to notice even minor leaks and take appropriate action. In addition to smell, gas leaks can produce audible signs, such as hissing or whistling sounds, indicating gas escaping from a pipe joint.
Visually, leaks can be detected through various clues: for instance, pooling or bubbling in wet areas around the pipeline or patches of dead vegetation along the ground, suggesting that gas has seeped into the soil and affected plant health. Recognizing these signs is vital for prompt action.
Locating the Leak
Conducting a thorough inspection of the gas pipe joint is essential to locate a gas leak effectively. Begin by looking for any visible signs of damage, such as corrosion, cracks, or loose fittings.
Pay close attention to joints and connections, as these are common areas for leaks. If visual inspection is inconclusive, you can use leak detection solutions like soapy water, a simple yet effective method.
Apply soapy water to the suspected area; if bubbles form, it indicates escaping gas. Commercial leak detection solutions are also available and can provide more precise results in identifying the exact location of the leak. Taking these steps ensures that you address any potential leaks quickly and efficiently.
How to Fix a Leaking Gas Pipe Joint: Immediate Actions and Safety Precautions
Step 1: Evacuate and Ventilate
Evacuate the Area: The most critical first step when a gas leak is suspected is to evacuate all occupants and pets from the vicinity of the leak. Ensure everyone moves to a safe distance outside the building, as even small amounts of gas can pose serious health risks.
Ventilation: Once the area is evacuated, ventilate it by opening windows and doors to help disperse any accumulated gas. If the leak is inside a structure, increasing airflow is vital. However, avoid using electronic devices or creating sparks while this is happening, as these actions could ignite the gas.
Step 2: Shut Off the Gas Supply
Locate the Shut-Off Valve: After ensuring that the area is safe, locate the main gas shut-off valve, which is typically found near the gas meter. Familiarizing yourself with the valve’s location before an emergency can save valuable time.
Turning Off the Gas: To safely shut off the gas, turn the valve clockwise until it is fully closed. If the valve is intended for use with a wrench, ensure you have the right tool handy. If you encounter resistance while turning the valve or are uncertain about the process, it is advisable to consider calling a professional rather than risking a misstep. Turning off the gas supply promptly limits the risk of an explosion and ensures that further actions can be taken safely.
How to Fix a Leaking Gas Pipe Joint: Temporary Fixes
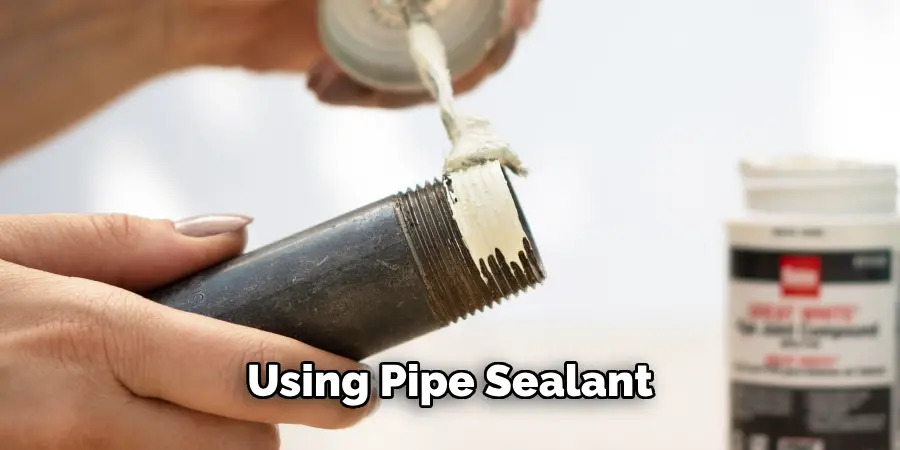
Using Pipe Sealant
When temporarily addressing a leaking gas pipe joint, one effective method is applying pipe sealant or putty. Begin by ensuring that the area around the leak is clean and dry. Use a cloth to wipe away any dust, grease, or moisture, as a clean surface helps the sealant adhere better. Once the surface is prepared, apply the pipe sealant according to the manufacturer’s instructions.
Squeeze a generous amount of sealant directly onto the leaking joint, ensuring it covers the affected area completely. Use your fingers or a small tool to smooth it out, ensuring it fills any gaps.
After application, allow the sealant to cure for the time specified by the manufacturer, ensuring it has formed a solid bond before re-pressurizing the gas line. This temporary fix can help prevent gas from escaping until a more permanent solution can be implemented.
Applying Duct Tape
Duct tape can quickly solve a leaking gas pipe joint, serving as an immediate temporary patch. Start by cleaning the area around the leak to ensure that the duct tape adheres properly; wipe away any dirt or grease. Take a piece of duct tape long enough to wrap around the joint at least two to three times. Begin wrapping the tape tightly around the leaking joint, overlapping the tape as you go to create a secure seal.
Ensure the tape extends a little beyond the leak on both sides to effectively cover the entire area. Once you have wrapped the joint completely, press firmly to ensure the tape adheres well. After applying the duct tape, it’s crucial to monitor the area for any signs of further leakage. This method should be used as a short-term solution while planning for a more permanent repair.
Permanent Repair Solutions
Repairing or Replacing the Joint
Assess the Damage: The first step in permanently addressing a gas leak is to thoroughly assess the extent of the damage to the joint. Inspect for any visible signs of wear, such as cracks in the pipe or degraded fittings. Determining whether the joint is simply loose and can be repaired or has sustained significant damage requiring replacement is crucial for further action.
Repair Methods: If the joint appears repairable, begin by re-tightening any loose fittings, as this can often resolve minor leaks. Additionally, consider using a repair coupling that securely connects the existing sections of the pipe, providing a robust seal. However, if the damage is too severe, it may necessitate replacing the joint entirely.
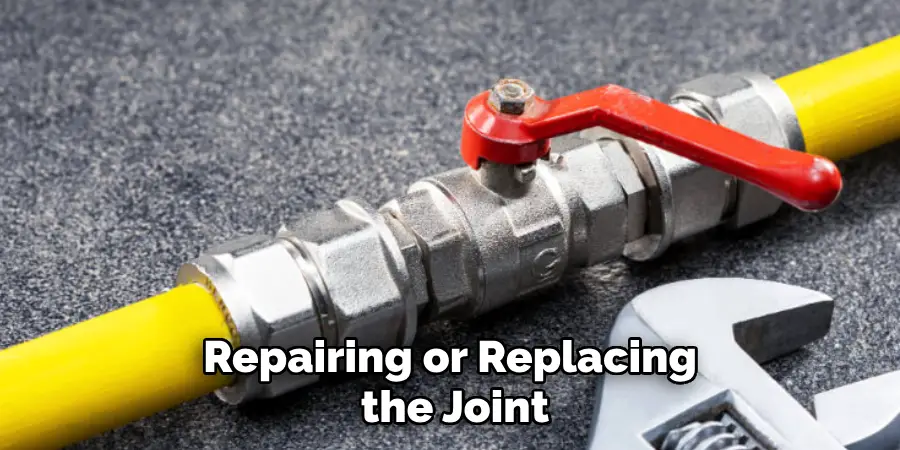
Replacement: For replacement, begin by ensuring that the gas supply is turned off completely. Cut out the damaged section of the pipe using a pipe cutter, being careful to leave enough space for new connections. Clean the cut edges to eliminate any burrs, then fit a new joint or coupling into place. Secure it with the appropriate fittings, and once everything is secure, turn the gas supply back on and test for leaks with soapy water.
Professional Assistance
When to Call a Professional: If you encounter major leaks or if the repair involves complex elements such as relocating pipes or multiple joints, it’s crucial to call a licensed plumber or gas specialist. Professionals possess the expertise to handle hazardous materials safely and efficiently while ensuring compliance with relevant regulations.
Choosing a Professional: When selecting a professional, seek out licensed and insured candidates with a solid reputation. Ask for recommendations from friends or family and check online reviews. It’s also beneficial to verify their qualifications and ensure they adhere to local codes and safety standards, which can provide peace of mind during the repair process.
Preventive Measures and Maintenance
Regular Inspections: To prevent gas leaks, it is advisable to schedule regular inspections of gas pipes and joints. These inspections can help identify potential issues early, preventing minor faults from escalating into significant hazards.
Routine Maintenance: Maintain gas pipes by routinely checking for signs of wear, such as rust or corrosion, and addressing any minor issues promptly. Keeping fittings secure and ensuring connections are tightly sealed can help extend the lifespan of your gas system and reduce leakage risks.
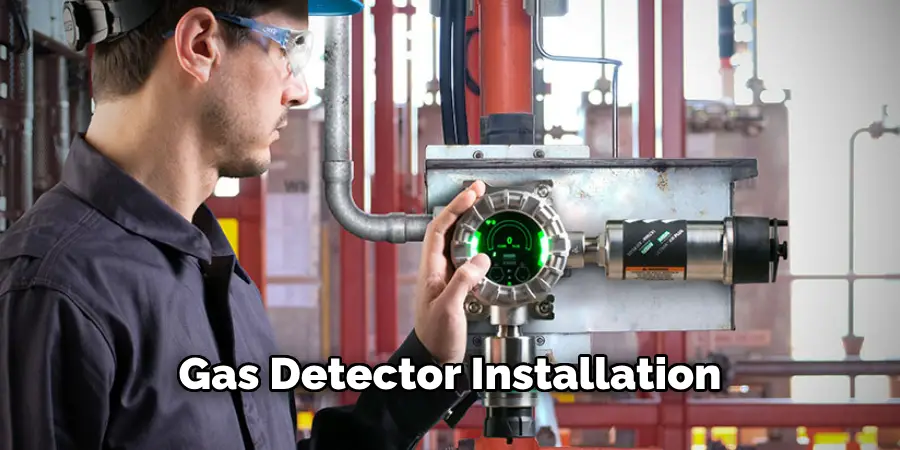
Gas Detector Installation: Installing gas detectors throughout your property adds an essential layer of safety. These devices provide early warning of gas leaks, allowing occupants to evacuate promptly and call for assistance. Regularly testing and maintaining gas detectors ensures they function correctly and remain reliable in emergencies.
Frequently Asked Questions (FAQs)
1. How Can I Tell if There Is a Gas Leak in My Home?
Signs of a gas leak include a distinct smell resembling rotten eggs, hissing or whistling sounds near gas lines, and dead or dying vegetation near the area of the leak. Additionally, if you experience headaches, nausea, or dizziness, it could also indicate a gas leak. If you suspect a gas leak, evacuate the premises immediately and contact your gas provider or emergency services.
2. Is It Safe to Attempt Repairs on A Gas Pipe Joint Myself?
While minor repairs, like tightening loose fittings, may be safe for some individuals with handyman experience, consulting a licensed professional for any significant repairs or replacements is generally recommended. Gas systems present safety hazards, and improper handling can result in serious consequences, including explosions or poisoning.
3. What Is the Best Way to Maintain My Gas Pipes to Prevent Leaks?
Regular inspections of gas pipes for signs of wear or damage are essential. Maintain a routine check for rust, corrosion, or loose fittings and address any issues as soon as they are discovered. Additionally, consider installing gas detectors for early leak detection and ensure that all connections are properly sealed and secure for safety.
Conclusion
In summary, understanding how to fix a leaking gas pipe joint is vital for ensuring safety in any environment with gas systems. The first step involves identifying the leak through careful inspection. Upon detection, immediate actions such as turning off the gas supply are crucial to prevent hazards. For temporary fixes, options like applying pipe sealant or duct tape can provide short-term solutions until a permanent repair is made.
Permanent solutions may involve assessing the damage, repairing or replacing the joint, and ensuring proper fittings are in place. Prioritizing safety throughout this process is crucial, as prompt action can prevent dangerous situations. Keep in mind the importance of regular maintenance and inspections to mitigate the risks of leaks.
When in doubt or faced with complex repairs, don’t hesitate to seek professional assistance to ensure all work is carried out safely and in compliance with regulations.

