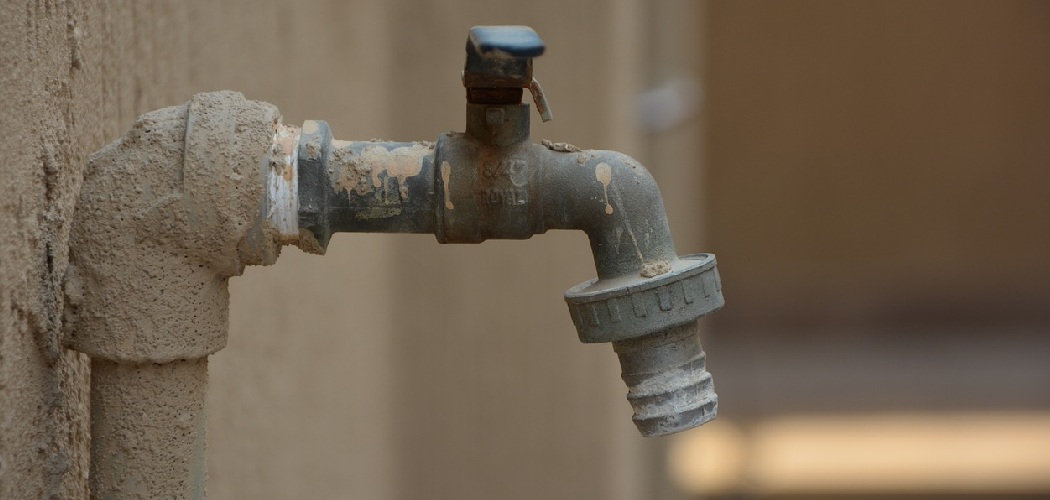
Are you dealing with an annoying and potentially costly situation caused by a leaking outdoor faucet (hose bibb)? Don’t worry – fixing the issue doesn’t require much effort or supplies, and doing it yourself can save you time and money.
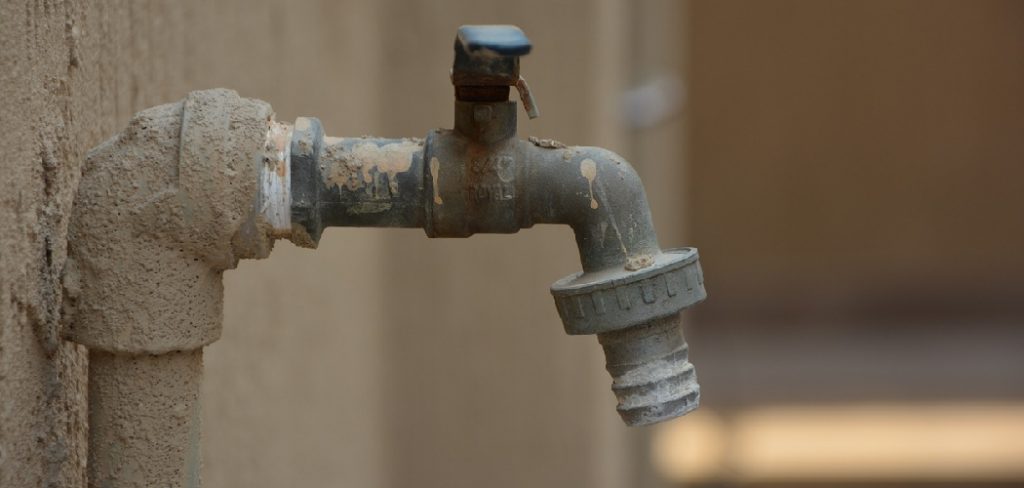
This blog post will provide step-by-step instructions on how to fix a leaking outdoor faucet hose bibb so that you can take care of the problem quickly. In addition, we’ll discuss important additional maintenance tips to keep your hose bibb in good condition for longer stretches of time. Ready to get started? Let’s do it!
Should You Use Teflon Tape on a Hose Bib?
In most cases, using Teflon tape is a good idea when fixing a leaking outdoor faucet hose bib. This type of tape helps to seal the joint between the hose and the bibb, preventing any possible water leakage.
It’s important to note that it should only be used on threaded connections. If you’re unsure if the connection is threaded or not, it’s better to contact a professional plumber for help.
10 Methods How to Fix a Leaking Outdoor Faucet Hose Bibb
1. Check the Washers
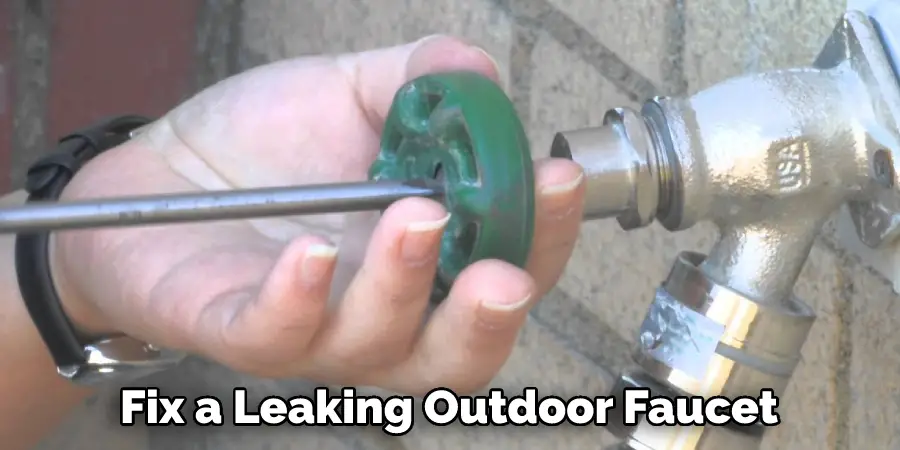
The first thing you should do when trying to fix a leaking outdoor faucet is to check the washers. Washers are small, disc-shaped pieces of rubber that are located under the handles of the faucet. Over time, these washers can become worn or damaged, which can cause them to leak. If the washers are damaged, simply replacing them should stop the leak.
2. Check the O-rings
If the washers are not the problem, then the next thing you should check are the O-rings. O-rings are small, ring-shaped pieces of rubber that seal the connection between two pieces of metal. Like washers, over time, O-rings can become worn or damaged, which can cause them to leak. If the O-rings are damaged, simply replacing them should stop the leak.
3. Check the Packing Nut
If the washers and O-rings are not the problems, then the next thing you should check is the packing nut. The packing nut is a small, round piece of metal that is located under the handle of the faucet. This nut holds everything in place and prevents leaks. Over time, however, this nut can become loose or damaged, which can cause leaks. If this nut is loose or damaged, simply tightening it or replacing it should stop the leak.
4. Check for Cracks
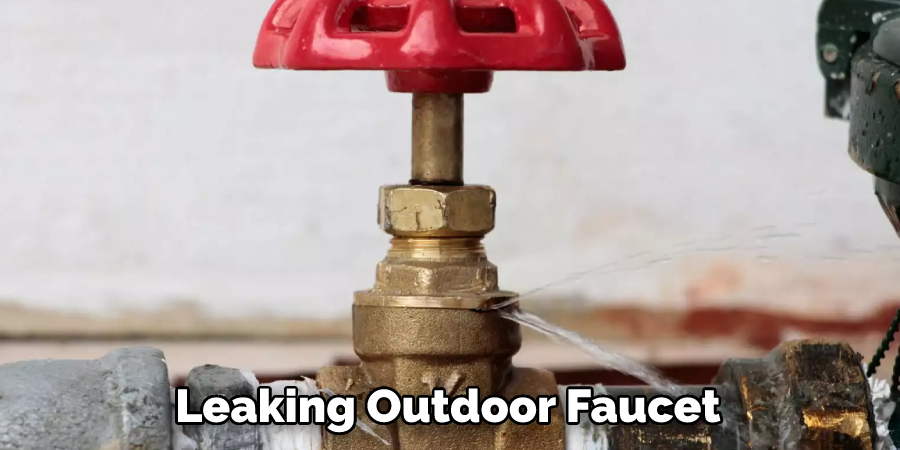
If you have checked all of the above and still have a leaking outdoor faucet, then it is likely that there is a crack somewhere in the faucet itself. Cracks can occur due to age or wear and tear and can be very difficult to repair. In most cases, it is best to simply replace a cracked faucet rather than try to repair it. If a crack is present, contact a professional plumber for assistance.
5. Call a Plumber
If you have tried all of the above and still have a leaking outdoor faucet, then it is time to call a plumber. A plumber will be able to quickly diagnose and fix any problems that you may have with your outdoor faucet. Although it is more expensive than fixing the problem yourself, it can save you time and money in the long run. A good plumber will also be able to give you advice on how to prevent problems from happening in the future.
6. Replace the Faucet
If you have an older outdoor faucet, then it may be time to replace it. Replacing the faucet is often a better option than trying to repair it, as older faucets can be difficult to repair and may not work the same after the repairs.
While replacing a faucet can be done by a homeowner, it is often best to hire a professional plumber to ensure that the faucet is installed correctly and that there are no hidden issues. Make sure to buy a new faucet that is designed for outdoor use and ensure it has proper seals to prevent water leakage.
7. Replace the Hoses
If you have old or damaged hoses, then replacing them may be necessary. Damaged hoses can cause water leakage and should always be replaced if they are found to be defective. Try to replace the hoses with ones that are made of high-quality materials and appropriate for your water heater. Although replacing the hoses can be a bit tricky, it is an important task to ensure that your heater operates safely and efficiently.
8. Check for Clogs or Debris
Sometimes, clogs or debris in the hose bibb can cause leaks. If this is the case, then you will need to flush out any clogs or debris from the hose bibb before attempting any other repairs. If the hose bibb is not easily accessible, then you may need to call a professional plumber to help. Once the clog or debris is removed, you should be able to fix the leak easily. Make sure to check for any other issues before doing this step.
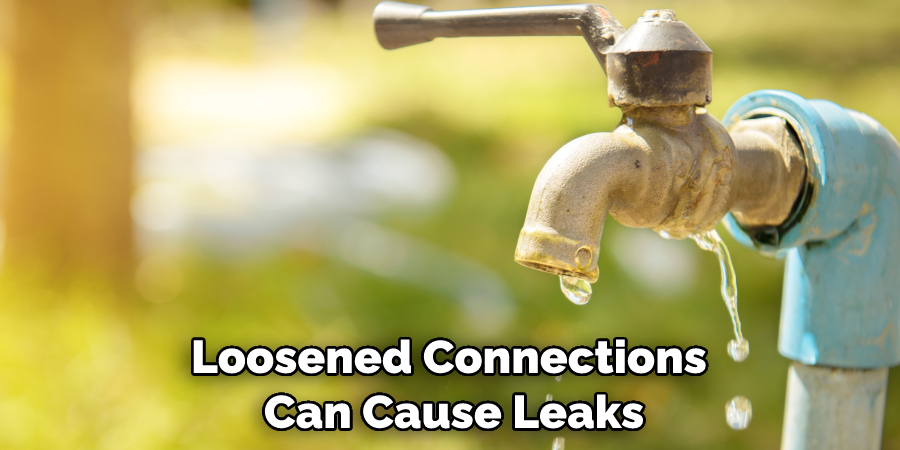
9. Tighten the Connections
Sometimes, loosened connections can cause leaks. If this is the case, then you should check all of the connections and tighten them if necessary. However, if the connections are already tight and none of them seem to be loose, then you may need to replace the pipes or other components that were used to create the connection. If you are not sure how to do this, then it would be best to hire a professional plumber to do the job.
10. Use Teflon Tape
Teflon tape is a great way to seal any threaded connections that may be leaking. Be sure to only use Teflon tape on threaded connections, as it will not work on non-threaded ones. However, when using Teflon tape, make sure to wrap it around the threads a few times in a clockwise direction.
This will help to ensure that the seal is airtight and will not leak. Also, once you have finished wrapping the Teflon tape around the threads, make sure to cut off any excess tape to make sure that it is properly secured.
Additional Maintenance Tips for Hose Bibbs
In order to keep your hose bib in good condition, there are a few additional maintenance tips that you should follow:
Replace Washers and O-Rings Regularly:
Washers and O-rings should be replaced regularly in order to keep the hose bibb working properly.
Check for Any Signs of Wear and Tear:
Inspect your hose bibb regularly for any signs of wear and tear, such as cracks or leaks. If you notice any issues, it is best to contact a professional plumber for help.
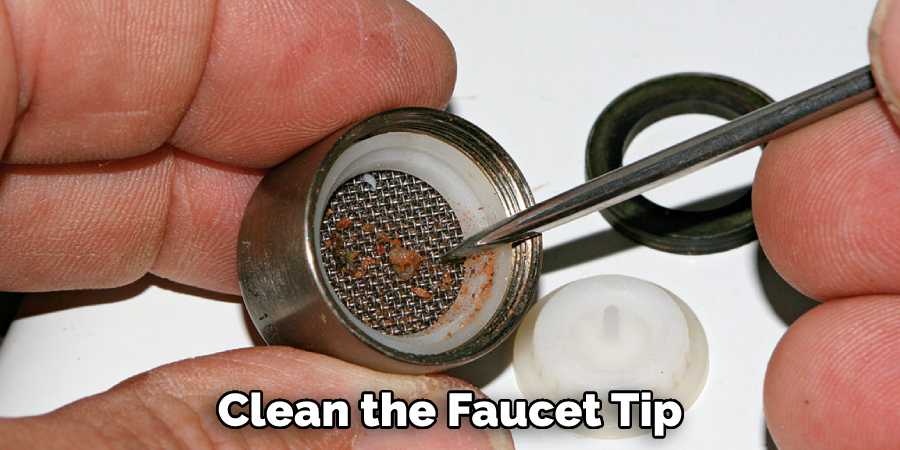
Clean the Faucet Tip:
Make sure to always clean the faucet tip with a cloth after each use in order to prevent grime from building up and causing blockages or leaks.
Lubricate the Parts:
It is important to lubricate all of the moving parts on your outdoor faucet in order to ensure that they are operating correctly. Use a spray-on lubricant for this task.
Check for Any Clogs:
Make sure to regularly check for any blockages in the hose bibb, as these can cause leaks. If you find one, either remove it or call a plumber for help.
Check the Water Pressure:
Too much water pressure can cause damage to your outdoor faucet, so make sure to keep an eye on the water pressure and adjust if necessary.
Things to Consider When Fixing a Leaking Outdoor Faucet Hose Bibb
Bibb has Securely Fastened: One of the main causes of a leaking hose bibb is that it isn’t securely fastened. You’ll want to make sure that the nut is properly tightened and that there is no play when the handle is moved.
Check for Wear & Tear:
Some faucets will break down or wear out over time, leading to leaks. Check around the handle and stem for any signs of wear and tear, such as rust or corrosion. If you notice any issues, it’s best to replace the entire bibb rather than just attempting a repair.
Inspect Gaskets & Washers:
Inspecting the gaskets and washers can help identify why your hose bibb may be leaking. Make sure none of these components are cracked or broken before proceeding with repairs.
Replace Fittings & Seals:
If there are cracked fittings or seals, be sure to replace them before attempting any further repairs. This can help prevent future leaks and stop the current leak from getting worse.
Conclusion
Fixing a leaking outdoor faucet is not as difficult as it may seem. With a few tools and some elbow grease, you can have your faucet working like new in no time. Be sure to turn off the water at the valve before starting any repair work, and if you have any questions or concerns, reach out to a professional plumber for assistance.
Thanks for reading the article about how to fix a leaking outdoor faucet hose bibb! We hope this guide was helpful. If you found it useful, please share it with your friends or family who might need to know how to fix a leaky outdoor faucet themselves.

