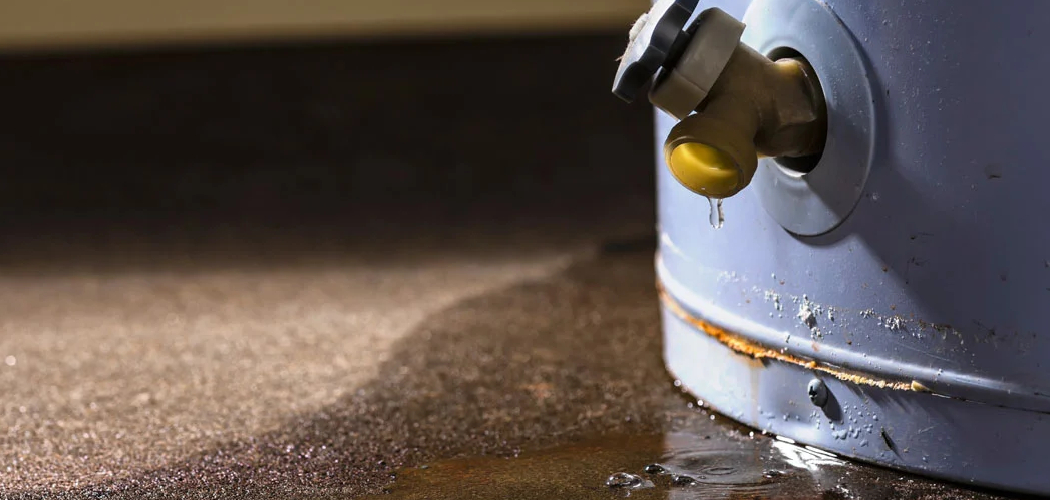
When a tankless water heater begins to leak, it can be extremely frustrating and disruptive. Not only is there water damage from the leaking itself, but you’re also losing valuable hot water that could otherwise be used for showers and laundry. However, there is no need to panic just yet – in most cases, fixing a leaking tankless water heater isn’t too difficult or expensive of an undertaking if done right!
In this blog post, we’ll talk about how to recognize potential issues with your tankless unit before they become major problems and explain step-by-step how to fix a leaking tankless water heater. With just a few straightforward approaches and tools, you can save time and money by getting ahead of any issues with your tankless water heater before it becomes an expensive repair job.
What Will You Need?
Before you start trying to fix a leaking tankless water heater, make sure that you have the right tools and supplies. You will need the following:
- A flathead screwdriver
- A pair of pliers
- Replacement parts (e.g., gaskets)
- An adjustable wrench or open-end wrench
- An adjustable crescent wrench
In addition to these tools, you may also want to have some gloves, safety glasses and a bucket to catch any excess water.
10 Easy Steps on How to Fix a Leaking Tankless Water Heater
Step 1. Turn Off the Power Supply:
Before anything else, make sure to turn off the power supply to your tankless water heater. This will prevent any electrical shocks while you’re working on it and stop the leak from worsening. Moreover, it’s important to make sure that your tankless unit does not have an electrical fault, as this can be more serious and require an electrician to fix it.
Step 2. Drain the Water Out of the Tankless Heater:
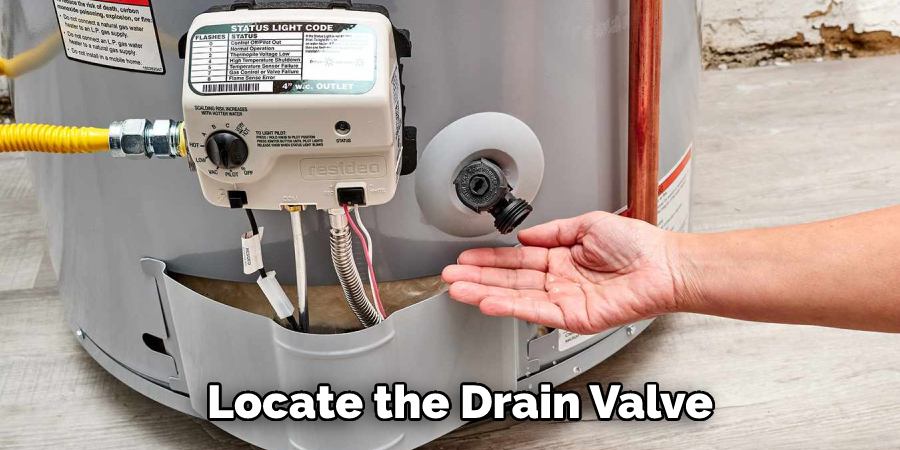
Now that the power has been turned off, it’s time to drain out all of the excess water from your tankless unit. To do this, locate the drain valve near the bottom of your tankless unit and use a wrench or pliers to open it up until all of the water has been drained out. Remember to catch this water in a bucket and then dispose of it safely.
Step 3. Inspect for Leaks:
Once all of the water has been drained out, inspect your tankless unit for any visible signs of leakage. Look for water around the base and near the plumbing connections and on any electrical wiring. You can also check the pipes and hoses for any cracks or damage that may be causing the leak.
Step 4. Determine the Source of the Leak:
If you find signs of a leak, it’s important to determine where it is coming from to fix it properly. Common sources include damaged gaskets or faulty water valves, so take a closer look at these areas and see if they are the source of your problem. If not, you may need to contact a professional for further inspection.
Step 5. Replace Damaged Parts:
If any parts have been identified as being responsible for your leaky tankless water heater, now is the time to replace them with new ones. Make sure that all replacement parts are the same size and type as the old ones and that they are properly installed. Don’t forget also to replace any damaged hoses or pipes.
Step 6. Tighten Fittings:
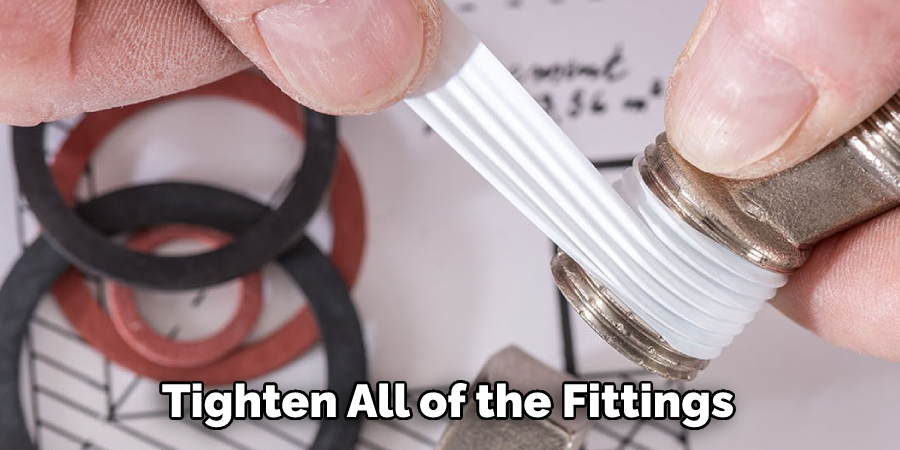
Once your new parts have been put in place, it’s time to tighten all of the fittings on your tankless unit. Use an adjustable or open-end wrench to ensure everything is nice and secure. Ensure that all of the pipes and hoses are properly connected as well.
Step 7. Check for Leaks Again:
Now that you’ve replaced any faulty parts and tightened up all the fittings, it’s a good idea to check for any leaks again before proceeding. If you still see signs of leaking, return to Step 4 and start from there. It may be necessary to contact a professional if you are still having trouble.
Step 8. Refill the Tankless Heater with Water:
Once all of the repairs have been made and checked for, it’s time to refill your tankless water heater with fresh cold water. Make sure that you don’t fill it too quickly or else you could damage the unit itself. Because of this, it’s best to slowly fill the tank and then wait for a few moments before adding any more.
Step 9. Turn On the Power Supply Again:
Now that your tankless unit is full of water and all of the repairs have been made, it’s safe to turn on the power supply again. Make sure to do this slowly so that you don’t shock yourself or anyone else in your household. Otherwise, turn on the power and let your tankless water heater heat up as usual.
Step 10: Monitor Your Progress:
Finally, keep an eye on your tankless water heater for the next few days, and make sure that you don’t see any more signs of leaking. If you do, take a closer look at all of the parts to determine what needs to be fixed again. Remember to take all necessary safety precautions when dealing with electrical components and water.

By following these steps, you can easily fix a leaking tankless water heater and get back to enjoying hot showers in no time. Ensure you have all the necessary tools, parts, and safety equipment before attempting any repairs. And if you still can’t figure out how to fix it yourself, don’t hesitate to contact a professional for help.
5 Additional Tips and Tricks
1. Turn off the power to the tankless water heater before attempting any repairs. Make sure that you don’t get shocked by taking proper safety precautions.
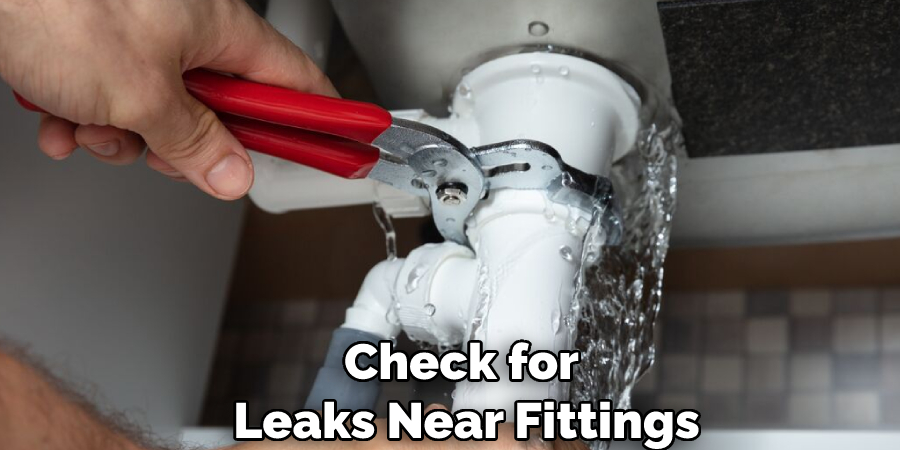
2. Check for leaks near fittings and connections on your tankless water heater. If you find a leak, use a plumber’s tape or tightening compound to make sure all fittings are tight and secure.
3. Inspect all lines for signs of corrosion or rust, which can be indicative of a larger issue with your water heaters, such as an internal valve malfunctioning or excessive pressure buildup. If needed, consider replacing corroded components in order to eliminate further problems down the line.
4. Assess how much hot water is being used at once to determine how much of a tankless water heater is necessary for your home. If you use more hot water than the heater can handle, consider upgrading to a larger unit.
5. Make sure that you follow all safety protocols when handling any type of pressurized gas or electric appliance, such as your tankless water heater. Taking these extra steps can help ensure your safety while also keeping your repairs successful and long-lasting in the future.
With these tips and instructions in mind, you should be able to easily fix a leaking tankless water heater quickly and safely—and get back to enjoying hot showers without worry!
5 Things You Should Avoid
1. Do not try to open the tankless water heater and repair it yourself. This is a job for professionals only because opening the unit can be dangerous, and you may also cause more damage to the unit.
2. You should never use any materials that are not specifically designed for tankless water heaters. Not doing so could void your warranty or cause further damage to the unit.
3. Avoid using too much pressure, which can lead to leaks in other areas of the tankless water heater and over-tightening some parts and leading to additional leakage.
4. If possible, do not attempt to install a new tankless water heater by yourself, as this is best left to experienced technicians who understand how to install the new unit properly.
5. Make sure that you never leave standing water inside the tankless water heater, which can cause corrosion and further leakages.
Following these tips should help you avoid major issues when fixing a leaking tankless water heater. If you have any questions or concerns, it is important to contact a professional to ensure your tankless water heater is repaired correctly and safely.
Conclusion
Thus, how to fix a leaking tankless water heater requires being able to identify the source of the leak, isolate it and carry out necessary repairs. Although the process may be time consuming and can require expertise, it’s still something homeowners can consider doing by themselves, given they have the right tools and knowledge. If not, professional services should always be sought to avoid any unnecessary problems resulting from the mishandling of components or inexperience.
Taking great care during the entire diagnosis and repair process is imperative to prevent any further damage leaks can cause.
All in all, while it might be intimidating to attempt DIY fixes on your tankless water heater, with a little bit of research and guidance, it can ensure peace of mind running water for years to come. Hopefully, the article was helpful. Thanks for reading!

