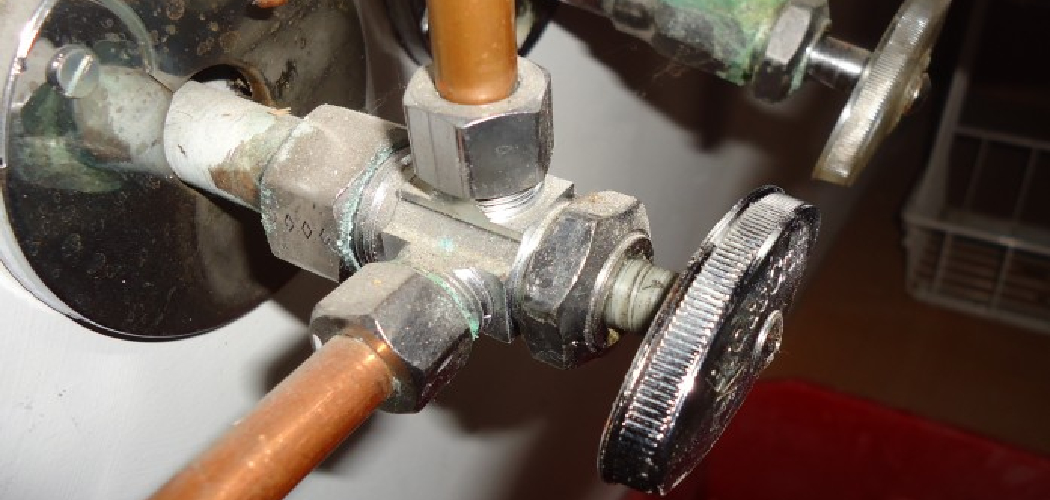
Have you ever had to deal with a leaking water valve? A leaking water valve causes more than just a mess – it can be expensive, time-consuming, and dangerous if not immediately addressed. If the damaged valve isn’t replaced or repaired in time, it could potentially lead to major damage to your home. But don’t worry!
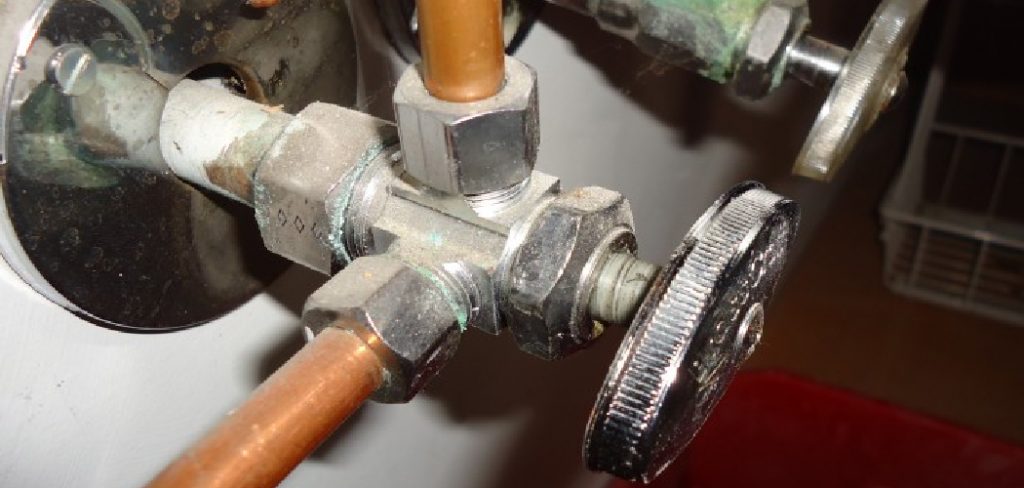
There are ways of fixing a leaking water valve without having to hire a professional plumber or drain cleaner. In this blog post, we’ll walk you through step-by-step how to fix a leaking water valve quickly and easily so that you can get back to enjoying life with as little interruption as possible. Keep reading for some helpful tips on identifying and repairing your leaky plumbing valves!
Tools and Materials You Will Need to Fix a Leaking Water Valve
- Adjustable Wrench
- Plunger
- Plumber’s Grease
- Hose Clamp
- Replacement Valve
Step by Step Guidelines on How to Fix a Leaking Water Valve
Step 1:turn Off the Main Water Supply
Before attempting to make any repairs, it’s important to turn off the main water supply valve. This will prevent further damage or injury from occurring while you work on the leaky valve. If you don’t know where the main water supply valve is located, consult your municipal office for more information. Make sure that you have turned off the main water supply before proceeding to the next step.
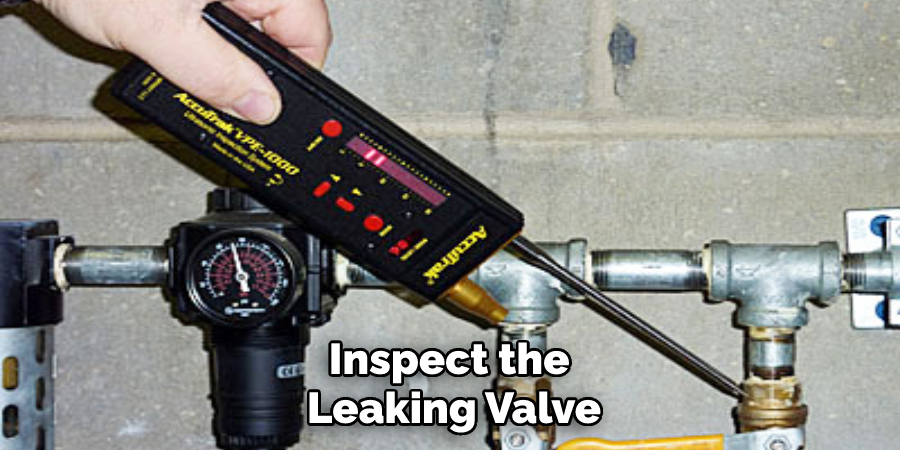
Step 2: Inspect the Leak
Once the main water supply is shut off, inspect the leaking valve for any visible signs of damage or corrosion. If there is damage to the valve, it will likely need to be replaced entirely. If no damage is found, proceed to the next step. If you do need to replace the valve, make sure that you purchase a replacement valve of the same size and type as your current one.
Step 3: Disassemble the Valve
Using your adjustable wrench, loosen and remove any screws or bolts that are holding the valve together. Once all of the components have been removed, clean them off with a rag and inspect them for any additional signs of damage. If you notice any damage, it’s best to replace the component entirely.
Step 4: Apply Plumber’s Grease
Put some plumber’s grease on all of the components before reassembling the valve. This will help lubricate the parts and make them more durable against future leaks or corrosion. Be sure to apply the grease evenly on all of the components, including any bolts or screws.
Step 5: Reassemble your Valve
Once you’ve applied the plumber’s grease, it’s time to reassemble your valve. Make sure that all of the components are properly aligned before tightening them into place with your adjustable wrench. Once everything is in its correct place, use a hose clamp or two on the outside of the valve to make sure that it is properly sealed.
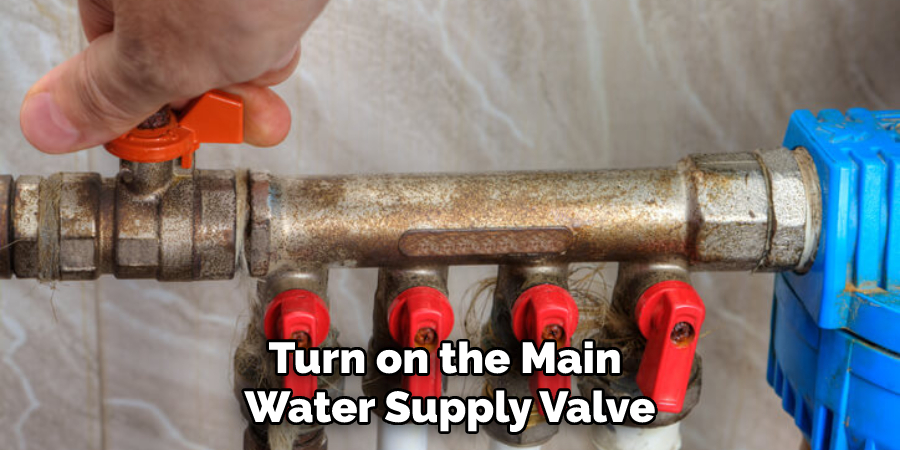
Step 6: Turn On the Main Water Supply and Test for Leaks
After all of your hard work, it’s time to turn on the main water supply valve and test for leaks. If you notice any further leaking, make sure to address this issue quickly as it could cause even more damage to your home.
And there you have it! Following these simple steps should help you fix a leaking water valve quickly and easily, saving you time, money, and hassle in the long run. Good luck with your repair!
Additional Tips and Tricks to Fix a Leaking Water Valve
1. If tightening the valve doesn’t stop the leak, you may need to replace the stem washer or repack the packing nut. If you plan on doing this yourself, make sure to turn off all water valves in your house before removing any parts.
2. To identify what type of stem washer is needed for your water valve, look closely at the one you currently have and compare it to those available in hardware stores.
3. If you are replacing the stem washer yourself, make sure to take special care when removing or installing new parts.
4. If repacking is required, use a quality pipe-joint compound on all of the parts before putting them back together.
5. When replacing washers, be sure to use only those that are designed for your particular valve type and size.
6. Finally, if you’re still having trouble getting the leak to stop, consult a professional plumber for assistance in repairing or replacing the water valve. With their experience and expertise, they can help you identify the source of the leak and develop a lasting solution.
Following these tips and tricks will help you fix your leaking water valve and keep it from happening again. It’s important to remember that a leaking water valve can cause costly damage if not taken care of quickly, so be sure to act as soon as possible! Good luck with your repair project!
Things You Should Consider to Fix a Leaking Water Valve
1. Determine the type of water valve you have and find a replacement part. If the valve is too old or discontinued, consider replacing it with a new one.
2. Shut off the water supply to your home before attempting any repair work on your leaking water valve. Make sure all faucets are turned off and the water supply is completely shut off.
3. Use a wrench to loosen the packing nut located on the valve stem. Unscrew the packing nut and remove the old packing material, as well as any debris or buildup from inside the valve.
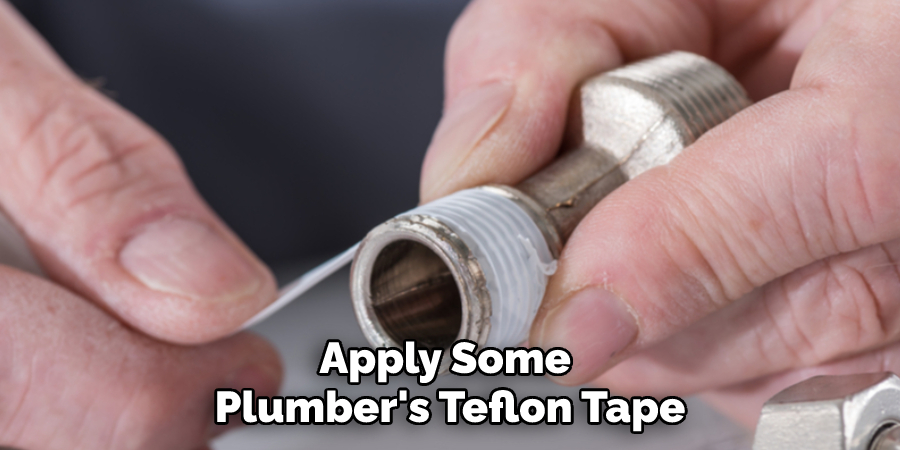
4. Apply some plumber’s Teflon tape to the threads of your new valve stem then thread it into the water valve body. Make sure you don’t over-tighten or cross-thread it, as this could cause more damage.
5. Wrap some new packing material around your new valve stem and reinstall the packing nut. Hand-tighten the nut first, then use a wrench to give it a final turn.
6. Turn the water supply back on and check for leaks. If you find any, tighten the nut again until all leaks are stopped.
7. Replace any old or broken sealing washers with new ones before putting the valve cover back on. Make sure everything is secure before you turn the water back on.
8. Test the valve by slowly opening and closing it a few times to make sure it’s working properly. If you hear any squeaking noises or feel excessive resistance, tighten the packing nut a bit more.
By following these steps, you should be able to fix your leaking water valve quickly and easily. If you’re still having trouble, contact an experienced plumber for help. They can determine the cause of the leak and recommend the best course of action to fix it. Good luck!
Precautions Need to Follow for Fixing a Leaking Water Valve
It is important to be aware of the potential risks associated with fixing a leaking water valve. To minimize these risks, always follow the safety precautions when handling the tools and components needed for repair.
1. Turn off the main water supply line before beginning any repairs. This will help avoid any potential flooding or damage to your home due to a water leak.
2. Wear safety goggles and gloves when handling any tools or components related to the leaking water valve. This will help protect your eyes from any debris or sharp edges.
3. Make sure the area in which you are working is well-ventilated and illuminated by natural light or artificial lighting, as this will help ensure that you can clearly see any components or tools that may be needed during the repair.
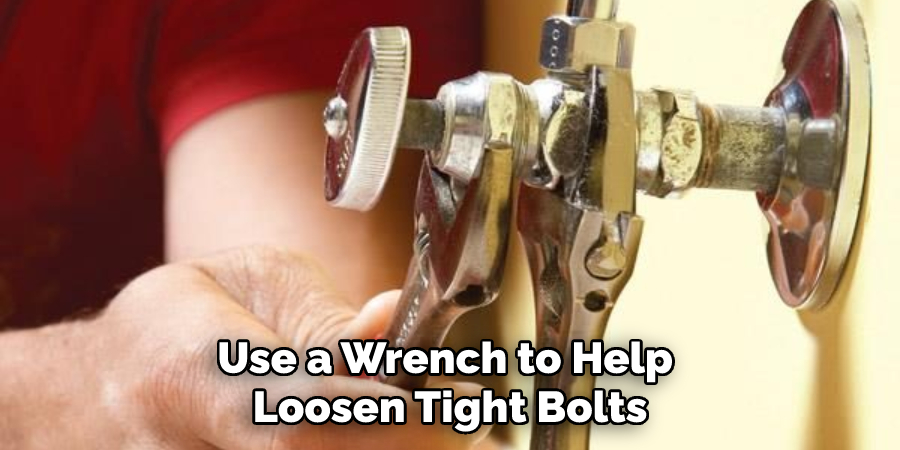
4. If necessary, use a wrench to help loosen tight bolts on the leaking water valve. Always make sure to follow all safety precautions when using this tool.
5. Once all bolts have been removed, carefully inspect the parts of the valve to identify any signs of wear and tear or other damage. If you find any, replace the component before continuing with the repair.
6. If possible, always use new water pipes when replacing the leaking water valve, as this will help ensure that no further damage is caused to your home due to old pipes.
7. After the new valve has been installed, test it to make sure it is not leaking and that all connections are secure. If everything looks good, you can turn on the main water supply line to ensure the repair was successful.
By following these safety precautions when repairing a leaking water valve, you can help minimize any potential risks associated with the repair. Additionally, these precautions will help ensure that your home is protected from any further damage due to water leaks.
Conclusion
Now that you know how to fix a leaking water valve, you are well on your way to becoming a prolific DIYer. Not only did you save yourself from the potential cost of hiring a professional, but now you have the skills required to tackle many other home repairs. Admittedly, DIY repair is not an easy task and requires time and dedication, but with these steps in mind, you can go about any project confidently.
Additionally, if a repair seems too challenging or beyond your skill set don’t hesitate to hire a professional—safety first! All in all, the process of mending your water valve is nothing complex and with some patience, confidence, and courage any homeowner can get the job done right.

