A leaky cartridge faucet can not only be annoying but also waste water and increase your utility bill. Fortunately, fixing this common household issue is a straightforward task that you can tackle yourself with a few basic tools and a bit of patience.
This guide on how to fix a leaky cartridge faucet will walk you through the steps to identify the problem, gather the necessary materials, and successfully repair your faucet, saving you time and money.
What is a Cartridge Faucet?
A cartridge faucet is a type of faucet that uses a movable cartridge to control water flow and temperature. Unlike traditional compression faucets that rely on washers, cartridge faucets operate using a single lever or two handles that move smoothly to adjust the water. Inside the faucet, the cartridge contains openings that align to regulate water pressure and mix hot and cold water.
These faucets are commonly found in kitchens and bathrooms due to their durability and ease of use. Understanding the mechanics of a cartridge faucet can help diagnose and fix leaks more effectively.
Needed Materials
- Replacement Cartridge (Specific to Your Faucet Brand and Model)
- Screwdriver
- Wrench (Adjustable or Basin Wrench)
- Pliers
- Plumber’s Grease
- Clean Cloth or Rag
7 Step-by-Step Guidelines on How to Fix a Leaky Cartridge Faucet
Step 1: Preparation
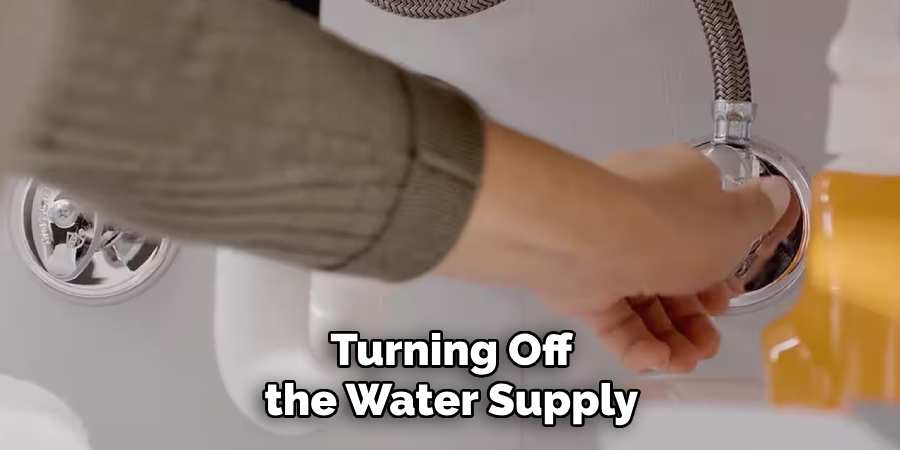
Begin by turning off the water supply to the faucet to avoid any mess or water damage. Locate the shut-off valves under the sink and turn them clockwise until they are fully closed. Next, plug the sink drain with a stopper or rag to prevent small parts from falling into it.
Gather all the necessary tools and materials listed above, placing them within easy reach to streamline the process. Lastly, ensure that you have good lighting in your workspace to clearly see the faucet components.
Step 2: Remove the Handle
Using a screwdriver or Allen wrench, depending on the type of faucet, loosen the screw that secures the handle. This screw is often located under a decorative cap or cover. Gently pry off the cap using a flathead screwdriver if needed, taking care not to scratch the surface.
Once the screw is loosened, lift the handle off the faucet. If the handle is stuck due to mineral buildup or corrosion, apply a small amount of penetrating oil and wiggle it carefully until it comes free. Set the handle and screw aside in a safe place for reassembly later.
Step 3: Remove the Cartridge
After removing the handle, you will see the faucet cartridge exposed. Depending on the faucet model, there may be a retaining nut or clip holding the cartridge in place. Use an adjustable wrench or pliers to unscrew the retaining nut, or carefully remove the retaining clip with a pair of needle-nose pliers.
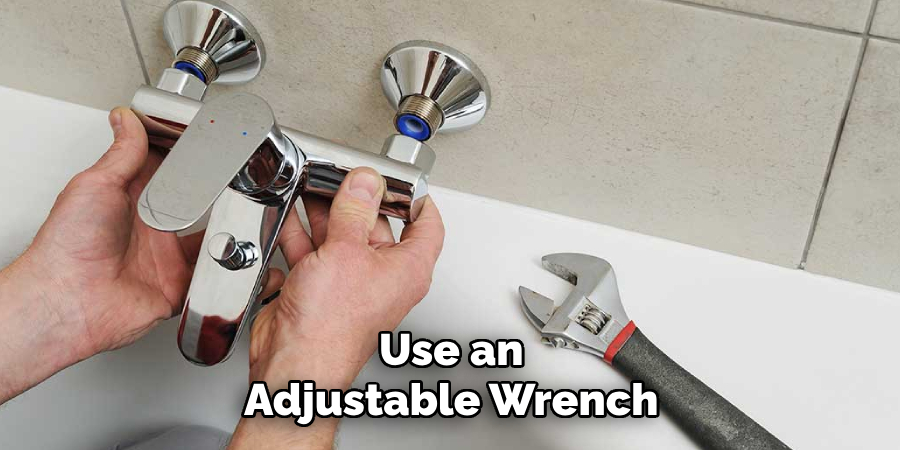
Once the cartridge is unsecured, gently pull it straight out of the faucet body. If the cartridge is difficult to remove due to mineral deposits, apply a small amount of penetrating oil and use a cartridge puller if needed. Be sure to note the orientation of the cartridge to ensure correct installation during reassembly. Set the cartridge aside if it will be replaced.
Step 4: Inspect and Clean
With the cartridge removed, take a moment to inspect it for any signs of wear, cracks, or damage. If the cartridge is intended to be reused, ensure it is in good condition. Next, carefully examine the inside of the faucet body for debris, mineral buildup, or corrosion.
Use a clean, damp cloth to wipe away dirt and grime from the faucet body. For stubborn deposits, a soft-bristled brush or a solution of vinegar and water can be used to gently clean the affected areas. Ensuring that all components are free from residue will help maintain the faucet’s proper function and prevent future leaks.
Step 5: Replace and Reassemble
Once all the components have been cleaned and inspected, it’s time to reassemble the faucet. Begin by carefully reinserting the cartridge into its original position, making sure it is properly aligned according to the manufacturer’s instructions. Secure the cartridge firmly in place, but avoid overtightening, as this could cause damage.
Next, replace any washers, seals, or retaining nuts that were removed during disassembly. Finally, reattach the handle and tighten the screw to secure it. Test the faucet by turning it on to check for proper functionality and ensure there are no leaks. If everything is in working order, your repair is complete.
Step 6: Test the Faucet
Once all components are reassembled, turn the water supply back on. Slowly open the faucet and check for a steady flow of water. Observe the faucet closely to ensure there are no leaks around the handle, spout, or base.
Test both hot and cold settings to verify proper temperature control. If you notice any issues, revisit the previous steps to ensure everything is correctly installed. Otherwise, enjoy your fully functioning faucet!
Step 7: Regular Maintenance
It’s important to regularly maintain your faucet to prevent future leaks. This includes cleaning or replacing cartridges as needed and checking for any wear or damage. It’s also a good idea to use plumber’s tape when assembling the faucet, as this can help prevent leaks in the future.
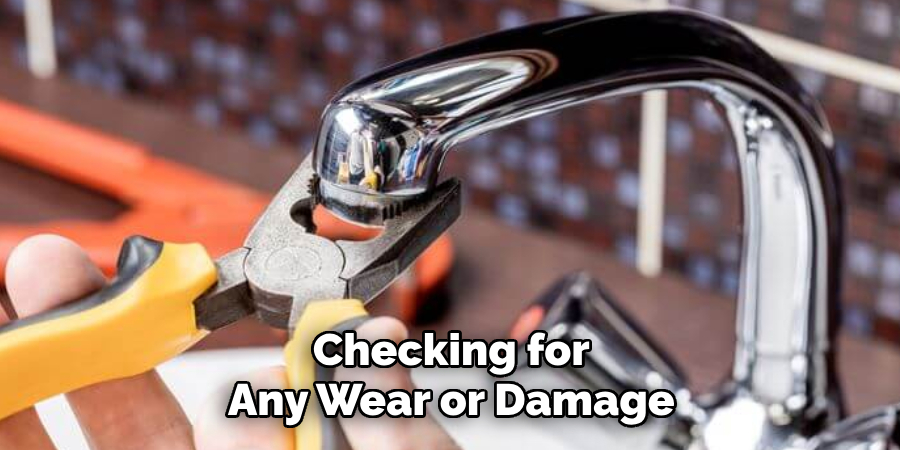
Following these steps on how to fix a leaky cartridge faucet will ensure your faucet continues to function properly and save you from costly repairs in the future. It’s also a good idea to periodically check for water pressure changes and make any necessary adjustments.
Additional Tips
- If you encounter any difficulty in removing the cartridge, try using locking pliers or a cartridge puller specifically designed for this task.
- Before attempting to remove or replace any parts, always turn off the water supply to avoid any accidents.
- Regular maintenance of your faucet can prevent future leaks and extend its lifespan. Consider cleaning or replacing cartridges every 1-2 years.
- If you’re unsure about how to disassemble your specific faucet model, refer to the manufacturer’s instructions or seek professional help. Improper handling can cause further damage.
- Don’t forget to check for any loose connections or worn-out seals while reassembling your faucet.
- Once everything is back in place, turn on the water supply and test your faucet for any leaks. Adjust handles or cartridges as needed.
- Properly disposing of old parts and materials is important for both safety and environmental reasons. Check with your local waste management guidelines for proper disposal methods.
Frequently Asked Questions
Q: How Often Should I Replace My Faucet Parts?
A- The frequency of replacing faucet parts depends on several factors such as the quality of the parts, usage, and maintenance. However, it is recommended to inspect and clean your faucet at least once a year and replace any worn-out or damaged parts immediately.
Q: Can I Fix a Leaky Faucet Without Calling a Plumber?
A- Yes, you can fix a leaky faucet with some basic tools and knowledge. Follow our step-by-step guide for repairing a leaky faucet. If you are not confident in your DIY skills, it’s best to call a professional plumber to avoid causing further damage.
Q: How Do I Know If My Faucet Needs to Be Replaced?
A- There are a few signs that indicate it’s time to replace your faucet. These include consistent leaks, frequent repairs, rust or corrosion build-up, and difficulty in turning the handle or getting water flow. If you notice any of these issues, it’s best to consider replacing your faucet instead of constantly repairing it.
Q: Is It Important to Use High-Quality Parts When Repairing a Faucet?
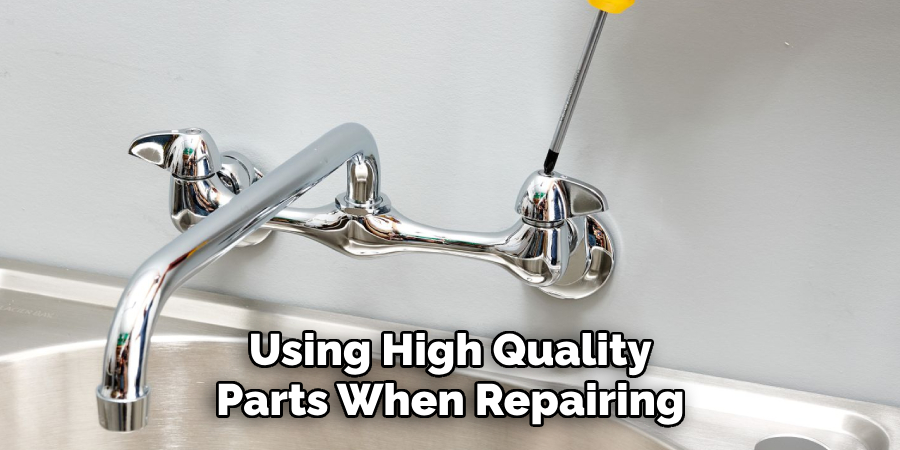
A- Yes, using high-quality parts when repairing a faucet is crucial for its longevity and proper functioning. Low-quality parts tend to wear out faster and can cause leaks or other issues in the future. It’s worth investing in good quality parts to save yourself from the hassle and cost of frequent repairs.
Q: Can I Repair a Faucet Myself or Should I Hire a Professional?
A- It depends on the extent of the repair and your level of expertise. Minor repairs, such as replacing a washer or o-ring, can be done by yourself with some basic tools. However, for more complex issues like a broken valve or pipe, it’s best to hire a professional plumber who has the necessary skills and experience to fix it properly. Attempting to do these repairs yourself could potentially cause further damage and end up costing you more in the long run.
Conclusion
Maintaining your faucet and ensuring proper repairs with high-quality parts can save you time, money, and inconvenience in the long run. When you address issues promptly and use durable materials, you enhance the lifespan and performance of your fixture.
Remember, a well-maintained faucet not only reduces water waste but also contributes to the overall functionality and aesthetics of your home. Thanks for reading this article on how to fix a leaky cartridge faucet.

