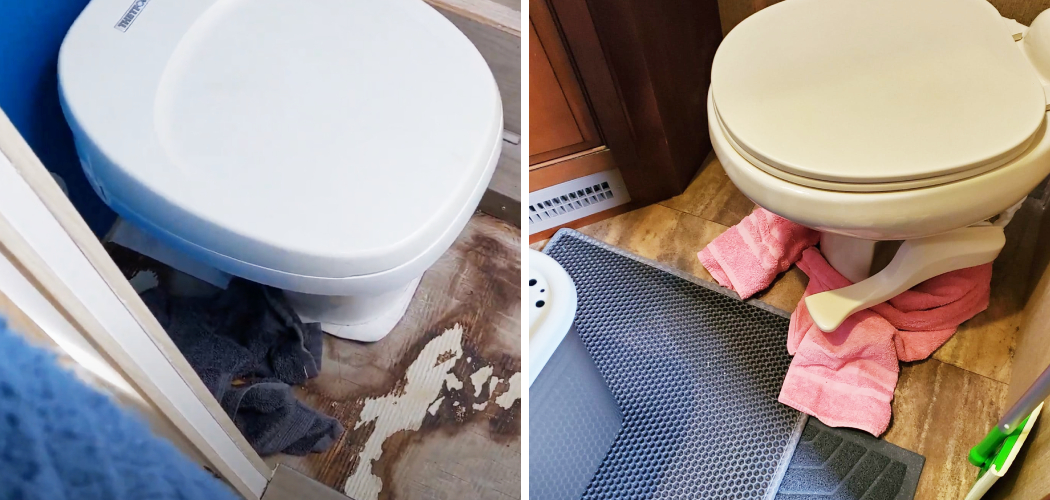
Having a leaky RV toilet can cause a lot of problems during your camping trip, including a foul odor and water damage. But the good news is, fixing it is not as complicated as you might think.
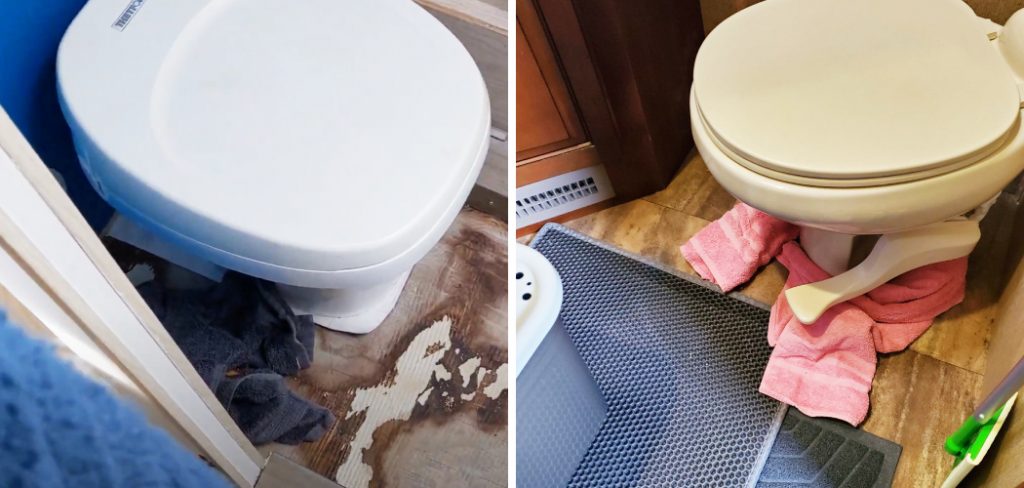
In this article, we will guide you through the steps on how to fix a leaky rv toilet, no matter the cause of the leak. Follow along to learn how you can get back to enjoying your trip in a leak-free RV restroom.
Can You Fix a Leaky Rv Toilet?
Keeping your RV fully operational is the key to a fulfilling adventure on the open road. While all RV systems are important, a functioning toilet is particularly crucial. The last thing you want is for a leaky RV toilet to rain on your parade. And while the issue may seem daunting, fixing a leaky RV toilet is not as hard as it may seem.
The process involves identifying the cause of the leak, which could be a cracked valve or a damaged seal. Once the problem is identified, replacing the faulty part is next. This might sound overwhelming, but with a little patience and determination, you can fix a leaky RV toilet in no time.
Don’t let a leaky RV toilet dampen your spirits – take on the challenge and get that toilet working like new in no time.
Why Should You Fix a Leaky Rv Toilet?
A leaky RV toilet may seem like a minor inconvenience, but it can lead to significant problems if left unfixed. Not only does it waste water and increase your utility bill, but it can also damage your RV’s flooring and walls.
Furthermore, a leaky toilet can attract pests and create unpleasant odors, making your RV trip uncomfortable. Fixing a leaky toilet is a simple and cost-effective solution that will save you money in the long run by preventing further damage. It’s crucial to address the problem early on and ensure your trips are comfortable and stress-free.
7 Ways to Follow on How to Fix a Leaky RV Toilet
1. Determine the Cause of The Leak
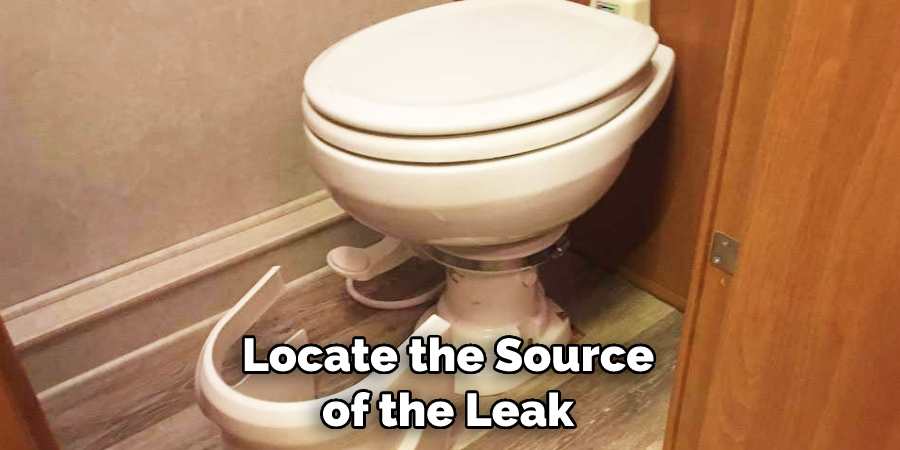
Before you start any repair work, it’s important to identify where the leak is coming from. Typically, four areas can cause an RV toilet to leak: the water supply line, the toilet valve seal, the sewer flange, and the floor seal. Once you’ve located the source of the leak, you can start to assess what needs fixing.
2. Fixing the Water Supply Line
If the leak is coming from the water supply line, you’ll need to shut off the water supply to the toilet first. Once it’s off, identify where the line is leaking from. If it’s a small hole or crack, you may be able to fix it with some sealant. However, if the leak is more severe, you’ll need to replace the line altogether.
3. Replacing the Toilet Valve Seal
The toilet valve seal is a rubber gasket that can wear out over time and cause leaks. To replace it, you’ll need to turn off the water supply, unscrew the water line connection, and detach the toilet from the floor. Once you’ve removed the old seal, replace it with a new one and reattach everything in reverse order.
4. Fixing the Sewer Flange
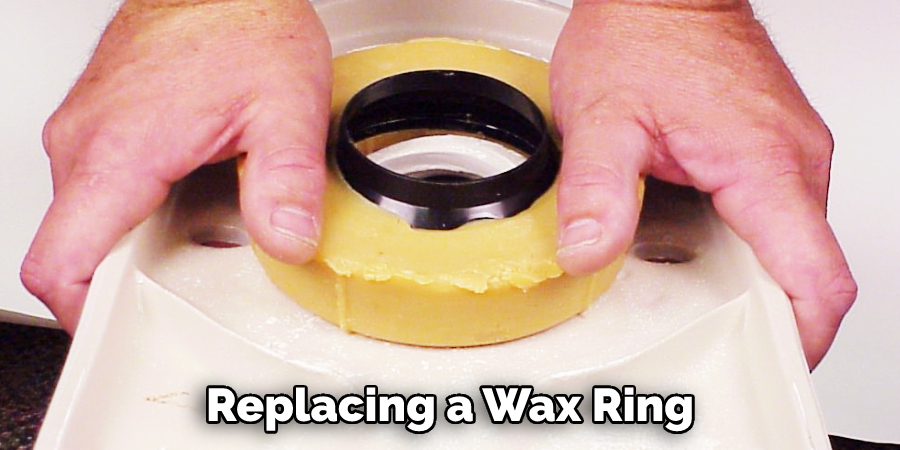
If the leak is coming from the sewer flange, it may be due to a loose or damaged seal around it. To fix it, you’ll need to remove the toilet and apply a new wax seal around the sewer flange. This will create a tight seal and prevent any further leaks.
5. Replacing the Floor Seal
If none of the above have fixed the leak, it may be due to a damaged floor seal. To replace it, you’ll need to remove the toilet from the floor and replace the seal. Make sure the new seal is properly aligned and secured before reattaching the toilet.
6. Checking For Other Leaks
Once you’ve fixed the main leak, checking your RV for any other signs of leakage is a good idea. This could include checking around water supply lines, faucets, and other fixtures for any signs of moisture. If you do find any additional leaks, address them as soon as possible.
7. Prevention Tips
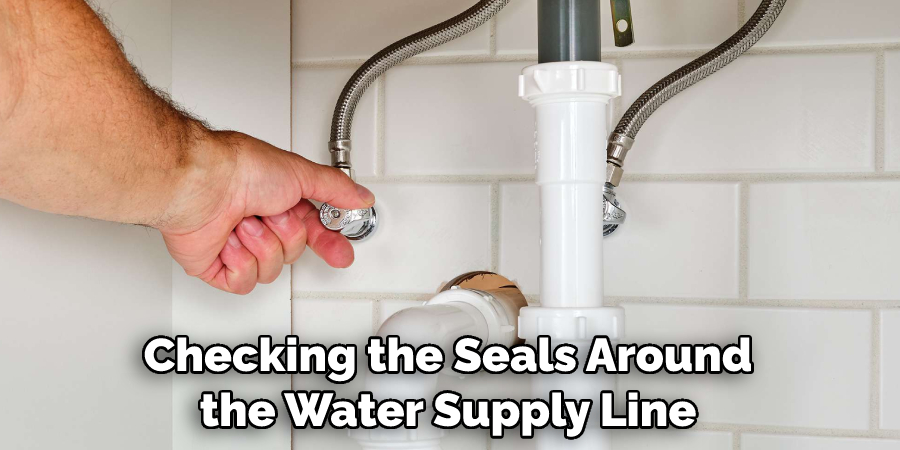
Following the above steps should help fix a leaky RV toilet, but it’s also important to practice regular maintenance and prevention. This includes regularly checking the seals around the water supply line, toilet valve seal, sewer flange, and floor seal for any signs of wear or damage.
Additionally, it’s a good idea to replace any worn or damaged seals as soon as possible. Doing so will help ensure your RV toilet remains leak-free for years to come.
That’s it! You’ve now learned how to fix a leaky RV toilet in seven easy steps. With regular maintenance and preventive measures, your RV toilet should stay leak-free for years to come. Now all you have to do is enjoy the journey!
5 Considerations Things When You Need to Fix a Leaky RV Toilet
1. Location of The Leak
The first thing you need to do is determine where the leak is coming from. Is it coming from the base of the toilet, the tank, or the bowl? If it is coming from the base of the toilet, it is likely that the wax ring needs to be replaced. If it is coming from the tank, it is likely that a gasket needs to be replaced. If it is coming from the bowl, it is likely that a seal needs to be replaced.
2. Cause of The Leak
Once you have determined where the leak is coming from, you need to determine what is causing the leak. Is it a cracked toilet bowl? A loose gasket? A faulty wax ring? Once you have determined the cause of the leak, you can then proceed to fix it.
3. Materials Needed for Repair
Depending on where the leak is coming from and what is causing it, you will need different materials for the repair. For example, if you are replacing a wax ring, you will need a new wax ring and a putty knife. If you are replacing a gasket, you will need a new gasket and some plumber’s putty. If you are replacing a seal, you will need a new seal and some silicone caulk.
4. Cost of Repair
Another consideration when fixing a leaky RV toilet is the cost of repair. Depending on what needs to be replaced and where the leak is coming from, the cost of repair can vary widely. For example, replacing a wax ring can cost as little as $10, while replacing a cracked toilet bowl can cost upwards of $200.
5. Difficulty of Repair
Finally, you need to consider how difficult the repair will be to do yourself. Replacing a wax ring or gasket is relatively simple and can be done by most people with minimal experience. However, replacing a cracked toilet bowl or seal may be more difficult and may require professional help.
Benefits of Fix a Leaky RV Toilet
A leaky RV toilet can be a hassle when you’re on the road. Not only is it a nuisance to constantly have to deal with leaks and drips, but it can also be a health hazard if left unchecked. However, fixing a leaky RV toilet can provide numerous benefits that make an effort well worth it.
For one, it can save you money on wasted water and repair costs down the line. It can also prevent damage to your RV’s interior from water leaks and mold growth. And, perhaps most importantly, it can ensure a more enjoyable and hassle-free RV experience overall. So if you are dealing with a leaky RV toilet, it’s worth fixing it properly to reap the many benefits it provides.
Some Common Mistakes People Make When Trying to Fix a Leaky RV Toilet
Ah, the joys of RV living. The open road, the fresh air, the freedom to roam… But with that freedom comes responsibility – specifically, responsibility for keeping your RV in good working order. And nothing can put a damper on your nomadic adventures like a leaky toilet.
Unfortunately, many people make mistakes when trying to fix a leaky RV toilet – mistakes that can end up costing them time, money, and frustration. From using the wrong tools to overlooking important steps, a variety of pitfalls can trip up even the most seasoned DIYers. But fear not!
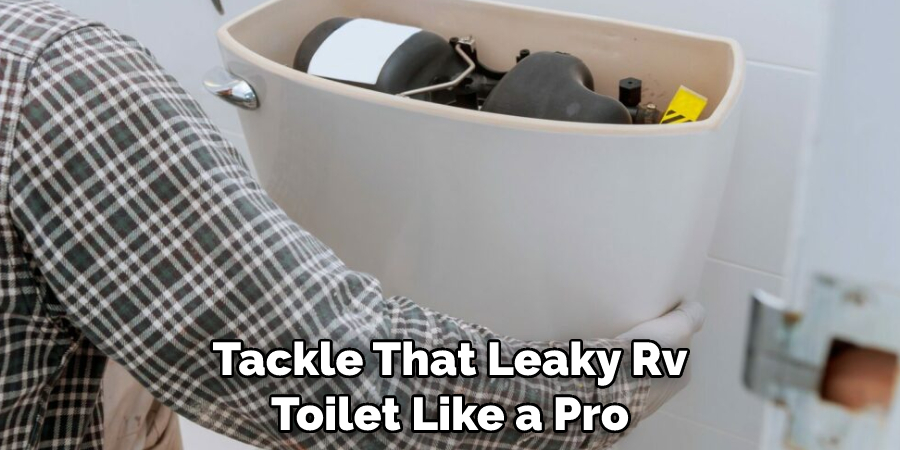
With a little know-how and some careful attention, you can tackle that leaky RV toilet like a pro and get back to enjoying life on the road.
Conclusion
A leaky RV toilet can quickly turn your camping trip into a nightmare, but it doesn’t have to. By following the steps outlined in this article, you can fix the problem quickly and easily, no matter what’s causing the leak.
Before you attempt to fix the toilet, make sure you’ve got the right tools and parts, and don’t be afraid to call in a professional if you’re unsure about any of the steps.
With a little bit of patience and know-how, you’ll be back to enjoying your RV bathroom in no time. Thanks for reading our post about how to fix a leaky rv toilet.

