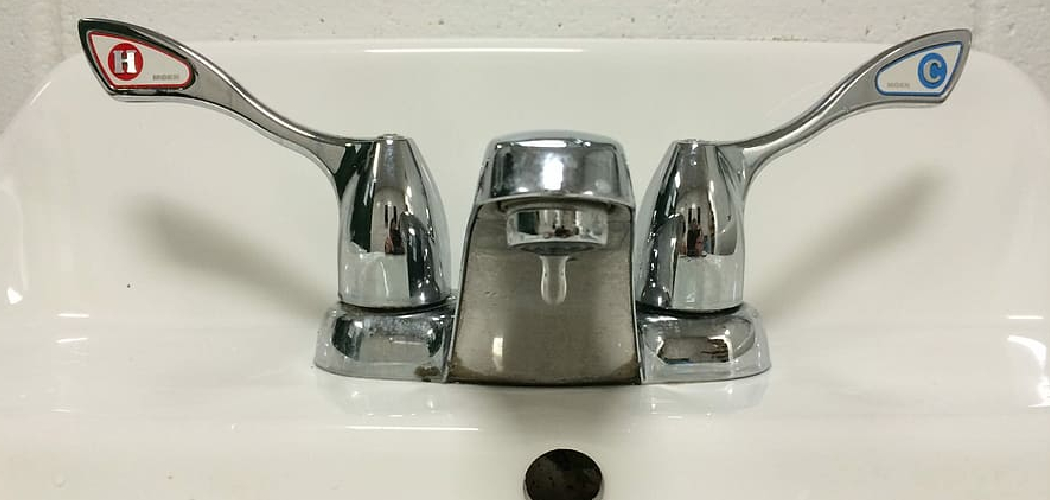
A leaky shower faucet with double handles can be both an annoyance and a waste of water, leading to higher utility bills and potential damage over time. Fixing the issue may seem daunting at first, but with the right tools and a clear step-by-step guide, it can be a straightforward process. This guide will help you with how to fix a leaky shower faucet double handle, saving you time and money while restoring your faucet to perfect working condition.
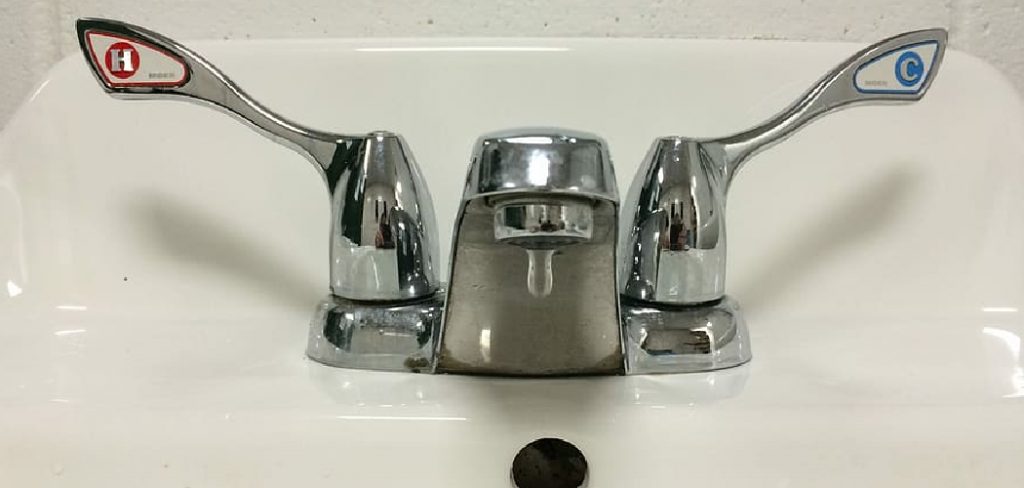
Why Fix a Leaky Shower Faucet
Fixing a leaky shower faucet is important for several reasons. First, a continuous drip can waste a significant amount of water over time, contributing to unnecessarily high water bills and wasting a precious resource. Additionally, the constant moisture from leaks can lead to mildew, mold, and damage to your walls or flooring, resulting in costly repairs.
Beyond the practical reasons, a properly functioning faucet also ensures a more enjoyable and efficient showering experience. Addressing the issue promptly can help you avoid greater inconveniences and expenses down the line while promoting sustainable water usage in your home.
Causes of a Leaky Double Handle Shower Faucet
A leaky double handle shower faucet is often the result of common issues that develop over time due to wear and tear or improper maintenance. One primary cause is the deterioration of the rubber or silicone seals that prevent water from escaping when the handles are turned off. These seals can harden, crack, or degrade with prolonged use, leading to leaks.
Another frequent issue stems from damaged or worn-out valve seats, which are metal components responsible for creating a watertight connection. Mineral buildup from hard water can corrode these seats, compromising their functionality.
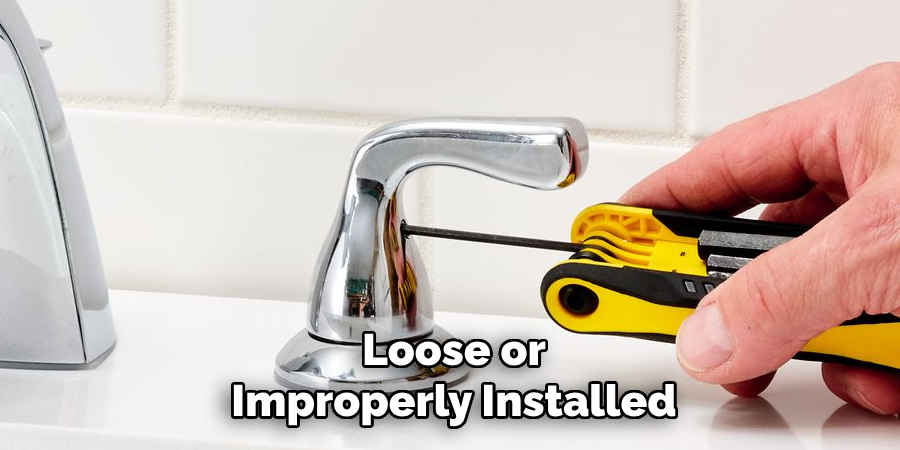
Additionally, loose or improperly installed handles can contribute to leaks by failing to fully engage the internal components of the faucet. Understanding these potential causes can help in diagnosing and addressing leaks more effectively.
10 Methods How to Fix a Leaky Shower Faucet Double Handle
1. Turn Off the Water Supply
Before beginning any plumbing work, it’s essential to turn off the water supply to your shower. You can do this by locating the water shutoff valves behind your shower or under the sink. If you can’t find these valves or they are not present, turn off the main water supply to your home.
Once the water supply is shut off, turn on the faucet to release any remaining water pressure and ensure no water flows during the repair. This precaution prevents accidental leaks and water wastage while you work.
2. Plug the Drain to Avoid Losing Small Parts
To prevent any small screws or parts from falling into the drain and potentially getting lost, plug the drain with a sink stopper or a cloth. This simple step will protect small pieces like screws, washers, and handles that you may need later. It also keeps your workspace organized and makes the process smoother, reducing the chance of any tiny components disappearing into the drain, which could extend the repair time.
3. Remove the Handle Knobs
The first step in accessing the faulty parts of your double-handle faucet is to remove the handle knobs. Most double-handle faucets have a decorative cap covering the screw that holds the handle in place. Use a flathead screwdriver or utility knife to gently pry off the cap.
Once the screw is exposed, use an appropriate screwdriver (usually a Phillips-head) to remove the screw and pull the handle off. If the handles are stuck due to mineral deposits or corrosion, gently tap the handle with a rubber mallet or use a handle puller to avoid damaging the fixture.
4. Remove the Escutcheon Plate or Cover
If your shower faucet features an escutcheon plate (a decorative cover that hides the plumbing), you’ll need to remove it to access the inner components of the faucet.
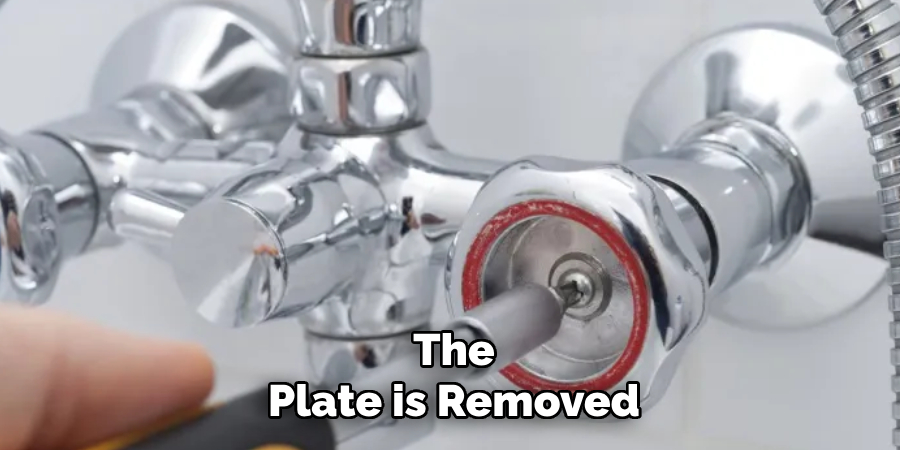
Use a screwdriver or wrench to unscrew and remove the escutcheon plate. Be cautious when doing this, as older fixtures may be more fragile. Once the plate is removed, you will have a clear view of the faucet’s valve assembly, and you will be able to proceed with fixing the leak.
5. Inspect the Valve Stem and Cartridge
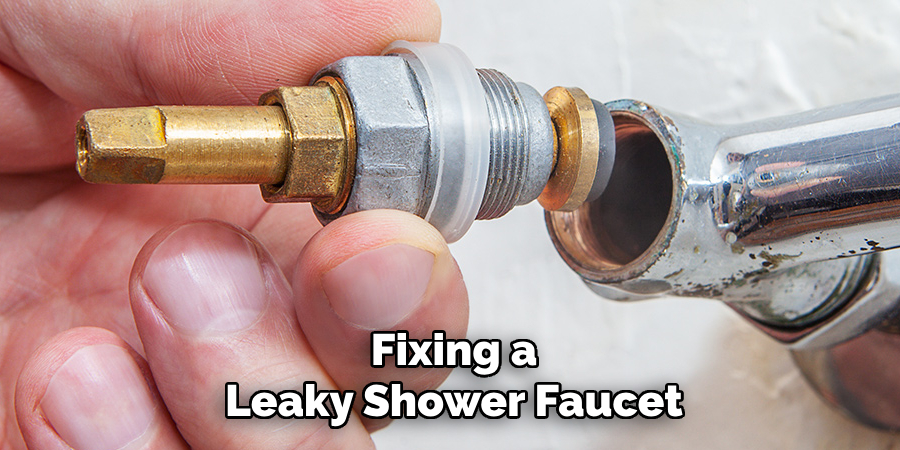
With the handles and escutcheon plate removed, you’ll be able to see the valve stem or cartridge, which is the central part that controls water flow and temperature. Inspect the valve stem carefully for signs of wear, such as cracking, corrosion, or mineral buildup.
A worn-out valve stem is often the culprit for a leaky faucet. If the stem looks damaged, you will need to replace it with a new one. If the cartridge is the type used, it may need to be replaced as well. In some cases, mineral deposits can be cleaned off, allowing you to continue using the existing stem.
6. Replace Worn-out Washers or O-rings
One of the most common causes of a leaky double-handle shower faucet is worn-out washers or O-rings. These small rubber components help seal the faucet handles against the valve stem to prevent water from leaking.
To fix the leak, remove the valve stem and carefully examine the washers and O-rings for signs of wear or damage. If they appear cracked, hardened, or deformed, replace them with new washers or O-rings. Make sure to purchase the correct size and type for your faucet model, as improper fit can lead to further leaks.
7. Lubricate the O-rings and Seals
After replacing the washers or O-rings, it’s a good idea to lubricate the new seals before reassembling the faucet. Use a silicone-based plumber’s grease to coat the new O-rings and seals lightly.
This lubrication helps create a watertight seal, prevents wear over time, and ensures smooth operation of the valve stem. Avoid using petroleum-based lubricants, as they can degrade rubber seals and lead to future leaks. Applying a small amount of lubrication is all that’s needed to prolong the life of the faucet.
8. Reassemble the Faucet
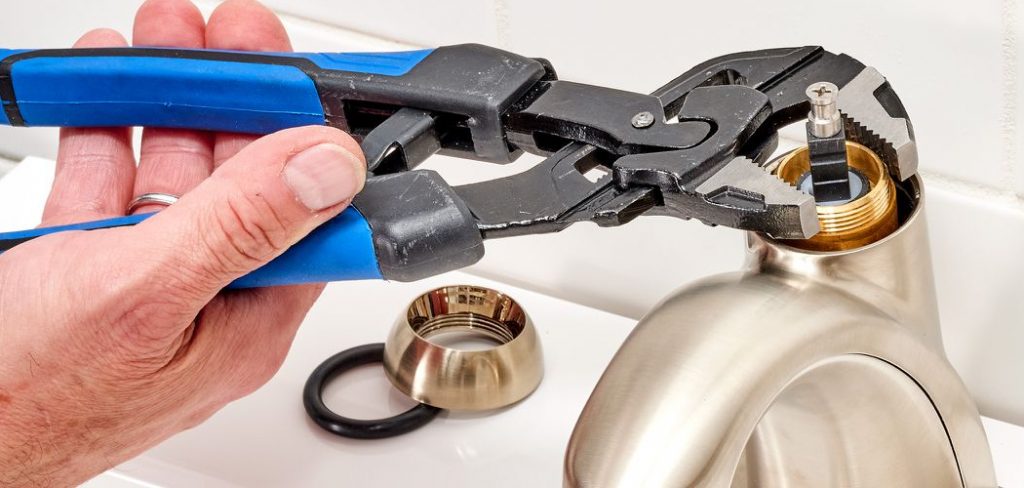
Once the necessary parts have been replaced and lubricated, you can begin reassembling the faucet. Insert the valve stem back into the faucet body, making sure it fits properly.
Tighten the retaining nut or screw to secure the stem in place. Reattach the escutcheon plate and handle knobs, ensuring they are aligned and fit snugly. Be sure not to overtighten any screws, as this can damage the faucet or cause the components to become misaligned. The handle should move smoothly, without any resistance or wobble.
9. Turn On the Water Supply and Check for Leaks
With the faucet reassembled, it’s time to turn the water supply back on. Slowly open the shutoff valves under the sink or at the main water supply to restore water flow to the shower. Once the water is on, check the faucet handles and valve for any leaks.
Turn the handles to test the water pressure and temperature controls. If you notice any leaks, double-check the installation of the washers, O-rings, and valve stem to ensure everything is properly fitted. If the problem persists, you may need to replace the valve cartridge or consult a professional plumber for further troubleshooting.
10. Clean Up and Final Inspection
After confirming that the leak is fixed, clean up the area around the faucet. Wipe away any excess water, debris, or lubricant to prevent buildup. Perform a final inspection to ensure the handles operate smoothly and that no parts are out of place.
If the faucet is functioning properly without leaks, and all components are securely fastened, you have successfully fixed the leaky shower faucet. Take a moment to admire your work and enjoy the satisfaction of having completed the repair yourself.
Things to Consider When Fixing a Leaky Shower Faucet
- Turn Off the Water Supply: Before starting any repairs, ensure you turn off the water supply to avoid further leaks or water damage during the process.
- Use the Right Tools: Assemble all necessary tools, such as a wrench, screwdriver, and plumber’s tape. Having the correct tools on hand will make the repair process smoother and more efficient.
- Understand Your Faucet Type: Faucets come in different types, such as compression, ball, ceramic disk, and cartridge. Identifying your faucet type will help you find the correct replacement parts.
- Work in a Clean Area: Keep the workspace tidy to avoid losing small parts or contaminating the internal components of the faucet with debris.
- Confirm Proper Sealing: Ensure all connections and components are properly sealed after reassembly to prevent future leaks.
- Check for Additional Damage: While examining the faucet, look for other signs of wear or corrosion that may require attention or replacement.
Conclusion
Fixing a leaky shower faucet with double handles is a manageable DIY project that can save both water and money. By following these ten steps—from turning off the water supply and removing the handles to replacing washers, lubricating seals, and reassembling the faucet—you can resolve the issue of a leaky faucet in no time.
Whether the cause is worn-out washers, damaged O-rings, or a faulty valve stem, the process is straightforward and requires minimal tools. So, there you have it – a quick and easy guide on how to fix a leaky shower faucet double handle.

