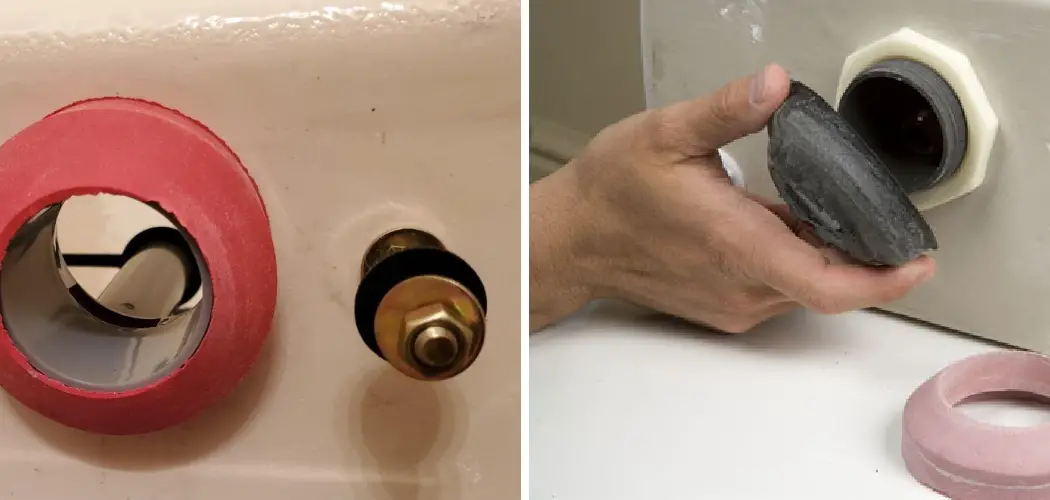
Having a leaky toilet tank bolt is an unfortunately common problem among homeowners, and it can be especially frustrating if you’re not sure how to fix it. If your toilet has been running unnecessarily or gradually refilling itself between uses, chances are the culprit is one of your toilet tank bolts leaking.
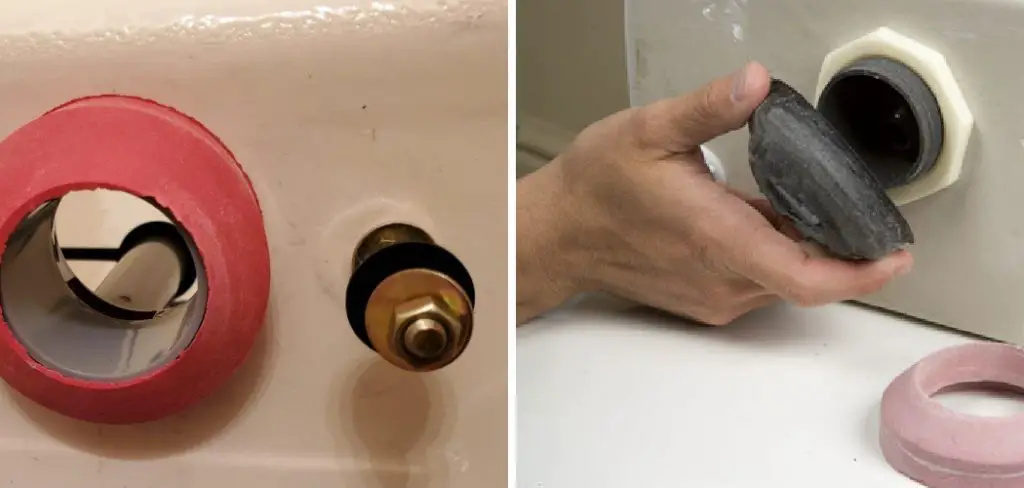
Though it may seem intimidating at first, there’s no need to worry – replacing the bolts on your toilet can help you save on water bills, protect the environment by conserving resources, and prevent any further damage from occurring. Here we’ll go over everything you need to know about how to fix a leaky toilet tank bolt!
If you’ve ever had the unpleasant experience of discovering a leaky toilet tank bolt, then you know what an inconvenience that can be. Not only does it create extra hassle in your daily routine, but it also contributes to water waste and ultimately leads to higher utility bills.
Fortunately, fixing a leaky toilet tank bolt is much simpler than you might think—all it takes is some basic tools, supplies and guidance from this blog post! Here we’ll explain how to diagnose the issue, acquire the necessary materials and take actionable steps toward stopping the leak efficiently so that your bathroom (and wallet!) will thank you later.
Why is It Important to Fix a Leaky Toilet Tank Bolt?
1. To Avoid Water Damage
One of the main reasons why it is important to fix a leaky toilet tank bolt is to avoid water damage. If the leak continues, your toilet may start leaking more water than usual and cause damage to the surrounding area. This could include the warping of floorboards, discoloration of walls or carpeting, and even standing pools of water that can lead to mold growth.
2. To Reduce Your Water Bill
Fixing a leaky toilet tank bolt may also help reduce your water bill. If the toilet is leaking, it will be using more water than necessary which can lead to higher costs each month. Repairing the leak and ensuring that the toilet is running efficiently can help save you money in the long run.
3. To Prevent Plumbing Backups
Another important reason to fix a leaky toilet tank bolt is to prevent plumbing backups. If the leak continues, it can cause clogs in the drain pipe or sewer line and result in a messy and expensive repair job. Taking care of the issue quickly can help you avoid this problem and keep your plumbing system running smoothly.

4. To Maintain the Integrity of Your Toilet
Finally, it is important to fix a leaky toilet tank bolt in order to maintain the integrity of your toilet. A leaking toilet can cause damage to its seals and other components, which can result in costly repairs or having to replace the entire unit. Taking the time to fix the leak can help ensure that your toilet lasts for years to come.
Overall, taking the time to fix a leaky toilet tank bolt is an important part of both protecting your home and preserving the life of your toilet. Taking action quickly can save you from having to deal with costly water damage and plumbing repairs in the future.
10 Tips On How to Fix a Leaky Toilet Tank Bolt
1. Use a Wrench to Tighten the Tank Bolt
One of the most common causes of a leaking toilet tank is a loose bolt. Use a wrench to tighten the bolt and secure it in place. If the bolt doesn’t feel secure, use pliers or an adjustable wrench to hold it tight while you tighten it.
2. Check for Corrosion
Corrosion can weaken bolts over time, leading to a leaky toilet tank. If the bolt appears to be corroded, replace it with a new one. You have to be careful while doing this.
3. Replace Old Washers
If the washer on your toilet tank bolt has become worn or damaged, it may need to be replaced. Look for signs of wear or cracking and replace the old washers if necessary. Make sure you are doing it carefully.
4. Use High-Quality Parts
Using high-quality parts is essential for a secure and watertight installation. Make sure to use only the best materials and hardware when replacing parts on your toilet tank. This will help prevent future leaks.
5. Use Waterproof Sealants
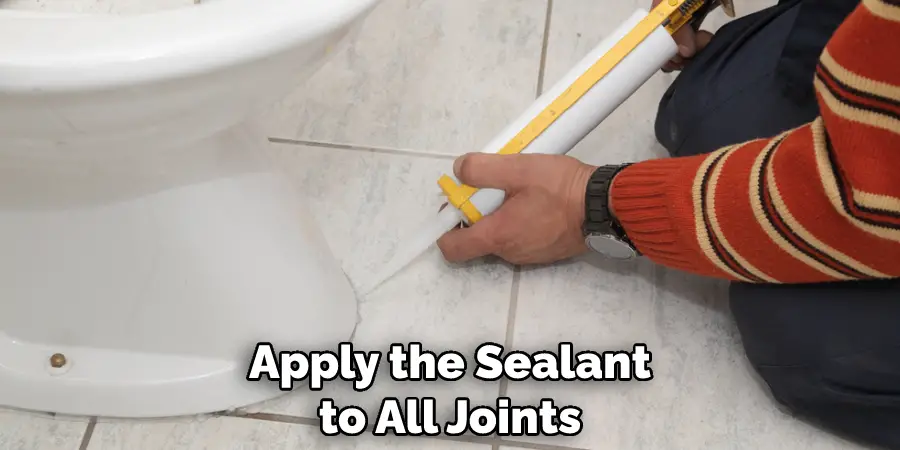
Using a waterproof sealant can further reduce the chance of a leaky toilet tank. Apply the sealant to all joints, bolts, nuts and other areas that could be prone to moisture leakage. This will provide an extra layer of protection against water seepage.
6. Check the Toilet Flange
The toilet flange is connected to the bottom of the toilet tank which connects it to the floor. A loose or damaged flange can cause a leaky toilet tank, so make sure you check it regularly and replace any worn parts as needed.
7. Inspect Pipe Connections
Inspecting pipe connections is another way to prevent leaks. Make sure that the pipes and fittings are secure and not leaking. If there are any signs of damage, replace them as soon as possible.
8. Install Tank Liners
Installing a tank liner can reduce the chances of water leakage from your toilet tank. These liners are made of vinyl or plastic and should be installed in the tank before any other parts are attached.
9. Test for Leaks
It’s important to regularly test for leaks to make sure your toilet tank is functioning properly. Use a bucket of water to check for leaks around the bolts, washers, and flange. Also make sure to check the tank itself for any signs of water seepage.
10. Contact a Professional
If you’re still having trouble with a leaking toilet tank, it’s best to contact a professional plumber for help. They can inspect all parts and provide advice on how to properly repair or replace them. This will ensure that your toilet tank is properly sealed and won’t leak again.
Frequently Asked Questions
What Precautions Should I Take Before Working on a Toilet?
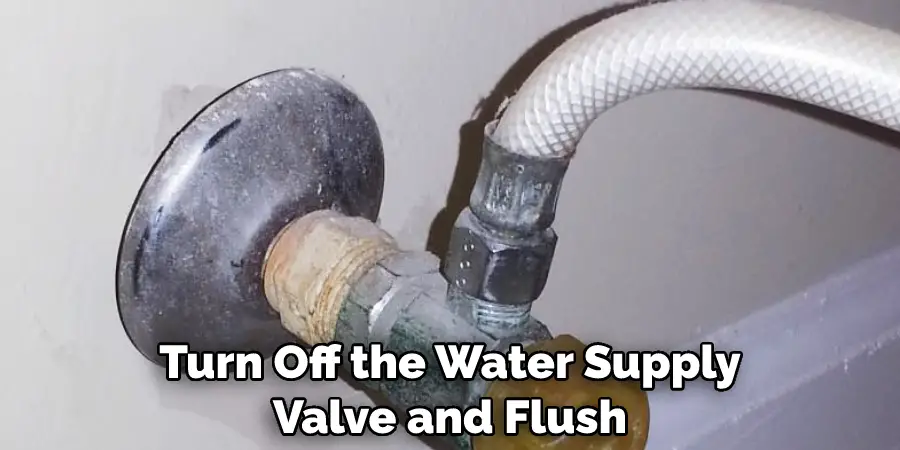
Before working on the toilet, make sure to turn off the water supply valve and flush the toilet to release any pressure. It is also recommended to wear protective gloves when working with any type of plumbing. Also, be sure to have a bucket and some old towels handy in case you need to catch any water that may leak out during the repair.
What Tools Will I Need?
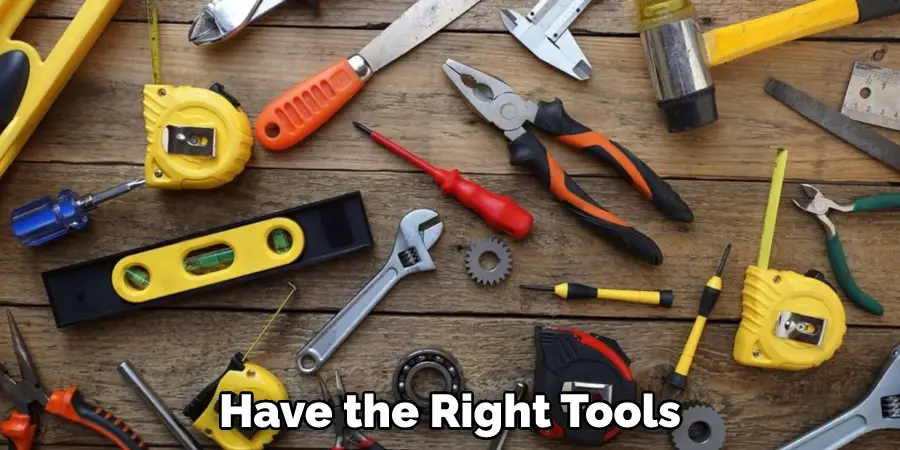
To fix a leaking toilet tank bolt, you will need an adjustable wrench or pliers, Teflon tape or pipe joint compound, and a replacement washer or gasket.
How Do I Fix a Leaky Toilet Tank Bolt?
First, remove the nut from the bolt using an adjustable wrench or pliers and unscrew it counterclockwise. Then, check for any damage to the washer or gasket, and replace it if needed. Apply Teflon tape or pipe joint compound to the threads of the bolt and tighten with an adjustable wrench or pliers, making sure not to overtighten. Finally, reattach the nut to the bolt by tightening it clockwise.
What Should I Do If My Toilet is Still Leaking?
If your toilet is still leaking after following these steps, you may need a new flapper, flush valve seal, or another replacement part. It is a good idea to contact a plumber who can properly diagnose and repair your toilet.
How Often Should I Check for Leaks?
It is recommended that you inspect the bolts on your toilet tank once a month to check for any leaks or wear and tear that may have occurred. Doing so can help to prevent further damage and costly repairs in the future.
Can I Do This Repair Myself?
Yes, it is possible to repair your toilet tank bolts yourself using the correct tools and materials. However, if you do not feel comfortable or confident in doing this repair on your own, it is best to contact a professional plumber for assistance.
It is important to take the necessary precautions, have the right tools, and understand how to properly repair your toilet tank bolts if you decide to do this job yourself. Following these steps can help ensure that you have a safe and successful repair. Good luck!
Conclusion
Now you know how to fix a leaky toilet tank bolt! In summary, fixing a leaky toilet tank bolt is surprisingly simple, inexpensive, and only takes a few minutes. Because the job only requires a few tools and is relatively easy to do, it’s best to identify the cause yourself before calling in a professional.
The most common causes are loose or corroded bolts or washers that need to be tightened or replaced. If done correctly, this process will not only stop the dripping noise but also help you save on extra water consumption costs from your utility bill. As long as you take the necessary safety precautions doing these easy repairs can save you a lot of time and money – so why wait? Go out and fix that leaky toilet tank bolt today!

