Are you tired of the constant gurgling and bubbling sounds from your drain?
A noisy drain can be a frustrating nuisance, disrupting the peace of your home and indicating potential plumbing issues. It often manifests as gurgling, bubbling, or whistling sounds, which can stem from various causes, including trapped air, blockages, or issues within the drainage system. Addressing these sounds promptly is crucial, as neglecting to resolve them can lead to more significant problems, such as leaks or pipe damage.
This guide on how to fix a noisy drain will walk you through common reasons for a noisy drain and provide practical steps you can take to troubleshoot and fix the issue effectively. With the right tools and a bit of know-how, restoring tranquility to your plumbing system is within reach.
What Will You Need?
Before we jump into the steps to fix your noisy drain, here are some essential tools and materials you’ll need:
- A plunger
- A plumber’s snake or auger
- Baking soda and vinegar (optional)
- Rubber gloves
Make sure to have these on hand before starting, as they will be useful during the troubleshooting process.
10 Easy Steps on How to Fix a Noisy Drain
Step 1: Identify the Source of the Noise
Begin by determining when the noise occurs. Is it during specific activities like running the faucet or flushing the toilet? This information can help you pinpoint the problem area. Listen carefully to assess whether the noise originates from a single fixture or multiple points in the plumbing system.
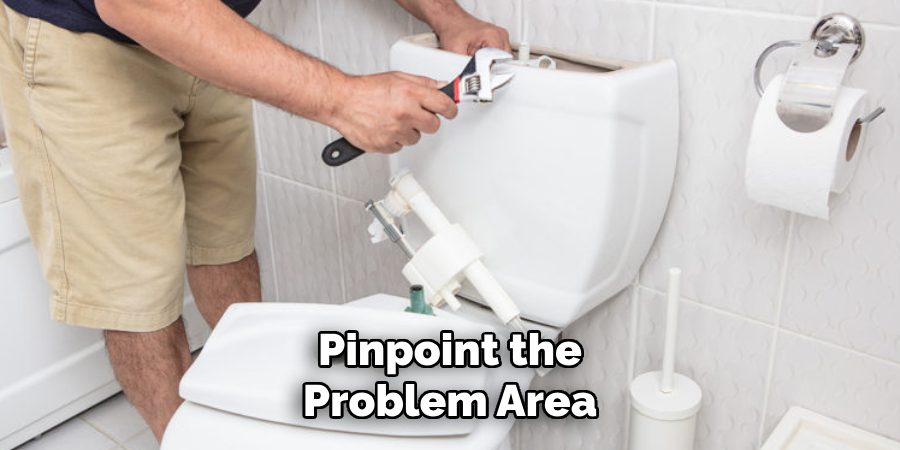
Recognizing the patterns can provide valuable insights into whether the issue is related to air trapped in the pipes, a blockage, or a venting problem. Once you’ve identified the source, you can move on to the next steps with a clearer understanding of what needs to be addressed.
Step 2: Check for Blockages
Next, inspect the drain and associated pipes for any blockages that could be causing the noise. You can start by removing the drain cover to look for debris, hair, or other obstructions. If you notice anything blocking the flow of water, carefully remove it. For deeper blockages, use a plumber’s snake or auger to clear out any buildup that might be causing the drain to gurgle or bubble.
If you suspect a blockage further down the line, consider pouring a solution of baking soda and vinegar down the drain. This can help break down minor clogs and improve drainage flow, thus reducing noise levels. After clearing any obstructions, run water through the drain to see if the noise persists.
Step 3: Inspect the Venting System
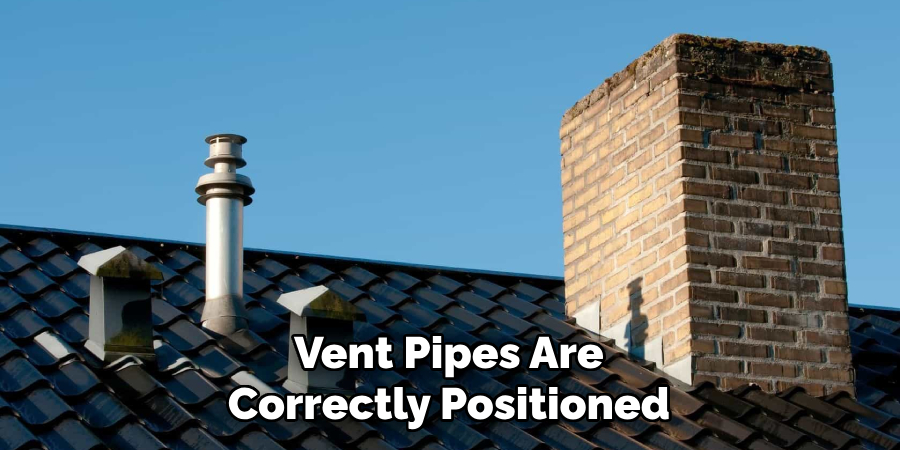
A faulty venting system can contribute to noisy drains, as proper venting is essential for maintaining air pressure in the plumbing system. Check the vent pipes on your roof to ensure they are not blocked by debris, such as leaves or bird nests. A blocked vent can hinder airflow, causing gurgling or bubbling noises as water flows through the drain.
If you find any obstructions, carefully remove them to restore proper airflow. Additionally, ensure that vent pipes are correctly positioned and free from severe bends that could impede drainage. Once the venting system is cleared, monitor the drain to see if the noise has diminished.
Step 4: Check for Air Leaks
Air leaks in your plumbing system can also lead to noisy drains. Start by inspecting the joints and connections in your pipes for any signs of wear or damage. Look for areas where fittings may have come loose or the pipes may be cracked. Applying pipe joint compound or tightening loose fittings can help seal small gaps and reduce air leaks, leading to a quieter plumbing system. If you find any significant damage, consider replacing the affected sections of the pipe to prevent further issues. After addressing leaks, run water through the drain again to check if the noise has improved.
Step 5: Evaluate the Drainage Slope
The slope of your drainage pipes plays a crucial role in how well water flows through the system. If the pipes are improperly sloped, it can lead to slow drainage and the accumulation of water, which may cause noisy gurgling sounds. Using a level, check the angle of the pipes to ensure they are pitched adequately toward the main drain line. Ideally, the slope should be about 1/4 inch per foot.
If you find that the slope needs to be increased, you may need to adjust the pipe installation or consult a professional plumber for assistance in reconfiguring the drainage system. Once corrected, observe whether the noise from the drain decreases as water flows more freely.
Step 6: Clean the P-Trap
The P-trap, a curved section of pipe beneath your sink, can trap debris and build up, leading to noise in your drainage system. To clean it, place a bucket underneath to catch any water that may spill. Carefully detach the P-trap from the sink and the wall pipe, using a wrench if necessary. Inspect it for any clogs, hair, or grime, and clean it thoroughly by rinsing it out with water or using a brush for stubborn debris. Once it’s clean, reattach the P-trap securely and run water to check if the noise issue has improved. Regular maintenance of the P-trap can help prevent future plumbing disturbances.
Step 7: Inspect for Pipe Damage
If noise persists, inspect your pipes for any visible signs of damage, such as cracks, rust, or wear. Damaged pipes can allow air to enter the system or restrict water flow, both contributing to noisy drains. Carefully examine all accessible sections of the plumbing for any abnormalities. If you identify damaged pipes, you may need to replace sections or consult a professional plumber to ensure proper repairs. Replacing damaged sections is vital for noise reduction and your plumbing system’s overall integrity. After addressing any issues, test the drain once again to see if the noise has been resolved.
Step 8: Reevaluate Appliance Connections
Sometimes, noisy drains can be linked to dishwashers or washing machines. Inspect the drainage connection of these appliances to ensure they are correctly installed and do not cause backflow issues into the drain. Look for kinks in hoses or improper installations that can disrupt the flow of water. Make necessary adjustments to ensure that connections are secure and that appliances are functioning correctly. After making these adjustments, listen for any changes in the noise level coming from the drain.
Step 9: Consider Sound Dampening Solutions
If the noise persists despite troubleshooting, consider investing in sound-dampening solutions. Various materials, such as rubber or foam insulation, can wrap exposed pipes, absorbing vibrations and reducing the sound transmitted through the plumbing system. This can significantly help in minimizing any gurgling or bubbling noises that escape from the pipes into your home. While these solutions don’t solve the underlying issues, they can improve your overall comfort. After applying insulation, monitor your drains and listen for any notable reduction in noise.
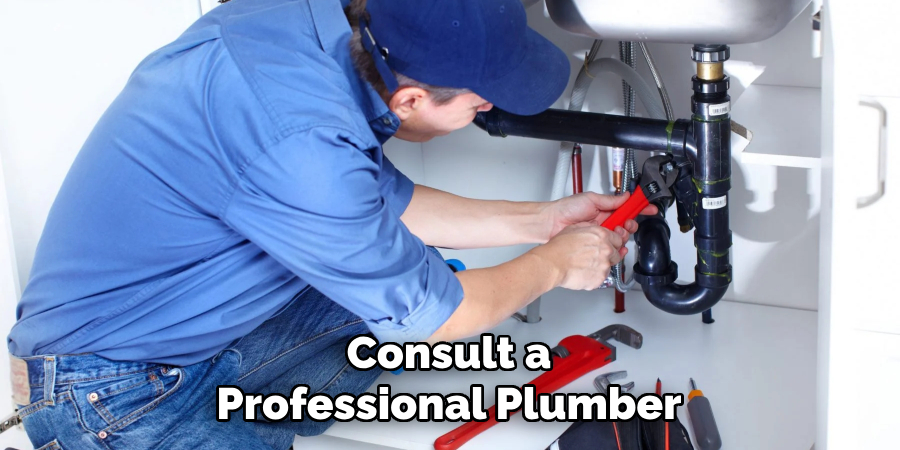
Step 10: Contact a Professional
If you’ve tried all the steps as mentioned earlier and the drain noise continues to be disruptive, it may be time to consult a professional plumber. Persistent noise could indicate deeper plumbing system issues requiring expert diagnosis and repair. A professional will have the tools and expertise to investigate potential problems more thoroughly, preventing further damage and restoring peace to your home. Regular maintenance and expert intervention can ensure your plumbing system functions optimally, allowing for a quieter living environment.

By following these steps, you can troubleshoot and address any noisy drains in your home. Remember to regularly maintain your plumbing system and promptly address any issues to prevent disruptions and costly repairs in the future.
5 Things You Should Avoid
- Ignoring Warning Signs: Don’t overlook the early indicators of plumbing issues, such as slow drainage or unusual noises. Ignoring these signs can lead to more severe problems, including extensive repairs and water damage.
- Using Chemical Drain Cleaners: While chemical drain cleaners may seem like a quick solution, they can harm your plumbing system and the environment. These substances can corrode pipes and may not even resolve the underlying causes of drain noise.
- Overtightening Fittings: When tightening loose fittings, avoid overtightening them. Excessive force can damage or crack the plumbing connections, which can exacerbate noise issues rather than solve them.
- Neglecting Regular Maintenance: Avoid the mistake of disregarding routine maintenance. Regularly inspecting and cleaning your plumbing system can help prevent build-up, clogs, and other issues contributing to noisy drains.
- Attempting Complex Repairs Without Experience: If you encounter a complicated plumbing issue, it’s best to refrain from fixing it yourself unless you have the proper expertise. Attempting complex repairs without the right knowledge can lead to further damage and costly fixes. Instead, contact a professional plumber for assistance.
Conclusion
In summary, how to fix a noisy drain involves a systematic approach to identify and resolve the underlying issues affecting your plumbing system.
By following the outlined steps—such as checking for clogs, inspecting pipe condition, and reconsidering appliance connections—you can significantly reduce noise levels and improve the overall functioning of your drains. Additionally, it’s essential to avoid common pitfalls, like neglecting maintenance or using harmful substances, which can exacerbate noise issues. If the problem persists despite your efforts, do not hesitate to seek professional assistance to ensure your plumbing is in optimal condition.
Maintaining awareness and proactively managing your plumbing system is vital to enjoying a peaceful and quiet home environment.

