Pinhole leaks in copper tubing may seem minor initially, but they can lead to substantial water damage if not addressed promptly. These small holes often develop unnoticed, allowing water to escape and potentially compromise structural integrity while creating an environment for mold to thrive.
Common causes of pinhole leaks include corrosion due to water chemicals, natural pipes aging over time, and excessive water pressure that can weaken the tubing. In this article, we will provide a comprehensive guide on how to fix a pinhole leak in copper tubing, detailing the necessary tools and materials, as well as the step-by-step procedures you can follow to effectively repair these leaks.
By being proactive and understanding the causes and solutions, you can save your home from costly repairs and ensure your plumbing system remains functional.
Identifying the Pinhole Leak
Step 1: Visual Inspection
The first step in addressing a pinhole leak in copper tubing is to conduct a thorough visual inspection of the affected area. Begin by looking for signs of leaks, such as small water droplets forming on the surface of the tube, which may indicate a leak developing. Additionally, watch for discoloration along the tubing, which can present as dark spots or streaks, often signaling moisture presence.
A common indicator of corrosion is the presence of greenish-blue spots, known as verdigris. These spots are unsightly and indicate a potential failure in the pipe’s integrity. Next, check the surrounding areas for signs of water damage. Look for damp spots on adjacent walls, ceilings, or floors that may suggest water is escaping the tubing and causing damage elsewhere, reinforcing the urgency of the repair.
Step 2: Confirm the Leak
Once you have identified a suspected leakage area, confirming its presence is critical. Start by thoroughly drying the affected area with a clean towel to remove any excess moisture. After drying, observe the area closely for a few minutes; if water reappears, you have likely confirmed the location of the pinhole leak. To keep track of the leak and simplify the repair process, be sure to mark the specific spot using a marker or tape.
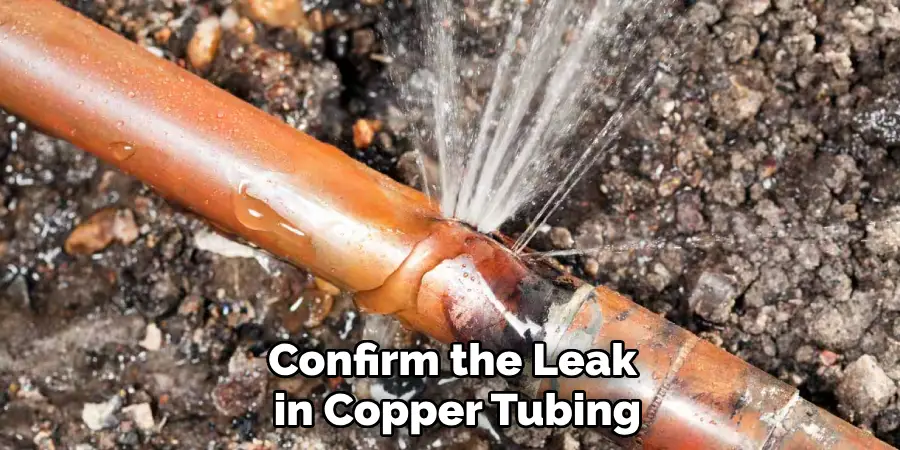
This will help you quickly identify it during your repair efforts and ensure you do not overlook it, especially if there are multiple areas of concern. Following these steps, you can effectively identify and confirm the pinhole leak in your copper tubing before proceeding with the necessary repairs.
How to Fix a Pinhole Leak in Copper Tubing: Temporary Fixes for Pinhole Leaks
When addressing pinhole leaks in copper tubing, temporary fixes can provide immediate relief while you plan for a more permanent solution. Here are three effective options:
Option 1: Pipe Repair Tape
Application Process: To use pipe repair tape, start by cleaning the area around the leak to remove any moisture or debris. Begin wrapping the tape around the pinhole, ensuring you cover the leak completely. Wrap the tape tightly and evenly around the pipe, overlapping each layer by about half to create a solid seal. Ideally, apply several layers for maximum effectiveness, making sure the tape adheres well to the surface.
Short-Term Solution: It’s important to note that pipe repair tape is only a temporary fix. While it can effectively prevent water from leaking in the short term, it should be followed up with a more permanent solution to ensure the longevity of your plumbing system.
Option 2: Epoxy Putty
Preparation: Before applying epoxy putty, ensure the area around the leak is clean and completely dry. Use a cloth to wipe off any moisture and eliminate any loose particles that could interfere with adhesion.
Application Process: Take a portion of the epoxy putty and knead it together until it is uniform in consistency. Once ready, press the putty firmly over the leak, shaping it to completely cover the hole. Make sure to spread the putty to secure it around the edges of the leak for a tight seal.
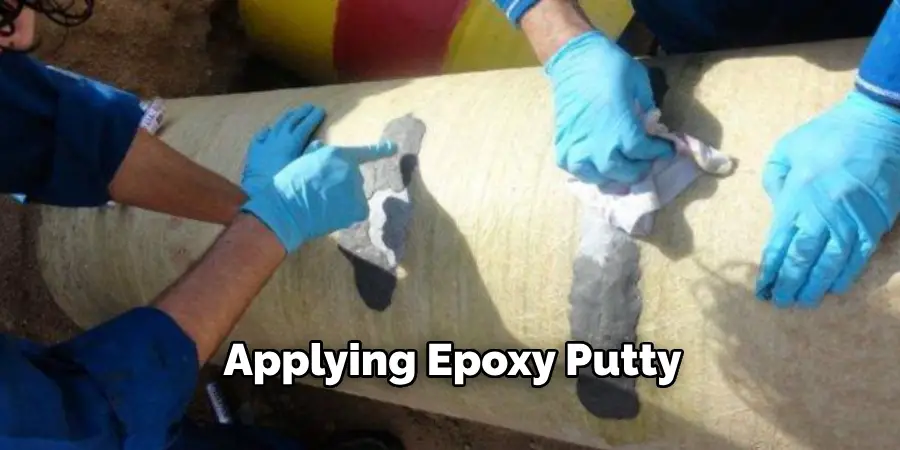
Curing Time: Allow the epoxy putty to cure as per the manufacturer’s instructions, typically around 30 minutes, before turning the water back on. This short wait ensures that the seal is strong and can withstand the pressure of the water flowing through the pipe.
Option 3: Pipe Clamp
Using a Pipe Clamp: A pipe clamp can be a straightforward temporary measure to stop as a straightforward temporary measure for stopping a leak. First, clean the area around the leak and then cut a small piece of rubber (like an old inner tube) to use as a patch. Position this patch over the leak, then place the pipe or hose clamp over the rubber patch.
Installation Tips: Tighten the clamp securely, ensuring it is snug enough to stop the leak. Be careful not to overtighten, as this could cause further damage to the pipe. A good rule of thumb is to tighten the clamp until you see the patch pressing against the pipe without deforming it. Regularly check the clamp to ensure it remains secure until you can implement a more permanent repair solution.
How to Fix a Pinhole Leak in Copper Tubing: Permanent Repair Methods
When dealing with pinhole leaks in copper tubing, it’s essential to implement a permanent repair method to ensure the long-term integrity of your plumbing system. Here are three effective methods for permanently fixing the leak.
Method 1: Replace the Section of Pipe
Cutting Out the Damaged Section: Before starting any work, ensure you turn off the water supply to the affected pipe. Next, drain the pipe completely by opening faucets connected to the same plumbing line. Once drained, use a pipe cutter to carefully remove the copper pipe section containing the pinhole leak. Position the cutter on the pipe, tighten the handle, and rotate until it cuts through the pipe, removing the compromised section.
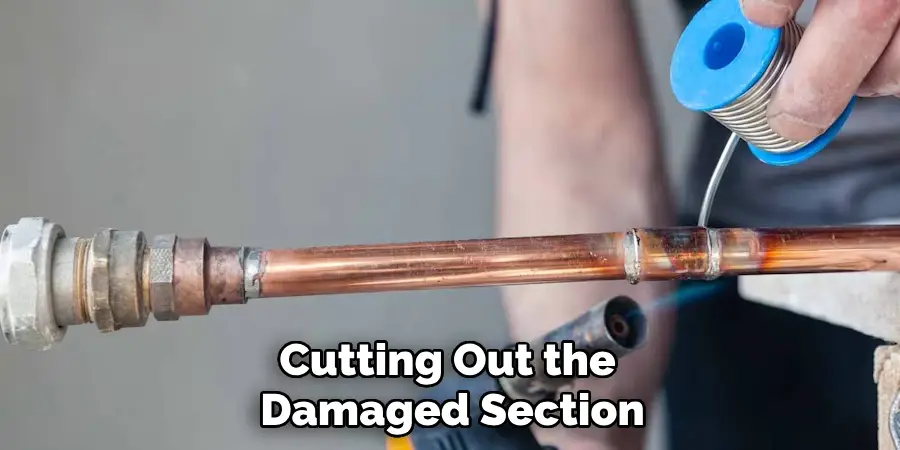
Installing a New Section: Measure the length of the removed pipe and cut a new section of copper pipe to match. Use a file or deburring tool to smooth the edges of the cut pipe to prevent leaks at the joints. Connect the new section using couplings. If you choose to solder the joints, apply flux to the ends of the pipes and the inside of the couplings. Heat the joints with a torch and apply solder until it flows into the joint, ensuring a watertight seal. Alternatively, push-fit fittings can be used, which require no soldering and provide a secure connection.
Method 2: Soldering the Leak
Preparation: To effectively solder a leak, start by thoroughly cleaning the area around the pinhole using a wire brush or sandpaper.
Soldering Process: Heat the copper pipe at the leak area using a propane torch until the metal is hot enough to melt the solder. Once heated, touch the solder to the joint; it should flow smoothly into the fitting, sealing the pinhole. Ensure the hole is completely covered with solder to prevent future leaks.
Cooling and Testing: After applying the solder, allow it to cool completely before turning the water supply back on to check for leaks. This process is critical, as trying to test the seal prematurely could result in further complications.
Method 3: Using a Pipe Sleeve
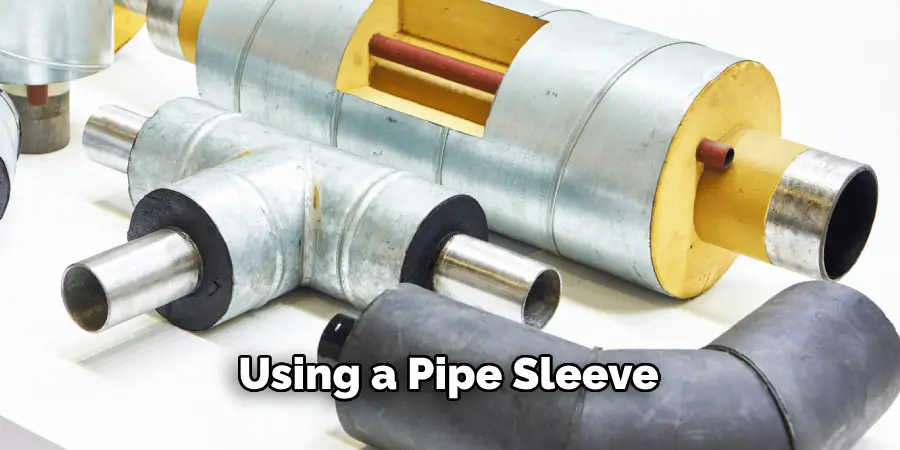
What is a Pipe Sleeve: A pipe sleeve is a cylindrical casing that fits over the damaged section of a pipe, providing a protective layer that can seal pinhole leaks. This method is particularly useful for small leaks where cutting and replacing the pipe may be unnecessary.
Installation Process: To install a pipe sleeve, first ensure the area around the leak is clean and dry. Fit the sleeve over the pinhole and position it to cover the leak completely. Secure the sleeve in place using clamps or strong adhesive to ensure it will remain in position under water pressure. Allow the adhesive (if used) to cure as per the manufacturer’s instructions, ensuring a strong and lasting repair. This method resolves the immediate leak issue and protects against future leaks in the same area.
Preventing Future Pinhole Leaks
Preventing pinhole leaks in copper pipes involves both regular maintenance and proactive measures to ensure the longevity of your plumbing system.
Regular Inspection and Maintenance
Routine Checks: It’s crucial to routinely inspect copper pipes for early signs of corrosion, such as discoloration or the presence of mineral deposits. Early detection of these issues can prevent more serious leaks down the line. Water Quality: The quality of your water plays a significant role in pipe longevity; acidic or high mineral content water can accelerate corrosion. Consider using water treatment systems to neutralize acidity and filter out harmful minerals, thereby protecting your plumbing.
Pressure Regulation
Install a Pressure Regulator: If you’re facing high water pressure, it’s advisable to install a pressure regulator. This device can significantly reduce the risk of pinhole leaks caused by excessive pressure. Maintain Optimal Pressure: Keeping water pressure within a safe range (typically between 40-60 psi) is essential for protecting your plumbing system. Consistent pressure helps prevent undue stress on pipes, extending their lifespan and functionality.
When to Call a Professional
Sometimes, a leak repair may extend beyond the capabilities of DIY methods, and it’s crucial to recognize when to call in a professional. If you encounter multiple leaks in your plumbing system or if the affected pipe is in a hard-to-reach location, these complex repairs often require the expertise of a licensed plumber. Additionally, signs of severe damage, such as extensive corrosion or structural harm to the pipe, may warrant the replacement of larger sections of plumbing altogether, which should only be performed by a professional.
Ensuring Safety
Safety is paramount, particularly when dealing with older or brittle pipes that may be compromised. Attempting to repair challenging plumbing issues can risk injury or further damage if not executed properly. Hiring a licensed plumber not only ensures that the repair is conducted safely and efficiently but also provides peace of mind, knowing that the work adheres to necessary codes and standards.

Conclusion
In summary, there are various methods to address how to fix a pinhole leak in copper tubing, ranging from temporary fixes such as pipe tape and epoxy putty to more permanent solutions like soldering and pipe replacement. Each method has its own advantages and can effectively resolve the issue based on the severity and accessibility of the leak.
Timely repairs are crucial, as neglecting pinhole leaks can lead to more extensive damage and significantly higher repair costs. To maintain the integrity of your plumbing system, it’s essential to conduct regular inspections and maintenance. By being proactive and monitoring the condition of your pipes, you can prevent future leaks and prolong their lifespan, ensuring reliable plumbing for years to come.
You Can Also Check To Tell if Chlorinator is Working

