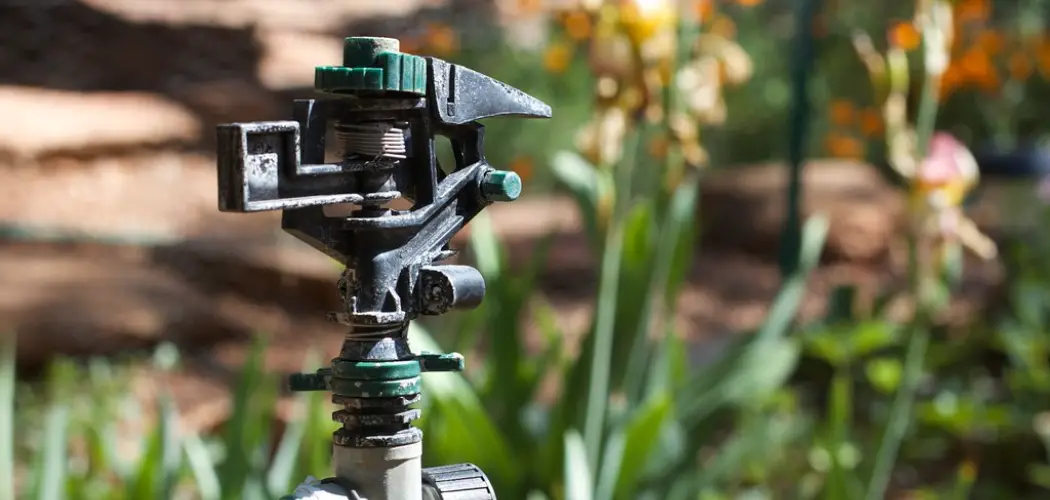
Having a properly functioning rainbird sprinkler head is important for maintaining a healthy and lush lawn or garden. When it comes to fixing a rainbird sprinkler head that won’t rotate, there are a few simple steps you can take to get your sprinkler system back up and running in no time.
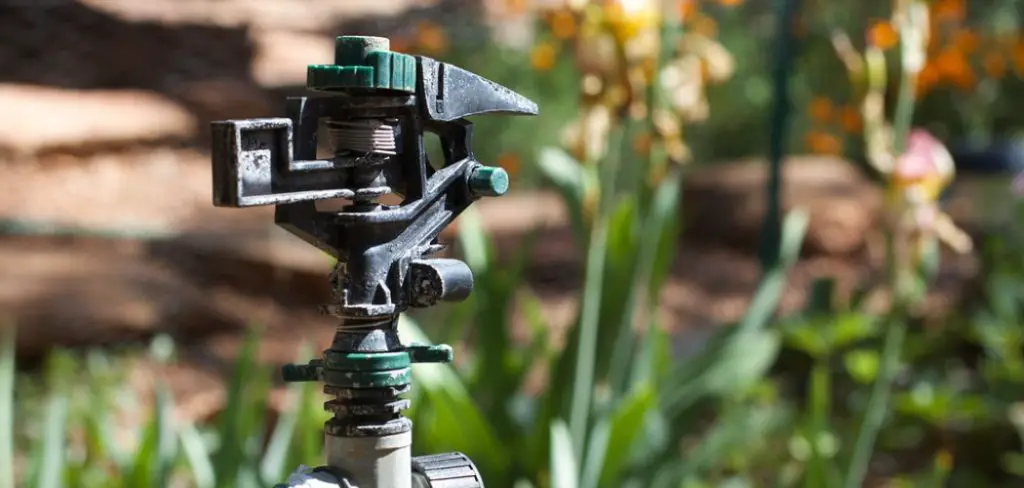
The main advantage of fixing a rainbird sprinkler head that won’t rotate is the cost savings. Instead of hiring a professional to fix your sprinkler system, you can do it yourself with just a few tools and some basic knowledge.
This not only saves you money but also gives you a sense of accomplishment and self-sufficiency. You can find step-by-step instructions on how to fix a rainbird sprinkler head that won’t rotate in this blog article.
Step-by-step Instructions for How to Fix a Rainbird Sprinkler Head That Won’t Rotate
Step 1: Inspect the Sprinkler Head
Inspecting your sprinkler head is the first step in identifying and fixing any issues. Start by checking for visible damage such as cracks or breaks in the plastic casing. Make sure that there isn’t any debris or dirt blocking the rotation of the head.
Step 2: Shut off Water Supply
Before you start working on your sprinkler head, it’s important to shut off the water supply. This will prevent any water from leaking out and help avoid potential messes. To remove the sprinkler head, use a wrench to turn it counter-clockwise. If there is excessive dirt or debris around the head, clean it off before removing it to prevent clogs in the pipe.
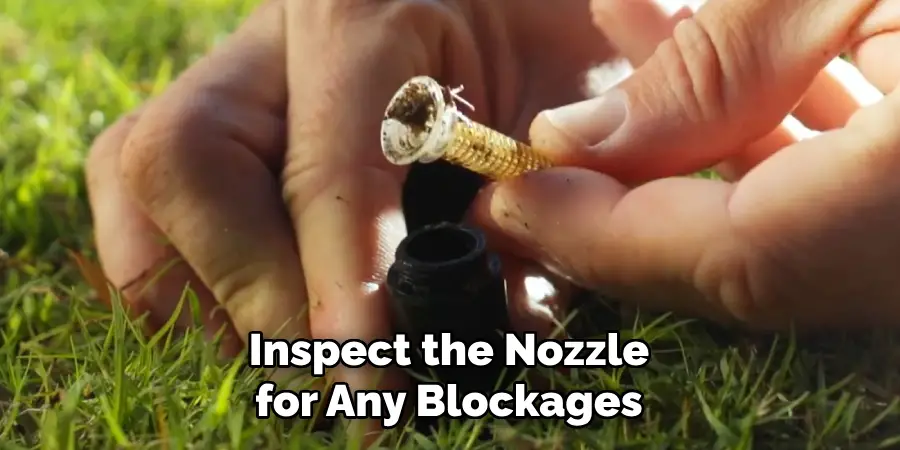
Step 3: Inspect the Nozzle
Once you have removed the sprinkler head, inspect the nozzle for any blockages or damage. If necessary, use a small tool to remove any dirt or debris that may be blocking the nozzle. If your sprinkler head is still not rotating after cleaning the nozzle, check for clogs in the pipe. Use a plumbing snake or small tool to clear out any debris that may be causing the issue.
Step 4: Examine the Gear Mechanism
Some rainbird sprinkler heads have a gear mechanism that can become jammed or worn over time. If this is the case, gently clean and lubricate the gears to ensure smooth rotation. Low water pressure can also cause sprinkler heads to stop rotating. To check the water pressure, turn on the system and use a pressure gauge to measure it. If it is too low, adjust the water flow using the main valve.
Step 5: Replace Damaged Parts
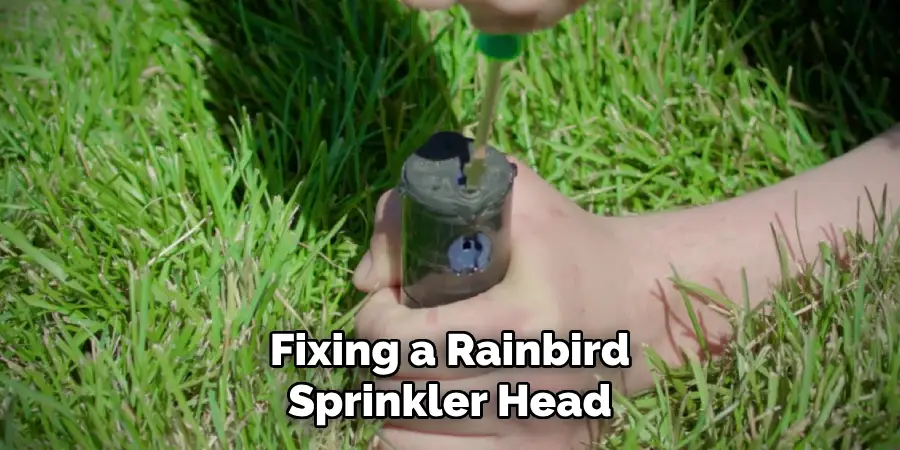
If you have identified any damaged or broken parts while inspecting the sprinkler head, it’s important to replace them before reassembling everything. This will ensure proper functioning and prevent future issues. After replacing any damaged parts, reassemble the sprinkler head by turning it clockwise with a wrench. Turn on the water supply and test the rotation of the head to make sure it is working properly.
Step 6: Adjust Sprinkler Head Position
If the sprinkler head is rotating but not covering the desired area, you may need to adjust its position. Use a screwdriver or other tool to adjust the spray range and direction of the head until it covers the designated area.
By following these step-by-step instructions, you should be able to fix a rainbird sprinkler head that won’t rotate and have your lawn looking lush and green in no time. Remember to regularly inspect and maintain your sprinkler system to prevent future issues and ensure efficient watering of your lawn.
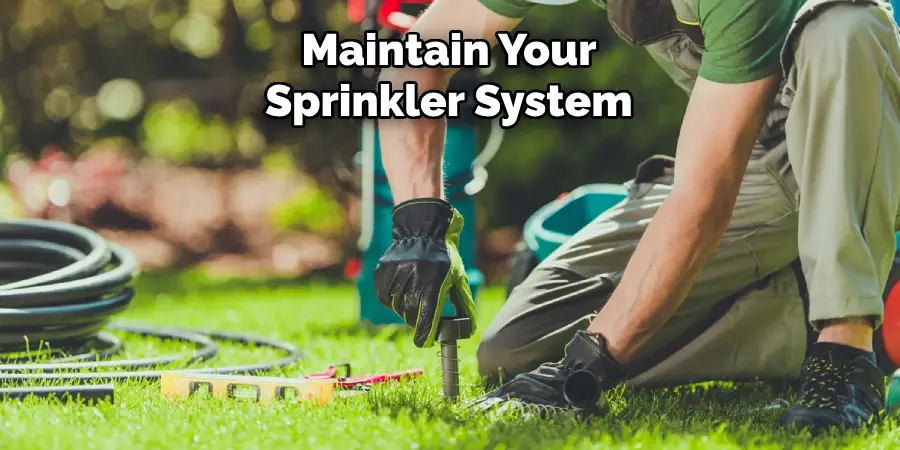
Safety Tips for How to Fix a Rainbird Sprinkler Head That Won’t Rotate
- Keep the Area Around the Rainbird Sprinkler Head Clear: When attempting to fix a Rainbird sprinkler head that won’t rotate, make sure to first remove any debris or obstructions in the surrounding area. This will not only make it easier for you to access and work on the sprinkler head, but also prevent any potential accidents or injuries from occurring.
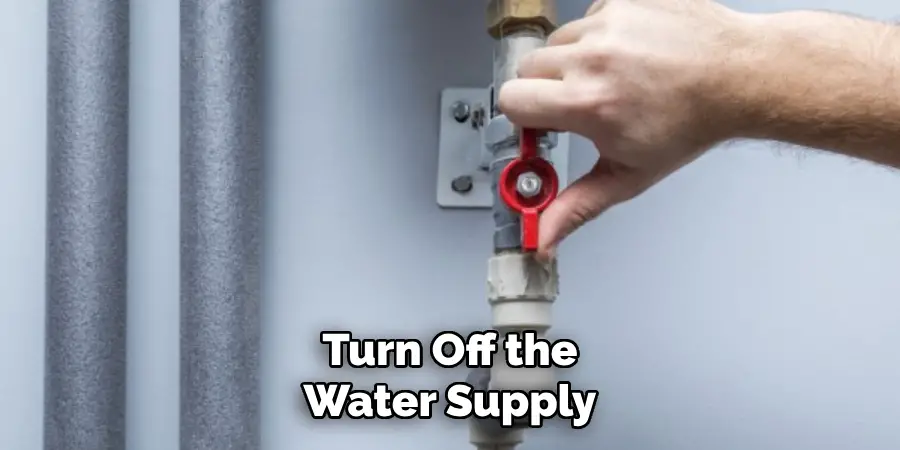
- Turn Off the Water Supply: Before attempting to fix any type of sprinkler head, it is important to first turn off the water supply. This will prevent any water from leaking out or causing unexpected movement in the sprinkler head while you are working on it.
- Use Caution When Using Tools: If you need to use any tools to fix the Rainbird sprinkler head, such as pliers or a screwdriver, make sure to use them carefully and with caution. Keep your hands and fingers away from any moving parts and always follow the manufacturer’s instructions.
- Wear Protective Gear: While fixing a sprinkler head may seem like a simple task, it is important to protect yourself by wearing appropriate safety gear such as gloves and eye protection. This will prevent any potential injuries from occurring.
- Read the Manual: Before attempting to fix the sprinkler head, make sure to read the manual or instructions provided by Rainbird. This will give you a better understanding of how the sprinkler head works and how to properly handle it while making repairs.
- Check for Proper Alignment: One common reason for a Rainbird sprinkler head not rotating is misalignment. Check to make sure that the sprinkler head is properly aligned with the direction you want it to spray and adjust as needed.
- Replace Damaged Parts: If you notice any damaged or worn out parts while fixing the Rainbird sprinkler head, be sure to replace them before reassembling. This will help ensure that your sprinkler system continues to function properly.
By following these safety tips, you can easily fix a Rainbird sprinkler head that won’t rotate without any harm or accidents. Remember to always prioritize safety when working on any type of home maintenance task.
Importance of Fixing a Rainbird Sprinkler Head That Won’t Rotate
Rainbird sprinkler heads are an essential part of keeping your lawn and garden well-watered. If you have a Rainbird sprinkler head that won’t rotate, it can lead to uneven watering and dry patches in your yard. Here are 7 reasons why fixing a Rainbird sprinkler head that won’t rotate is important:
- Prevents Overwatering: When a Rainbird sprinkler head won’t rotate, it can continuously water the same spot, leading to overwatering. This not only wastes water but can also damage your plants and lawn.
- Saves Water: By fixing a Rainbird sprinkler head that won’t rotate, you’ll ensure efficient watering and prevent water from being wasted. This is especially important in areas where water is scarce or expensive.
- Maintains a Healthy Lawn: Uneven watering can cause dry patches in your lawn, making it susceptible to diseases and pests. Fixing a Rainbird sprinkler head that won’t rotate will help maintain a healthy lawn by ensuring all areas receive the proper amount of water.
- Saves Money: A faulty sprinkler head can increase your water bill significantly. By fixing it, you’ll be saving money on both your water and electricity bills.
- Prevents Landscaping Damage: Overwatering can also lead to soil erosion and damage to your landscaping. Fixing a Rainbird sprinkler head that won’t rotate will prevent this from happening and protect the investment you’ve made in your yard.
- Increases Curb Appeal: A well-maintained lawn and garden add to the overall curb appeal of your home. Fixing a Rainbird sprinkler head that won’t rotate will ensure your yard looks its best and leaves a good impression on visitors.
- Extends the Life of Your Sprinkler System: Ignoring a faulty sprinkler head can lead to larger problems down the road, potentially requiring costly repairs or replacement of your entire sprinkler system. By fixing a Rainbird sprinkler head that won’t rotate, you’ll extend the life of your system and save yourself from future headaches.
In addition to these reasons, it’s important to regularly check and maintain all parts of your sprinkler system, including the sprinkler heads. This will ensure efficient watering and a healthy, lush lawn.
Common Issues for Fixing a Rainbird Sprinkler Head That Won’t Rotate
While a Rainbird sprinkler head not rotating is a common issue, there are several potential reasons behind it. Here are common issues that may require fixing a Rainbird sprinkler head:
- Clogged Nozzles: Over time, debris and sediment can build up in the nozzles of your sprinkler head, preventing it from rotating properly.
- Damage to Gear Drive: The gear drive mechanism in a Rainbird sprinkler head can become worn or damaged, resulting in the head not rotating as intended.
- Malfunctioning Check Valve: A check valve is responsible for sealing off the water supply when the sprinkler is not in use. If it becomes faulty, it can prevent the sprinkler head from rotating.
- Broken Riser: The riser is the vertical tube that connects the sprinkler head to the water supply line. If it becomes damaged or broken, it can cause the sprinkler head to not rotate.
- Misaligned Sprinkler Head: If a Rainbird sprinkler head is bumped or moved out of its original position, it may need readjustment to rotate properly.
- Electrical Issues: For Rainbird sprinkler heads with electronic controls, electrical issues such as faulty wiring or a damaged solenoid can cause the head to not rotate.
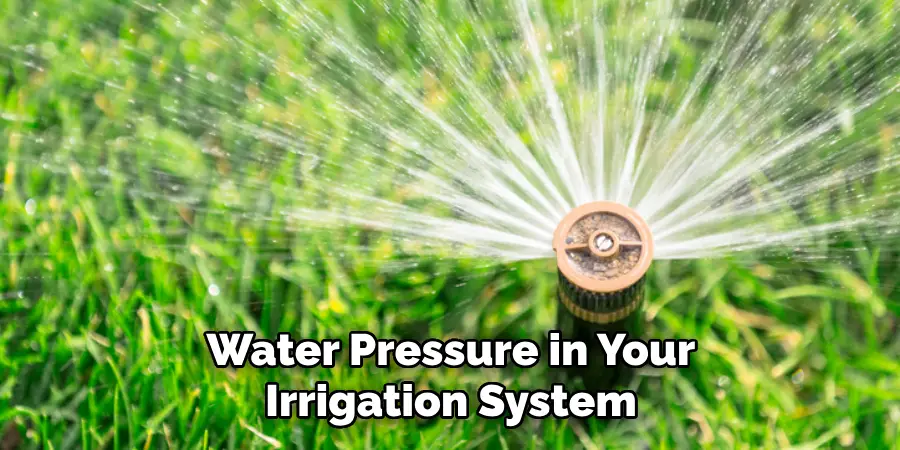
- Water Pressure Problems: If the water pressure in your irrigation system is too high or too low, it can affect the rotation of your sprinkler heads.
By understanding these common issues, you can troubleshoot and fix a Rainbird sprinkler head that won’t rotate. Regular maintenance and inspection of your sprinkler system can also help prevent these issues from occurring in the first place. Remember, a well-functioning sprinkler system is crucial for maintaining a healthy and vibrant lawn.
Common Signs for Fixing a Rainbird Sprinkler Head That Won’t Rotate
- Clogged Nozzles: One of the most common reasons for a Rainbird sprinkler head not rotating is clogged nozzles. Over time, dirt, debris, and other particles can accumulate in the nozzle, blocking the water flow and preventing the head from rotating properly. To fix this issue, you can try cleaning the nozzles with a small wire or needle. You can also use a small brush to remove any built-up debris. If the nozzles are severely clogged, you may need to replace them with new ones.
- Broken Gear Drive: The gear drive is responsible for rotating the sprinkler head and if it breaks or gets damaged, the head won’t be able to rotate. This can happen due to excessive force, wear and tear, or exposure to harsh weather conditions. To fix this issue, you will need to replace the gear drive. It is recommended to consult a professional for this task as it requires technical knowledge and tools.
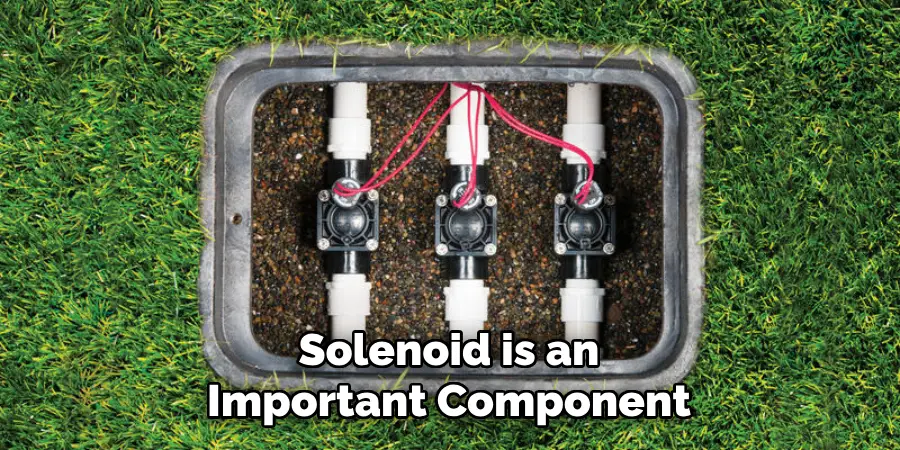
- Malfunctioning Solenoid: The solenoid is an important component of the sprinkler head that controls the water flow. If it gets damaged or malfunctions, the head won’t be able to rotate properly. You can check for a malfunctioning solenoid by turning off the water supply and manually operating the sprinkler head. If it still doesn’t rotate, then the solenoid may need to be replaced.
- Defective Rotary Valve: The rotary valve is responsible for controlling the water flow to the sprinkler head. If it is damaged or defective, it can cause the head to stop rotating. To fix this issue, you will need to replace the rotary valve. It is recommended to seek professional help for this task as it requires specialized knowledge and tools.
- Low Water Pressure: Another common sign of a Rainbird sprinkler head not rotating is low water pressure. This can be caused by a variety of reasons such as clogged pipes, leaks, or a malfunctioning water supply system. To fix this issue, you will need to identify and resolve the underlying cause of the low water pressure. This may involve cleaning or repairing clogged pipes, fixing leaks, or adjusting the water supply system.
- Improperly Adjusted Arc: The sprinkler head’s arc determines the area that it covers and if it is not adjusted properly, the head may not rotate as intended. This can happen due to accidental movement or improper installation. To fix this issue, you will need to adjust the arc of the sprinkler head according to your lawn’s layout and needs. Refer to the manufacturer’s manual for instructions on how to adjust the arc.
- Damaged Rotor: A damaged or worn-out rotor can also prevent a Rainbird sprinkler head from rotating properly. This can be caused by normal wear and tear, exposure to harsh weather conditions, or accidental damage. To fix this issue, you will need to replace the damaged rotor with a new one. Make sure to choose a compatible rotor for your sprinkler head model.
By understanding these common signs and their corresponding solutions, you can easily troubleshoot and fix a Rainbird sprinkler head that won’t rotate. Regular maintenance and inspection of your sprinkler system can also help prevent these issues from occurring in the first place.
Seeking Professional Assistance More Complex Repairs or Adjustments
In some cases, the issue with a Rainbird sprinkler head not rotating may be more complex and require professional assistance. This can include problems with the wiring or controller, which may involve electrical work.
It is important to hire a qualified and experienced professional for such repairs to ensure the safety of yourself and your property. They will have the knowledge, skills, and tools necessary to diagnose and fix the issue properly.
Regularly scheduling professional maintenance checks for your sprinkler system can also help prevent any potential issues from arising in the future. This can save you time, money, and hassle in the long run. Remember to always follow proper safety precautions when troubleshooting or making repairs to your sprinkler system.
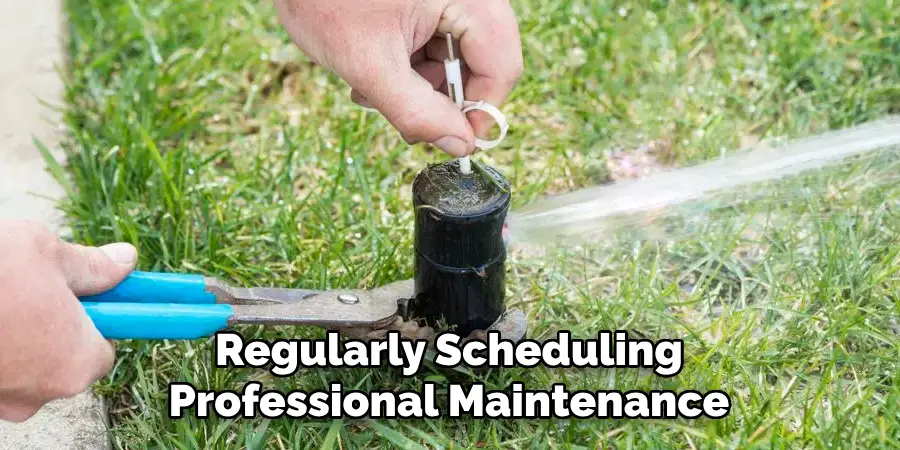
If unsure about any steps, it is best to consult a professional for assistance. By taking care of your Rainbird sprinkler head and addressing any issues promptly, you can ensure that your lawn stays healthy and well-watered. Overall, understanding the common signs for fixing a Rainbird sprinkler head that won’t rotate can help you keep your sprinkler system in good working condition and maintain a beautiful, lush lawn.
Conclusion
In conclusion, fixing a rainbird sprinkler head that won’t rotate is not as complicated as it may seem. By following the steps outlined in this blog, you can easily troubleshoot and fix the issue yourself. It’s important to regularly check and maintain your sprinkler system to prevent any problems from occurring. This includes cleaning and adjusting your sprinkler heads, as well as checking for any leaks or clogs in the system.
In addition, it’s important to use high-quality replacement parts when fixing a sprinkler head. This will ensure that your sprinkler system functions properly and lasts for years to come.
Furthermore, it’s always a good idea to consult with a professional if you are unsure about any steps in the process or if the issue persists after attempting to fix it yourself. I hope reading this post has helped you learn how to fix a rainbird sprinkler head that won’t rotate. Make sure the safety precautions are carried out in the order listed.

