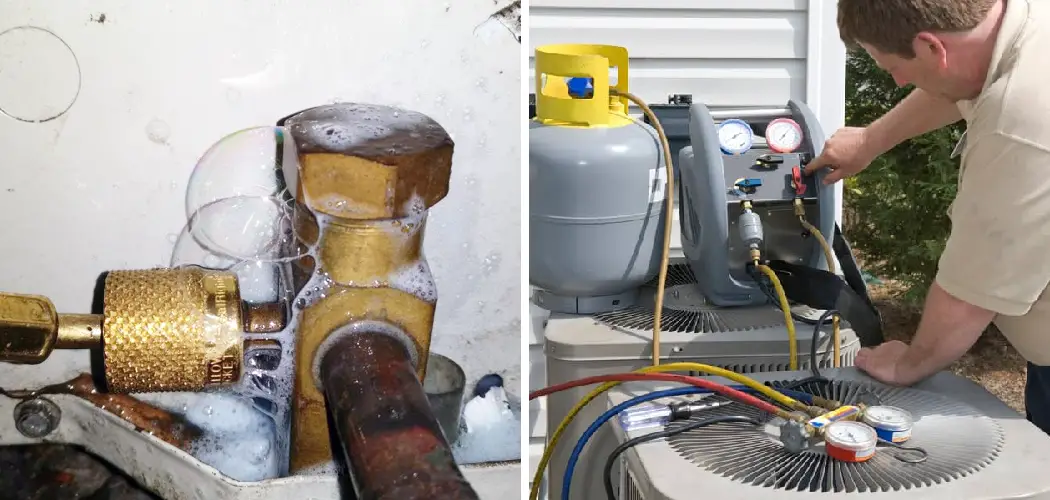
Summer is around the corner, and it’s time to start thinking about your air conditioner. AC can be a lifesaver during the hottest months, but it can also be costly if it’s not properly maintained. One common issue with air conditioners is a refrigerant leak. A refrigerant leak can cause your AC to stop working efficiently, resulting in higher energy bills and a warmer home.
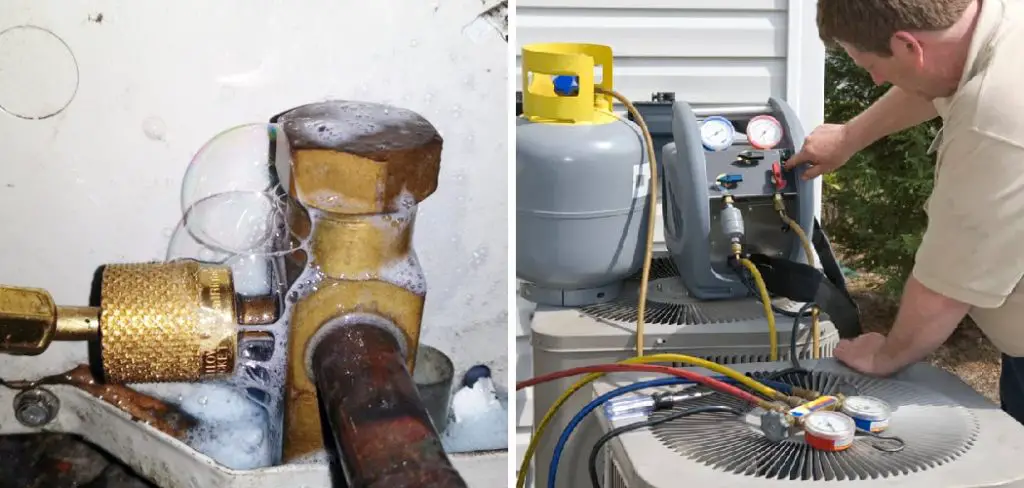
Fixing a refrigerant leak may seem daunting, but it’s actually a straightforward process. In this article, we’ll provide a step-by-step guide on how to fix a refrigerant leak in an air conditioner.
Can You Fix a Refrigerant Leak in An Air Conditioner?
It’s a hot summer day, and your air conditioner is running at full blast. Suddenly, you notice that the air blowing out isn’t as cold as it should be. You check the settings, but everything seems to be in order. After a closer inspection, you realize that your air conditioner has a refrigerant leak. But what does that mean? Can it be fixed?
Refrigerant leaks are a common problem with air conditioners; luckily, they can be fixed. However, it’s important to understand that refrigerant is dangerous and should only be handled by a licensed professional.
If you suspect a refrigerant leak, turn off your air conditioner and call in the experts. With their expertise and experience, they’ll be able to identify the cause of the leak and fix it quickly and efficiently. Don’t let a refrigerant leak ruin your summer, call in the professionals and enjoy a cool and comfortable home.
Why Should You Fix a Refrigerant Leak in An Air Conditioner?
Your air conditioner is essential to your home, especially during the summer months. However, if your AC system has a refrigerant leak, it can lead to bigger problems than just making your home feel warmer. A refrigerant leak means that your AC system is running low on refrigerant, which can cause your compressor to work harder, leading to possible damage and long-term wear and tear.
Not only that, but a refrigerant leak can also be harmful to the environment, as refrigerants contribute to ozone depletion. By fixing a refrigerant leak, you ensure that your AC system is working efficiently and do your part in protecting the environment. So, don’t wait until the next heatwave to fix that leak in your air conditioner!

How to Fix a Refrigerant Leak in An Air Conditioner Step-by-Step Guide
Step 1: Identify the Leaking Area
The first step is to identify where the refrigerant leak is coming from. You can use a UV dye and a black light to help identify the problem area. Add the dye to the air conditioning unit and then use the black light to observe the area where the dye is concentrated.
Typically, refrigerant leaks occur at the connections, fittings, or welding points in the AC system. Once you’ve identified the leak, you’re ready to move on to the next step.
Step 2: Turn off the AC
Before you go ahead with the repair, it’s important to turn off the AC. This will ensure that there’s no pressure in the air conditioning system. You can do this by turning off the power supply to the AC unit. If you’re not sure how to do this, refer to the manufacturer’s manual for specific instructions.
Step 3: Fix the Leak
Now it’s time to fix the leak. The exact method of repair will depend on the location of the leak and the materials of your AC unit. In some cases, you may just need to tighten a connection or replace a valve. In other cases, you may need to weld a new piece of pipe onto the unit. If you’re unsure how to fix the leak, hiring a professional is best.
Step 4: Recharge the System
After fixing the leak, you’ll need to recharge the air conditioning system. You’ll need to add refrigerant to the AC unit to do this. You can purchase refrigerant at your local home improvement store. Follow the manufacturer’s instructions carefully to ensure you add the right amount of refrigerant. Overcharging the system can cause serious damage to the AC unit.
Step 5: Test the AC
Once you’ve added the refrigerant, it’s time to test the AC to make sure it’s running efficiently. Turn on the unit and let it run for a few hours. Check the temperature of the air coming out of the ducts to ensure it’s at the desired level. If you still notice issues with the AC, it’s best to call in a professional for further inspection.
Step 6: Leak Detection Test
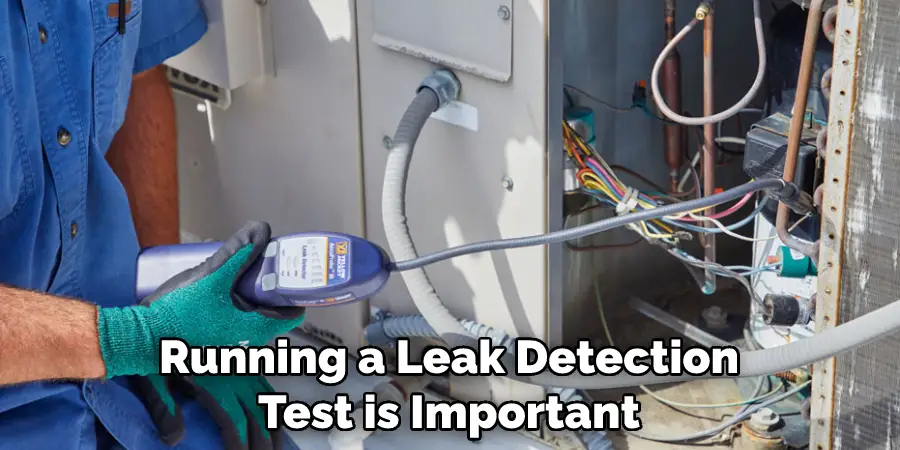
Finally, running a leak detection test is important to ensure no more refrigerant is leaking from your AC unit. You can purchase a leak detection kit at your local home improvement store and follow the instructions provided. If the test results show that there are still leaks, you may need to repeat the repair process.
Step 7: Enjoy Your AC
Now your air conditioning unit is fixed and ready to go! Enjoy having cool, comfortable air in your home or office once again. With proper maintenance and regular servicing, you can ensure that your AC continues running smoothly for years.
That’s it! You’ve now learned the steps to follow on how to fix a refrigerant leak in an air conditioner. Remember, if you’re unsure how to do something, hiring a professional for assistance is best.
5 Considerations Things When You Need to Fix a Refrigerant Leak in An Air Conditioner
1. Location of the Leak
The first thing you need to do when you have a refrigerant leak is find the leak’s source. This can be difficult, as refrigerants can leak from many different parts of the air conditioner. Once you have located the source of the leak, you can begin to repair it.
2. Type of Refrigerant
There are many different types of refrigerants, and each one has its own set of properties. You need to identify the type of refrigerant that is leaking in order to repair the leak properly.
3. Size of the Leak
The size of the leak will determine how long it will take to repair the leak. A small leak can often be repaired quickly, while a large leak may require more time and effort.
4. Tools and Materials Needed
In order to repair a refrigerant leak, you will need a few tools and materials. These include a screwdriver, a wrench, and some sealant. You may also need some replacement parts if the ones that are leaking are damaged beyond repair.
5. Cost of Repair
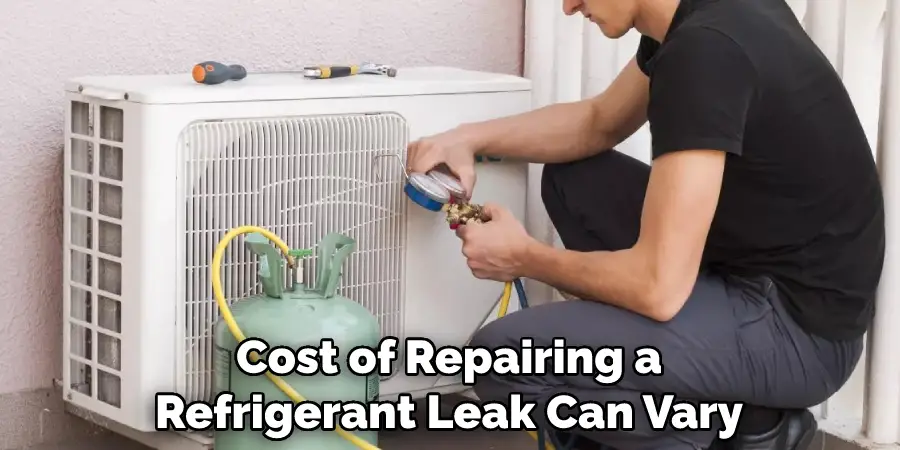
The cost of repairing a refrigerant leak can vary depending on the size and location of the leak and the type of refrigerant leaking. Small leaks can often be repaired for relatively little money, while larger leaks may require more expensive repairs.
Benefits of Fix a Refrigerant Leak in An Air Conditioner
Having a working air conditioner can make all the difference during hot summer days. However, what about when your trusty appliance begins to malfunction? One common issue that can occur is a refrigerant leak in your air conditioner.
While it may seem like a minor inconvenience, a refrigerant leak can lead to higher energy bills, a decrease in system efficiency, and even potential environmental harm. By taking the necessary steps to fix a refrigerant leak in your air conditioner, you can save money in the long run and ensure that your system is working at its best. So don’t delay – address that leak today!
4 Common Mistakes People Make When Trying to Fix a Refrigerant Leak in An Air Conditioner
1. Not Wearing Protective Gear
One of the most common mistakes people make when trying to fix a refrigerant leak is not wearing protective gear. Refrigerant can be harmful if it comes into contact with your skin, so it’s important to wear gloves, goggles, and a face mask when working with it.
2. Not Turning Off the Power
Another common mistake is not turning off the power to the air conditioner before starting work. This can be a dangerous mistake, as you could be electrocuted if you come into contact with live wires.
3. Not Identifying the Leak
Another mistake people make is not taking the time to identify the leak before starting repairs. You may think you know where the leak is, but it’s important to make sure so that you can make the necessary repairs. The best way to do this is to use a leak detection kit, which can be purchased at most hardware stores.
4. Not Repairing the Leak Properly
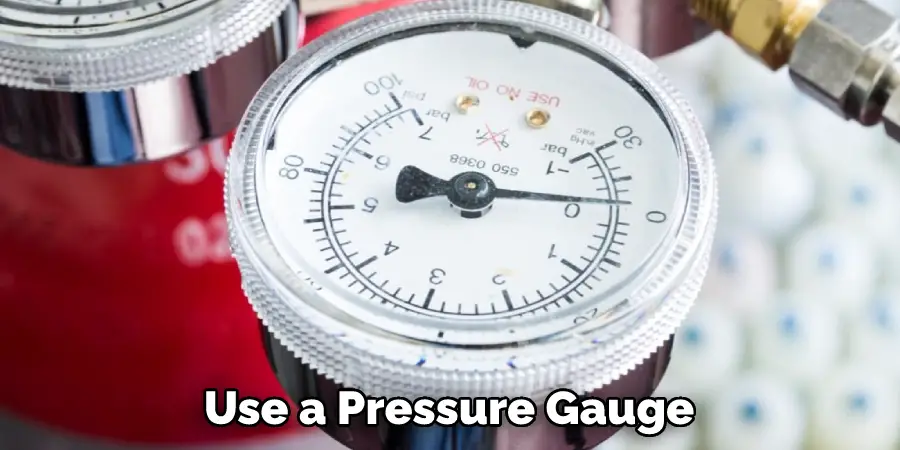
Once you’ve found and repaired the leak, it’s important to test the repair to make sure it’s been done properly. The best way to do this is to use a pressure gauge. If the repair is not done properly, the pressure in the system will drop, and coolant will escape, which could cause damage to your air conditioner.
Conclusion
A refrigerant leak can be a hassle, but it’s a fixable problem. By using a UV dye, identifying the leaking area, turning off the AC, fixing the leak, recharging the system, and testing the AC, you can ensure your air conditioner runs smoothly and efficiently throughout the summer. If you’re uncomfortable with fixing the leak yourself, don’t hesitate to call in a professional.
Regular maintenance can keep your air conditioning unit running efficiently, saving you money on energy bills and ensuring you stay cool all summer long. Thanks for reading our post about how to fix a refrigerant leak in an air conditioner.
You Can Check This Out To Fix a Leaking Outdoor Faucet Hose Bibb

