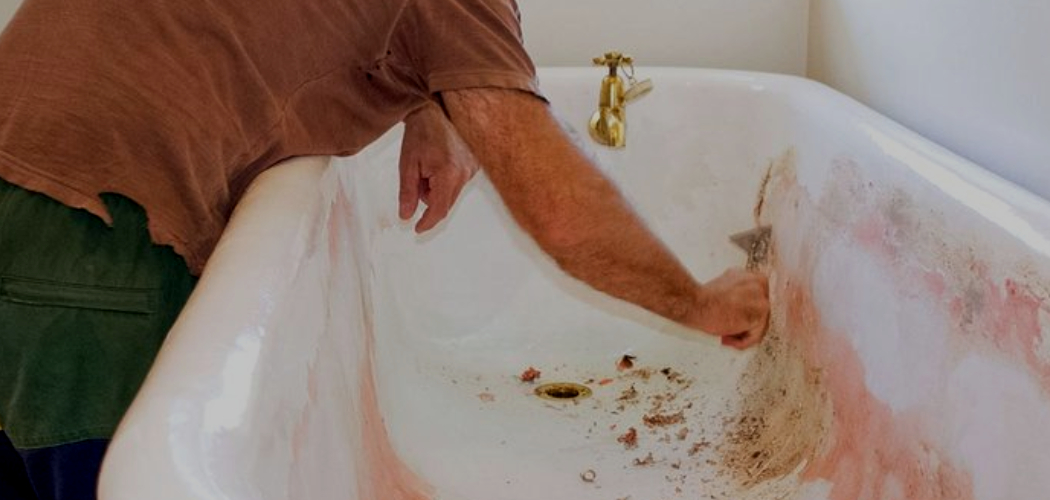
Scratches in a bathtub can be both unsightly and frustrating, but fortunately, they can often be repaired with a few simple steps. Whether your tub is made of porcelain, fiberglass, or acrylic, addressing minor damage promptly can help maintain its appearance and functionality. This guide will walk you through the process of how to fix a scratch in a bathtub, ensuring it looks as good as new.
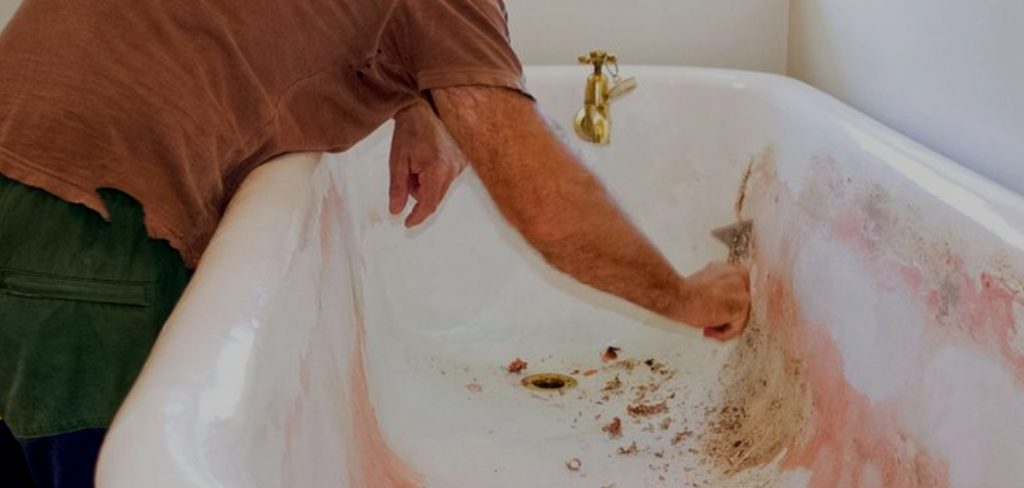
Impact of Scratches on Your Bathtub’s Appearance
Scratches on your bathtub can significantly affect its overall aesthetic and functionality. Even minor scratches can create an uneven surface, making the tub look worn or neglected. Over time, scratches can collect dirt, soap scum, and hard water deposits, which may lead to discoloration and make cleaning more difficult. Additionally, deep scratches in certain materials, like acrylic or fiberglass, could potentially compromise the protective surface, increasing the risk of further damage. Addressing these imperfections promptly not only restores your bathtub’s pristine look but also extends its lifespan.
Types of Scratches
Bathtub scratches can vary in severity and may require different approaches for repair depending on their type. Here are the most common types of scratches you might encounter:
1. Surface Scratches
These are shallow scratches that only affect the topmost layer of the tub’s surface. Typically found in acrylic or fiberglass tubs, surface scratches can often be polished out easily without specialized tools or materials.
2. Deep Scratches
Deep scratches penetrate beyond the surface layer, exposing the underlying material. These are more common in older tubs or those subjected to heavy use. Repairing deep scratches often requires filling the damaged area with a repair compound before smoothing and refinishing.
3. Hairline Cracks
Though technically not scratches, hairline cracks can appear in porcelain or fiberglass tubs. If left unattended, these tiny splits may widen over time, leading to more extensive damage.
Understanding the type of scratch you’re dealing with is crucial for choosing the appropriate repair method. Ensuring you properly assess the damage will help ensure the best results.
10 Easy Steps on How to Fix a Scratch in a Bathtub
1. Cleaning the Surface Thoroughly
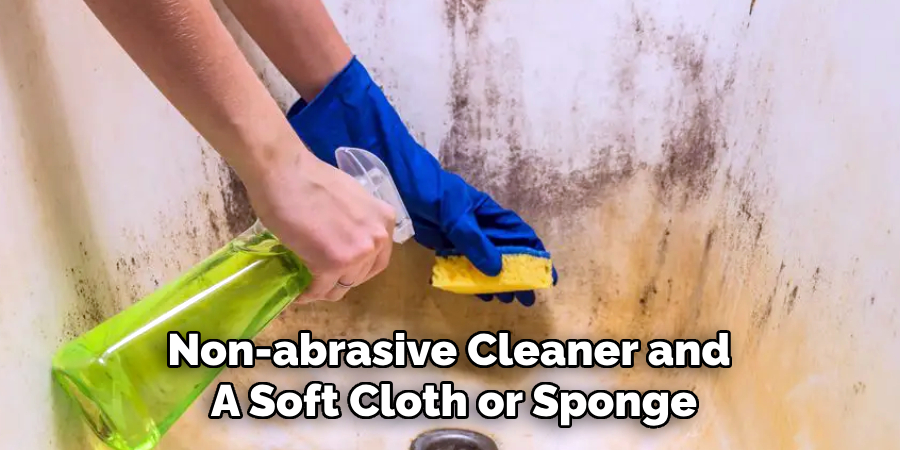
The first and most important step in fixing a scratch in a bathtub is to clean the surface thoroughly. Before applying any repair method, it’s essential to remove dirt, soap scum, or any oils that might interfere with the adhesion of repair materials. Use a non-abrasive cleaner and a soft cloth or sponge to scrub the scratched area. This ensures the surface is free of grime and residue, which could prevent the repair material from bonding properly. Once the area is clean, dry it completely using a towel or paper towels to ensure no moisture remains.
2. Assessing the Severity of the Scratch
Next, carefully assess the scratch to determine how deep it is. Shallow scratches, which are usually just surface imperfections, can often be repaired with minimal effort using a polishing compound or a bathtub repair kit. Deeper scratches, on the other hand, may require more intensive repair, including filling or refinishing. Assessing the severity will help you choose the right method and materials for repair.
3. Using a Bathtub Repair Kit
Bathtub repair kits are widely available and are specifically designed to fix cracks and scratches in bathtubs. These kits typically include a resin or filler material that is applied directly to the scratch. For surface-level scratches, use the provided compound to fill the scratch, and smooth it out with a plastic scraper or spatula. Once the filler is applied, let it cure for the recommended amount of time, usually 24 hours. After curing, sand the area with fine-grit sandpaper to ensure it’s smooth and blends seamlessly with the surrounding surface.
4. Polishing with a Buffing Compound
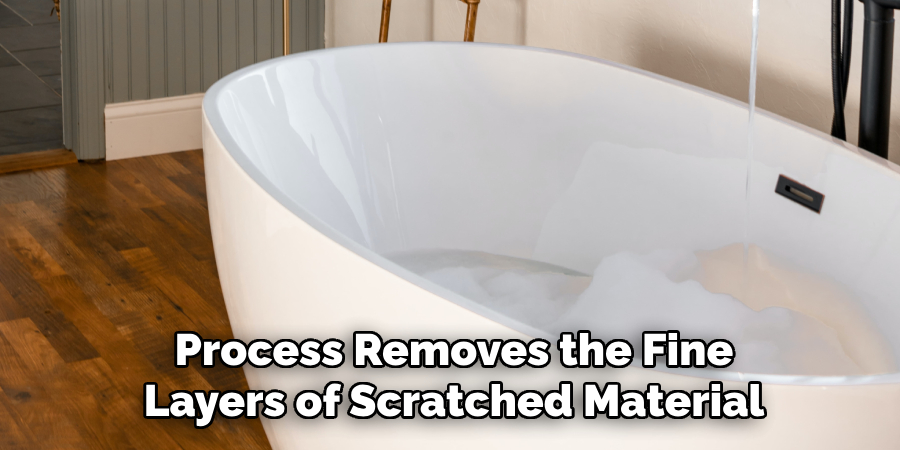
For minor scratches that don’t penetrate deeply into the bathtub surface, using a polishing compound can be an effective solution. Buffing compounds are often used to restore shine and smoothness to bathtubs, especially those made of acrylic or fiberglass. Apply a small amount of the compound to a soft cloth, and gently buff the scratched area in a circular motion. This process removes the fine layers of scratched material and helps to restore the bathtub’s original shine. After polishing, rinse the area with clean water and dry it.
5. Filling Deep Scratches with Epoxy Resin

Deep scratches that extend into the bathtub’s surface may require more than just surface-level repair. In these cases, epoxy resin can be used to fill the scratch. Epoxy resin is a strong adhesive material that can be applied to both small and large cracks and scratches. Mix the epoxy resin according to the manufacturer’s instructions and carefully apply it to the scratched area using a putty knife. Smooth out the surface, and allow it to cure for the recommended time. Once cured, sand the area to remove any excess resin and smooth the surface.
6. Refinishing the Bathtub
If the scratches are extensive or you want to restore the bathtub to its original condition, refinishing the bathtub can be a more permanent solution. Bathtub refinishing involves applying a new layer of acrylic or enamel coating to the entire tub. While this is a more involved process and may require professional help, refinishing provides a fresh, smooth, and glossy finish that can cover up deep scratches, stains, and other imperfections. If you choose to refinish the bathtub yourself, make sure to follow the manufacturer’s instructions carefully to achieve the best results.
7. Using Automotive Scratch Repair Products
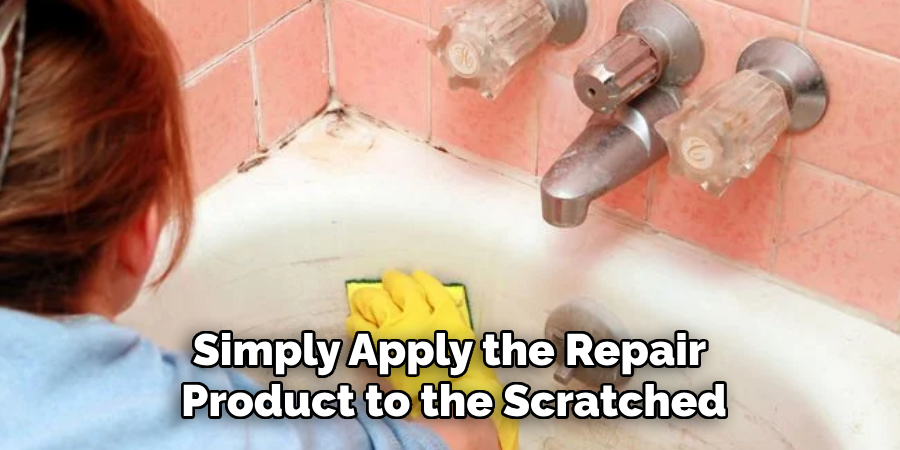
In some cases, automotive scratch repair products like scratch repair pens or touch-up paint can be effective for fixing superficial scratches in a bathtub. These products are designed for use on cars, but they can work on bathtubs made from acrylic or fiberglass. Simply apply the repair product to the scratched area, following the instructions provided. After application, use a microfiber cloth to buff the area until the scratch is no longer visible. While this method is ideal for small, light scratches, it may not be suitable for deep or larger imperfections.
8. Applying a DIY Baking Soda Paste
For minor surface scratches, a DIY solution using baking soda and water can often provide satisfactory results. Baking soda is mildly abrasive, which makes it perfect for buffing out small scratches. Mix a paste by combining baking soda with water to form a thick consistency. Apply the paste to the scratched area and gently rub it in with a soft cloth or sponge. After a few minutes of scrubbing, rinse the area with warm water and wipe it dry. This method may not work for deeper scratches, but it is effective for smaller imperfections.
9. Using a Fiberglass Repair Kit
If your bathtub is made of fiberglass, a fiberglass repair kit is an excellent option for fixing scratches. These kits contain a fiberglass resin and hardener that can be applied directly to the scratch. First, clean the area and roughen the surface slightly using sandpaper, as this helps the resin adhere better. After mixing the resin and hardener, apply it to the scratched area with a putty knife or spatula. Smooth the surface, and let it cure according to the manufacturer’s instructions. Once fully cured, sand the repair to blend it with the surrounding area. Finally, polish the surface to restore its shine.
10. Hiring a Professional
If the scratch is deep, extensive, or you simply do not feel comfortable repairing it yourself, hiring a professional to fix the scratch is always an option. Professionals have specialized tools and experience that can ensure a high-quality repair. Whether it’s filling, refinishing, or resurfacing, a professional can restore your bathtub to its original condition without the risk of damaging it further. While this may be a more expensive solution, it provides peace of mind and guarantees a durable repair.
Safety Considerations
When repairing scratches in a bathtub, safety should always be a priority. Start by ensuring the workspace is well-ventilated, especially when using strong adhesives, epoxies, or other chemical-based products, as fumes can be hazardous to your health. It’s recommended to wear appropriate protective gear, such as gloves, safety goggles, and a mask, to avoid skin and eye irritation or inhalation of harmful substances. If sanding is required, be cautious about the dust generated, as it may irritate the respiratory system. Always follow the manufacturer’s instructions for any products or tools being used, and keep them out of reach of children and pets. Lastly, dispose of all materials responsibly, adhering to local guidelines for chemical waste to minimize environmental impact.
Common Mistakes to Avoid
When repairing scratches in a bathtub, it’s essential to approach the process carefully to avoid making costly mistakes. One common error is neglecting to thoroughly clean the scratched area before starting repairs. Dirt, soap scum, or grease can prevent adhesives or repair materials from adhering properly, resulting in subpar results. Another mistake is using overly abrasive materials or tools, which can worsen the scratch or cause additional damage to the bathtub’s surface. Failing to follow the manufacturer’s instructions for repair products, such as mixing epoxy resin incorrectly or not allowing adequate curing time, can also compromise the effectiveness of the repair.
Conclusion
Fixing a scratch in a bathtub is a manageable task with the right materials and techniques. By following these ten methods, you can effectively repair scratches and restore your bathtub’s appearance, ensuring it remains in excellent condition for years to come. So, there you have it – a quick and easy guide on how to fix a scratch in a bathtub.

