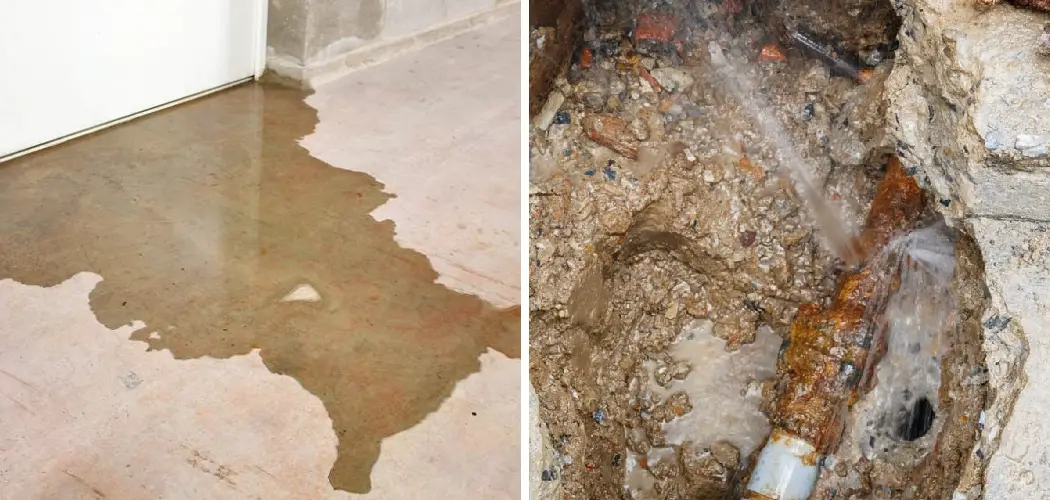
Are you dealing with the headache of a slab leak in your home? Do you have a slab leak beneath your house? If so, it’s important to act quickly before the water damage gets worse. Slab leaks can cause significant stress and headaches if not addressed in a timely manner, but don’t worry, fixing a slab leak is really not as overwhelming or expensive as it might seem.
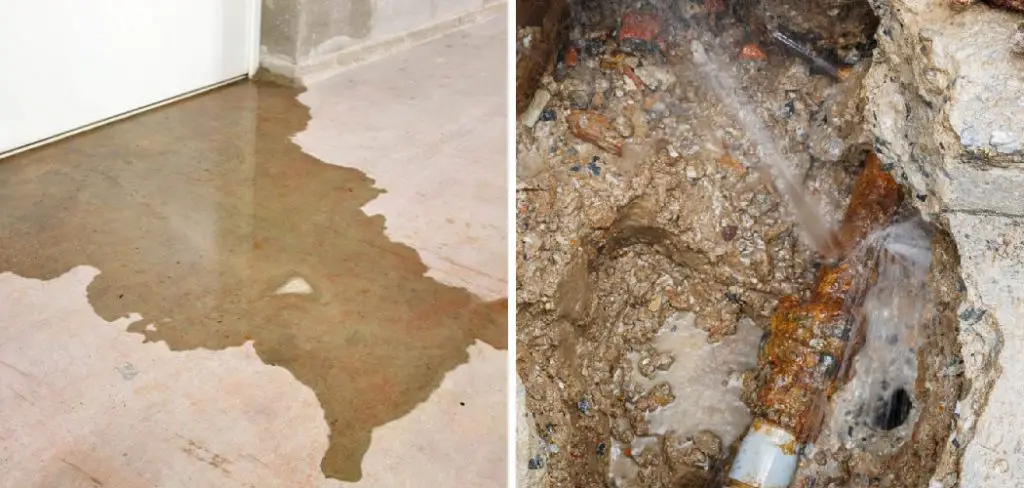
In this blog post, we will cover how to diagnose and repair a slab leak with ease. With our step-by-step guide, we cover everything from identifying signs of a slab leak to choosing an experienced plumber and beyond. With our help, you’ll have the knowledge on how to fix a slab leak you need to identify, repair and protect against future slab leaks – all while avoiding unnecessary costs or further damage!
You’ll be able to find and fix your slab leak, restoring peace of mind and protecting the integrity of your home. Keep reading to learn more!
What is Slab Leak?
A slab leak is a water leak that occurs beneath the concrete foundation of a home. Slab leaks can occur in both cold and hot water lines, causing flooding and damage to your floors, ceiling, and walls. If left untreated, slab leaks can cause serious structural damage to your home or business.
Signs of a Slab Leak
The first step in fixing a slab leak is being able to identify the signs of a slab leak. Some common signs include:
- Unexplained water bill increases
- Hot spots on floors
- Sounds of running or dripping water when no fixtures are in use
- Pooling water near the foundation of your home
- A musty smell coming from the floors
What Causes Slab Leak?
1. Damage in Pipes
The most common cause of slab leaks is corrosion or rust in the pipes beneath the foundation. The corrosion can be caused by age, water hardness, and other external factors such as soil shifting or proximity to tree roots.
2. Temperature Changes
Extreme temperatures can also cause pipes to expand and contract, leading to cracks and leaks in the foundation. The changing temperature can also cause the pipes to become brittle, which can lead to breaks and leaks.
3. Poor Installation
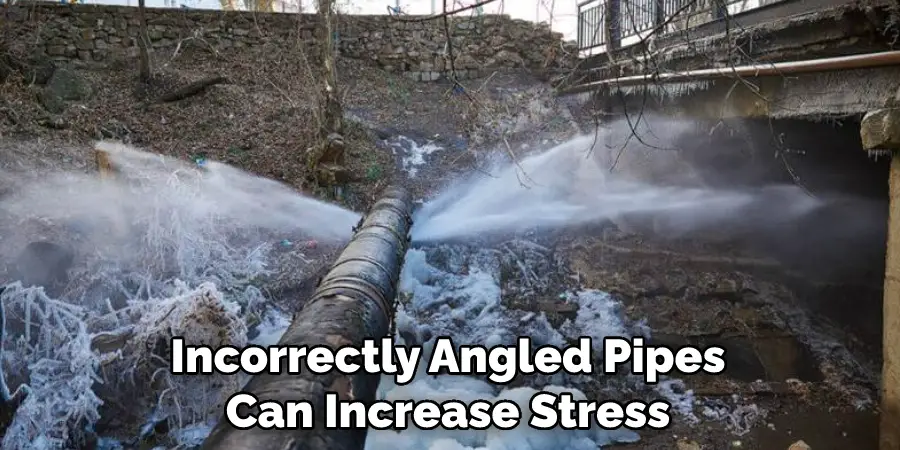
Poor installation practices when initially laying the foundation can also lead to slab leaks. Improperly installed or incorrectly angled pipes can increase stress on joints over time, leading to cracks and water damage beneath your home.
Required Materials to Repair a Slab Leak
- Piping
- Primer and Cement
- Copper Fittings
- Torch Set or Propane Torch
- Pipe Cutters
- Hammer Drill/Drill Bit Kit
- Gasket Sealant or Threaded Joint Compound
10 Steps on How to Fix a Slab Leak
Once you have identified the signs of a slab leak and collected the required materials, it’s time to get started on the repair process. Here is an overview of how to fix a slab leak:
1. Locate the Leak
The first step in repairing your slab leak is locating the exact location of the leak. You can use a thermal imaging camera or an acoustic stethoscope to pinpoint the source of the leak. Remember to turn off the water in your home before beginning any leak detection or repair.
2. Cut Through the Slab
Once you have located the source of the slab leak, it’s time to cut through the concrete slab and expose the pipe. Use a hammer drill and masonry bit to bore a hole through the floor, being sure not to damage any electrical wires or plumbing.
3. Cut Out the Damaged Section of Pipe
Now that the pipe is exposed, use a pipe cutter to cut away the damaged section of the pipe. Be sure to measure twice and cut once – you don’t want to have to start over with new piping!
4. Install New Piping
Once the damaged section of the pipe is removed, it’s time to install new piping. Measure your piping and cut accordingly. Be sure to use primer and cement when connecting the pipes to ensure a tight seal.
5. Reattach Fittings
Attach all necessary fittings with threaded joint compound or gasket sealant for a watertight connection. Make sure to use copper fittings when preparing the piping, as they are more resistant to corrosion over time.

6. Connect the Piping
Once all of the fittings are in place, it’s time to connect the new piping to your home’s existing plumbing system. Be sure to solder all of the joints and check for leaks with a pressure test before moving on to the next step.
7. Re-seal the Slab
Now that you have installed your new piping, it’s time to re-seal the slab with concrete. Use a trowel or masonry brush to spread the concrete over the hole in your floor, making sure to fill any gaps or cracks. Allow the concrete to dry before moving forward with the repair process.
8. Install a Pipe Sleeve
If necessary, you can also install a pipe sleeve over the new piping to provide additional protection against corrosion and damage. Use waterproof sealant around the edges of the sleeve for an extra layer of protection.
9. Test for Leaks
Once the pipe sleeve is in place, it’s time to test the system for leaks. Turn on the water and use a pressure gauge to check for any drops in pressure or water flow. If all looks good, you can move on to the final step!
10. Clean Up
The last step in repairing your slab leak is to clean up any mess you may have made. Remove all tools and supplies from the area, vacuum up any dust or debris, and wipe down surfaces with a damp cloth. Once everything is back in place and clean, your repair project is complete!
Follow these steps to successfully repair a slab leak and get back to enjoying your hot and cold running water. With the right tools, materials, and know-how, slab leaks can be repaired quickly and effectively without causing further damage to your home.
8 Safety Precautions to Take
1. Turn off the main water supply. If you don’t have access to the main water supply, then turn off the individual valves that lead to the slab leak. The safety of yourself and those around you is the priority, so make sure to take this important step.
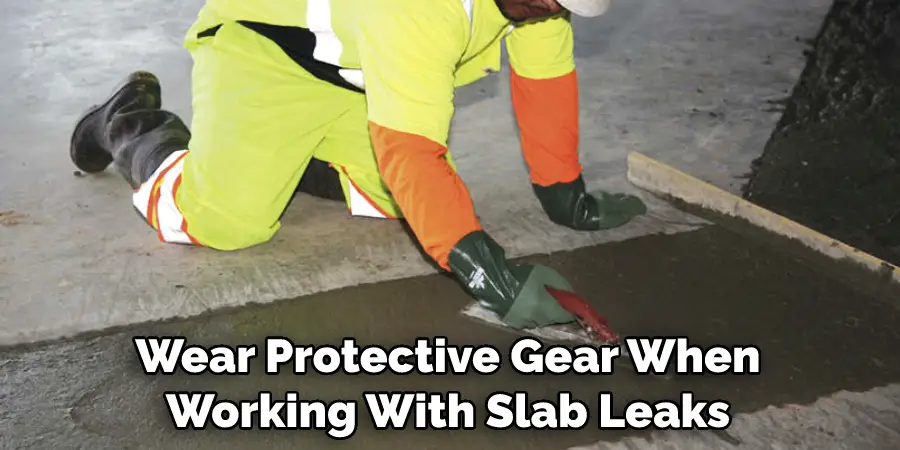
2. Wear protective gear when working with slab leaks. It’s important to wear rubber gloves, safety glasses, and any other protective gear that the job may require. Don’t ever put yourself in danger by not being prepared.
3. Have the right tools for the job. Having all of the necessary tools on hand will make any DIY slab leak repair easier and more efficient. Make sure you have a wrench set, screwdrivers, pliers, pipe cutters, and a bucket handy before starting the job.
4. Be careful with the power tools. Drills and other power equipment can be dangerous in inexperienced hands. Always read the instructions carefully and wear protective gear when using them.
5. Use a slab leak detector to locate the leak. You’ll need to know where it is before you can start working on it, so this tool will come in handy.
6. Make sure you have the right materials. If you’re going to be using PVC or any other type of pipe, then make sure you have enough to complete the job and that it’s the correct type for your situation.
7. Use a sealant around all of your connections. This will help ensure that no water can escape from the pipe, which can save you a lot of money on future repairs.
8. Have a professional inspect your work. Once you’ve finished the job, make sure to have a professional come out and inspect it to make sure everything is up to code. This will save you from any potential problems down the line.
Fixing a slab leak can be a tricky job, but with the right safety precautions and the right tools, it can be done safely and efficiently.
How Long Will It Take to Finish the Project?
Fixing a slab leak depends on the extent of the damage and the specific methods used to repair it. On average, it may take anywhere from two days up to several weeks to complete depending on its severity. Factors that can affect how long it takes include the size of the slab, accessibility of underground pipes, and weather conditions.
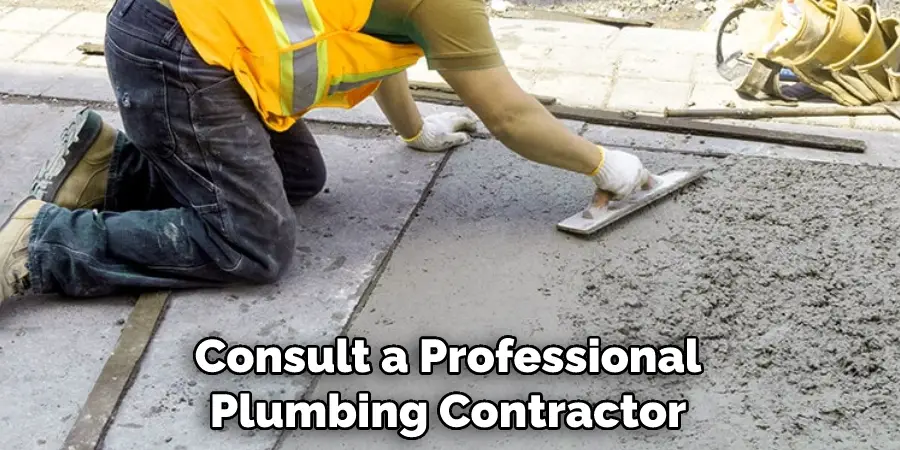
In some cases, repairing a slab leak may require the use of specialized tools or equipment. It’s important to consult a professional plumbing contractor for an accurate timeline of when a project should be finished.
Conclusion
It can be a little intimidating at first to tackle a slab leak, but with the right knowledge and help, you can take care of it yourself. Taking note of the signs that may indicate you have one, such as wet spots or decreased water pressure, is important in order to know when to act. It’s also essential to know what materials are needed for the process and how to replace your pipes correctly. But don’t forget the risks!
There are associated dangers in doing this type of work, so it’s very important to exercise caution. In conclusion, slab leaks require effort and attention if they are going to be dealt with properly; however, by following these steps on how to fix a slab leak and taking all safety measures into account, you should be able to fix the slab leak without much difficulty.

