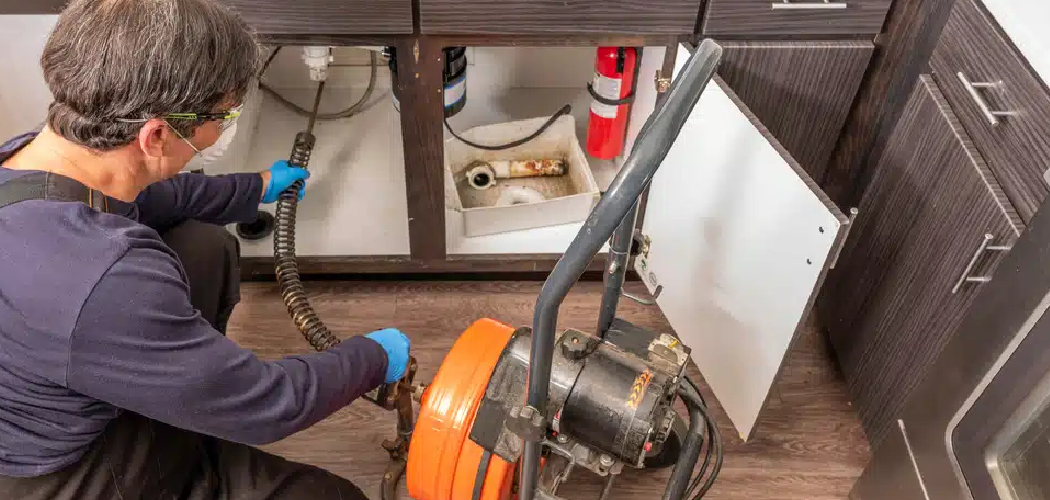
Fixing a snake machine may seem daunting at first, but with the right approach and tools, it becomes a manageable task.
These machines are essential for clearing clogs and maintaining proper drainage, making them invaluable for plumbers and DIY enthusiasts alike. Whether you’re dealing with a minor malfunction or a more serious issue, understanding the basics of how a snake machine operates is the first step toward solving the problem efficiently.
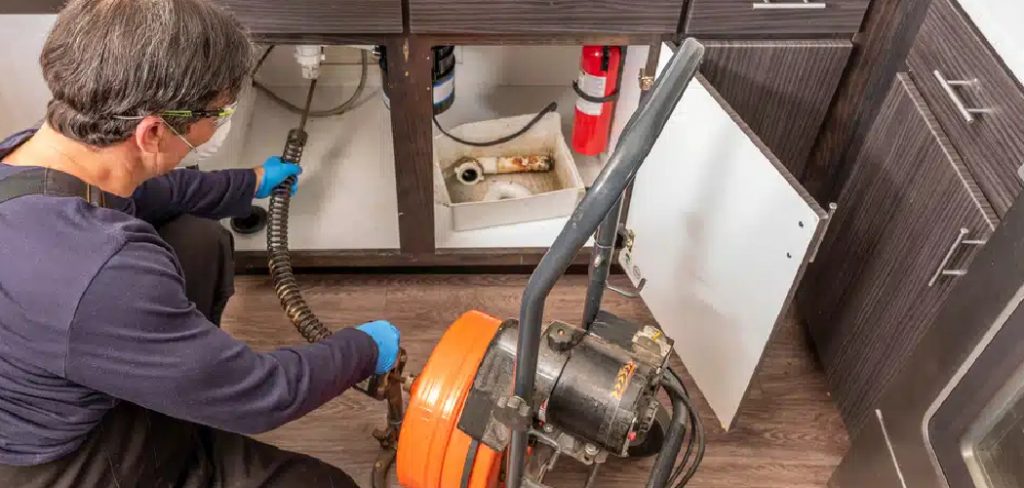
This guide on how to fix a snake machine will walk you through the necessary steps to diagnose, troubleshoot, and repair common issues with your snake machine.
Why is It Important to Fix a Snake Machine?
A malfunctioning snake machine can disrupt essential plumbing tasks, leading to prolonged clogs and potential water damage. These machines play a critical role in efficiently removing blockages, ensuring that drainage systems function smoothly.
Neglecting to repair a snake machine not only hinders its performance but can also result in more costly repairs or replacements over time. Additionally, fixing the machine promptly helps maintain its longevity and ensures safety during operation, as worn or damaged components could pose risks to the user. Addressing issues as they arise is key to preserving the reliability and effectiveness of this vital tool.
Needed Materials:
Before attempting to fix your snake machine, gather the necessary tools and materials. These may include:
Wrenches:
A set of wrenches or pliers will be necessary to loosen and tighten bolts, nuts, and screws.
Screwdrivers:
Different types and sizes of screwdrivers are required for loosening screws of various shapes and sizes. Make sure you have the correct ones on hand before starting.
Pipe Cutter:
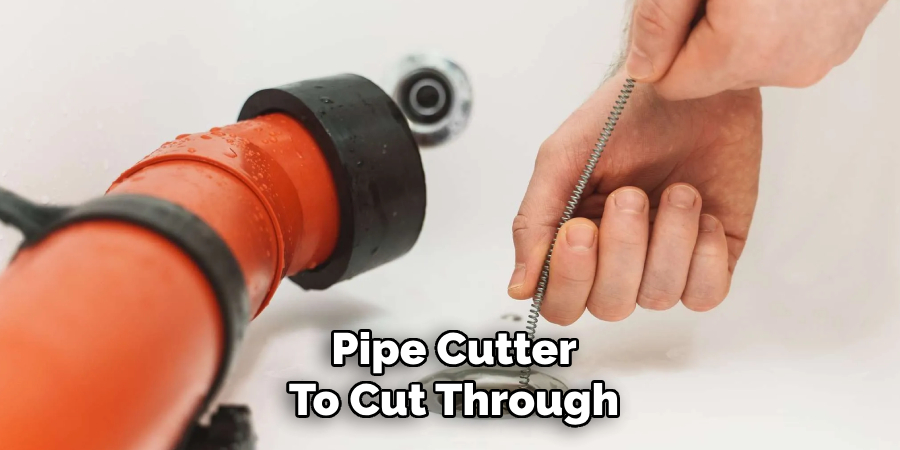
A pipe cutter is essential for cutting through clogs or obstructions in pipes that may require removal for cleaning.
Snake Cable:
Having an extra snake cable can be helpful if you need to replace a damaged one during repairs.
Protective Gear:
As with any repair task, it’s crucial to wear proper protective gear such as gloves, safety goggles, and closed-toe shoes to prevent injury.

8 Step-by-step Guidelines on How to Fix a Snake Machine:
Step 1: Inspect the Machine
Begin by carefully examining the snake machine to identify any visible issues. Check for signs of wear or damage on the snake cable, drum, motor, and other components. Look for tangled or kinked cables, as these can impede operation and may need replacement. Inspect the power cord or power source for any defects, such as fraying or exposed wiring, which could pose a safety hazard.
Additionally, ensure that all bolts, screws, and fittings are secure, as loose hardware can affect the machine’s performance. A thorough inspection will help you pinpoint the problem and determine the
Step 2: Troubleshoot the Issue
Once the inspection is complete, proceed to troubleshoot the issue by testing the machine’s functionality. Plug in the snake machine and operate it briefly to observe any unusual noises, irregular movements, or complete lack of response. If the motor doesn’t run, check the power source and cord for faults. If it does run but with difficulty, this could indicate a problem with the cable or drum.
It’s crucial to troubleshoot the problem systematically, eliminating possible causes one by one until you reach a definitive diagnosis. This will help you avoid unnecessary repairs and expenses.
Step 3: Check the Cable
The snake cable is one of the most critical components of the machine, and any issues with it can severely impact the machine’s performance. Begin by carefully unwinding the cable and inspecting it for any visible damage, such as kinks, breaks, or excessive wear. A damaged cable may become stuck in pipes or fail to effectively clear blockages. If you discover significant damage, replacing the cable is recommended to ensure smooth operation.
Additionally, check for proper lubrication along the length of the cable. A dry or rusty cable may not function efficiently, so apply a suitable lubricant if needed. Taking the time to thoroughly examine and maintain the cable can prevent further complications during operation.
Step 4: Examine the Drum
The drum, which houses and guides the snake cable, should be checked for any defects or obstructions. Remove the cover of the drum to access its interior and inspect it for signs of wear, damage, or debris buildup. A damaged or dirty drum can interfere with cable movement and cause clogs. Clean the drum thoroughly if necessary, and replace it if significant damage is present.
You may also need to adjust the drum’s tension or replace any damaged springs or bearings for optimal performance.
Step 5: Test the Motor
If the motor appears to be functioning correctly, but the snake cable is not moving as it should, there could be an issue with the motor itself. Disconnect the power source and carefully remove the motor from its housing to examine it more closely. Look for signs of wear or damage on the motor components, including gears, bearings, and brushes.
Cleaning and lubricating these parts can often resolve minor issues. However, if you find significant damage, replacing the motor may be necessary.
Step 6: Address Electrical Problems
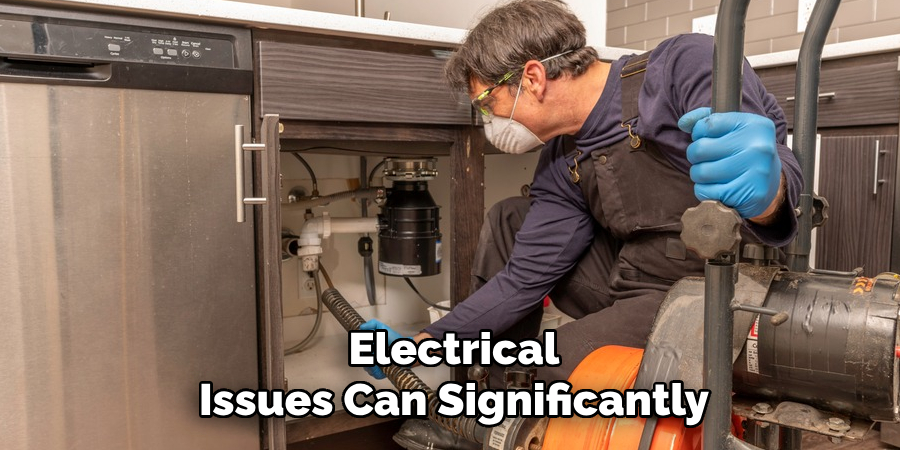
Electrical issues can significantly affect the performance of your snake machine. Begin by checking the machine’s power cord and plug for any visible signs of wear, such as frayed wires, exposed conductors, or loose connections. If any damage is found, replace the cord or plug immediately to ensure safe operation.
Next, inspect the on/off switch to confirm it is functioning properly. Use a multimeter to test the continuity of the switch and other electrical components, such as the motor’s wiring. Look for any burnt or damaged wires inside the machine that may require repair or replacement.
Step 7: Remove Clogs or Obstructions
If none of the above steps have resolved the issue, there may be a clog or obstruction in the pipes that is preventing the snake machine from operating correctly. Use a pipe cutter to cut through and remove any blockages, such as tree roots, debris, or hardened material. Take care not to damage the pipes while doing so. Once cleared, test the machine again to ensure proper functionality.
It’s always a good idea to regularly clean and maintain your pipes to prevent future clogs.
Step 8: Reassemble and Test the Machine
After completing all necessary repairs or replacements, reassemble the snake machine carefully, following proper guidelines and manufacturer instructions. Ensure that all bolts, screws, and fittings are securely tightened and the cable is properly wound onto the drum. Plug in the power source and turn on the machine to test its functionality. If everything appears to be working correctly, your snake machine repair is complete!
Remember to properly clean and store your snake machine after use to prolong its lifespan and avoid potential issues in the future.
Following these step-by-step guidelines on how to fix a snake machine can help you fix your snake machine effectively and safely, saving you time and money on costly repairs.
Do You Need to Get Support From Professionals?
While following the step-by-step guide can resolve many common issues with a snake machine, there are instances where professional support may be necessary. If the problem persists despite your efforts or if you encounter complex issues, such as severe motor damage, electrical failures, or components that require specialty tools to repair, seeking help from a qualified technician is advisable.
Professionals have the expertise and experience to diagnose and fix problems more efficiently, reducing the risk of further damage to the machine. Additionally, they may have access to replacement parts and equipment that aren’t readily available to most users. Attempting to handle difficult repairs without proper knowledge or tools can lead to additional expenses or create safety hazards.
Reach out to the manufacturer’s service centers or trusted repair specialists for assistance if needed. Investing in professional support can ensure your snake machine remains in optimal working condition and prolongs its operational life.
Frequently Asked Questions:
Q1: How Often Should I Clean and Maintain My Snake Machine?
A1: It’s recommended to clean and maintain your snake machine after every use, but at least once a mont,h to prevent buildup and potential issues. If your machine is used frequently, it may require more frequent maintenance.
Q2: Can I Use My Snake Machine on Different Types of Pipes?
A2: Depending on the type and size of your snake machine, it may be compatible with various pipe materials, including PVC, iron, or clay. However, always check the manufacturer’s recommendations before using the machine on different types of pipes to avoid damaging them.
Q3: How Do I Know When It’s Time to Replace My Snake Machine?
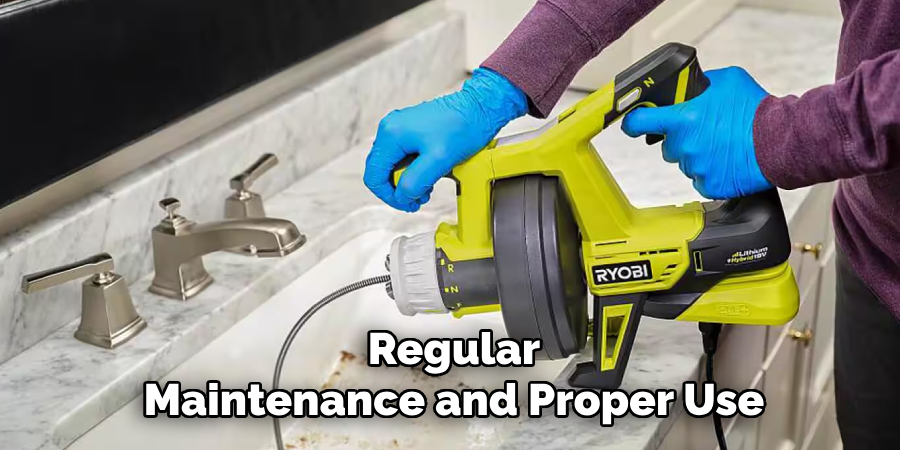
A3: Regular maintenance and proper use can prolong the lifespan of your snake machine. However, if you notice significant damage or persistent issues that cannot be resolved, it may be time to invest in a new machine. Additionally, if your machine is frequently used and has reached its expected operational life, it may be more cost-effective to replace it rather than continue repairing it. Overall, use your judgment and seek professional advice when necessary.
Conclusion
Proper maintenance and careful troubleshooting are essential to keeping your snake machine in optimal working condition. By following the steps on how to fix a snake machine outlined above, you can identify and address common issues effectively, ensuring the machine operates efficiently and safely.
Regular inspections, proper cleaning, and timely replacement of worn or damaged components will not only extend the lifespan of your equipment but also prevent costly repairs in the future. A well-maintained snake machine not only saves time and money but also provides reliable performance whenever you need it.

