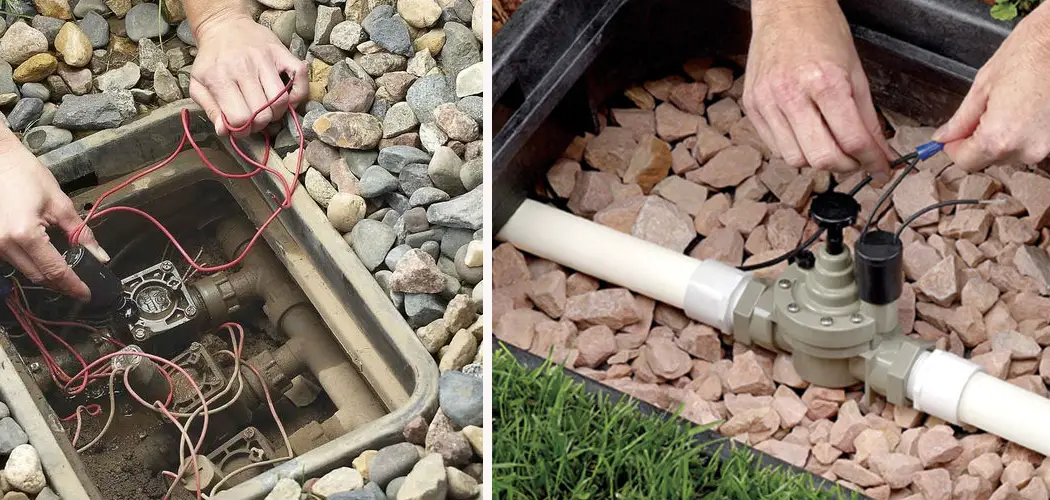
A sprinkler solenoid is an important component in your irrigation system. It is responsible for controlling the flow of water to specific zones or areas in your lawn or garden. When this component malfunctions, it can lead to issues such as no water being sprayed, uneven watering, or excessive water usage.
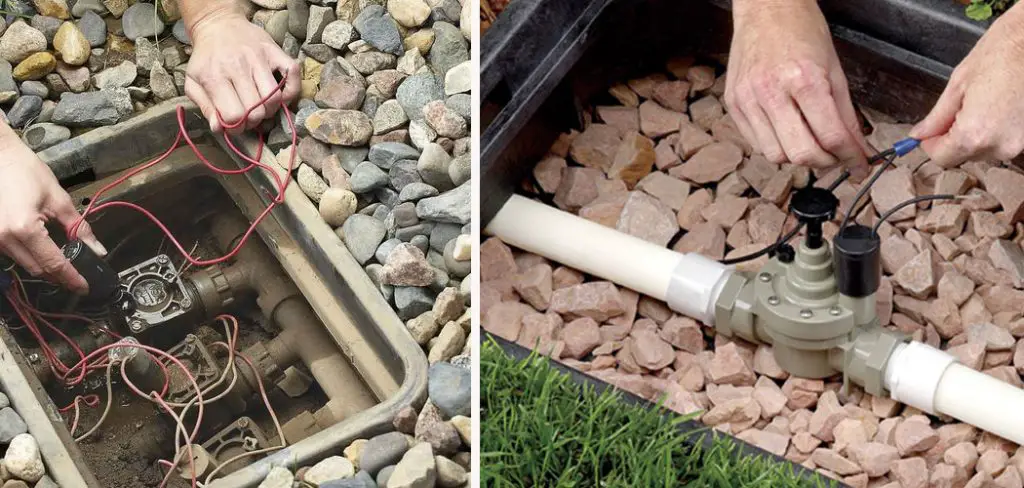
If you are experiencing any of these problems with your sprinkler system, don’t worry. In this guide, we will go through the steps on how to fix a sprinkler solenoid.
Necessary Items
Before you start fixing your sprinkler solenoid, make sure you have all the necessary items on hand. This includes:
- Replacement solenoid
- Wire connectors
- Wrench or pliers
- Screwdriver
8 Things to Know Before You Start
1) What is Sprinkler Solenoid?
A sprinkler solenoid is an electromagnetic valve that controls the flow of water in an irrigation system. And understanding how it works is crucial in fixing any issues with it.
2) How to Determine if the Solenoid is Malfunctioning
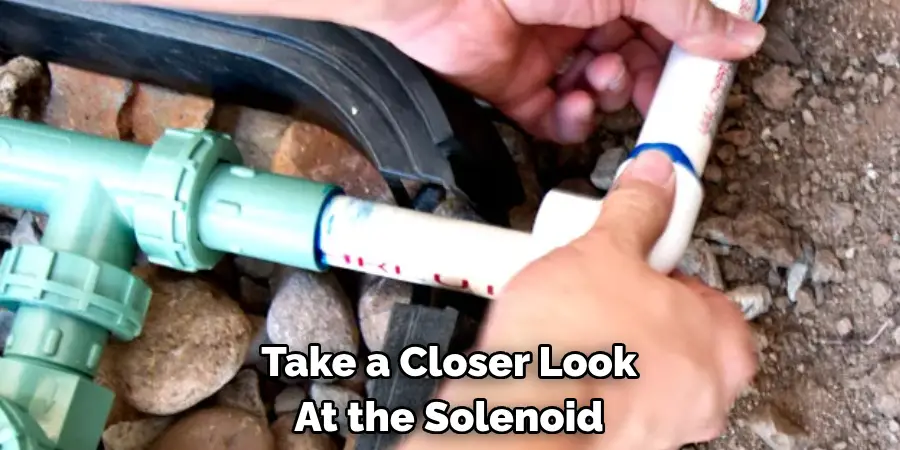
There are a few signs that can indicate a malfunctioning solenoid, including no water being sprayed, uneven watering, or excessive water usage. You can also take a closer look at the solenoid itself and check for any physical damage or signs of wear and tear.
3) How to Locate the Solenoid
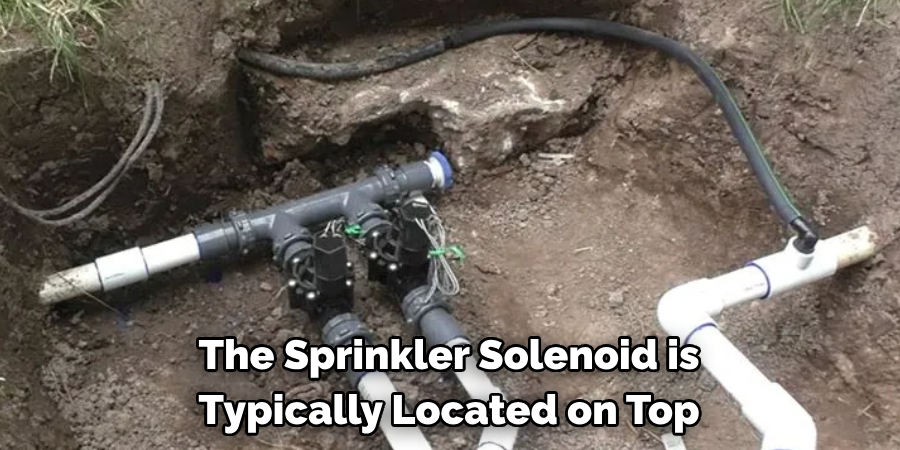
The sprinkler solenoid is typically located on top of the valve box, which is usually buried underground. You may need to remove some grass or dirt to access it. While the exact location may vary, it is often near the main water source.
4) How to Turn Off the Water Supply
Before you start any repairs, make sure to turn off the water supply to your sprinkler system. This will prevent any accidental sprays or leaks while you are working on the solenoid. If you are unsure how to turn off the water supply, consult your irrigation system manual or contact a professional.
5) How to Remove the Solenoid
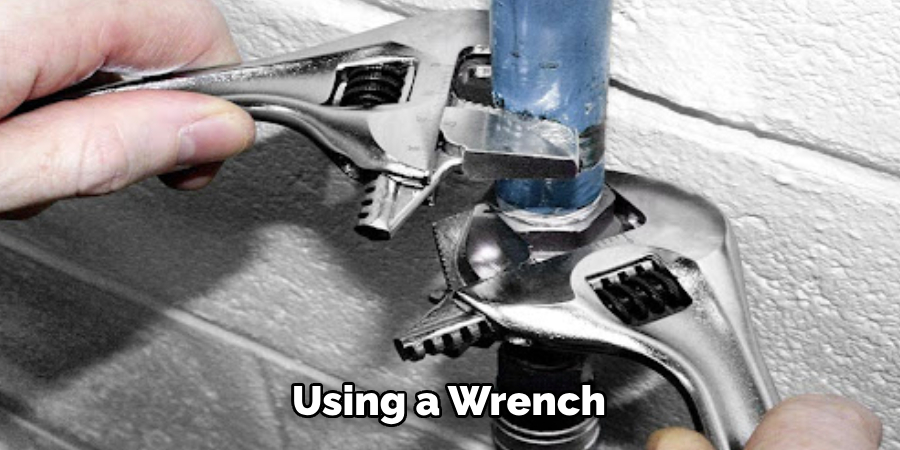
To remove the solenoid, use a wrench or pliers to loosen and unscrew it from the valve. Be sure to keep track of any small pieces, such as screws or washers, that may fall out during the process.
6) How to Install the New Solenoid
Once you have removed the old solenoid, it’s time to install the new one. Simply screw it into place and make sure it is secure. But before you do, check if there are any additional components, such as washers or O-rings, that need to be attached.
7) How to Reconnect the Wires
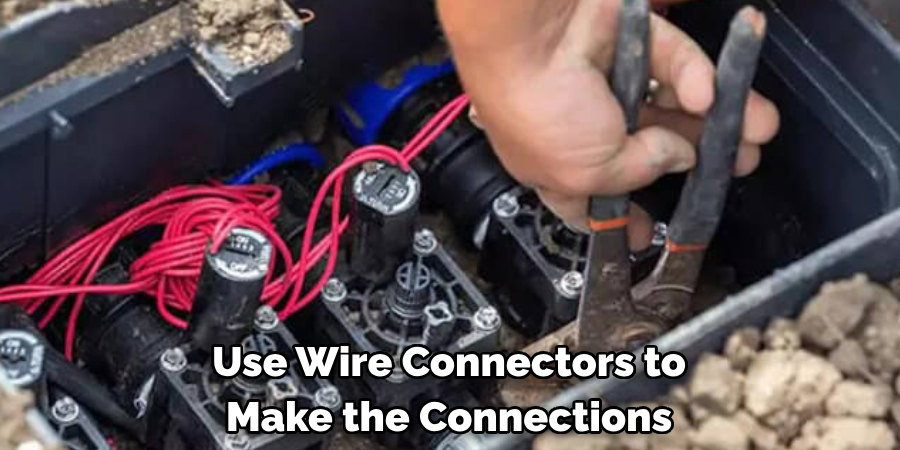
The solenoid will have two wires attached to it. Make sure to reconnect them properly, following the same color coding as the previous connections. If your new solenoid does not come with wires, you can use wire connectors to make the connections.
8) How to Test the Solenoid
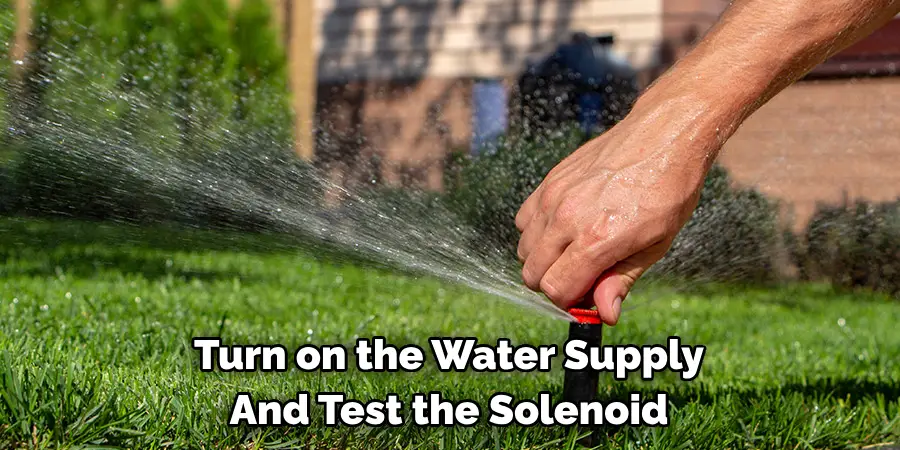
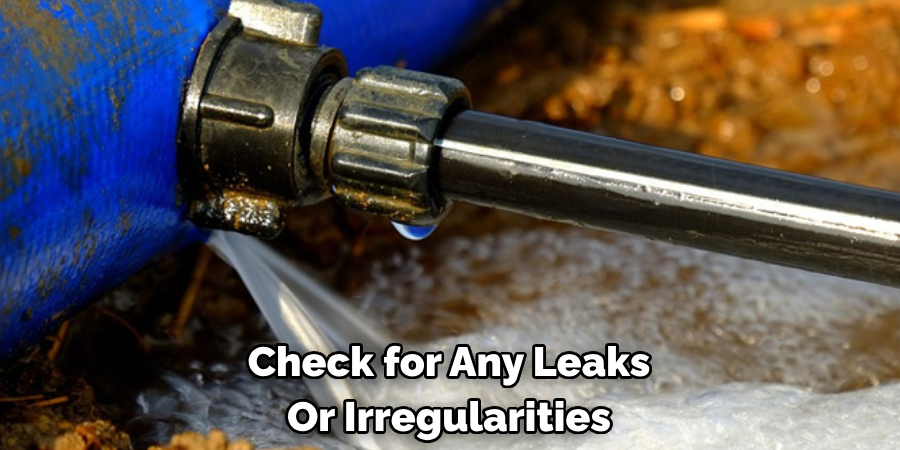
After reassembling everything, turn on the water supply and test the solenoid. Check if there are any leaks or irregularities in the water flow. If everything seems to be working properly, then congratulations, you have successfully fixed your sprinkler solenoid!
Fixing a sprinkler solenoid may seem like a daunting task, but with the right tools and knowledge, it can be done easily. Remember to always turn off the water supply before starting any repairs and consult a professional if you are unsure or uncomfortable with the process. Regular maintenance of your irrigation system can also help prevent any issues with your solenoid in the future.
12 Steps on How to Fix a Sprinkler Solenoid
Step 1: Identify the Problem
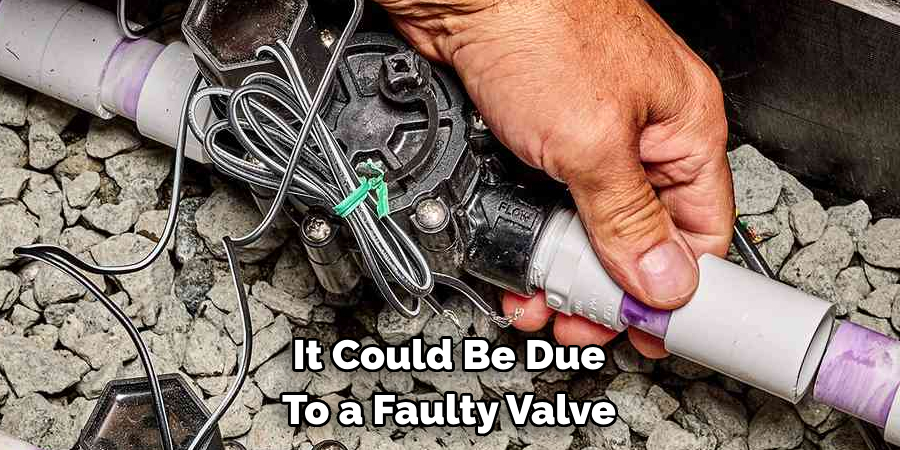
The first step in fixing a sprinkler solenoid is identifying the problem. It could be due to a faulty valve, broken wires, or debris stuck inside the solenoid. To determine the cause, closely inspect the solenoid and its surrounding components.
Step 2: Gather Necessary Items
As mentioned before, make sure you have all the necessary items on hand before starting any repairs. This includes a replacement solenoid, wire connectors, wrench or pliers, and a screwdriver. And don’t forget to turn off the water supply!
Step 3: Remove the Old Solenoid
Using a wrench or pliers, loosen and unscrew the old solenoid from the valve. Be careful not to lose any small pieces that may fall out during this process. And make sure to keep track of the wires attached to the solenoid.
Step 4: Inspect the Solenoid
Take a closer look at the solenoid for any signs of damage or wear and tear. In some cases, a simple cleaning or replacement of small parts may be all that’s needed to fix it. If the solenoid appears to be in good condition, check the wires for any damage.
Step 5: Replace Any Damaged Components
If you notice any damaged components, such as wires or washers, make sure to replace them with new ones. This will ensure that your solenoid is functioning properly and prevent future issues. While you’re at it, also check the valve for any damage or debris.
Step 6: Install the New Solenoid
Screw in the new solenoid and make sure it is securely in place. Be cautious not to over-tighten it, as this can cause damage. If your new solenoid does not come with wires attached, use wire connectors to make the connections.
Step 7: Reconnect the Wires
Reattach the wires to the new solenoid, following the same color-coding as before. This will ensure that they are connected properly and functioning correctly. However, if you are using wire connectors, make sure they are securely connected.
Step 8: Test the Solenoid
Turn on the water supply and test the solenoid. Check for any leaks or irregularities in water flow. If everything seems to be working fine, then your solenoid is fixed! But if not, continue troubleshooting or consult a professional.
Step 9: Reassemble the Components
If the solenoid is working properly, it’s time to put everything back together. This includes screwing the valve box back into place and covering it with soil or grass. Make sure all components are securely in place before turning on the water supply again.
Step 10: Test the Irrigation System
After reassembly, test your entire irrigation system to ensure everything is functioning correctly. Check each sprinkler head for proper water flow and adjust as needed. This will help prevent any future issues with your solenoid.
Step 11: Regular Maintenance
To avoid any future problems with your sprinkler solenoid, make sure to perform regular maintenance on your irrigation system. This includes checking for any leaks, cleaning sprinkler heads and filters, and replacing any damaged components.
Step 12: Consult a Professional
If you are unsure or uncomfortable with fixing your sprinkler solenoid, it’s always best to consult a professional. They have the knowledge and experience to accurately diagnose and fix any issues with your irrigation system. Plus, they can provide tips on how to maintain your system to prevent future problems.
With these steps, you can easily fix a sprinkler solenoid and keep your irrigation system running smoothly. Remember to always take safety precautions and consult a professional if needed. Regular maintenance is key in preventing any issues with your solenoid or irrigation system as a whole.
8 Things to Avoid When Fixing a Sprinkler Solenoid
Now that you know how to fix a sprinkler solenoid, it’s important to also know what not to do. Here are eight things to avoid when fixing your sprinkler solenoid:
1) Not Turning off the Water Supply
Before starting any repairs, make sure to turn off the water supply. This will prevent any accidents or damage to your irrigation system. Always double-check that the water supply is off before proceeding.
2) Using the Wrong Tools
Using the wrong tools can cause damage to your solenoid or its surrounding components. Make sure to use the correct size wrench or pliers and a screwdriver for any screws. If you are unsure, consult a professional.
3) Over-tightening the Solenoid
Over-tightening the solenoid can cause damage and make it difficult to remove in the future. Make sure to only tighten until it is securely in place, but not too tight. So, be careful not to use excessive force.
4) Not Testing the Solenoid
After fixing or replacing the solenoid, it’s important to test it before reassembling everything. This will ensure that it is functioning properly and prevent any further issues. This step should not be skipped.
5) Not Identifying the Underlying Problem
Simply replacing a solenoid without identifying the underlying problem can lead to future issues. It’s important to determine why the solenoid failed in the first place and fix any other related issues. This will prevent the same problem from occurring again.
6) Not Replacing Damaged Components
If you notice any damaged components while fixing the solenoid, make sure to replace them. This will ensure that your irrigation system is functioning at its best and prevent future problems. However, if you are unsure how to replace these components, consult a professional.
7) Not Following Proper Safety Measures
When working with water and electricity, it’s important to take proper safety measures. This includes wearing protective gear, turning off the power supply, and using caution while handling wires. Failure to do so can lead to accidents or injury.
8) Not Performing Regular Maintenance
Regular maintenance is crucial in keeping your irrigation system and solenoid functioning properly. Neglecting this can lead to issues down the line, resulting in costly repairs or replacements. Make sure to perform routine checks and cleanings to prevent any problems.
By avoiding these mistakes on how to fix a sprinkler solenoid, you can effectively fix a sprinkler solenoid and maintain your irrigation system for years to come. If you encounter any difficulties or are unsure of what to do, it’s always best to consult a professional. So, make sure to take the necessary precautions and happy fixing!
8 Additional Tips for Maintaining Your Irrigation System
In addition to regular maintenance, here are eight tips to help keep your irrigation system in top condition:
1) Monitor Water Usage
Pay attention to your water usage and adjust your irrigation schedule accordingly. This will save water and prevent over-saturation of your lawn or garden. If possible, invest in a smart irrigation system that can automatically adjust based on weather conditions.
2) Keep Sprinkler Heads Clean
Clean your sprinkler heads regularly to prevent any clogs or blockages. This will ensure proper water flow and coverage. Never use sharp objects to clean the heads, as this can damage them. Instead, use a small toothbrush or wire brush to gently remove any debris.
3) Check for Leaks
Regularly check for any leaks in your irrigation system. This includes inspecting all components and connections for signs of water leakage. If you notice any leaks, make sure to fix them immediately to prevent water waste and potential damage.
4) Adjust Sprinkler Heads
As plants grow and landscaping changes, it’s important to adjust your sprinkler heads accordingly. Make sure they are positioned correctly to provide adequate coverage without wasting water. As mentioned earlier, make sure to also check the water pressure and adjust it as needed.
5) Winterize Your System
Before the cold winter months arrive, make sure to properly winterize your irrigation system. This includes turning off the water supply, draining any remaining water from pipes and components, and insulating outdoor faucets and valves to prevent freezing.
6) Clear Debris Around Sprinkler Heads
Over time, debris, such as leaves or grass clippings, can build up around sprinkler heads. Make sure to regularly clear this debris to prevent any blockages or interference with the water flow. While cleaning, also check for any damaged components and replace them if necessary.
7) Schedule Professional Inspections
In addition to your own regular maintenance, it’s recommended to schedule professional inspections at least once a year. This will ensure that your irrigation system is functioning properly and catch any potential issues before they become major problems.
8) Educate Yourself
The more you know about your irrigation system and its components, the better equipped you will be to maintain it. Educate yourself on how each part works and what signs to look for in case of malfunctions. This will save you time and money in the long run.
By following these additional tips, you can ensure that your irrigation system is running efficiently and effectively. And remember, if at any point you feel unsure or overwhelmed, don’t hesitate to seek professional help. Taking care of your irrigation system will not only save you money but also contribute to a healthier and more beautiful landscape. So, make sure to prioritize its maintenance and enjoy a well-watered lawn or garden all year round!
Frequently Asked Questions
How Often Should I Check My Irrigation System?
It’s recommended to do a thorough check of your irrigation system at least once a year. However, you can also perform routine checks and cleanings throughout the year to ensure everything is functioning properly.
Can I Fix My Sprinkler Solenoid Without Professional Help?
Yes, if you feel confident and have the necessary tools and knowledge, you can fix your sprinkler solenoid on your own. However, if at any point you are unsure or encounter difficulties, it’s best to consult a professional.
How Do I Adjust the Water Pressure in My Irrigation System?
To adjust the water pressure, locate the pressure regulator on your system and turn it clockwise to increase pressure or counterclockwise to decrease pressure. It’s recommended to consult a professional if you are unsure about making adjustments.
What Is the Best Time of Day to Water My Lawn?
The best time of day to water your lawn is early in the morning, between 4 a.m. and 10 a.m. This allows the water to soak into the soil before it evaporates in the heat of the day. Avoid watering in the evening, as this can promote fungal growth.
How Can I Prevent Accidents While Working on My Irrigation System?
Always wear protective gear such as gloves and goggles when working with your irrigation system. Make sure to also turn off the water supply and disconnect any power sources before beginning any repairs or maintenance.
What Can I Do If My Irrigation System Is Not Covering All Areas of My Lawn?
If you notice that certain areas of your lawn are not being watered properly, check to make sure all sprinkler heads are functioning correctly and adjust their position if needed. You can also invest in additional sprinkler heads or consider changing the layout of your irrigation system to ensure better coverage. Overall, regular maintenance and adjustments will help prevent this issue from occurring. So, make sure to stay on top of it!
Conclusion
Proper maintenance is key for keeping your irrigation system running smoothly and efficiently. By following these tips on how to fix a sprinkler solenoid and staying informed about your system, you can save water and money while maintaining a beautiful landscape. Remember also to seek professional help if needed and prioritize safety when working on your irrigation system. With these practices in place, you can enjoy a healthy and well-watered lawn or garden for years to come!

