If you’re like most people, the sound of your shower driving you crazy is a sign that it’s time for some repairs. Luckily, fixing a squealing shower is usually a pretty easy task. In this blog post, we’ll outline the steps you need to take to get your shower sounding like new again.
We’ll also share some tips on how to avoid it from happening in the first place. So whether it’s just a minor annoyance or you’re getting ready for house guests, read on for tips on how to fix a squealing shower!
Step-by-Step Guide: How to Fix a Squealing Shower
Step 1: Identify the Source of the Squeal
As a homeowner, hearing a squealing noise from your shower can be extremely frustrating. While it may seem like an overwhelming task to fix, identifying the source of the squeal is the first step in finding a solution. The culprit is often the worn-out rubber gasket on the showerhead or faucet handle.
Replacing these parts can quickly get rid of any annoying squeals. If this doesn’t solve the problem, air may be trapped in your pipes, and bleeding them can eliminate the noise. In rare cases, the issue could be with your water pressure and requires professional assistance. No matter the cause, taking the time to locate and address it will leave you with a peaceful shower experience.
Step 2: Clean the Shower Head and Faucet Aerator
If you’re still hearing that telltale squeal after replacing the gaskets, it’s time to move on to some preventative maintenance. Start by cleaning your showerhead and faucet aerator with a vinegar solution. This will help remove any mineral deposits that could be causing the noise.
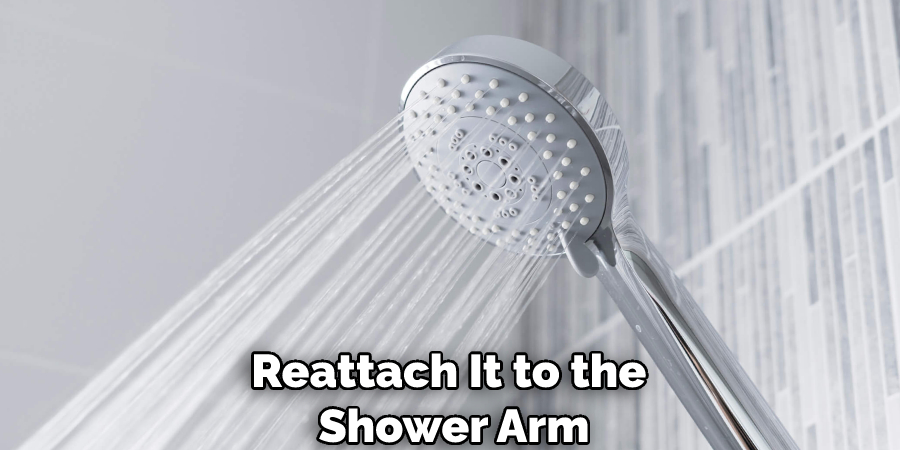
To clean your showerhead, remove it from the shower arm and soak it in a vinegar solution for 30 minutes. Then, use an old toothbrush to scrub away any remaining debris. Once it’s clean, reattach it to the shower arm and turn on the water to check for leaks.
Make sure to unscrew it from the faucet before you start cleaning. To clean your faucet aerator, soak it in a vinegar solution for 15 minutes. Use an old toothbrush to scrub away any mineral deposits. Once it’s clean, reattach it to the faucet and turn on the water to check for leaks
Step 3: Tighten All Connections and Screws
When dealing with a squealing shower, one often overlooked solution is tightening all the connections and screws. Loose fittings and joints can cause water pressure to fluctuate, creating that annoying high-pitched sound. However, taking a few minutes to tighten these fixtures can often quickly solve the issue.
It’s also important to perform this maintenance regularly, as continued use can cause connections to become loose over time. So next time you hear that pesky squeal, remember to check and tighten all of your connections and screws. This simple step can save your ears and wallet from expensive plumbing repairs.
Step 4: Lubricate Any Moving Parts
Lubricating any moving parts in your shower can also help reduce or eliminate that annoying squeal. This is because water can cause metal components to corrode and bind, leading to high-pitched noise. To lubricate your shower, simply apply a small amount of petroleum jelly to the problem areas. Once applied, run the water to check for leaks and ensure the noise is gone.
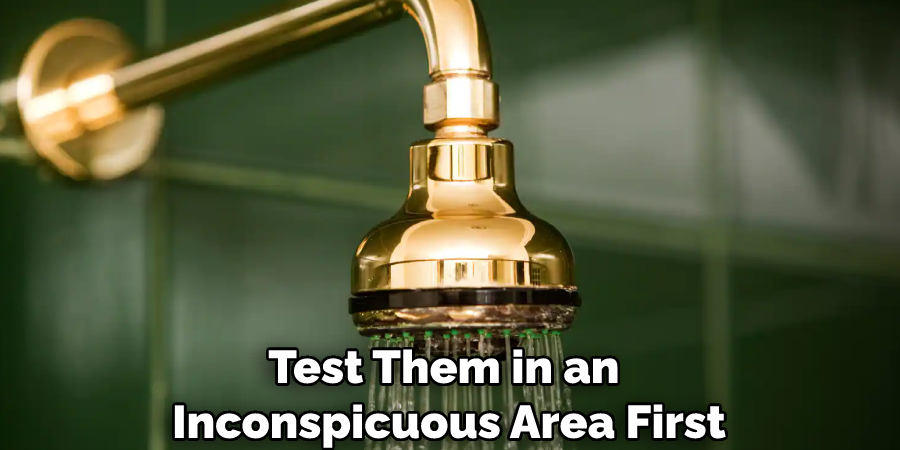
If you don’t have any petroleum jelly on hand, you can also use WD-40 or a similar product. However, remember that these products can damage some finishes, so it’s always best to test them in an inconspicuous area first.
Step 5: Check Your Water Pressure
If you’ve tried all of the above solutions and still hear that squeal, it’s time to check your water pressure. In some cases, high water pressure can cause noise. You’ll need to purchase a water pressure gauge at your local hardware store to check your water pressure.
Once you have the gauge, attach it to an outdoor faucet and turn on the water. The reading on the gauge will tell you what your water pressure is. If it’s above 60 psi, that could cause your squealing shower. You can lower your water pressure by installing a pressure-reducing valve. This is a job best left to a professional, so be sure to call a plumber if you’re not comfortable doing it yourself.
Step 6: Check for Obstructions and Remove Them if Necessary
Before moving on to any other steps in fixing a squealing shower, it is important to check for obstructions. These can include blocked pipes or buildup inside the showerhead. Removing these obstructions before proceeding with other fixes is best to ensure the problem is solved.
This can be done by examining the pipes and using a cleaning solution or brush to remove any buildup. If the obstruction cannot be easily removed, it may be necessary to call a plumber for assistance. Ensuring no obstructions will save time and make solving the squealing issue much easier.
Step 7: Adjust the Water Pressure to the Recommended Level
If the water pressure is too high, it can cause a squealing noise. The ideal water pressure is between 40 and 60 psi. Anything above or below this range can create problems. You’ll need to install a pressure-reducing valve to adjust your water pressure. If the water pressure is too high, this valve will lower it to the recommended level.
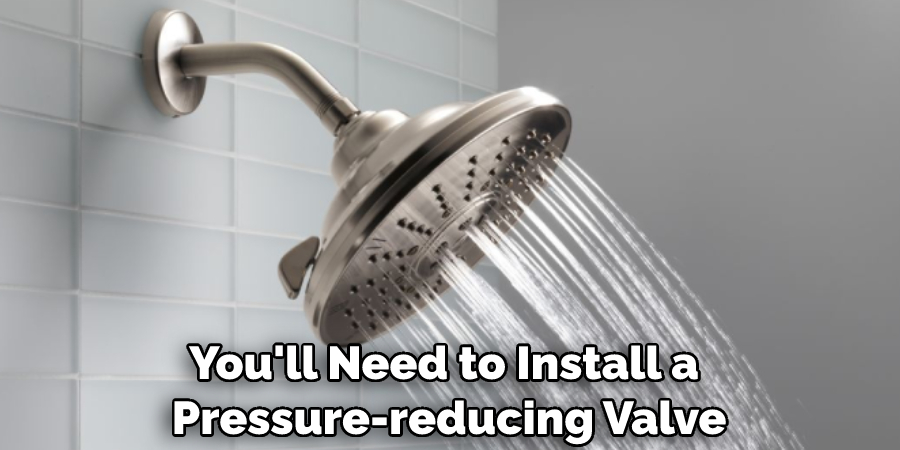
If the water pressure is too low, the valve will raise it to the ideal level. These valves can be purchased at your local hardware store. So when adjusting the water pressure, use a pressure-reducing valve to get the ideal results. Installing a pressure-reducing valve is a job best left to a professional, so be sure to call a plumber if you’re not comfortable doing it yourself.
Step 8: Replace Your Showerhead
Adding a water-softening agent to your supply can fix the issue and make your showers more enjoyable. These agents work by removing the minerals from the water, reducing buildup in pipes and fixtures. Not only does this result in a quieter shower, but it can also extend the lifespan of plumbing and appliances. In addition, many people find that soft water creates a better lather for shampoo and soap, leading to smoother hair and skin. So if you’re tired of dealing with noisy showers, try adding a water-softening agent to your supply.
Step 9: Install a Noise-canceling Showerhead
A noisy shower can be a nuisance, from the high-pitched squeal of metal on metal to the constant rattle of loose components. One solution to this problem is to install a noise-canceling showerhead. These specialized showerheads are designed with internal mechanisms that dampen vibrations and reduce water pressure fluctuations, resulting in a quieter experience. In addition to providing peace in the shower, noise-canceling showerheads can also improve water flow and save energy by reducing wasted water.
Step 10: Soundproofing Material Around the Shower Stall
The metal shower stall is likely to blame if you can still hear the squealing noise after completing all the above steps. You’ll need to install soundproofing material around the shower stall to fix this. This will help to dampen the noise and make your shower much more enjoyable.
Common options include acoustic foam panels, rubber mats, and spray-on sound-deadening coatings. These materials not only dampen shower noises but can also improve heat retention and create a more comfortable showering experience. Make sure that the materials you use are safe in wet areas. You can find soundproofing materials at your local hardware store.
Step 11: Replace Any Old or Worn-out Parts
One important step in maintaining your home is regularly replacing old or worn-out parts. This not only helps to enhance the efficiency and functionality of appliances and fixtures, but it can also prevent bigger problems from occurring down the road. For example, Fixing a Squealing Shower can easily be fixed by replacing the worn-out showerhead gasket. Fixing small issues like this can save you time and money in the long run.
While replacing the entire showerhead is not necessary, replacing the gasket every few years is a good idea to keep your shower running smoothly. You can find replacement gaskets at most hardware stores. Simply unscrew the old gasket and screw on the new one. If you’re unsure how to do this, ask a store employee for assistance.
Step 12: Call in a Professional to Take a Look
If you’ve tried all of the above steps and the squealing noise persists, it’s time to call in a professional. A plumber can take a look at your shower and diagnose the problem. They may need to replace broken pipes or worn-out parts. In some cases, the entire showerhead may need to be replaced.
No matter what the problem is, a professional will be able to fix it quickly and efficiently. This is often the best option if you’re not comfortable working on your shower yourself.
By following these steps, you can fix a squealing shower and enjoy peaceful showers once again. Remember to regularly check your shower for any worn-out parts or leaks to prevent future problems.
You Can Check It Out To Remove Water Restrictor From Handheld Shower Head
Additional Tips and Advice for Fixing a Squealing Shower
Here we have given tips on how to fix a squealing shower
1. If the squealing noise comes from the pipes, try adding a water-softening agent to your supply.
2. Installing a noise-canceling showerhead can help reduce the noise level.
3. Soundproofing material around the shower stall can help to dampen the noise.
4. Replace any old or worn-out parts to prevent bigger problems down the road.
5. If you’ve tried all of the above steps and the squealing noise persists, it’s time to call in a professional.
6. Regularly check your shower for any worn-out parts or leaks to prevent future problems.
7. Always follow the manufacturer’s instructions when working on your shower.
What Are the Common Causes of Shower Squealing Noises?
Squealing or screeching noises from your shower are irritating and can indicate a problem with your plumbing. One common cause of shower squeals is low water pressure, which can trap air pockets in the pipes and create a high-pitched sound. Similarly, worn-out rubber washers in the shower faucet can also cause squealing as they rub against metal surfaces.
The shower head may be clogged with mineral buildup in some cases, causing restricted water flow and noise. Fixing a squealing shower often involves addressing these issues – increasing water pressure, replacing worn parts, and removing mineral buildup. Taking care of these problems promptly can help prevent further damage to your plumbing and ensure a quiet shower experience.
You Can Check It Out To Remove American Standard Shower Handle
Is a Squealing Shower Dangerous?
A squealing shower is not dangerous, but it can be annoying. A limescale buildup usually causes noise on the shower head or faucet. This can cause the water pressure to drop and the shower to make a high-pitched noise. If your shower has been squealing for a while, it’s probably time to clean it. Make sure that, the first time you use it after cleaning, the water is turned on slowly to avoid shocking the system.
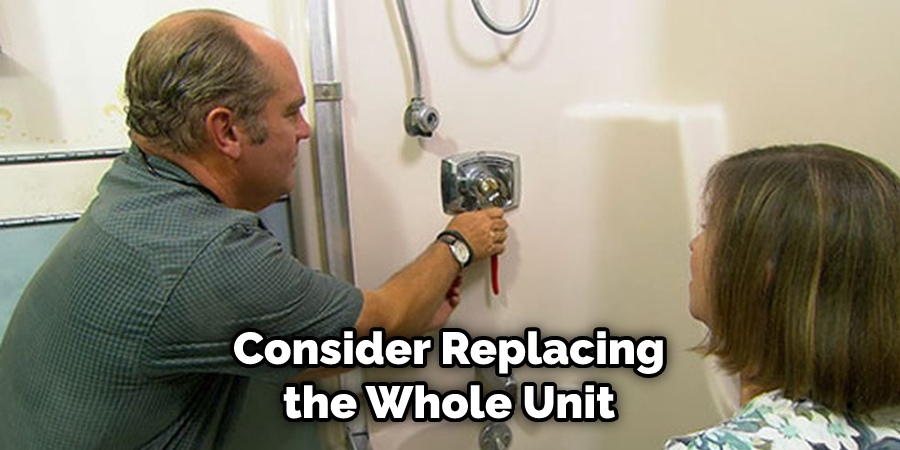
You can also try using a different type of showerhead or faucet. Some models are designed to be quieter than others. If you have a cartridge-type shower faucet, consider replacing the whole unit. A new one might be less likely to squeal. If you’re unsure how to fix your shower, it’s always best to call a professional. They can help you troubleshoot the problem and find the best solution for your needs.
Conclusion
Though a squealing shower may be annoying, the problem is usually easy to fix. A water-soaked towel placed over the rail of your shower curtain will act as a buffer between the metal and help reduce friction and noise.
If your tile is causing the noise, you can try using silicone caulking or rubber mats underfoot to mitigate the problem. By following these steps on how to fix a squealing shower, you can have your shower running quietly in no time. And if all else fails, call in a professional! With these tips, you should be able to enjoy a peaceful, quiet shower in no time.

