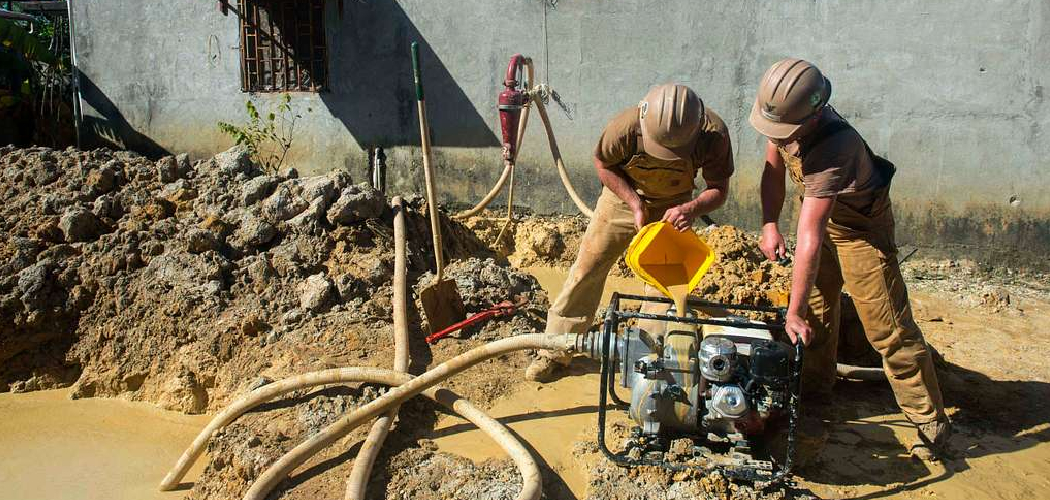
A surging well pump refers to the rapid cycling of the pump that leads to fluctuating water pressure and inconsistent water flow, which can be both frustrating and damaging to your plumbing system. Surging typically occurs due to issues like air trapped in the system, pressure switch malfunctions, or a waterlogged pressure tank, highlighting the importance of addressing these problems promptly.
Recognizing the symptoms of surging—such as irregular water flow, noticeable changes in pressure, or the pump turning on and off frequently—is crucial for maintaining a stable water supply.
In this article, we will explore how to fix a surging well pump by identifying the underlying causes, diagnosing the problem effectively, and providing step-by-step solutions to restore your system’s efficiency. With the right knowledge, you can ensure your well pump operates smoothly, protecting both your water supply and plumbing infrastructure.
Understanding Well Pump Surging
What is the Pump Surging?
Pump surging refers to the rapid cycling of a well pump, resulting in fluctuating water pressure and inconsistent water flow. This erratic behavior disrupts the water supply and can lead to significant system inefficiencies. When a pump surges, it exerts excessive stress on the components, potentially causing premature wear and tear. This can result in breakdowns, requiring costly repairs or replacements, and may even lead to plumbing damage if not addressed promptly.
Common Causes of Well Pump Surging
Several factors can contribute to well pump surging, including:
- Air in the System: Trapped air within the water lines or pressure tank can disrupt the pump’s normal operation. When air bubbles form, they can prevent the pump from achieving a consistent flow, leading to surging.
- Pressure Switch Issues: A malfunctioning pressure switch can cause erratic pump behavior by failing to accurately detect water pressure levels. If the switch misreads these levels, it may repeatedly activate or deactivate the pump, resulting in instability.
- Waterlogged Pressure Tank: A pressure tank that has lost its air cushion can cause the pump to cycle frequently. When the air charge is depleted, the tank cannot effectively absorb the pressure changes, leading to rapid cycling of the pump.
- Clogged or Faulty Components: Clogs in filters, faulty check valves, or worn-out impellers can impede the flow of water and contribute to surging. These components must be regularly inspected and maintained to ensure smooth operation and prevent surging problems.
Diagnosing the Problem
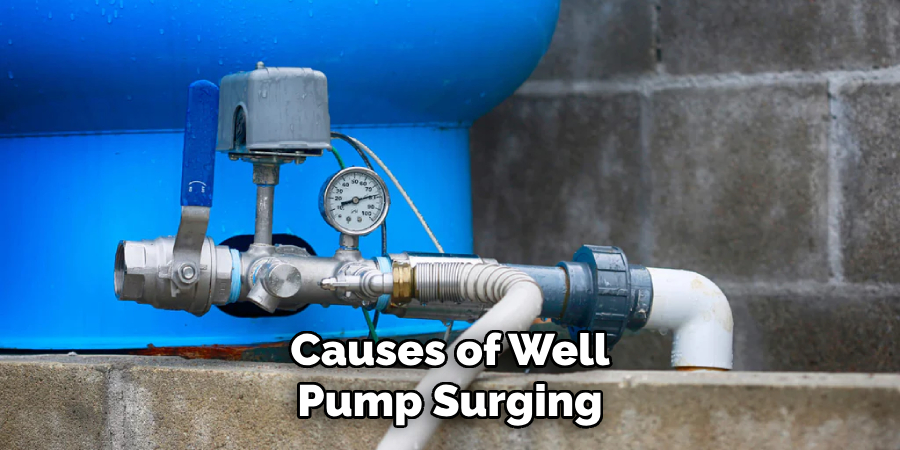
Check the Pressure Gauge
To diagnose a surging well pump, begin by checking the pressure gauge. A functioning gauge should display consistent pressure readings, typically between 40 to 60 psi for residential systems.
Look for significant fluctuations in pressure that may indicate surging—especially rapid drops or spikes in readings. Suppose the gauge continuously oscillates or fails to maintain a steady pressure. In that case, this can signify underlying issues within the system, such as air in the lines or a malfunctioning pressure switch.
Inspect the Pressure Tank
Next, inspect the pressure tank for signs of waterlogging. You can do this by tapping on the side of the tank—if it produces a hollow sound, the air charge is intact.
Conversely, a dull thud suggests water has filled the tank, indicating a loss of the air cushion. Additionally, check the tank’s air pressure using a tire pressure gauge; it should be around two psi below the cut-in pressure of your pressure switch. If the reading is significantly lower or equal, the tank may need to be serviced or recharged.
Test the Pressure Switch
Finally, test the pressure switch to determine if it’s functioning correctly. Start by observing how the pump responds to changes in water demand—turn on a tap and watch for the pump’s activation. If the pump fails to turn on or cycles irregularly, this may indicate an issue with the switch.
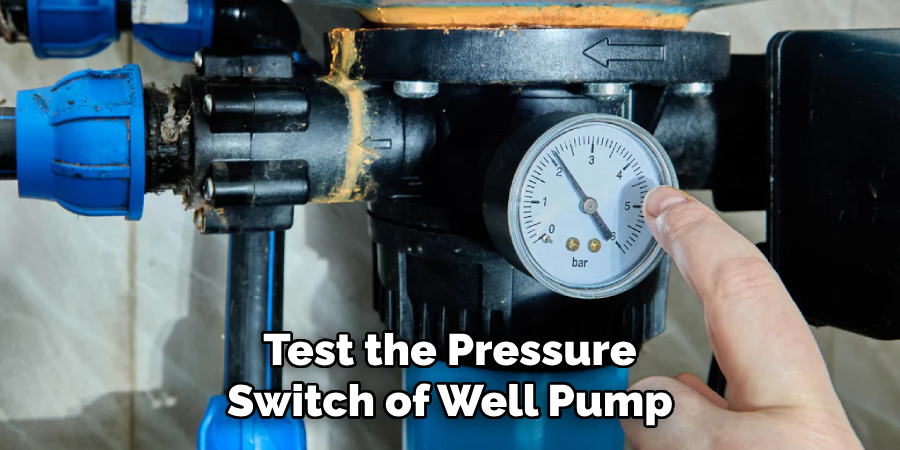
Carefully inspect connections for wear and verify that the pressure settings are appropriately adjusted according to the system requirements. If the switch does not respond correctly or shows signs of damage, it may need replacement to restore proper operation to the pump system.
How to Fix a Surging Well Pump: Step-by-Step Solutions
Step 1: Bleed Air from the System
To effectively bleed air from the water lines and pressure tank, start by turning the power off to the well pump at the circuit breaker to prevent accidental starts. Next, locate the air release valves on your pressure tank, often found at the top of the tank. Open the valves slowly to release trapped air—be prepared for some water to escape as air is released.
Monitor the pressure gauge during this process; close the valves securely once the air is bled. Afterward, turn the power back on and allow the pump to fill the system; check for consistent water flow. Once the pump stabilizes, ensure the system is re-pressurized according to the recommended psi levels, generally between 40 to 60 psi, using the gauge to ensure proper settings.

Step 2: Adjust or Replace the Pressure Switch
Begin by checking the settings on your pressure switch to ensure they match the system’s operational requirements. Locate the adjustment screws on the switch, usually identified as ‘cut-in’ and ‘cut-out’ pressure settings. Use a screwdriver to adjust these settings slightly; turn clockwise to increase pressure and counterclockwise to decrease it.
After making adjustments, turn the system back on and monitor its performance. If the pressure switch still fails to operate correctly after adjustments, it may need replacing. Before starting, always ensure the power to the pump is disconnected. Remove the switch from its mounting, noting the wiring connections. Replace it with a new switch, following the manufacturer’s wiring diagram for correct installation. Once done, restore power and test the pump operation to confirm the issue is resolved.
Step 3: Re-pressurize the Pressure Tank
Begin by turning off the pump and draining the pressure tank by opening a nearby faucet to let the water out. Once the tank is empty, it’s time to check and re-pressurize it. Use a tire pressure gauge to measure the air pressure at the air valve on top of the tank. Ideally, this reading should be about 2 psi below the ‘cut-in’ pressure of your pressure switch. If the air pressure is low, utilize an air compressor to add the necessary air to the tank. Make sure to fill it slowly to avoid over-pressurizing.
Once the tank reaches the appropriate air pressure, close the valve and turn the pump back on. Monitor the system to ensure the pressure stabilizes and remains consistent, confirming that the re-pressurization was successful and that the surging issue should be resolved.
Common Mistakes to Avoid
Incorrect Pressure Switch Settings
One of the most critical mistakes to avoid is setting the pressure switch to the wrong cut-in and cut-out pressures. If these settings are incorrectly calibrated, it can lead to further surging problems or even cause damage to the pump, forcing it to work harder than necessary.
Neglecting to Check for Clogs
Another common oversight is neglecting to inspect and clean filters and check valves and other components that may become clogged. Blockages can restrict water flow and contribute to surging, so regular maintenance is essential to ensure that all components are clear and functioning efficiently.
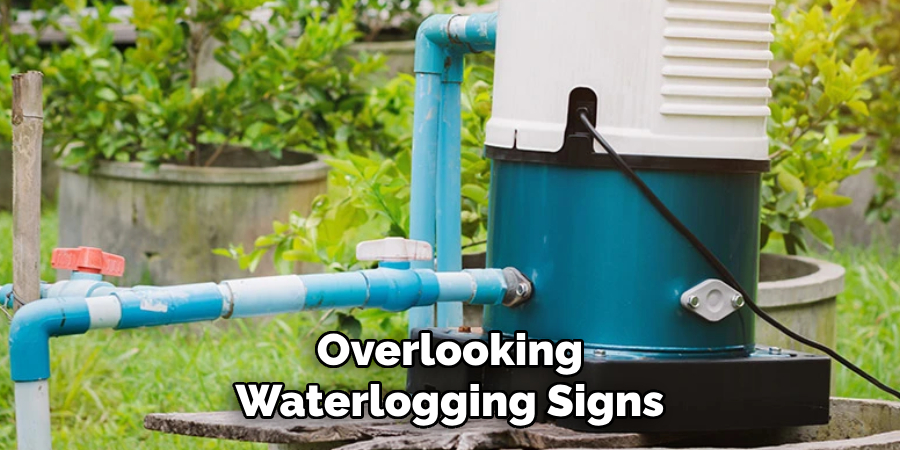
Overlooking Waterlogging Signs
Ignoring signs of a waterlogged pressure tank can also increase risks. A waterlogged tank can result in more severe pump issues, potentially leading to costly repairs or replacements. Being vigilant about monitoring the tank’s condition can save time and money in the long run.
Preventive Maintenance Tips
Regular Pressure Tank Inspections
It is crucial to conduct regular inspections of your pressure tank to maintain optimal performance and prevent issues. Aim to check the tank every six months, looking for signs of waterlogging, such as a dull sound when tapped, and inspect for any rust or wear. Additionally, ensure all fittings and valves are secure and free of leaks. Plan for immediate maintenance or replacement to avoid future complications if you notice any abnormalities, such as corrosion or significant wear.
Routine Pressure Switch Adjustments
Adjusting the pressure switch settings should be part of your regular maintenance routine, particularly when there are changes in water demand or system performance. Every six months, verify that the ‘cut-in’ and ‘cut-out’ pressures are aligned with your system’s specifications, typically between 40 to 60 psi. Use a screwdriver to make fine adjustments, turning the screws slightly to achieve optimal operation. Keeping the pressure switch calibrated not only enhances system efficiency but also prolongs the lifespan of your pump.
Keep the System Clean and Free of Debris
Maintaining a clean, well pump system prevents clogs and ensures smooth operation. It’s advisable to inspect filters, check valves, and piping monthly for any buildup of debris or sediment. Develop a cleaning schedule that includes rinsing or replacing filters as needed and inspecting for any signs of blockages. Early identification of potential issues, such as decreased water flow or unusual noises from the pump, allows for prompt intervention, ultimately saving time and reducing repair costs in the long run.
When to Seek Professional Help
Persistent Surging Issues
If you’ve taken all standard troubleshooting steps and the surging issues persist, it may be time to consult a professional. Signs of more complex problems, such as electrical issues or complications arising from a deep well, can indicate that the situation is beyond general maintenance and requires expert assessment. A qualified technician can diagnose underlying problems, ensuring that your system operates safely and reliably.
Major Component Replacements
Replacing major components like the pressure tank or pump is another scenario where professional help is advisable. These tasks often require specialized tools and expertise for proper installation. Attempting to replace or install these components without the necessary skills can lead to further complications or system failures. Hiring a professional ensures that the replacement is done correctly, prolonging the lifespan of your system and mitigating the risk of costly repairs down the line.
Conclusion
In summary, fixing a surging well pump involves several critical steps, starting with accurately diagnosing the issue through visual inspections and listening for unusual sounds. Once the problem is identified, solutions such as adjusting the pressure switch, re-pressurizing the pressure tank, and ensuring all components are clog-free can be implemented. Regular preventive maintenance, including routine inspections and cleaning, is vital to prolonging the life of your system.
Lastly, it’s essential to adhere to safety guidelines to avoid accidents, especially when handling electrical components or pressurized systems. Remember, knowing how to fix a surging well pump is an invaluable skill, but don’t hesitate to seek professional assistance when needed. Staying proactive with your well pump maintenance ensures a reliable water supply and saves you time and money in the long run.

