Are you tired of your toilet rocking back and forth? A loose or wobbly toilet can be annoying and may even damage your floor. Luckily, fixing a rocking toilet is simple.
How to fix a toilet that rocks can seem like a daunting task, but with the right tools and a bit of know-how, it can be accomplished quickly and easily. A rocking toilet often leads to leaks, damage to the wax seal, and general instability, which can be bothersome and unsanitary.
In this guide, we will explore the common causes of a rocking toilet, the necessary materials for the repair, and step-by-step instructions for restoring your toilet’s stability. Whether you’re a seasoned DIYer or a first-time fixer-upper, this guide will help you tackle the issue effectively.
What Will You Need?
Before you start fixing your toilet, gathering all the necessary materials is important. You’ll need:
- A screwdriver
- An adjustable wrench
- Shims (if needed)
- Level
Once you have these materials, you’re ready to fix your rocking toilet.
10 Easy Steps on How to Fix a Toilet That Rocks
Step 1. Turn Off the Water Supply
Before beginning any repairs, it’s crucial to ensure that the water supply to the toilet is turned off to prevent any spills or flooding. Locate the shut-off valve on the wall behind the toilet and twist it clockwise until it stops. It’s a good practice to flush the toilet after turning off the water, which will help empty the tank and bowl, making the repair process cleaner and easier.
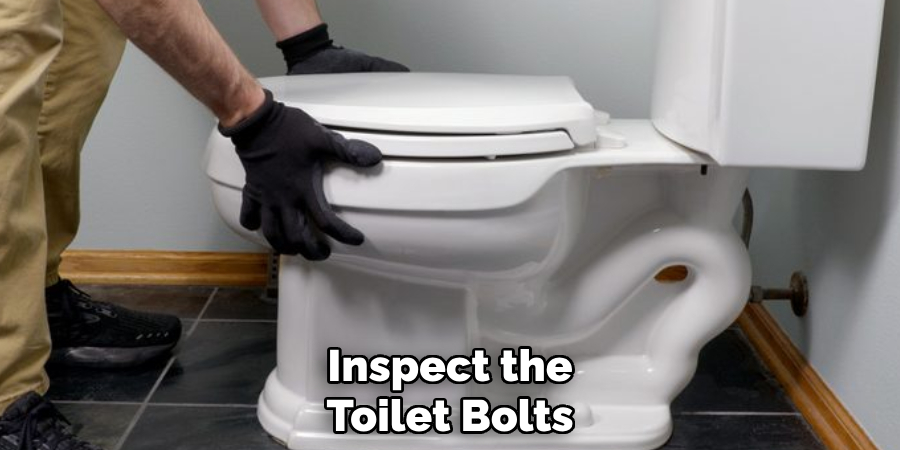
Step 2. Inspect the Toilet Bolts
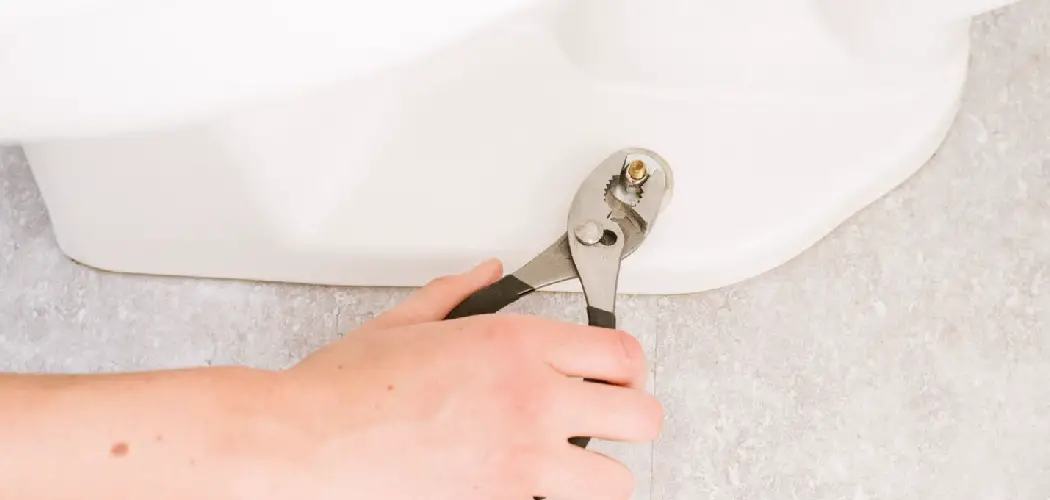
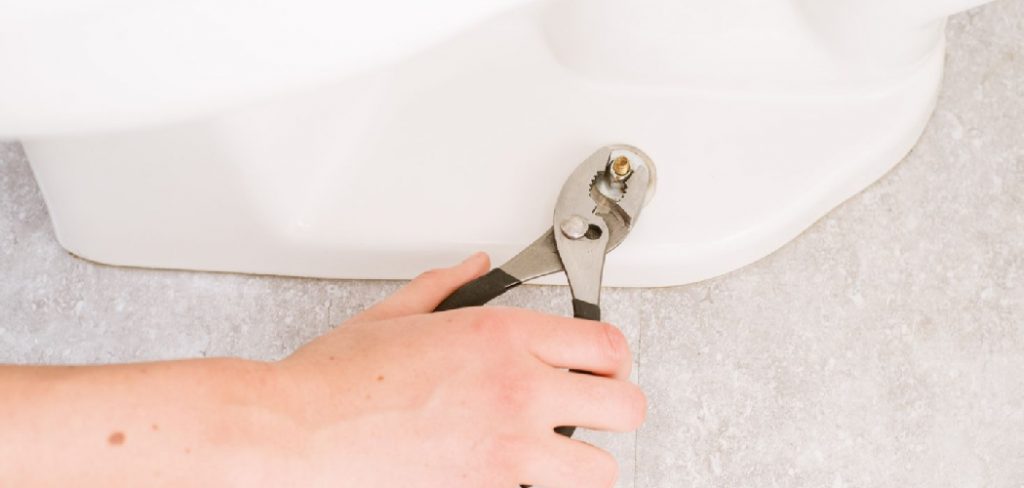
Once the water supply is off, inspect the toilet bolts that secure the toilet to the floor. These bolts can sometimes become loose due to wear or improper installation. Using a screwdriver or wrench, gently tighten these bolts if they seem loose.
Be cautious not to overtighten, as this can crack the porcelain of the toilet base. If the bolts are damaged or you see any signs of corrosion, consider replacing them for a more secure fit.
Addressing these foundational issues first will set the stage for a more stable toilet, minimizing the chances of future rocking or leaks.
Step 3. Check the Level of the Toilet
After ensuring the toilet bolts are secure, it’s essential to determine if the toilet is level. A rocking toilet often results from uneven flooring or improper installation. Place a level on the tank and across the bowl to check the level, observing the bubble. If the bubble is centered, your toilet is level. If not, you will need to make adjustments.
Step 4. Use Shims if Necessary
If the toilet isn’t level, you may need to use shims to stabilize it. These small, wedge-shaped pieces of material can be inserted under the toilet’s base to raise it to the correct height. Carefully slide the shims underneath the toilet while adjusting until the bubble in the level is centered. Make sure the shims are evenly distributed to provide uniform support. Avoid using materials like wood blocks or pieces of cardboard, as they can deteriorate over time.
Step 5. Recheck the Toilet Bolts
After you’ve added shims to level the toilet, it’s important to recheck the toilet bolts to ensure everything is adequately secured. With the bathroom now level, the weight has shifted, which may have affected the tightness of the bolts.
Using your adjustable wrench, gently tighten the bolts again, but remember to balance the pressure on both sides of the toilet base to avoid any unnecessary stress on the porcelain. Take care not to overtighten, as doing so can lead to cracks in the toilet. If the bolts feel stripped or don’t tighten properly, it may be worth considering replacing them to guarantee a snug fit.
This step is crucial for preventing the toilet from rocking in the future, as loose bolts can lead to instability and potential leaks.
Step 6. Reinstall the Toilet
If you found that the rocking was due to uneven flooring and you used shims, it’s essential to ensure that the toilet is reinstalled correctly.
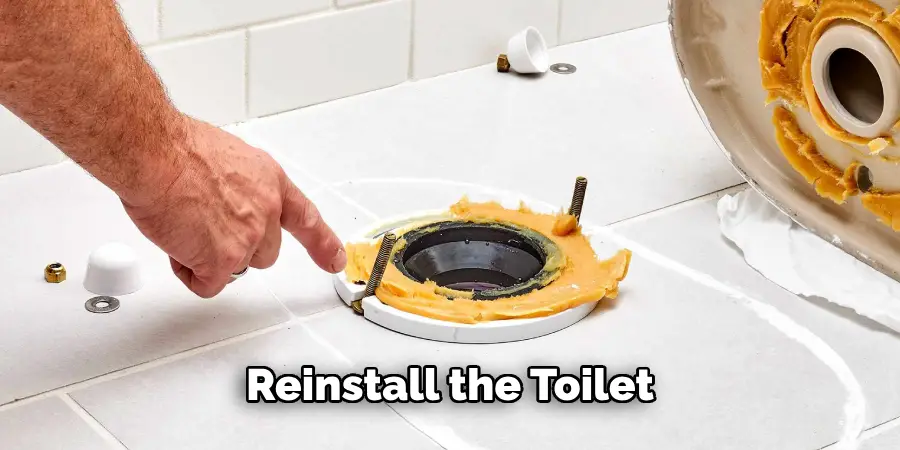
Carefully lift the toilet back into position, aligning the holes in the base with the bolts protruding from the floor. If you removed the toilet earlier for additional adjustments, sit it entirely on the wax seal to create a watertight seal.
Once in place, press down gently to ensure it is snugly fitted. This will help to maintain stability and prevent any future rocking. Afterward, secure the toilet by placing washers and nuts on the bolts and tightening them evenly, ensuring a firm hold.
Step 7. Check the Wax Seal
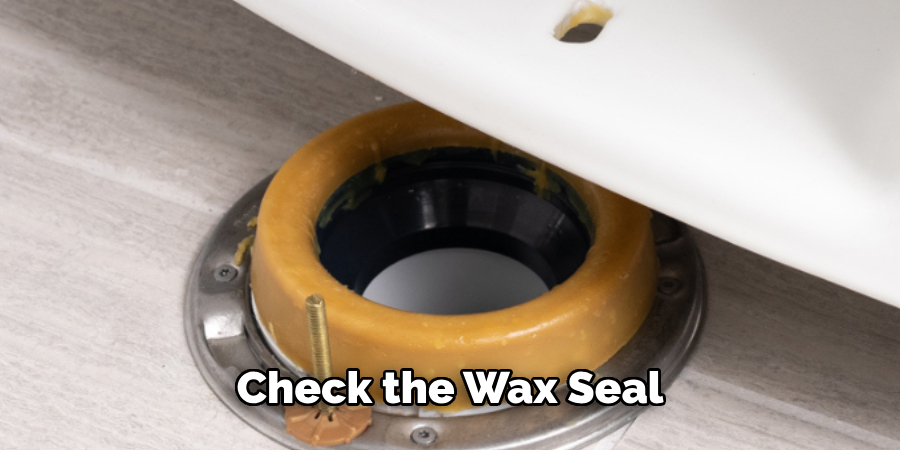
After securing the toilet, it’s essential to check the wax seal for any signs of damage or wear. A compromised wax seal can lead to leaks and water damage. To inspect the seal, look for any gaps or shifts around the toilet base.
If the seal looks worn or if you notice any water pooling around the base, it’s advisable to replace it. To do this, carefully lift the toilet off the wax seal and remove the old wax ring from both the bathroom and the floor.
Place a new wax seal onto the flange, ensuring it’s seated evenly. Then, gently set the toilet back down onto the new wax seal, applying even pressure to create a tight seal.
Step 8. Turn the Water Supply Back On
Once the toilet is securely installed and the wax seal is in good condition, you can turn the water supply back on. Locate the shut-off valve and twist it counterclockwise until it’s fully opened. After restoring the water flow, give the toilet time to fill the tank.
You may hear the sound of rushing water, which is expected as the tank fills up. Once the tank is filled, flush the toilet to check for proper operation and ensure no leaks around the base or from the tank. Watching closely for any signs of leaking will help you confirm that the installation process was successful and everything is functioning correctly.
Step 9. Test for Stability
After allowing the tank to fill and verifying that there are no leaks, it’s crucial to test the toilet’s stability. Gently rock or nudge the toilet and observe any movement. If the toilet remains steady and does not rock, you’ve successfully repaired it. However, if you still feel any instability, revisit the earlier steps to check the bolts and shims as necessary, ensuring that everything is properly secured.
Step 10. Clean-Up and Final Inspection
Finally, clean up any tools and materials used during the repair process. Make sure to dispose of any old wax seals and other debris properly. Conduct a final inspection by checking the entire installation, looking for any signs of leaks, and ensuring the area around the toilet is clean and dry.
A successful repair restores your toilet’s stability and contributes to a more sanitary bathroom environment. Celebrate your accomplishment, knowing that you’ve effectively resolved the issue of a rocking toilet!
By following these steps, you can easily fix a rocking toilet and maintain the stability of your bathroom fixtures. Remember to regularly check and tighten bolts and inspect the wax seal to prevent future issues.
What are the Reasons for a Rocking Toilet?
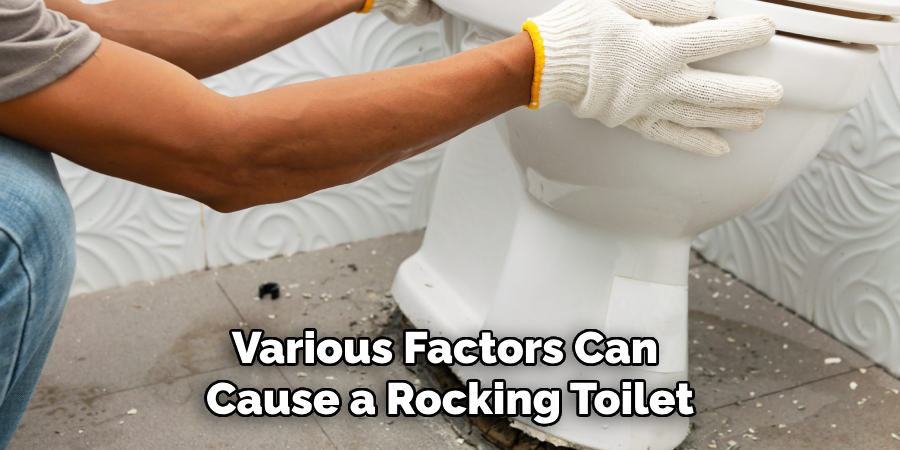
Various factors can cause a rocking toilet
- Uneven Flooring or Improper Installation: This is one of the main reasons for a rocking toilet. Uneven flooring can cause the toilet to be unbalanced and unstable.
- Loose Toilet Bolts: Over time, the bolts that secure the toilet to the floor may become loose due to frequent use or other factors. This can lead to instability and movement in the bathroom.
- Worn Wax Seal: The wax seal creates a watertight seal between the toilet and the floor. If worn out or damaged, it can cause shifting movements in the toilet.
- Shifting Foundations: In some cases, a rocking toilet may be caused by shifting foundations or structural issues. This is more common in older homes or buildings with weak foundations.
- Broken Flange: The flange connecting the toilet to the drainpipe may become damaged over time due to wear and tear. A broken flange can cause the toilet to shift and rock.
These are just some of the common reasons for a rocking toilet. If you’re unsure about the cause, it’s best to seek professional help to diagnose and resolve it.
Conclusion
How to fix a toilet that rocks is a manageable task that can enhance the stability and functionality of your bathroom fixture.
By diligently following the outlined steps—from identifying the cause of the rocking to ensuring a proper reinstallation—you can efficiently resolve the issue and prevent future problems. Regular maintenance, such as checking the tightness of bolts and inspecting the wax seal, is crucial in sustaining the toilet’s performance. If you encounter persistent problems or the causes are beyond your expertise, don’t hesitate to contact a professional plumber for assistance.
With the right approach, you can enjoy a securely anchored toilet that ensures comfort and reliability in your home.

