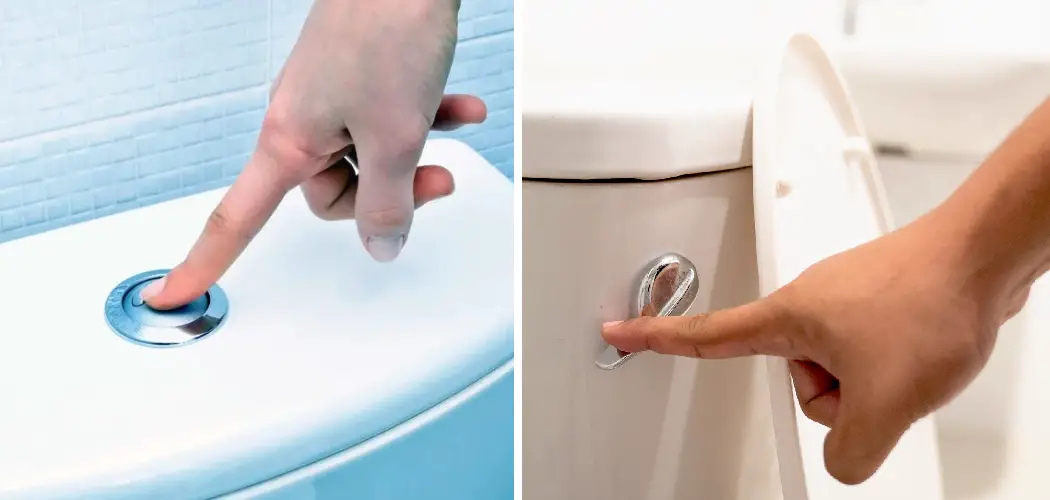
A weak toilet flush can be seriously annoying, as it affects the functionality of your toilet. In addition to being a nuisance, a weak toilet flush can lead to costly plumbing repairs if left unchecked. Fortunately, there are several simple solutions you can attempt yourself before needing to call in a professional plumber.
The advantages of fixing a weak toilet flush include improved hygiene, water conservation, and cost savings. A toilet with a weak flush often requires more water to clear away waste than necessary. By improving the toilet’s flushing power, less water is used while still achieving an effective flush.
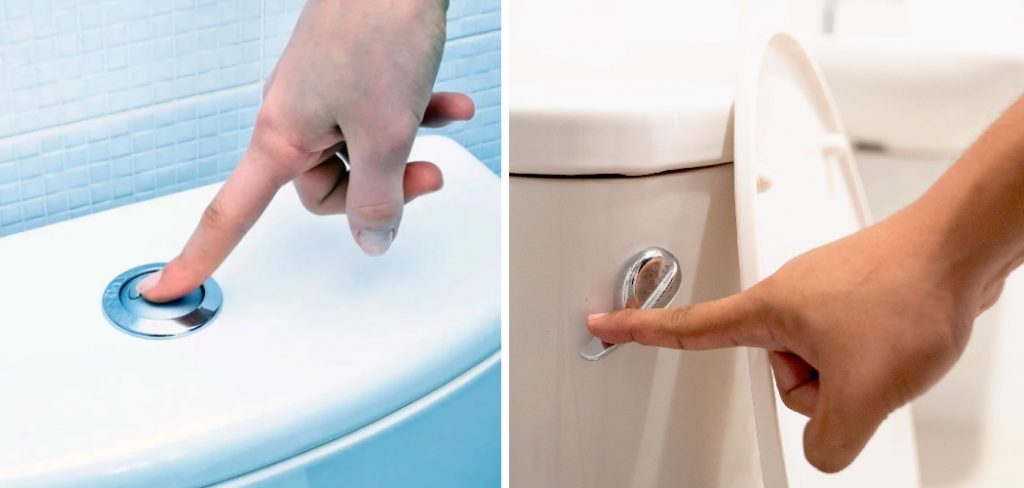
This helps conserve both water and energy resources, as well as reducing water bills. You can find step-by-step instructions on how to fix a weak toilet flush in this blog article.
Step-by-Step Processes for How to Fix a Weak Toilet Flush
Step 1: Inspect the Toilet Tank’s
Float. The float is the part of the toilet tank that regulates the water level. If broken, stuck, or not floating properly, it will cause a weak or incomplete flush. To check if this is your issue:
- Disconnect the fill valve from its water source and lift out of the tank.
- Check for any cracks or chips in the float, and make sure it’s clean.
- If you find an issue with the float, replace it with a new one.
Step 2: Adjust the Fill Valve Handle
The fill valve handle is connected to the fill valve and adjusts how much water goes into the tank after flushing. If this handle is stuck in either an open or closed position, it can result in a weak flush. To adjust the fill valve handle:
- Unscrew the locknut located at the base of the fill valve and remove it from the tank.
- Turn the fill valve handle to its original settings, then turn it slightly counterclockwise. This way, you are releasing more water into your toilet after flushing.
- Reattach the locknut and turn it clockwise to secure it, then test flush your toilet.
Step 3: Unclog or Replace the Flush Valve and Flapper
If your flush valve and flapper are clogged with sediment or lime buildup, they won’t be able to close properly. If they can’t close properly, your toilet won’t be able to draw in enough water for a complete flush. To unclog or replace the flush valve and flapper:
- Remove the flush lever from the side of the tank.
- Disconnect the chain connecting the flapper to the flush lever and lift it from its seat.
- Clean the flapper with a brush and some vinegar or CLR if the flapper is clogged.
- If there are any cracks in the flapper, replace it with a new one.
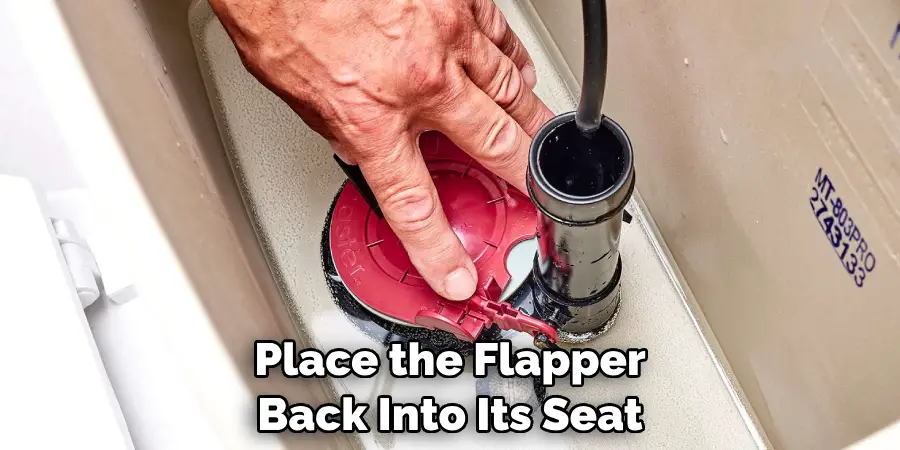
- Place the flapper back into its seat, reconnect to the flush lever, and test flush your toilet.
Step 4: Check the Plumbing Connections
If the plumbing connection between your toilet and main sewer line is weak or cracked, it can cause a weak flush. To check this for any issues:
- Disconnect the supply tube from the fill valve.
- Check for any cracks, and if there are any, replace it with a new one.
- Reattach the supply tube, then test flush your toilet.
- Disconnect the old water supply line from the wall and the fill valve.
- Measure for a new water supply line of the same length and diameter.
- Attach the new water supply line to the wall, fill the valve, and test flush your toilet.
Step 5: Clean the Toilet Trap Way
If the trap way is clogged with debris, it can cause a weak or incomplete flush. To clean it out:
- Remove the upper portion of the toilet tank and locate the trap way.
- Lift off the top part of the trap way and use a brush to clean it out.
- Reattach the top portion of the trap way, then test flush your toilet.
- Disconnect the supply line from the fill valve and check for any leaking water.
- If there is any leakage, replace all gaskets and seals in your toilet tank, then test flush your toilet.
Step 6: Replace Your Toilet’s Flush Valve
If the flush valve is worn out or cracked, it can result in a weak or incomplete flush. To replace it:
- Remove the old flush valve from the tank and disconnect it from its water source.
- Measure for a new flush valve and purchase one the same size and type as your old one.
- Install the new flush valve and connect it to its water source, then test flush your toilet.
- Disconnect the fill valve from its water source and lift it out of the tank.
- Check for any sediment buildup or debris clogging up the fill valve.
- If there is any, use a brush to clean it off or replace it with a new one.
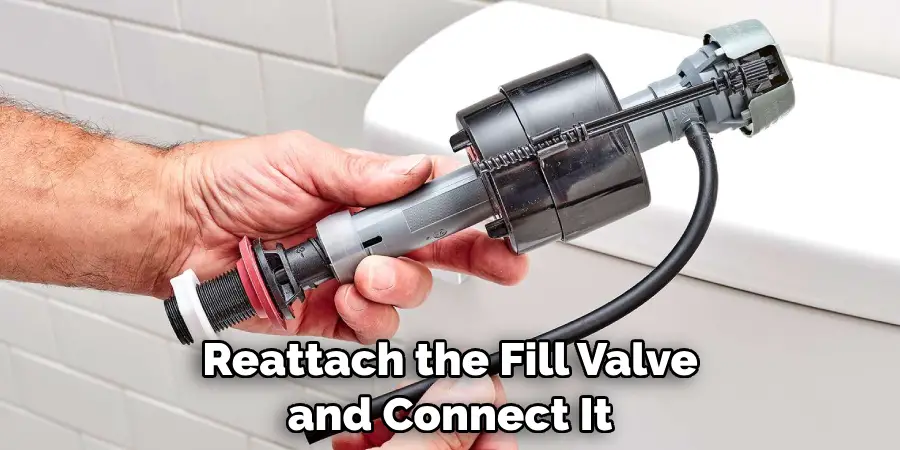
- Reattach the fill valve and connect it to its water source, then test flush your toilet.
Step 7: Check the Toilet Bowl for Blockages
If there is a blockage in your toilet bowl, it can prevent a complete flush. To check for any blockages:
- Take off the lid of your toilet tank and locate the water trap.
- Use a flashlight to inspect the inside of the water trap and look for any blockages.
- If you find a blockage, remove it with a pair of pliers or a brush, then test flush your toilet.
If any of the above steps do not resolve your weak flush issue, contact a professional plumbing technician to inspect and fix the issues with your toilet. With the right guidance and advice from an expert, you can ensure your toilet’s flush is up and running properly in no time.
Safety Precautions for How to Fix a Weak Toilet Flush
- Ensure your toilet is disconnected from the water supply before working on it. Shut off the water valve connected to the toilet and flush the toilet to empty any remaining water inside.
- Wear protective gloves when handling components of a toilet. Cleaning agents, rust, and other debris can cause skin irritation if you don’t use the proper protection.
- Use a flashlight to inspect the components of your toilet and look for any signs of clogs or corrosion. If these are present, try using a plunger or auger to remove the clog before making any repairs.
- Check that the handle is not loose and firmly attached to the toilet tank. If it is loose, tighten the screws that attach it.
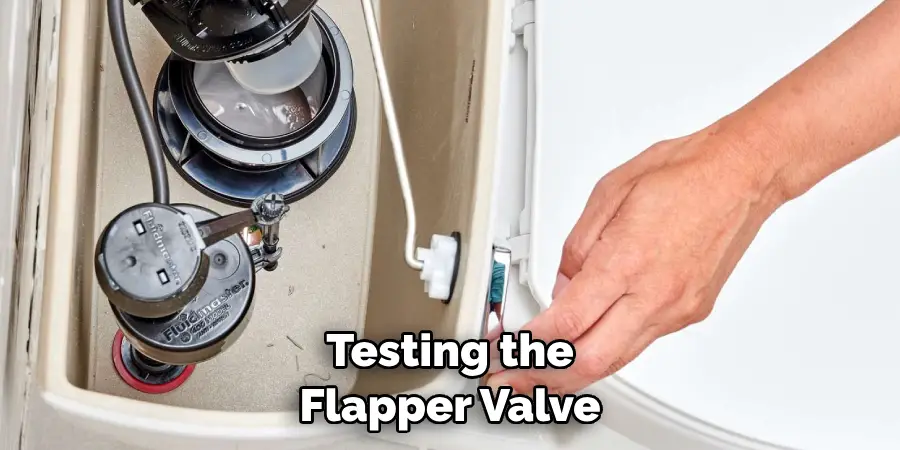
- Check the condition of the flapper valve on the bottom of the toilet tank and ensure it’s not cracked or broken. You may need to replace it if necessary.
- Make sure all connections between components in your toilet are firmly secured with the plumber’s tape.
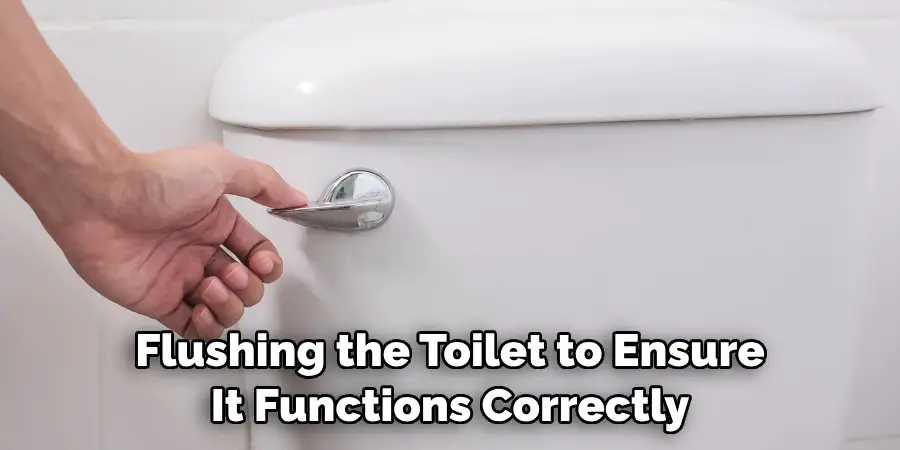
- Test the repair by turning on the water supply and flushing the toilet to ensure it functions correctly. If not, repeat steps 1 through 6 or call a professional plumber for help.
Following these safety precautions will help you successfully fix a weak toilet flush quickly and safely.
What Are the Common Causes of a Weak Toilet Flush?
There are a few common causes of a weak toilet flush. One of the most common is when the flapper valve or seal inside the tank isn’t sealing correctly, allowing water to drain out prematurely.
Another possibility is if there is an obstruction in the pipe, like a clog caused by too much tissue paper being flushed at once. Finally, if your toilet has a low-flow design, it may not be able to push the water out effectively.
Regardless of the cause, there are a few steps you can take to fix your weak toilet flush. First, check for physical obstructions in the pipe by double-checking that nothing is blocking it. If you find something lodged in there, like a toy or piece of debris, try to remove it.
Next, check the flapper valve in the tank and ensure it is properly sealed. If not, you may need to replace it with a new one that fits your toilet’s design.
What Are the Best Practices for Maintaining a Strong and Efficient Toilet Flush?
It is important to follow some best practices to ensure your toilet flush remains strong and efficient. First and foremost, regularly clean the tank and bowl of debris with a brush or a pipe cleaner. This will help prevent any clogs that may hinder the water flow in the toilet.
Additionally, you can use vinegar and baking soda to further clean and deodorize your toilet. You should also check all the parts regularly, ensuring everything is still functioning correctly.
This includes testing the flapper valve, inspecting the fill valve, and checking for any blockages in the pipes or other plumbing system parts. Finally, you can add water to the tank using a toilet bowl additive or installing an adjustable flapper valve. This can help improve the amount of water released during each flush, strengthening the overall power of your toilet’s flush.
Conclusion
The main disadvantage of fixing a weak toilet flush is the risk of damaging the plumbing system or creating more problems. For example, if you decide to replace the flapper valve, ensure you have all the necessary parts and tools to do so correctly.
In conclusion, a weak toilet flush can be easily fixed by checking the flapper, adjusting the water level in the tank, replacing the fill valve, and possibly using a drop-in bowl cleaner. Following these simple steps will give your toilet a powerful flush that will surely keep you satisfied for years.
It may take time and effort, but it’s ultimately worth it. Reading this post has helped you learn how to fix a weak toilet flush. Make sure the safety precautions are carried out in the order listed.

