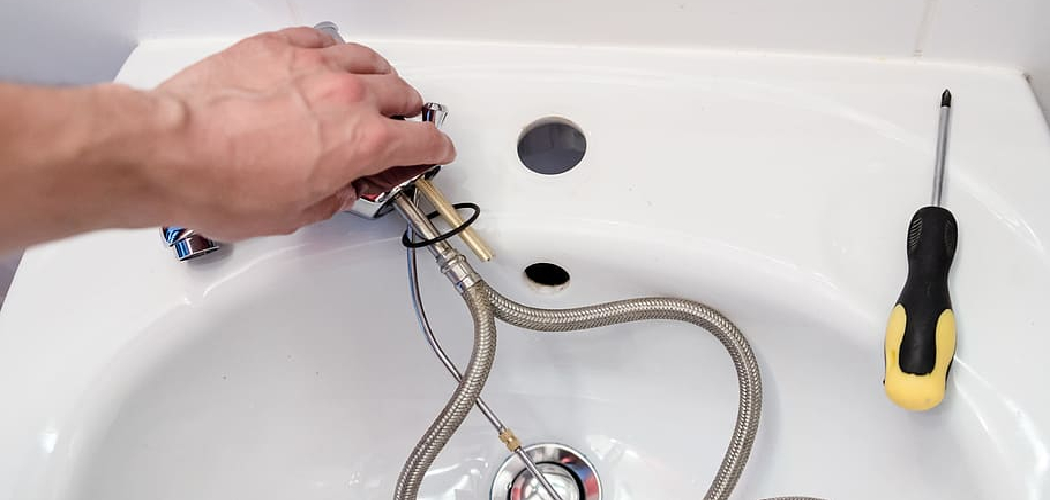
A leaking bathroom sink can damage your home, increase your water bills, and disturb your peace of mind. Whether it is a small drip or a big flood, you need to act fast and fix the problem. But what causes a bathroom sink leak, and how to fix bathroom sink leak? This post will explore the common causes of sink leaks, the tools and materials you need to fix them, and the steps you should follow to ensure a successful repair.
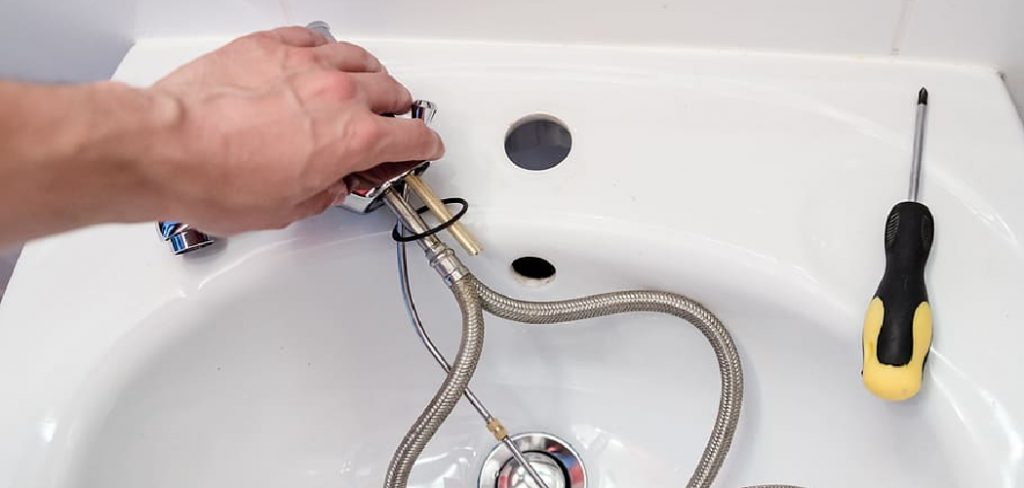
Can You Fix the Bathroom Sink Leak?
Dealing with a leaky bathroom sink can be quite a headache, but fixing it doesn’t have to be. A leaky sink wastes water and can lead to a hefty water bill. Luckily, solving the issue doesn’t always require calling in a professional. With a few basic tools and some knowledge of plumbing, you may be able to remedy the leak yourself.
Whether it’s a simple fix like tightening a valve or replacing a worn-out washer, taking action sooner rather than later can save you time and money in the long run. So don’t let that drip drive you crazy, roll up your sleeves and give it a try!
Why Should You Fix Bathroom Sink Leak?
A leaky bathroom sink may seem like a minor inconvenience, but the consequences can be more serious than you might think. For one, a constant drip can add up to a wasteful amount of water and lead to a higher utility bill. More importantly, the excess moisture can cause damage to your bathroom and even lead to mold growth, which can be costly and hazardous to your health.
By fixing a bathroom sink leak, not only will you save money in the long run, but you will also prevent further damage to your home. So why wait? Call a plumber today to tackle that pesky leak and enjoy a more functional and safe bathroom.
7 Tips to Follow on How to Fix Bathroom Sink Leak
1. Causes of Bathroom Sink Leak
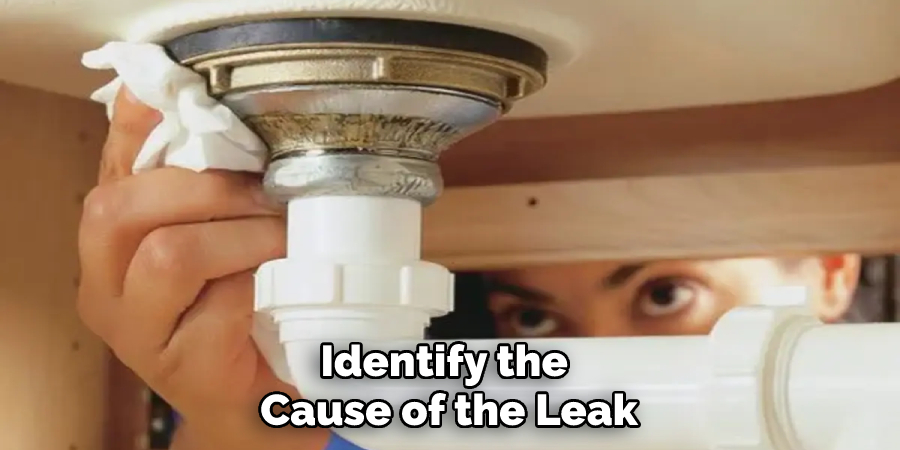
Before you start fixing your sink, you need to identify the cause of the leak. The most common causes include worn-out gaskets, loose or damaged pipes, faulty valves, and cracked or corroded sinks. To pinpoint the source of the leak, dry the sink and check for wet spots, listen for dripping sounds, and inspect the pipes and connections under the cabinet.
2. Tools and Materials You Need
To fix a bathroom sink leak, you need some basic tools such as a wrench, pliers, screwdriver, towel, and some materials, including plumber’s putty, silicone caulk, Teflon tape, and replacement parts such as gaskets, washers, and valves. You can find these items at a home improvement store or online, and you should choose high-quality products that meet the specifications of your sink.
3. Step-by-Step Guide to Fixing Sink Leak
Once you have identified the cause of the leak and gathered the tools and materials you need, you can start fixing your sink. The first step is to shut off the water supply and empty the sink, then disconnect the pipes and drain assembly underneath the sink and remove the old gasket or washer.
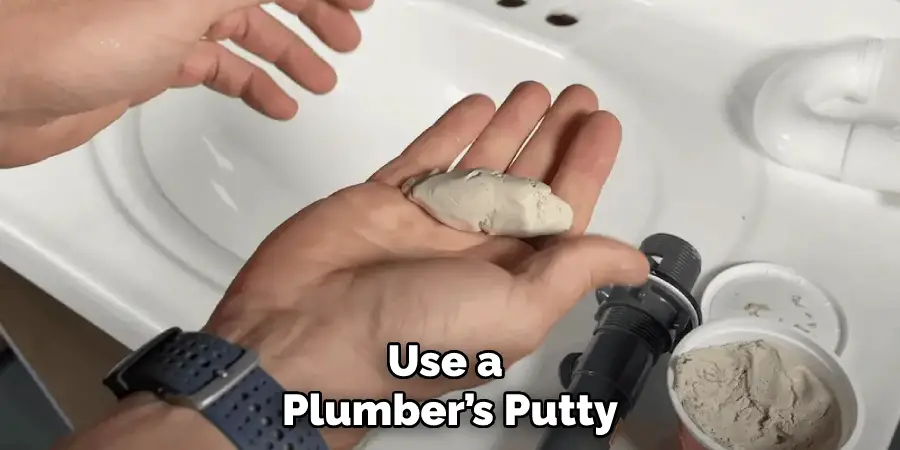
Next, clean the sink edges and apply the plumber’s putty or silicone caulk around the drain hole. Insert the new gasket or washer and reassemble the parts in reverse order, tightening the connections with a wrench or pliers to ensure a snug fit. Finally, turn on the water supply and test the sink for leaks.
4. When to Call a Professional
If you are not confident in your DIY skills or the leak is severe or complex, you should call a professional plumber to fix your sink.
A qualified plumber can diagnose the exact cause of the leak, use specialized tools and equipment to repair or replace the damaged parts, and ensure that your sink operates smoothly and safely. Moreover, a skilled plumber can offer you valuable tips on preventing future leaks and maintaining your sink in good condition.
5. Tips to Reduce the Risk of Sink Leak
To reduce the risk of your sink leaking in the future, you need to regularly check the connections and pipes for corrosion, replace worn-out gaskets or valves, and use Teflon tape on plumbing fixtures. Additionally, avoid using harsh chemicals that can corrode metal parts and use a sink stopper or drain plug to prevent debris from entering the pipes.
6. Signs You Need New Sink
In some cases, the leak may be caused by a cracked or corroded sink, in which case you need to replace it rather than repair it.
To determine if your sink needs to be replaced, check for obvious signs such as loose connections, water seeping through the sink material, and cracks or fractures on the surface. If you notice any of these issues, it is best to call a professional plumber to install a new sink.
7. Maintenance Tips for Your Sink
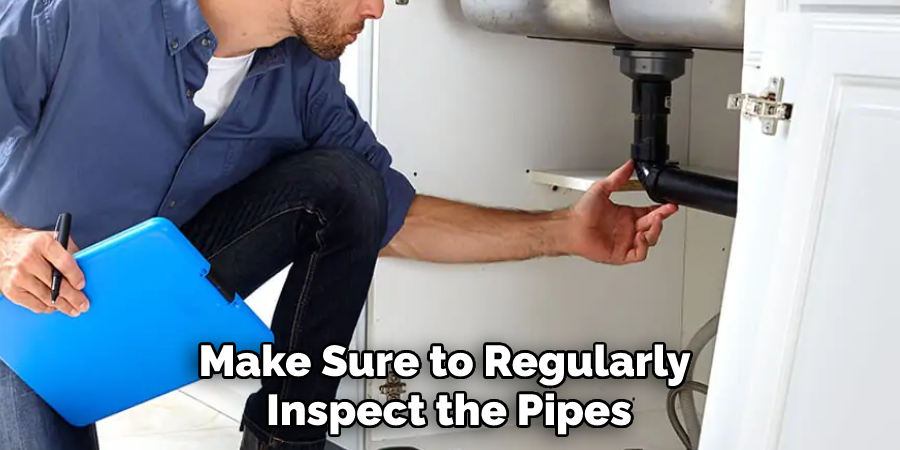
Maintaining your sink can help prevent future leaks and keep your sink in good shape. To maintain your sink, make sure to regularly inspect the pipes and connections for any signs of wear or damage, clean the drain and overflow holes with a brush and mild detergent, use a stopper or plug when not in use, and replace worn-out parts before they cause a leak.
That’s it! You’ve now learned how to fix bathroom sink leak for future use. With the right materials, tools, knowledge, and maintenance tips, you can easily take care of your sink without having to call a professional plumber. Follow these steps, and you’ll be sure to have a leak-free sink in no time!
5 Considerations Things When You Need to Fix Bathroom Sink Leak
1. Turn Off the Water Supply
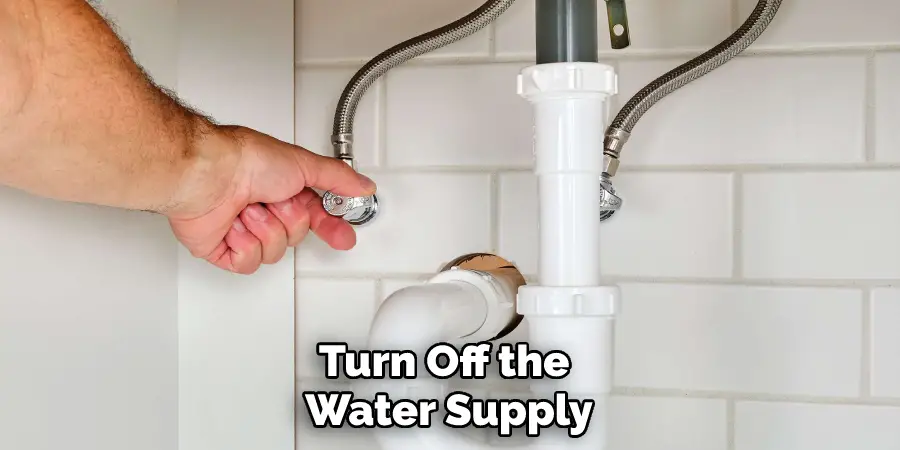
The first thing you need to do when you have a bathroom sink leak is to turn off the water supply. This will prevent further damage and make it easier for you to repair the leak.
2. Identify the Location of the Leak
Once you have turned off the water supply, you need to identify the location of the leak. This can be done by looking for any wet spots on the sink or around the base of the faucet. Once you have located the leak, you can begin to repair it.
3. Repair the Leak
You can repair a bathroom sink leak in a few different ways. One way is to use a plumber’s putty, which is a type of sealant that can be used to fill in small holes and cracks. Another way to repair a leak is by replacing the washer on the faucet. Washers can become worn over time and may need to be replaced in order to stop the leak.
4. Test for Leaks
After you have repaired the leak, it is important to test for leaks. One way to do this is to turn on the water supply and check for any leaks around the sink or faucet. If there are no leaks, then your repair was successful. However, you may need to try another repair method if leaks are still present.
5. Prevent Future Leaks
Once you have successfully repaired your bathroom sink leak, you must take steps to prevent future leaks. One way to do this is to regularly check the sink and faucet for any signs of wear and tear. Additionally, you can also apply a coat of sealant around the base of the faucet to help prevent leaks in the future.
By following these five considerations when you need to fix a bathroom sink leak, you can ensure that your repair is successful and that future leaks are prevented. Take the time to identify the location of the leak, repair it properly, test for leaks, and take steps to prevent future leaks. Doing this will help you keep your bathroom sink in great shape!
Benefits of Fix Bathroom Sink Leak
A leaky bathroom sink can be more than just a nuisance. It can lead to water damage, higher bills, and even mold growth. Luckily, fixing the leak can provide many benefits beyond just stopping the dripping noise.
By repairing the leak, you can save money on your water bill, prevent further damage to your bathroom, and promote better hygiene by avoiding standing water. Plus, you’ll no longer have to deal with the annoyance and stress of a continuously dripping sink. In the end, fixing a bathroom sink leak can be a small task that yields big rewards for both your wallet and your peace of mind.
Some Common Mistakes People Make When Trying to Fix Bathroom Sink Leak
A bathroom sink leak can be a frustrating problem to deal with, but it’s important not to rush into fixing it. One common mistake people make is assuming that the leak is always caused by the faucet or handle. In fact, leaks can also be caused by issues with the pipes and drainage system underneath the sink.
Another mistake is using incorrect tools to fix the problem, such as using pliers instead of a wrench. This can cause further damage to the faucet or handle and exacerbate the leak. It’s also important to turn off the water supply before attempting any repairs, as failing to do so can lead to water damage and potential flooding.
By avoiding these common mistakes, you can effectively fix your bathroom sink leak and avoid any further complications.
Conclusion
Fixing a bathroom sink leak can be daunting, but with the right knowledge, tools, and materials, you can do it yourself and save time, money, and hassle. By identifying the cause of the leak, using high-quality products, and following the step-by-step guide, you can restore your sink to its full function and beauty.
If in doubt, don’t hesitate to call a professional, as they can provide you with expert advice and support. Remember, a leak-free sink is not only a matter of comfort but also a sign of a healthy home. Thanks for reading our post about how to fix bathroom sink leak.

