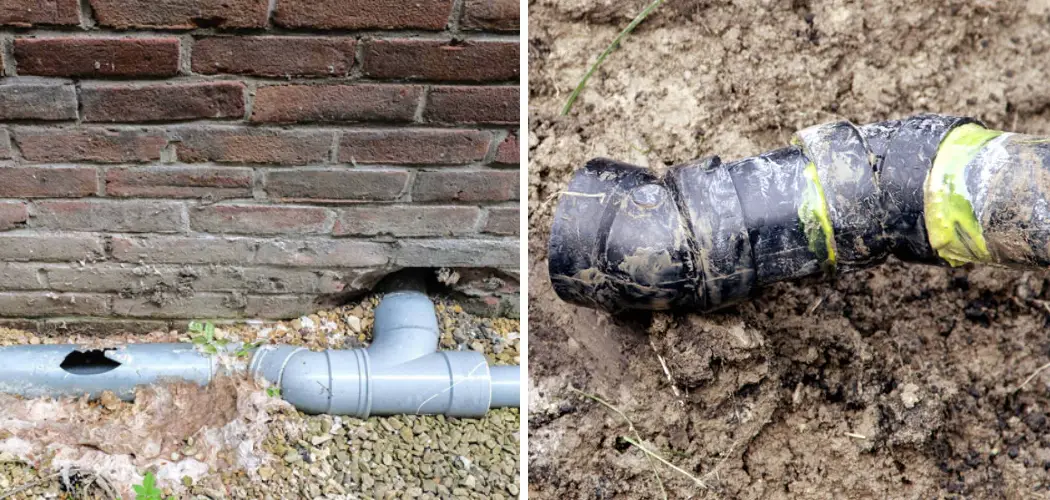
Are you dealing with leaky or broken drain pipes? The experience is undoubtedly frustrating, but don’t panic – help is at hand! In this blog post, we are going to break down the challenge of fixing a broken drain pipe into manageable steps.
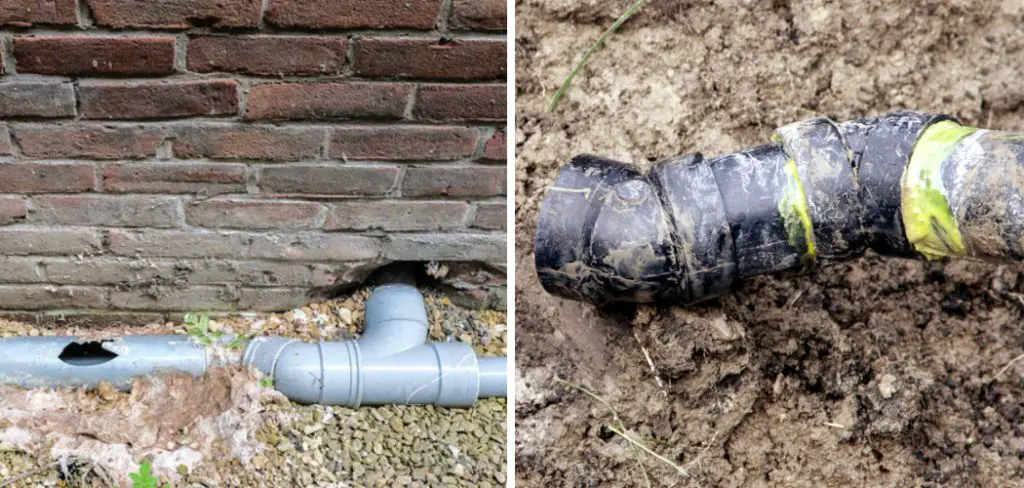
Drain pipe repairs may seem daunting, but with some basic knowledge, the right tools and materials, and a little patience, you can fix the issue yourself. Additionally, selecting a drain pipe can save you time and money, as hiring a plumber can be costly.
Whether it’s a DIY project for you to tackle in your free time or something to leave to the professionals, our guide on how to fix broken drain pipe will provide invaluable insight, stay tuned – your plumbing problems can be solved sooner than you think!
What Will You Need?
Before you get started, here are some essential tools and materials you will need to gather:
- A hacksaw or pipe cutter
- PVC glue and primer (if using PVC pipes)
- Rubber couplings or repair clamps
- Pipe fittings (if required)
- A wrench or pliers
- Protective gear such as gloves and safety glasses
Having everything you need on hand before starting is crucial, as this will save time and avoid disruptions during the repair process.
8 Easy Steps on How to Fix Broken Drain Pipe
Step 1. Identify the Broken Section:
The first step to fixing a broken drain pipe is identifying the broken section. Check your drain pipe carefully for leaks, cracks, or visible damage. This could be a small crack or a complete break. Once you have located the damaged area, mark it for repair. If the damage is extensive, you may need to replace the entire section of pipe.
Step 2. Cut the Damaged Section:
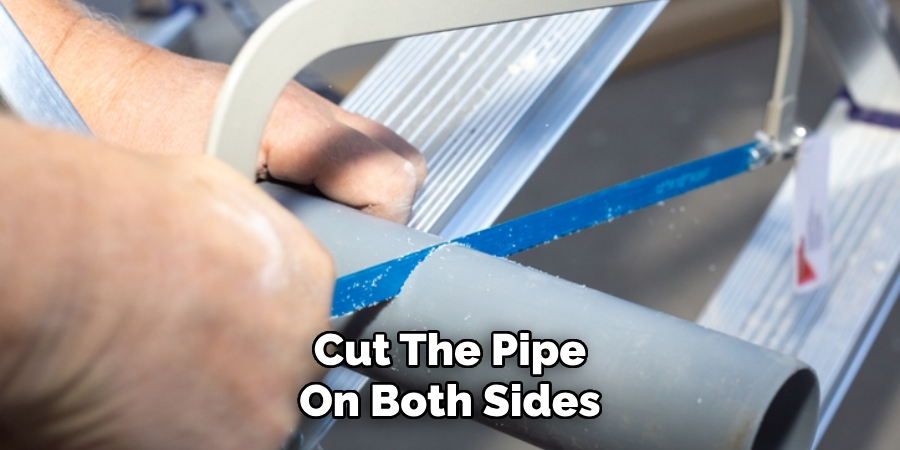
After clearly identifying the broken section, the next step is to remove it. Cut the pipe on both sides of the damaged area using the hacksaw or pipe cutter. Make sure to cut as straight as possible to ensure a secure fit when installing the replacement pipe or patching material.
Be careful not to damage any nearby pipes or fittings during this process. After removing the damaged section, clean the cutting area to ensure a secure fit for the repair clamp or replacement pipe.
Step 3. Measure and Cut the Replacement Section:
Now that the damaged section is removed, you must prepare the replacement pipe or patching material. Measure the length of the removed section and cut the replacement pipe or patch to fit the gap precisely. If you’re using a line, cut it in the same material as the existing drain pipe to ensure compatibility.
If you are using a patch, shape it to cover the damaged area adequately, extending a bit beyond the break on all sides. Remember to sand the edges of the cut pipe or patch to remove any rough spots that could lead to future leaks.
Step 4. Apply the Repair Material:
It’s time to apply the repair with the replacement pipe or patch ready. If you’re using a pipe, apply PVC primer to both the outer edge of the replacement pipe and the inner edge of the existing pipe where the new section will be inserted. After drying the primer, apply PVC glue to the same areas and fit the replacement pipe into the existing pipe quickly before the glue dries.

If you’re using a patch, apply an adequate amount of patching compound or adhesive to the patch and place it over the damaged area, ensuring it covers the entire area and extends beyond the break. Smooth out the patch or adhesive to provide a secure seal.
Step 5. Secure the Repair:
Whether you’ve used a replacement pipe or a patch, it must be secured. If you’ve used a pipe, slide a repair clamp or rubber coupling over the joint where the new and old pipes meet and tighten it with a wrench or pliers. If you’ve used a patch, allow the patching compound or adhesive to dry according to the manufacturer’s instructions. Sometimes, you may need to apply a second layer of patching compound or adhesive to seal the repair fully.
Once dried, you can cover the patched area with waterproof tape for added protection. Always ensure the repair is secure and there are no visible leaks before moving on to the next step.
Step 6. Test the Repair:
After completely drying the repair material, it’s time to test its effectiveness. Slowly run water through the repaired drain pipe to see if any leaks reappear at the repair site. Be sure to observe any signs of water seeping out.
If you see any leaks, you may need to tighten the repair clamp or apply more patching compound or adhesive and repeat the process. If no leaks are detected, congratulations! Your drain pipe is now successfully repaired.
Step 7. Clean-Up and Final Inspection:
After you’ve tested the repair and ensured there are no leaks, it’s time to clean up your workspace and do a final inspection of the repair job. Remove any debris or leftover materials from the work area and, if necessary, clean the surrounding pipes to keep them in good condition. Inspect the repaired area carefully to ensure everything is in order.
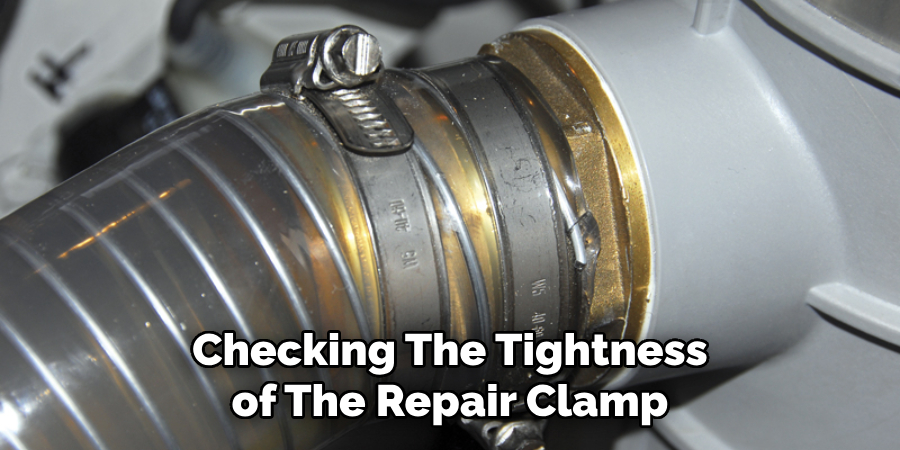
This includes checking the tightness of the repair clamp, the adhesion of the patch, and the overall condition of the repaired pipe. If everything looks good and there are no leaks, you can rest assured that your drain pipe is functioning correctly.
Step 8. Routine Inspection:
For the best results, ensure regular maintenance and inspection of your repaired pipe and the entire drain system. By periodic checks, you can identify potential issues early before they escalate into significant problems. Monitor the fixed section closely for a while to ensure that the repair holds up.
Should you notice any irregularities, such as slow drainage or a recurrence of leaks, it may be necessary to revisit the repair process or seek professional help. Remember, consistent maintenance is vital to prolonging the life of your plumbing system.
Following these eight easy steps can fix a broken drain pipe and save time and money. Always take the necessary safety precautions before starting any repair work and double-check your work to ensure a secure and effective repair.
5 Additional Tips and Tricks
- Wear Protective Gear: Always wear protective gear such as gloves and safety glasses when repairing. This keeps you safe from sharp or rough edges and protects you from potentially harmful chemicals in some adhesive or primer products.
- Use Quality Materials: It’s essential to invest in high-quality repair materials. This ensures the repair will hold up and prolong the entire drain system’s lifespan.
- Take Your Time: Do not rush the repair process. Take time to accurately measure, cut, and fit the replacement pipe or patch. A hurried job could lead to further damage and more extensive repairs.
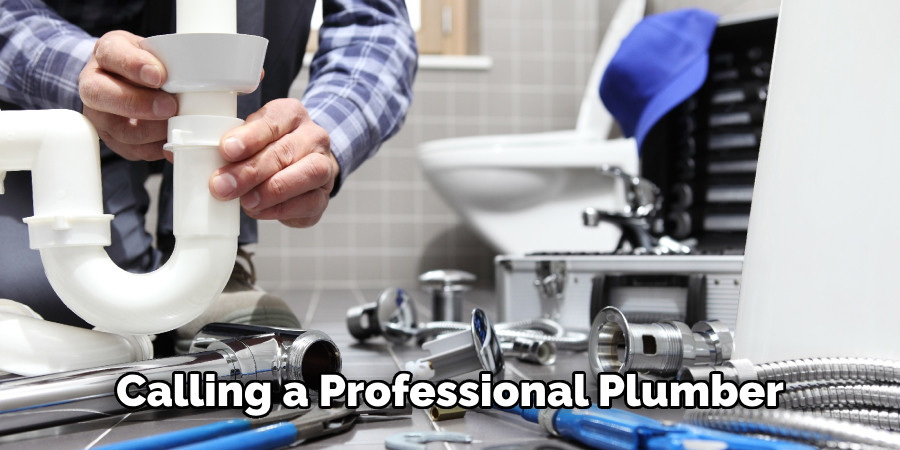
- Know When to Call a Professional: If the damage is severe or you are unsure about any repair steps, consider calling a professional plumber. Sometimes, the cost of a proficient repair can save you from expensive mistakes.
- Learn Basic Plumbing Skills: Understanding how your home’s plumbing system works can help you spot potential issues early and make minor repairs yourself. There are numerous resources available online where you can learn basic plumbing skills.
With these additional tips and tricks, you can confidently tackle a broken drain pipe and keep your home’s plumbing system in top shape.
5 Things You Should Avoid
- Neglecting Safety Precautions: Never skip safety measures when performing a repair job. From wearing protective gear to ensuring your work area is safe, these precautions are crucial in preventing potential injuries.
- Skipping Steps in the Repair Process: Each step in the repair process is essential, and missing one could result in an ineffective fix or more damage. Always follow the repair instructions carefully.
- Failing to Test the Repair: Only assume your repair is successful after testing it first. Running water through the repaired pipe and checking for leaks is necessary before considering the job complete.
- Don’t Use Temporary Fixes: While using a temporary fix such as duct tape or putty may be tempting, these are not long-term solutions and could lead to further damage.
- Overlooking Regular Maintenance: Routine maintenance is vital in preventing future plumbing issues. Failure to inspect and maintain your pipes regularly could result in more frequent repairs and costly bills.
Avoiding these common mistakes can ensure a successful and long-lasting repair of your broken drain pipe.
Conclusion
Taking the initiative to fix any issue around the house, big or small, can be very rewarding and saves you time and money. When it comes to broken drain pipes, the easiest and most effective solution is to seek professional help.
Whether you opt for DIY methods or a professional repair team, take the necessary precautions and heed any warnings that come with it—safety first! Taking the proper precautions in the present can save you time and money in the future; unheeded problems often get worse with time.
As a last reminder: if a situation seems too daunting, remember that professionals are here for a reason— so don’t hesitate to reach out and reap the rewards of having your drain pipe problems solved with their expertise.
Now that you know how to fix broken drain pipe, get out there and have some fun tackling this task—it won’t be as difficult as it may seem!

