Are you tired of having cloudy hot water in your home? Don’t worry; you’re not alone. Many homeowners experience cloudy water in their hot water systems, which can be frustrating.

Cloudy hot water can be a common issue that many households face, often caused by harmless air bubbles, sediment buildup, or mineral deposits in your water system. While it may not pose a health risk, it can be inconvenient and indicate underlying problems with your water heater or plumbing. Fortunately, addressing cloudy water is often a straightforward process that can restore clarity to your hot water and ensure your system functions efficiently.
This guide on how to fix cloudy hot water will walk you through the potential causes and practical steps to fix cloudy hot water in your home.
What Are the Causes of Cloudy Hot Water?
There are several possible causes for cloudy hot water, ranging from harmless mineral deposits to more serious issues with your plumbing or water heater. Here are some common culprits:
- Air Bubbles: Sometimes, tiny air bubbles can get trapped in the water as they run through your pipes, causing a milky appearance. This is usually not a cause for concern and will dissipate.
- Mineral Deposits: If you have hard water, minerals like calcium and magnesium can build up in your water heater over time. These minerals can make your hot water appear cloudy or discolored.
- Sediment Buildup: Similar to mineral deposits, sediment can accumulate at the bottom of your water heater and cause cloudy or discolored water. This is usually a sign that your water heater needs to be flushed and cleaned.
- Rust: If you have an older water heater, rust may develop inside the tank. This can cause discoloration in your hot water and may also result in a metallic taste.
- Corroded Pipes: If your home has old or corroded pipes, they may leach into your water supply and cause discoloration. If you suspect this is the case, having a professional plumber inspect and replace any necessary pipes is best.
To prevent these issues from occurring, it’s important to maintain your water heater and pipes properly.
What Will You Need?
To properly maintain your water heater and pipes, you will need the following items:
- A garden hose
- A bucket or drainage container
- White vinegar or a commercial descaling solution
- A soft cloth or sponge
Once you have gathered these items, you can begin the maintenance process.
9 Easy Steps on How to Fix Cloudy Hot Water
Step 1: Turn Off the Water Heater
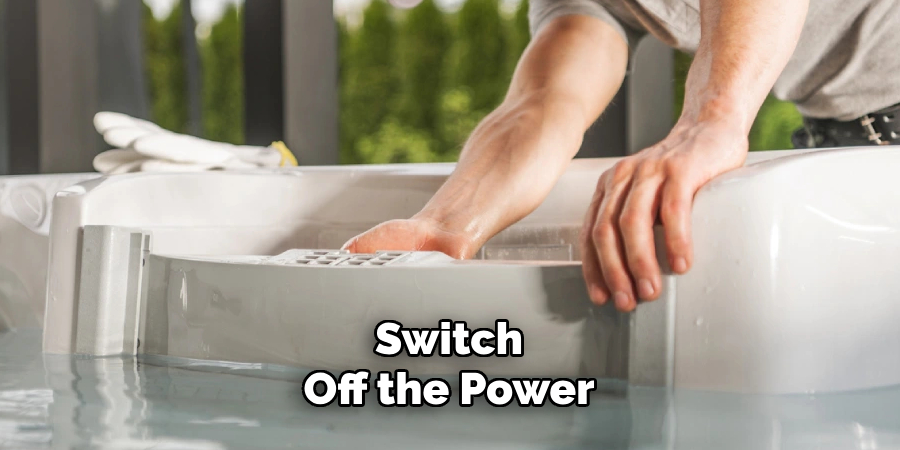
Before beginning any maintenance, ensure your safety by turning off the water heater. If you have an electric water heater, switch off the power at the circuit breaker. For gas water heaters, set the thermostat to the “Pilot” position. This helps prevent accidental burns or damage while working on the system. Allow the water to cool down for about an hour to reduce the risk of scalding during the next steps. Always double-check that the system is no longer active before proceeding.
Step 2: Turn Off the Water Supply
Locate the cold water supply valve connected to your water heater. This valve is usually situated near the top of the unit, where the water line enters. Turn the valve clockwise to shut it off completely. This step is crucial to prevent water from flowing into the tank while you carry out maintenance or repairs. If you cannot locate the valve or if it is stuck, you may need to turn off the main water supply to your home.
Once the water supply is shut off, open a hot water faucet in your home. This will help alleviate pressure in the system and allow any remaining hot water in the pipes to drain out, making it easier to work on the water heater. Be thorough in ensuring the water flow has stopped before moving on to the next step.
Step 3: Drain the Water Heater Tank
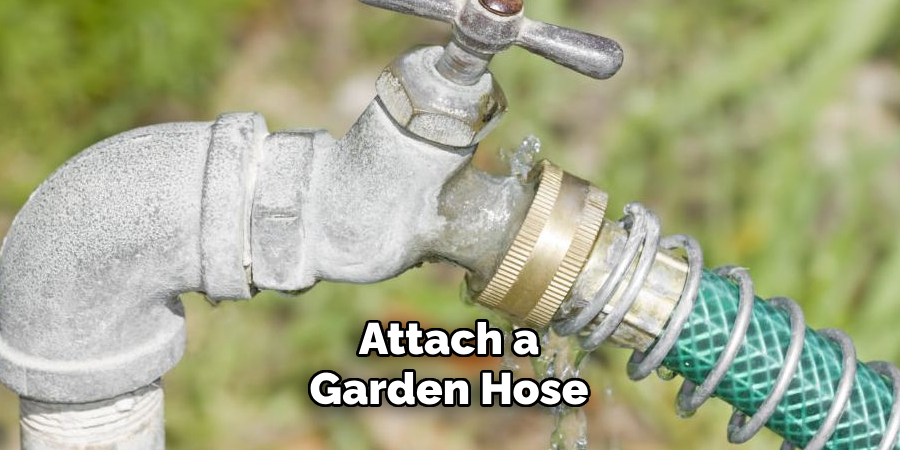
Attach a garden hose to the drain valve located near the bottom of the water heater tank. Ensure the other end of the hose is directed to a safe drainage area, such as an outdoor drain or a bucket, as the water drained may still be hot. Open the drain valve to allow the water to flow out of the tank. If the water doesn’t start draining, you may need to open the pressure relief valve or a hot water faucet to alleviate any vacuum pressure within the tank. Be patient during this step, as fully draining the tank can take time. Once the tank is empty, proceed to the next step.
Step 4: Flush the Tank
Once the tank is completely drained, it’s time to flush out any remaining sediment. Turn on the cold water supply to the tank briefly, allowing clean water to run through and wash out any debris. Keep the drain valve open during this process so the water and sediment can flow out. Repeat this step as needed until the water runs clear. This ensures that no residue remains in the tank, which could affect its efficiency and lifespan. After flushing the tank, turn off the water supply again and close the drain valve securely.
Step 5: Refill the Tank
Once the tank has been thoroughly flushed and the drain valve is securely closed, you can refill it with water. Start by turning on the cold water supply to the tank. Allow the tank to fill gradually, ensuring no leaks around the drain valve or other connections. It’s essential to open a hot water faucet in your home while the tank refills to allow trapped air to escape.
This step ensures that the system will pressurize correctly and provides a steady flow of water when the heater is back in use. You’ll know the tank is full when water flows steadily from the faucet. After the tank is completely refilled, turn off the hot water faucet. At this point, you’re ready to proceed with restoring power or gas to your water heater.
Step 6: Turn On Power or Gas Supply
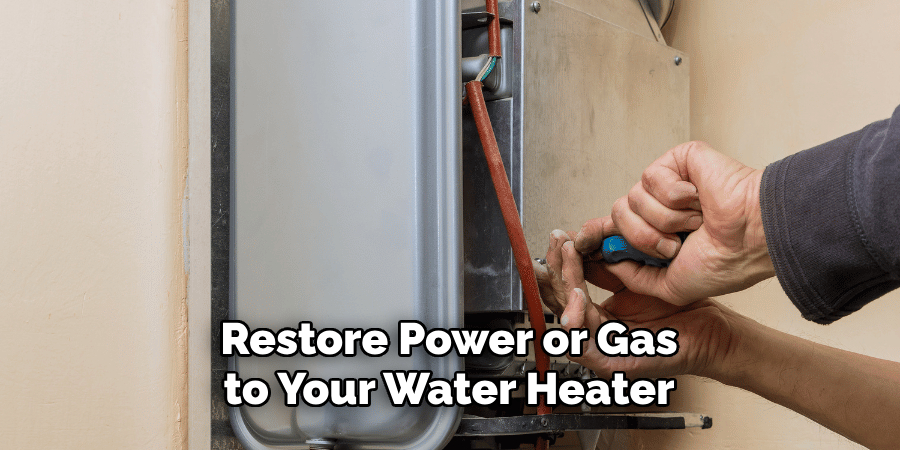
Once the tank is refilled and the air has been purged from the system, the next step is to restore power or gas to your water heater. For electric water heaters, locate the circuit breaker that controls the unit and switch it back to the “on” position. If your water heater operates on gas, turn the gas supply valve back on, ensuring it is fully open. If necessary, follow the manufacturer’s instructions to relight the pilot light or activate the electronic ignition system.
Allow the water heater some time to heat the water, which may take anywhere from 30 minutes to several hours, depending on the size of the tank and the heater’s capacity. During this time, keep an eye on the system to ensure it is functioning correctly, and listen for any unusual noises that could indicate air is still trapped in the tank or there are other issues. Always double-check for leaks around the connections to ensure the system is sealed and operating safely.
Step 7: Monitor Water Temperature
Once the water heater has had sufficient time to heat the water, periodically test the water temperature at a faucet or fixture. Use a thermometer to measure the temperature to ensure it aligns with the manufacturer’s recommended setting, typically around 120°F (49°C) for most residential systems. This temperature provides sufficient heat for household use and helps reduce the risk of scalding and energy wastage.
If the water temperature seems too low or too high, you may need to adjust the thermostat on the water heater. Always refer to the user manual for guidance on accessing and setting the thermostat, as improper adjustments can lead to inefficiencies or potential damage to the system. Additionally, continue checking for leaks or unusual system behavior as the heater runs, ensuring that everything stays secure and the unit maintains consistent performance.
Step 8: Keep Up with Regular Maintenance
It’s essential to stay on top of regular maintenance for your water heater to ensure it continues to operate efficiently. This includes tasks such as periodically flushing the tank, checking and replacing sacrificial anode rods, and inspecting and cleaning the burner assembly. Having a professional perform yearly maintenance is also recommended, which can help catch any potential issues early on and keep your water heater running smoothly.
Step 9: Consider Upgrading to a More Efficient Model
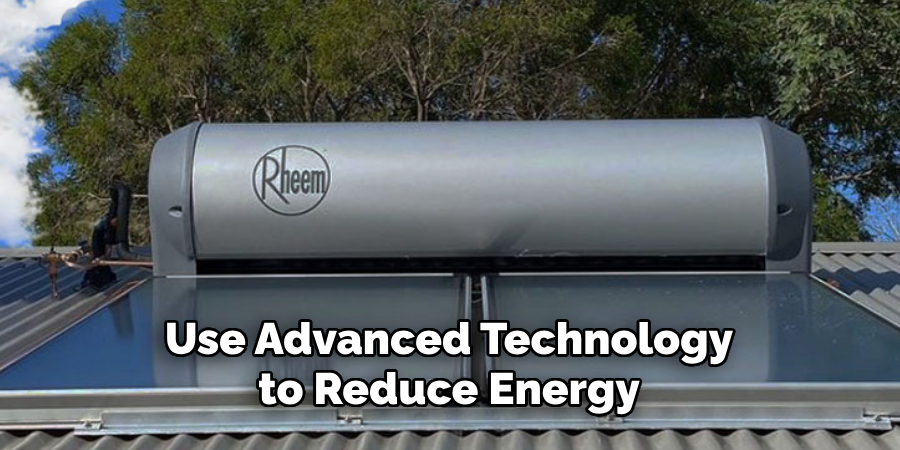
Upgrading to a more efficient water heater model can benefit your home and your energy bills. Modern water heaters, such as tankless or high-efficiency models, use advanced technology to reduce energy consumption while delivering consistent and reliable hot water. Tankless water heaters, for example, only heat water when needed, eliminating the energy losses associated with storing hot water in a tank.
By following these simple energy-saving tips, you can positively impact your wallet and the environment.
Conclusion
Cloudy hot water can often be resolved with a few simple steps, depending on the underlying cause. If the issue is due to air bubbles, running the hot water for a few minutes may clear it up.
For sediment buildup in your water heater, regular flushing and maintenance can improve water clarity and overall system efficiency. If hard water is the problem, consider installing a water softener to reduce mineral deposits. Should these measures fail, it might be time to consult a professional plumber to inspect your system for more serious issues.
Taking these actions on how to fix cloudy hot water not only ensures clearer water but also helps maintain the longevity and performance of your water heating system.

