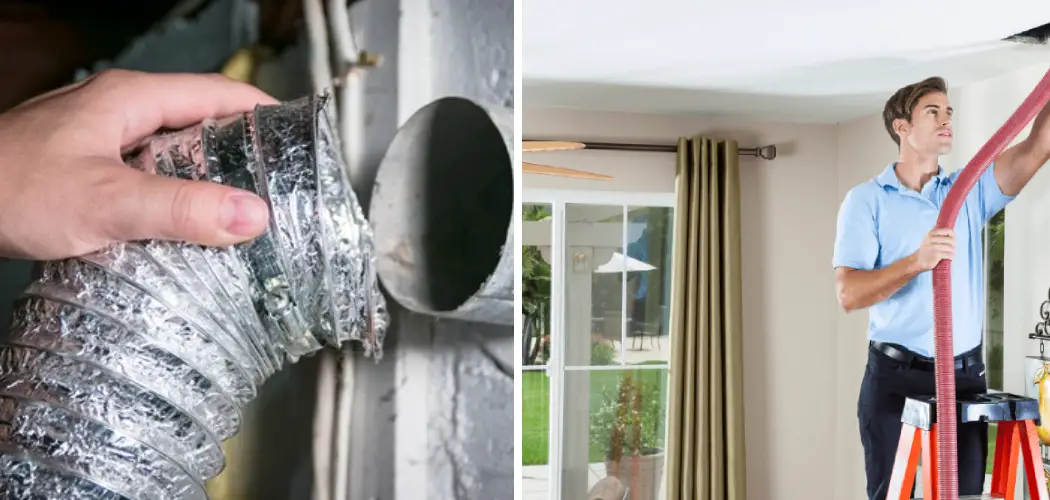
Disconnected air ducts can significantly affect the efficiency of your HVAC system, leading to uneven heating or cooling in your home.
Recognizing the signs of disconnections, such as increased energy bills or noticeable temperature fluctuations, is crucial for maintaining a comfortable living environment.
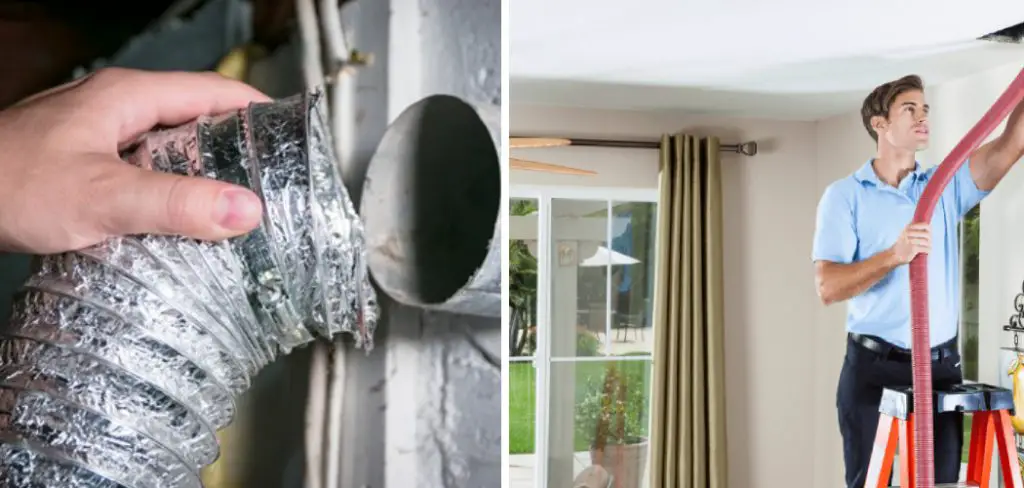
This guide on how to fix disconnected air duct will walk you through the steps needed to identify and fix disconnected air ducts, ensuring your system operates smoothly and efficiently. With the right tools and techniques, you can restore proper airflow and enhance the overall performance of your heating and cooling systems.
Why Do Air Ducts Become Disconnected?
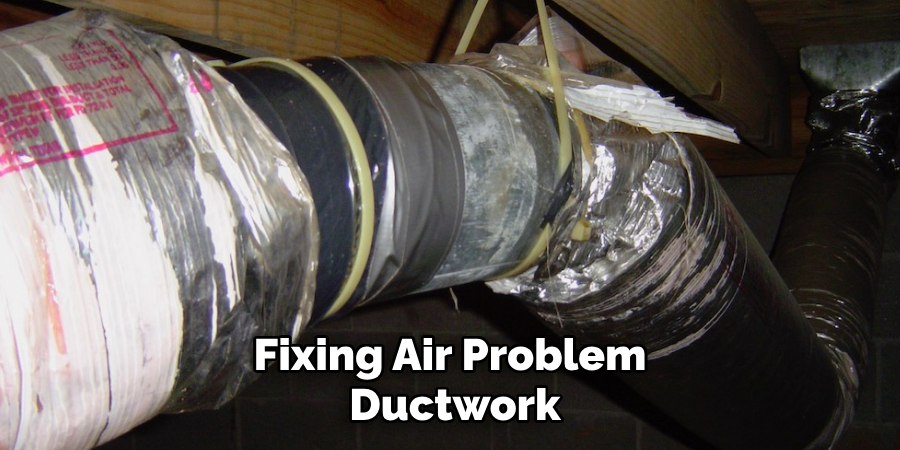
Air ducts can become disconnected for various reasons, often stemming from age, poor installation, or environmental factors. Over time, the duct materials may degrade, leading to loosening at connectors and joints. Improper installation can result in inadequate sealing, allowing ducts to shift or detach under pressure.
Additionally, changes in humidity and temperature can cause materials to expand and contract, increasing the likelihood of disconnection. In some cases, pests or other obstructions may physically dislodge ductwork, exacerbating the issue. Regular maintenance and inspections can help prevent disconnections, ensuring your HVAC system operates efficiently.
Needed Materials
Before attempting to fix disconnected air ducts, it is essential to gather the necessary materials. These may include:
Flashlight
A flashlight will help you navigate through the tight spaces and dark areas of your ductwork to identify any disconnections.
Duct Tape
Duct tape is a versatile tool used for sealing and securing loose or disconnected ducts.
Metal Screws and Aluminum Foil Tape
These materials are necessary for securing and sealing metal ductwork.
Mastic Sealant
Mastic sealant is an adhesive specifically designed for ductwork, providing a durable and airtight seal.
Gloves and Safety Glasses
Wearing gloves and safety glasses will protect your hands and eyes from sharp edges while working on the ducts.
8 Steps on How to Fix Disconnected Air Duct
Step 1: Turn Off the Power
Before you begin any work on your HVAC system, it’s crucial to turn off the power to prevent any accidental activations or injuries. Locate the circuit breaker connected to your HVAC unit and switch it off. This ensures that no power flows to the system while you’re inspecting or repairing the air ducts.
Making safety a priority not only protects you but also helps prevent potential damage to the system itself during the repair process.
Step 2: Inspect the Ducts
Once the power is turned off, carefully inspect the ducts for any visible disconnections or damage. Use your flashlight to illuminate tight and dark spaces, allowing you to see the connections and joints clearly.
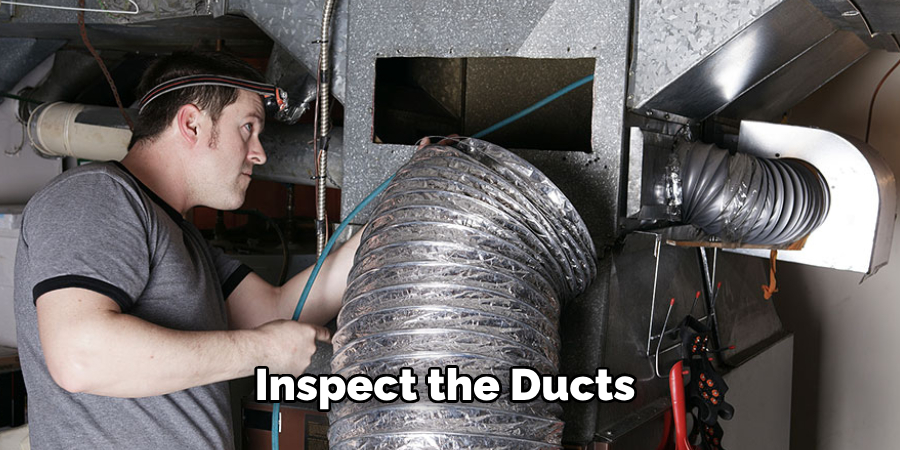
Look for signs of wear, such as tears in the ductwork or areas where the ducts appear loose or unconnected.
Additionally, check for any obstructions like debris or pests that may have caused the ducts to become dislodged. Make a note of any problem areas that need attention before proceeding to repair them. This thorough inspection is essential for identifying all disconnections and ensuring a comprehensive fix.
Step 3: Reconnect the Ducts
Once you have identified any disconnected areas, it’s time to reconnect them. Start by sliding the loose or unconnected duct sections back into place, making sure they fit snugly together. In cases where a connector may have become damaged or worn out, replace it with a new one. For metal ductwork, use metal screws and aluminum foil tape to secure the connections securely.
For flexible ducts, use duct tape to seal any gaps or tears in the material. Remember to work carefully and avoid bending or twisting the ducts too much as this can cause further damage.
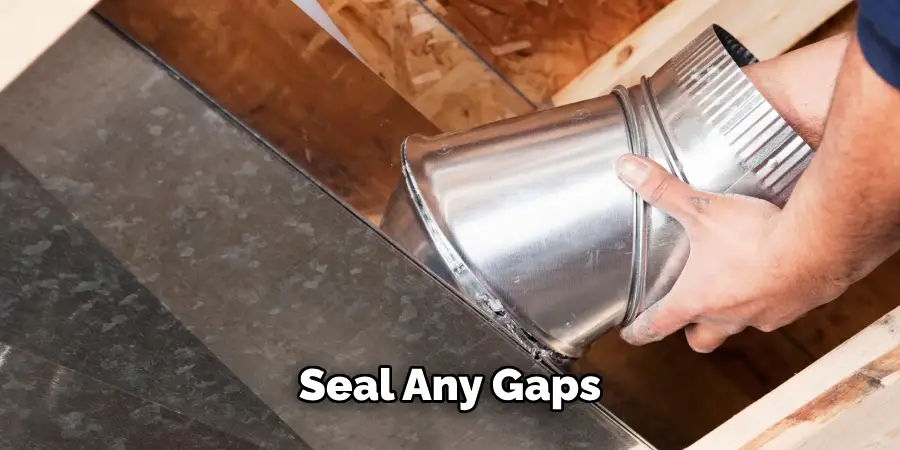
Step 4: Seal Any Gaps
Even if your ducts are securely reconnected, there may be small gaps or holes that can affect airflow. Use mastic sealant to seal any gaps or leaks in the ductwork, ensuring a tight and airtight seal. Apply the mastic generously with a paintbrush or gloved hand, covering any visible gaps completely.
For smaller gaps or tears in flexible ducts, use more duct tape for added reinforcement. Remember to let the mastic dry thoroughly before proceeding to the next step.
Step 5: Insulate Ducts (Optional)
If you have access to your air ducts in an unconditioned area like an attic or basement, it is recommended to insulate them to prevent heat loss or gain. This step is optional, but it can significantly improve the energy efficiency of your HVAC system. Use duct insulation wrap or sleeves to cover the exposed sections of ductwork and secure them with duct tape.
You can also use spray foam insulation to seal any gaps or openings around the ducts. This insulation helps maintain a consistent temperature within the ducts, improving overall airflow and reducing energy costs.
Step 6: Test the System
After completing all repairs and sealing any gaps or leaks, it’s time to test your HVAC system. Turn on the power and set your thermostat to a comfortable temperature. Monitor the airflow from each vent to ensure it is consistent throughout your home.
If you notice any remaining issues with uneven heating or cooling, there may be other underlying problems with your HVAC system that require professional attention. However, if you’re satisfied with the results of your repairs, proceed to the final step.
Step 7: Perform Regular Maintenance
To prevent future disconnections, it’s essential to perform regular maintenance on your HVAC system and air ducts. This can include replacing air filters, cleaning vents and ducts, and scheduling professional inspections. By keeping up with routine maintenance, you can catch any potential problems early on and address them before they become more significant issues.
The frequency of maintenance may vary depending on your location and usage, but it’s generally recommended to schedule inspections at least once a year.
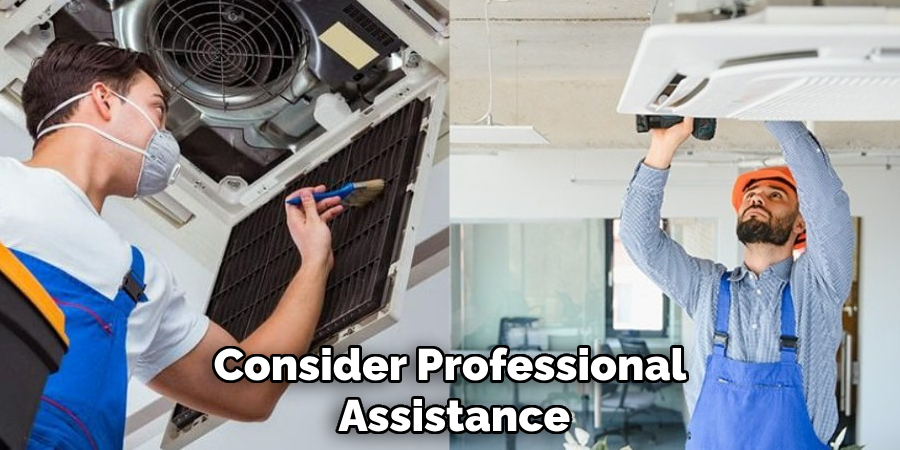
Step 8: Consider Professional Assistance
While fixing disconnected air ducts may seem like a simple task, it’s often best to leave it to the professionals for a thorough and long-lasting repair. A professional HVAC technician has the necessary knowledge, experience, and tools to identify any underlying issues with your ductwork and provide a comprehensive solution. Additionally, they can perform routine maintenance and inspections to ensure your HVAC system is running efficiently.
By following these steps on how to fix disconnected air duct and taking proper care of your air ducts, you can maintain a comfortable and energy-efficient home. Remember to prioritize safety, perform regular maintenance, and seek professional assistance when needed for the best results. Happy repairing!
How Much Will It Cost?
The cost of fixing disconnected air ducts can vary significantly depending on several factors, including the extent of the repairs needed, the type of ductwork, and whether you choose to perform the work yourself or hire a professional. For DIY repairs, you may only need to budget for materials such as duct tape, mastic sealant, or insulation, which can total anywhere from $20 to $100.
However, if you hire a professional HVAC technician, costs can range from $150 to $500 or more, depending on labor rates in your area and the complexity of the job. It’s advisable to obtain multiple quotes from local professionals to ensure you receive a fair price and consider the long-term savings of having a well-maintained HVAC system when evaluating your options.
Frequently Asked Questions
Q: How Do I Know if My Air Ducts Are Disconnected?
A: You may notice uneven heating or cooling in your home, increased energy bills, or visible gaps or tears in the ductwork.
Q: Can I Use Duct Tape to Fix Disconnected Air Ducts?
A: Yes, you can use duct tape to seal gaps or holes in flexible ducts. However, for metal ductwork, it’s best to use screws and foil tape for a more secure connection.
Q: How Often Should I Inspect My Air Ducts?
A: It’s recommended to schedule inspections at least once a year to catch any potential problems early on and ensure your HVAC system is running efficiently. It’s also essential to perform regular maintenance, such as replacing air filters and cleaning vents.
Q: Why Should I Consider Professional Assistance?
A: While fixing disconnected air ducts may seem like a simple task, it’s best to leave it to the professionals for a thorough and long-lasting repair. They can also perform routine maintenance and inspections for optimal performance and energy efficiency. So, consider seeking professional assistance for the best results.
Conclusion
Maintaining the integrity of your air ducts is essential for the efficiency and effectiveness of your HVAC system. By following the outlined steps on how to fix disconnected air duct, from reconnecting ducts and sealing gaps to performing regular maintenance, you can significantly enhance your home’s comfort and reduce energy costs.
Remember that while DIY efforts can be beneficial, knowing when to seek professional assistance is equally important to address more complex issues. Prioritizing your HVAC system’s care not only ensures a comfortable indoor environment but also contributes to long-term energy savings. Happy maintaining!

