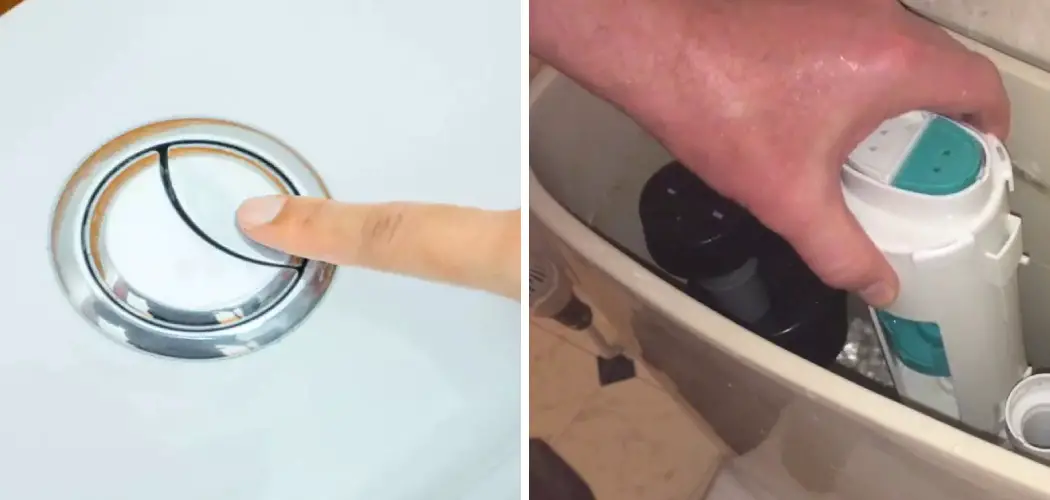
Are you one of the many people experiencing a double-flushing toilet? This can be quite an annoying problem, not to mention a waste of water.
Experiencing a double-flush toilet can be frustrating and wasteful, as it often leads to unnecessary water usage. This issue typically arises from a malfunction in the toilet’s flushing mechanism, which may occur due to various factors such as wear and tear, improper installation, or sediment buildup.
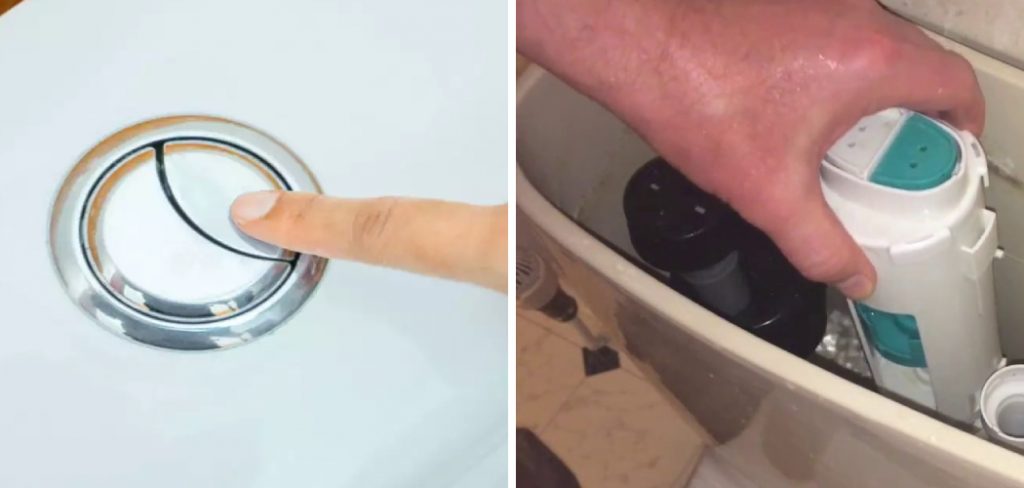
In this guide on how to fix double flushing toilet, we’ll explore common causes of double flushing and provide step-by-step solutions to effectively address and fix the problem, ensuring your toilet functions efficiently and conserves water. With a few simple tools and a little bit of patience, you can restore your toilet to proper working order without the need for professional plumbing assistance.
What Will You Need?
Before you begin troubleshooting your double-flushing toilet, gathering the necessary tools and materials is important. You will need:
- A plunger
- A bucket
- A toilet brush
- Rubber gloves (optional)
- Vinegar or a commercial cleaner designed explicitly for toilets
- Adjustable wrench or pliers (if necessary)
- Replacement parts such as flapper valves or fill valves (if needed)
It’s always a good idea to have these items on hand in case of any future toilet issues.
10 Easy Steps on How to Fix Double Flushing Toilet
Step 1: Identify the Cause of Double Flushing
The first step in resolving a double-flushing toilet is to determine the underlying cause of the issue. Start by observing how the toilet operates during a flush. Common causes include a faulty flapper valve, which may not seal properly, leading to inconsistent flushes, or a malfunctioning fill valve that causes incorrect water levels in the tank.
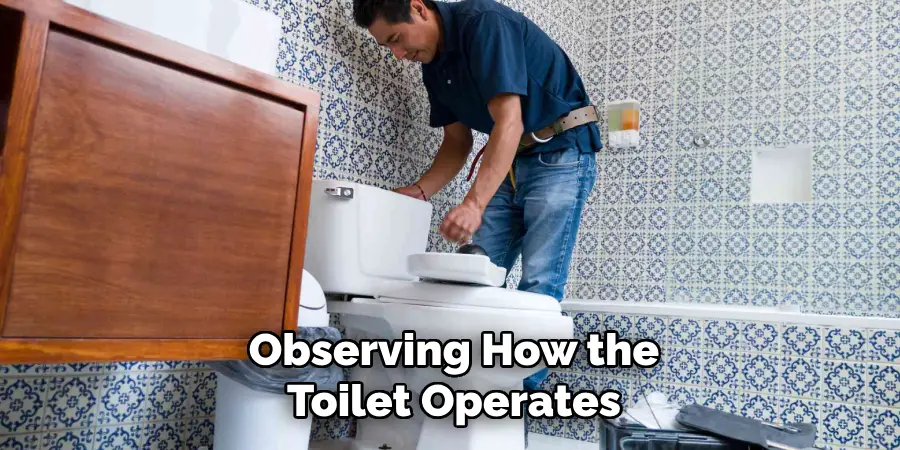
Additionally, sediment build-up within the flush mechanism can hinder performance, as can improperly adjusted chain lengths connecting the flapper and the flush handle. Pay close attention to the sound of the flush; if it’s struggling to clear waste, this may indicate an obstruction or a clog that needs addressing.
Step 2: Check the Flapper Valve
Once you’ve identified potential causes, the next step is to examine the flapper valve. This component allows water to flow from the tank into the bowl during a flush. Begin by removing the tank lid and visually inspecting the flapper for any signs of wear or damage. Ensure it sits properly on the flush valve seat, creating a tight seal. If the flapper appears warped or worn out, it may need to be replaced.
To do this, unclip the retaining chain and detach the old flapper from the mounting pegs. Install the new flapper by reversing the removal process, ensuring it sits securely. After replacing the flapper, test the toilet by flushing to check if the double flushing issue has been resolved.
Step 3: Inspect the Fill Valve
After checking the flapper valve, inspecting the fill valve is next. This component controls the water flow into the tank and ensures it fills to the correct level after each flush. Start by examining the fill valve for any visible signs of damage or malfunction. If the water level in the tank is too high or too low, it may cause double flushing issues.
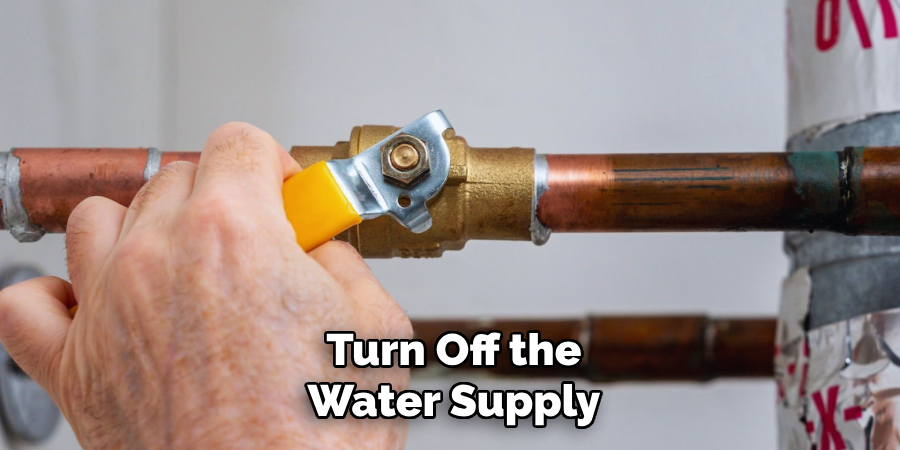
To adjust the water level, locate the adjustment screw on the fill valve and turn it clockwise to raise the level or counter-clockwise to lower it. If you notice that the fill valve is not functioning correctly, such as making unusual noises or failing to shut off, it may need to be replaced. To replace it, turn off the water supply to the toilet, disconnect the fill valve from the water supply line and the tank, and install a new fill valve according to the manufacturer’s instructions.
Step 4: Check the Chain Length
After inspecting the fill valve, the next important step is to check the chain length connecting the flapper to the flush handle. If the chain is too long, it may prevent the flapper from sealing properly, leading to double flushing. To assess the chain length, lift the flapper manually while flushing to see if it closes fully when the handle is released. If it doesn’t, you will need to adjust the chain.
Loosen the clip on the chain and either remove links or reattach it higher to shorten its length. Ensure there’s a slight slack in the chain when the flapper is closed but not so much that it fails to lift when the handle is pulled. After adjusting, flush the toilet again to determine if this resolves the double-flushing issue.
Step 5: Examine the Flush Handle
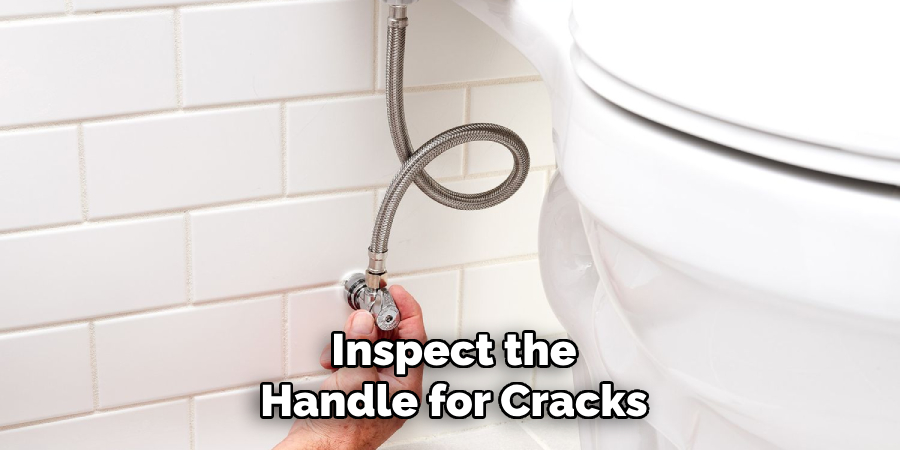
The next step is to examine the flush handle for any issues contributing to the double flushing problem. A loose or damaged handle can prevent the flapper from functioning correctly. Start by ensuring that the handle is securely attached to the toilet tank. If it feels wobbly or is not engaging properly, you may need to tighten the nut underneath the tank. Inspect the handle for cracks or breaks if tightening does not resolve the issue.
If damaged, replacing the flush handle is the best course of action. Simply detach the existing handle by unscrewing it from the inside of the tank and install a new handle by reversing the process. After making necessary adjustments or replacements, test the functionality by flushing the toilet to see if the double flushing persists.
Step 6: Clean the Toilet’s Mechanism
If the previous steps have not resolved the double flushing issue, it’s time to clean the toilet’s internal mechanism. Over time, mineral deposits and sediment can build up, affecting the performance of various components. Start by turning off the water supply to the toilet and flushing it to empty the tank. Next, use a toilet brush and vinegar or a commercial cleaner to scrub around the flapper valve and fill valve areas, ensuring you remove any accumulated grime. For deeper cleaning, consider using a damp cloth to wipe the interior parts of the tank.
Step 7: Check for Clogs in the Toilet Trap
If none of the previous steps have resolved the double flushing issue, the next step is to check for clogs in the toilet trap. A blockage in the trap can hinder the toilet’s ability to flush efficiently, often leading to repeated flushing attempts. Start by using a plunger to attempt to dislodge any obstruction. Make sure to create a good seal around the drain opening and use firm, controlled thrusts to create pressure within the trap.
If plunging does not clear the clog, you may need to use a toilet auger, a flexible tool designed to navigate through the bends in the toilet’s trap and remove stubborn blockages. Insert the drill into the toilet bowl and crank the handle to push the auger head through the drain. If you successfully clear the clog, perform a few test flushes to verify that the double-flushing problem has been resolved.
Step 8: Inspect the Toilet Bowl for Cracks
Suppose the double flushing issue persists after addressing the internal mechanism and potential clogs. In that case, inspecting the toilet bowl for any cracks or damage that may lead to water leakage is crucial. Begin by visually examining the bowl and the area around the base for any signs of cracks or chips. If water escapes from the toilet bowl due to a fracture, it can affect the flush mechanism and cause double flushing.
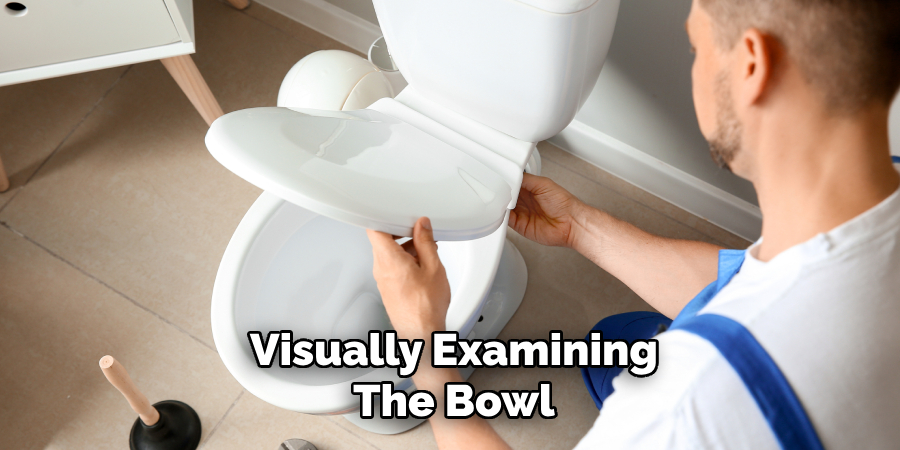
Replacing the entire toilet may be necessary if cracks are found, as repair options for cracked porcelain can be limited. If the bowl appears intact, inspect the wax seal at the toilet’s base to ensure it is not compromised. Replacing the wax seal may be required if you notice any leakage around the toilet base, which could also contribute to flushing issues.
Step 9: Evaluate the Toilet’s Flushing Power
If you’ve checked all the previous components and the double flushing persists, it’s time to evaluate the toilet’s flushing power. More flushing power can often lead to complete waste removal, causing the toilet to flush multiple times. Begin by checking the flush valve for any obstructions limiting water flow. If you notice mineral buildup or debris, clean it off thoroughly to restore proper flow.
Additionally, ensure that the toilet is receiving an adequate water supply; low pressure can sometimes contribute to inadequate flushing. If necessary, consult a plumber to assess your home’s water pressure and the toilet’s flushing system for any more profound issues.
Step 10: Consider Upgrading the Toilet
If all previous steps have been completed and the double flushing issue remains unresolved, consider upgrading the toilet. Older models often have inefficient flushing systems and may be more prone to problems like double flushing. Look for modern, high-efficiency toilets that use advanced flushing technology to minimize water usage while providing powerful flushes. Before purchasing, check for ratings and reviews to ensure you select a reliable model. Once you have installed the new toilet, it is advisable to conduct a test flush to confirm that the flushing problem has been successfully eliminated.
By following these steps and troubleshooting potential causes, you can effectively resolve the issue of a toilet double flushing.
Conclusion
How to fix double flushing toilet requires a systematic approach to identifying and addressing various potential problems within the toilet’s mechanism.
One can often restore proper function by examining the flapper, flush handle, and internal components, checking for clogs, and inspecting the toilet bowl. If issues persist, evaluating the toilet’s flushing power and considering upgrading to a more efficient model may resolve the problem.
Through careful troubleshooting and implementation of suggested fixes, you can ensure your toilet operates effectively, conserving water and maintaining bathroom efficiency.

