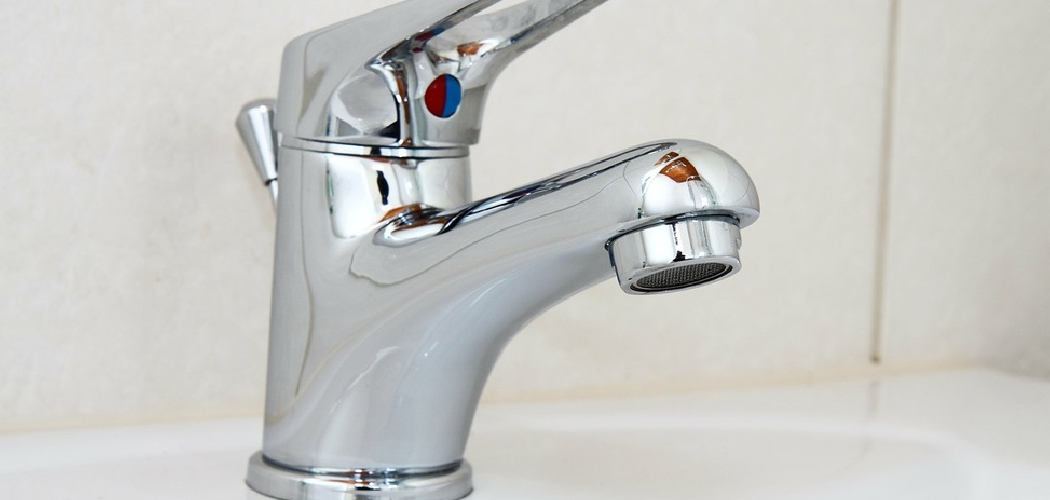
A dripping faucet is a common household issue that can quickly become a major nuisance if not addressed. Beyond the annoying sound of repeated drips, this problem can lead to significant water wastage, impacting the environment and raising your utility bills. Fixing a dripping faucet is more than just a matter of convenience—it helps conserve water, prevents further damage to your plumbing, and reduces the overall cost of potential repairs.
This article aims to provide a simple, step-by-step guide on how to fix dripping faucets. By understanding how to identify the underlying cause and address common issues, you’ll be equipped to resolve this problem efficiently and keep your faucet functioning properly. Whether you’re a seasoned DIYer or a first-time fixer, these tips will make the process easier and more effective.
Understanding Why Faucets Drip
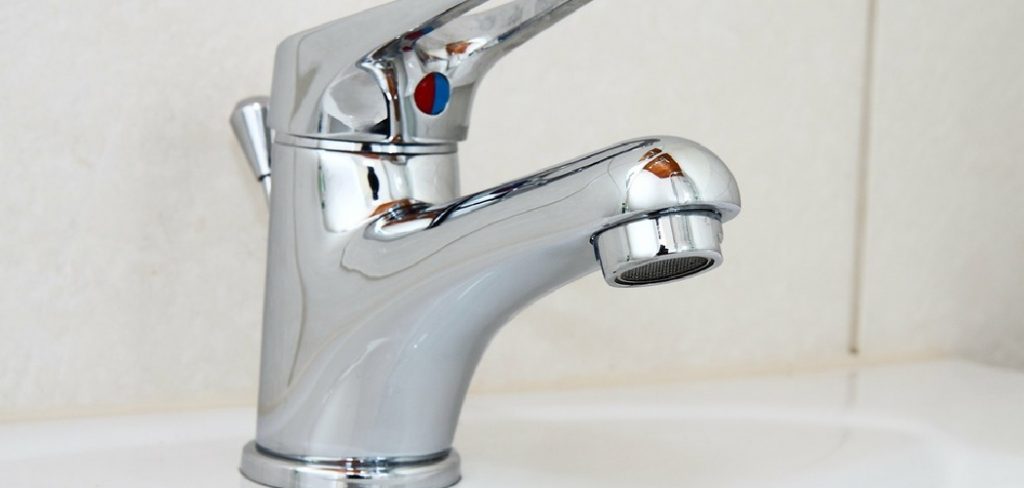
Dripping faucets are an annoyance and can lead to higher water bills and potential damage if left unaddressed. To solve this issue effectively, it is important first to understand the underlying causes. By identifying what is causing the leak, you can take the right steps to fix it and prevent future problems.
Common Causes of Dripping Faucets
- Worn-out Washers or Seals: This is the most common reason for a dripping faucet. Washers and seals can degrade with regular use and need replacement.
- Corroded Valve Seats: Compression faucets often suffer from this issue, with corrosion leading to water leakage around the spout.
- Damaged O-rings: Found in cartridge faucets, damaged or worn O-rings are frequent culprits behind leaks.
- High Water Pressure: Excessive water pressure can aggravate dripping issues, even in otherwise functional faucets.
Types of Faucets
Understanding the type of faucet you have is essential for choosing the right repair approach:
- Compression Faucets: These rely on washers and seals, making them more prone to wear and tear over time.
- Cartridge Faucets: Operate using cartridges and O-rings, which can become damaged and cause leaks.
- Ball-type Faucets: These utilize a cam and ball mechanism, which may wear out and lead to dripping.
- Disc Faucets: Feature ceramic discs that can degrade after prolonged use, resulting in leaks.
You can ensure a more targeted and effective repair process by identifying the specific issue and the faucet type.
Materials and Tools Needed
Essential Materials
- Replacement washers, O-rings, or cartridges (depending on faucet type).
- Plumber’s tape (for sealing threads).
- Silicone-based lubricant (for smooth operation).
- Bucket or towel (to catch water).
Tools You’ll Need
- Adjustable wrench.
- Flathead or Phillips head screwdriver (depending on faucet type).
- Needle-nose pliers.
- Utility knife (optional, for cutting damaged seals or O-rings).
- Penetrating oil (if corrosion is present).
Gathering these materials and tools before beginning any repairs will help streamline the process and reduce the likelihood of delays. Ensure you have the correct replacement parts for your specific faucet type to avoid compatibility issues.
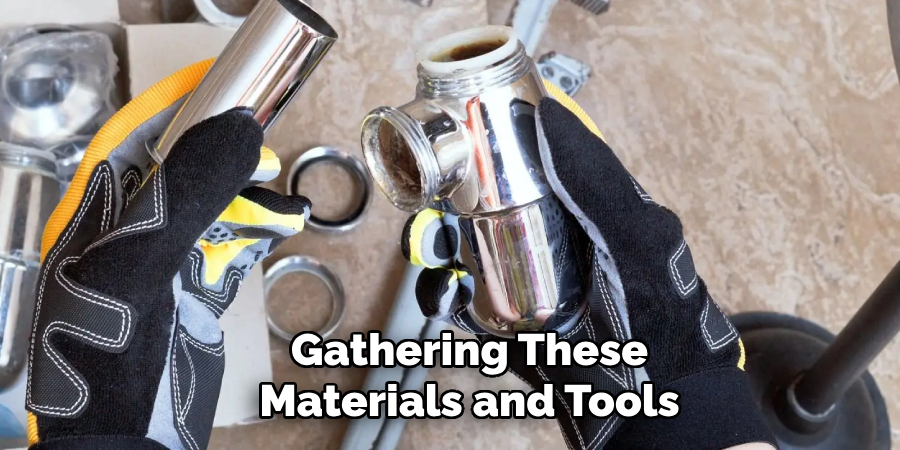
For older or corroded fittings, penetrating oil will be particularly helpful in loosening stuck components. Always keep a bucket or towel nearby to catch any water spillage and prevent messes. Repairing a leaky faucet with the proper materials and tools can be a straightforward and efficient task.
Shutting Off the Water Supply
Step 1: Turn Off the Water Supply
Turn off the shut-off valves under the sink or near the faucet. Twist the handles clockwise until they are fully closed to stop the water flow. If your faucet does not have individual shut-off valves, you must turn off the main water supply to your home. This is typically located near your water meter or where the main water line enters your house.
Step 2: Open the Faucet
Once the water supply is turned off, open the faucet completely to allow any remaining water to drain out. This step helps release trapped water in the pipes and reduces pressure, making it safer and less messy to disassemble the faucet.
Step 3: Place a Towel or Bucket
Position a towel or bucket underneath the area where you will be working. This will catch any residual water that may seep from the faucet or pipes during the repair process, keeping the workspace clean and dry.
Disassembling the Faucet
Step 1: Remove the Handle
Use a screwdriver to remove any screws holding the faucet handle in place. These screws are often located on the top or underside of the handle and may be hidden beneath a decorative cap. Once the screws are loosened, carefully pull the handle off, exposing the inner parts of the faucet. This step provides access to the stem or cartridge for further disassembly.
Step 2: Remove the Faucet Stem or Cartridge
Depending on the type of faucet you are working with, you must remove the faucet stem or cartridge. Use an adjustable wrench or pliers to loosen and unscrew the stem or cartridge from its housing.
Take care to handle the parts gently to prevent damage to any surrounding components. If the part feels stuck, a small amount of lubricant may help loosen it. Remember to keep track of screws and small pieces you remove to ensure proper reassembly later.
Step 3: Inspect the Components
With the faucet disassembled, take a moment to inspect the internal components. Examine washers, O-rings, and seals for any signs of wear, cracks, or deterioration. If your faucet has a valve seat, check it closely for corrosion or other damage that could affect its function. Faulty or damaged components should be replaced before reassembling the faucet to ensure a leak-free repair.

How to Fix Dripping Faucets: Replacing Worn Parts
Step 1: Replace Washers or O-Rings
For compression faucets, replace the worn washers with new ones. Ensure the new washers fit snugly and are the correct size for your faucet model. For cartridge faucets, replace any damaged or worn O-rings. To make installation easier and improve performance, apply a small amount of silicone-based lubricant to the O-rings before fitting them into place. Properly fitted washers and lubricated O-rings will help prevent future leaks and prolong the life of the faucet.
Step 2: Replace the Faucet Cartridge (if applicable)
If your faucet uses a cartridge mechanism and is damaged, carefully remove the old cartridge. Insert the new cartridge, ensuring it is oriented correctly and fully seated. You may need to refer to the manufacturer’s instructions for precise installation guidance. Secure the cartridge firmly, as loose or incorrectly installed cartridges can cause leaks and impair faucet functionality.
Step 3: Replace the Valve Seat (if applicable)
On compression faucets, inspect the valve seat for corrosion or wear. If the seat is slightly damaged, you can use a valve seat dressing tool to smooth the surface. Significant damage might necessitate replacing the valve seat entirely. Proper replacement ensures a tight seal and prevents leaks caused by a poor connection between the washer and the valve seat.
Step 4: Lubricate Moving Parts
To maintain smooth faucet operation, apply a thin layer of silicone-based lubricant to all moving parts, including O-rings and cartridge components. Avoid petroleum-based lubricants, as these can degrade rubber components over time. Lubricating the parts enhances performance and helps ensure the faucet operates quietly and efficiently.
Reassembling the Faucet
Step 1: Reinstall the Faucet Stem or Cartridge
Carefully reinstall the faucet stem or cartridge, ensuring all parts align properly with the valve body. Double-check that the stem or cartridge is seated correctly to avoid misalignment, which could lead to leaks or improper water flow.
Step 2: Reattach the Handle
Once the stem or cartridge is in place, reattach the handle by positioning it over the stem or cartridge assembly. Secure it with the appropriate screw, ensuring it is tightened snugly. Avoid forcing the screw, as excessive pressure could damage the threads or the handle itself.
Step 3: Tighten the Screws
Using a screwdriver, go over all screws on the faucet assembly and tighten them as needed. Make sure the screws are secure, but be cautious not to over-tighten, which might strip the screws or crack the components. A balanced tightening ensures the faucet remains durable and stable over time.
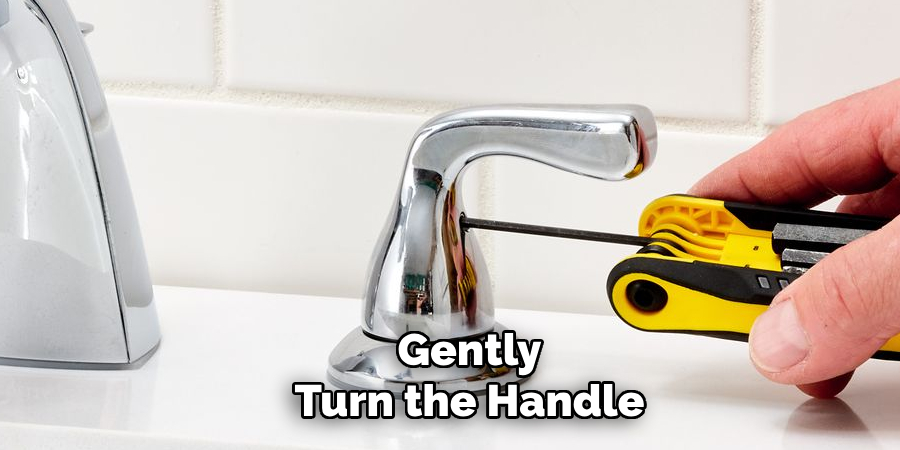
Step 4: Check the Functionality
To finish, gently turn the handle from side to side and test the faucet’s functionality. Ensure it operates smoothly without resistance or unusual noises. If everything is in working order, the faucet is successfully reassembled and ready for use.
Testing the Faucet and Checking for Leaks
Step 1: Turn On the Water Supply
Slowly turn on the water supply to avoid sudden pressure buildup that could damage the faucet. Begin by turning on the shutoff valve beneath the sink and then gently open the faucet. This allows water to flow through and helps confirm that the system is functioning as expected after reassembly.
Step 2: Test for Leaks
Carefully inspect the area around the faucet, including the base, handle, and any connecting parts, to check for leaks. Pay close attention to the repaired sections to ensure the seals hold properly. If water leaks, immediately shut off the supply and reassess the assembly. Disassemble and check that all components are correctly aligned and tightened as needed.
Step 3: Adjust Water Pressure (if necessary)
If the faucet continues drip or leaks despite the replaced parts and proper assembly, it may be worth checking the water pressure. Excessively high water pressure can strain the faucet components and result in leaks. Use a water pressure gauge to measure the pressure and adjust it if necessary by installing a pressure-reducing valve or consulting a professional plumber.
Conclusion
Learning how to fix dripping faucets is a straightforward process that can save water and prevent costly damage. Start by turning off the water supply and disassembling the faucet to inspect for worn-out components. Replace any damaged parts, carefully reassemble the faucet, and test for leaks to ensure everything functions properly.
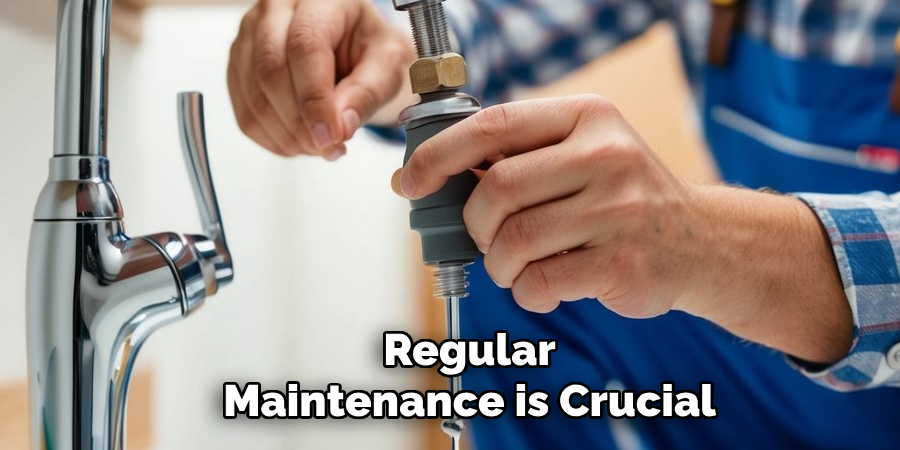
Regular maintenance is crucial for avoiding faucet issues and prolonging its lifespan. However, if your faucet continues to drip despite following these steps, it might indicate a more serious problem requiring professional assistance. Don’t hesitate to consult a plumber when needed for long-term solutions.

