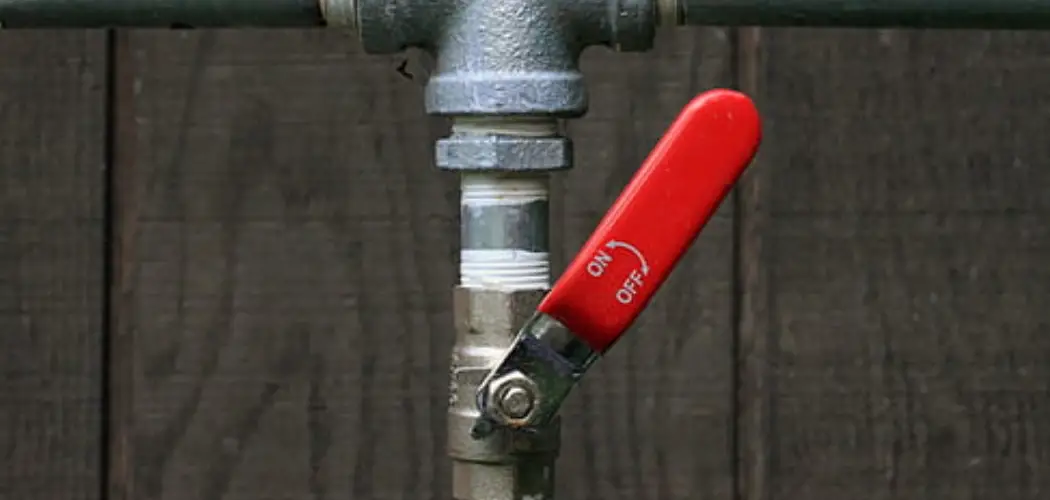
Gates valves are useful components in various industries, such as oil and gas, water treatment, chemical plants, and more. They are used to control the flow of liquids through pipes by either opening or closing the gate inside the valve. However, like any mechanical device, gate valves can experience issues that may cause them to malfunction or fail completely.

The main advantage of knowing how to fix a gate valve is that it can be cost-effective. If the valve malfunctions or breaks down, hiring a professional plumber can be expensive. By having the knowledge and skills to fix it yourself, you can save money on repairs. In this blog post, You will learn in detail how to fix gate valve.
Types of Gate Valves
There are three main types of gate valves commonly used in various industries: rising stem, non-rising stem, and wedge gate valve. Each type has its own unique features and advantages that make them suitable for different applications.
1. Rising Stem Gate Valve
This type of gate valve has a vertically-oriented stem that moves up and down to open or close the valve. The stem is connected to the gate, which rises and falls inside the valve body to control the flow of fluid. Rising stem gate valves are typically used in applications where visual indication of the valve position is required. This type of valve is also known as the OS&Y (outside screw and yoke) gate valve.
Advantages:
- Provides visual indication of valve position
- Easy to maintain and repair
- Suitable for above-ground installations
2. Non-Rising Stem Gate Valve
Unlike the rising stem gate valve, the stem in this type does not move vertically. Instead, the stem remains in a fixed position while the gate moves up and down to open or close the valve. Non-rising stem gate valves are commonly used in underground applications where vertical space is limited.

Advantages
- Suitable for tight spaces
- Prevents damage to surrounding structures
- Lower risk of corrosion due to stem being protected inside the valve body
3. Wedge Gate Valve
This type of gate valve has a wedge-shaped gate, which is lowered into position to close the valve and lifted to open it. Wedge gate valves are commonly used in high-pressure applications as they provide a tight seal when closed.
Advantages
- Provides a tight seal, preventing leakage
- Can withstand high pressures
- Suitable for both above-ground and underground installations
Applications
Each type of gate valve has its own unique features that make it suitable for different applications. Some common applications include:
- Rising stem gate valves are commonly used in water treatment plants, where visual indication of valve position is necessary for maintenance purposes.
- Non-rising stem gate valves are often used in underground pipelines for natural gas and oil transportation.
- Wedge gate valves are highly suitable for high-pressure applications in the oil and gas industry.
By choosing the appropriate type of gate valve, industries can ensure efficient and safe operations. Whether it’s for above-ground or underground installations, there is a gate valve design that can meet the specific needs of each application.
Tools and Materials for Repair
- Screwdrivers
- Pliers
- Wrenches
- Hammers
- Drill
- Measuring tape
- Level
- Safety glasses
- Gloves
- Glue gun
In this section, we will dive deeper into the various tools and materials that are essential for any repair project. These tools not only help in repairing but also make the process easier, quicker and safer.
Step-by-step Instructions for How to Fix Gate Valve
Step 1: Inspect the Valve
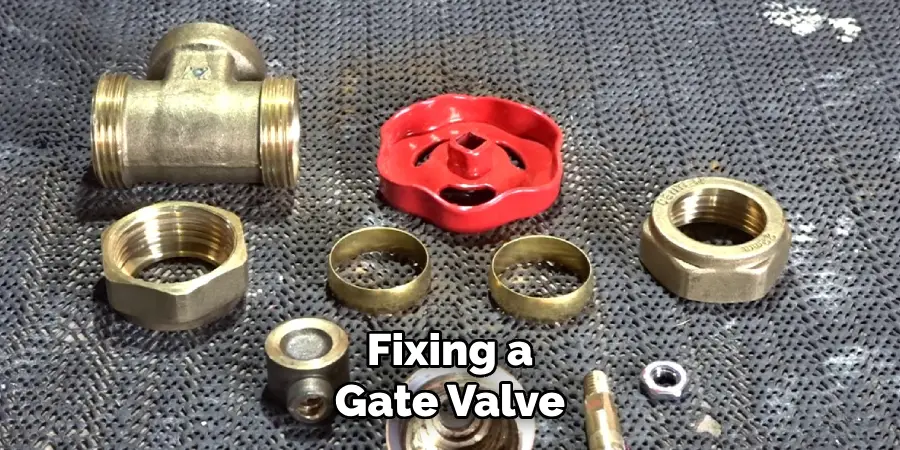
Inspecting the valve is the first step in fixing a gate valve. Look for any signs of damage, dirt or blockage that may be affecting its function. If there is visible debris, clean it off with a cloth or brush before moving on to the next step.
Step 2: Gather Necessary Tools
Before you begin repairing your gate valve, make sure you have all the necessary tools for the job. This may include a wrench, pliers, screwdriver, and lubricant. Having the right tools will make the process much easier and efficient.
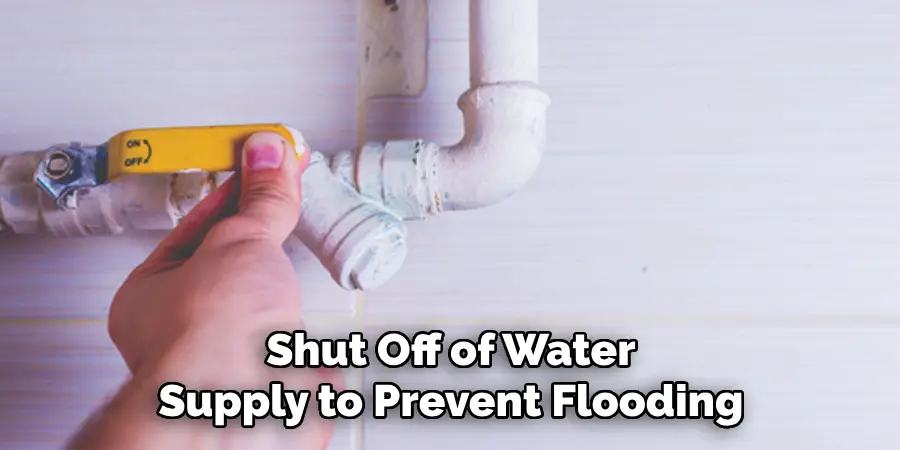
Before attempting any repairs on a gate valve, it is important to shut off the water supply to avoid any accidents or further damage. Locate the main water shut off valve and turn it clockwise to close the supply.
Step 3: Release Pressure
After shutting off the water, make sure to release any remaining pressure in the pipes by opening a faucet or drain valve. This will prevent any sudden bursts of water when working on the gate valve. Using a wrench, loosen and remove the bonnet from the valve. This will expose the stem and gate, allowing you to inspect them for any damage or wear.
Step 4: Take Out Stem
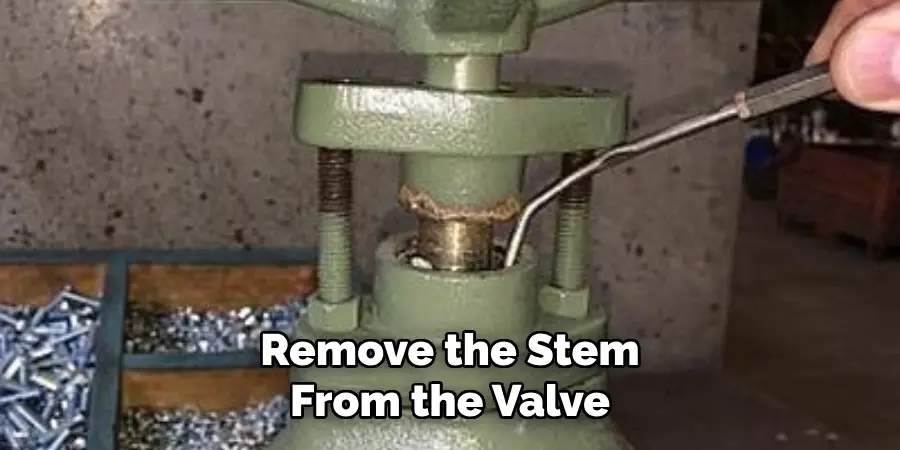
Remove the stem from the valve by loosening the packing nut with pliers and sliding it out of the valve body. Inspect it for any signs of damage or corrosion. If the gate is damaged or corroded, it will need to be replaced. If it is just dirty, clean it with a cloth and lubricant before reinserting it into the valve body.
Step 5: Reassemble Valve
Carefully put all the pieces of the valve back together in the reverse order that you took them out. Make sure everything is tightened securely and properly aligned. Once the valve is reassembled, turn the water supply back on and check for any leaks. If there are no leaks, your gate valve should now be functioning properly.
Test the functionality of the gate valve by opening and closing it a few times. If it is still not working properly, you may need to repeat the steps or consult a professional plumber for further assistance.
Safety Tips for How to Fix Gate Valve
- Keep your work area clean and well-ventilated. Working with a gate valve can be messy, so it’s important to have a clear workspace. Make sure to open windows or turn on fans for proper ventilation.
- Wear protective gear. It’s always better to be safe than sorry, so make sure to wear safety goggles, gloves, and appropriate clothing when working with a gate valve.
- Familiarize yourself with the gate valve. Before fixing a gate valve, it’s important to understand how it works and its components. This will help you troubleshoot any issues and avoid potential accidents.
- Shut off the water supply. Before working on a gate valve, make sure to shut off the main water supply to prevent any accidental flooding or pressure build-up.
- Use the right tools. Make sure to use the correct tools for fixing a gate valve, such as wrenches, pliers, and screwdrivers. Using the wrong tools can cause damage to the valve or even cause injury.
- Check for leaks. Once you’ve fixed the gate valve, it’s important to check for any leaks before turning on the water supply. This will ensure that the valve is properly sealed and prevent any further issues.
- Ask for help if needed. If you’re unsure about how to fix a gate valve, don’t hesitate to ask for help from a professional or someone who has experience with gate valves.
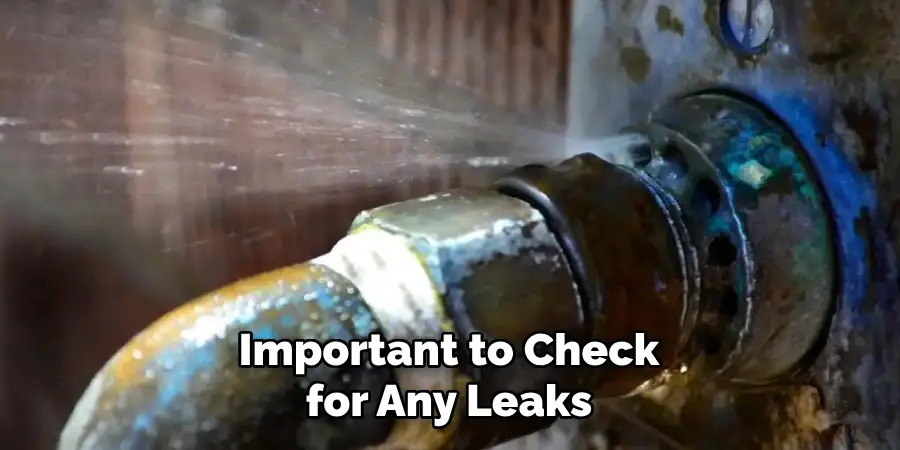
In addition to these safety tips and precautions, it’s also important to regularly inspect your gate valve for any signs of wear and tear. This can help prevent any major issues from arising and ensure that your gate valve is functioning properly.
Common Issues for Fixing Gate Valve
1. Leaking Gate Valve
One of the most common issues with gate valves is leaking. This can be caused by a variety of reasons such as worn out seals, damaged valve seat, or loose connection between the body and bonnet. The first step in fixing this issue is to identify the exact cause of the leak and then replace or repair the necessary components.
2. Difficult Operation
If you are having trouble operating your gate valve, it could be due to several reasons. The most common one is a buildup of dirt and debris inside the valve, which can restrict the movement of the gate. To fix this issue, you can try cleaning the valve with a wire brush or using a lubricant if necessary.
3. Stuck Gate
Sometimes, the gate of a valve can get stuck in a partially open or closed position. This is usually caused by debris or corrosion buildup on the gate or the valve seat. To fix this issue, you will need to disassemble the valve and clean it thoroughly. You may also need to replace any damaged parts.
4. Corrosion
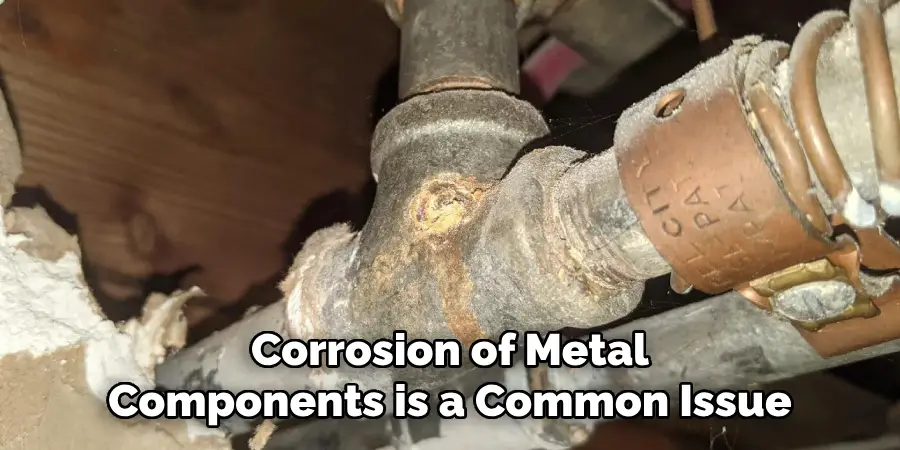
Corrosion of metal components is a common issue with gate valves, especially if they are used in environments with high levels of moisture or harsh chemicals. Regular maintenance and cleaning can help prevent corrosion from occurring. However, if the valve is already severely corroded, it may need to be replaced.
5. Cracked Body
Another common issue with gate valves is a cracked body. This can happen due to excessive pressure or physical damage. In this case, the valve will need to be replaced entirely as repairing a cracked body is not possible.
6. Loose Bonnet
If you notice that the bonnet of your gate valve is loose, it could lead to leaks and difficulty in operation. This can be caused by worn out bolts, damaged threads, or improper installation. Tightening or replacing the bolts and making sure they are properly installed can help fix this issue.
7. Valve Getting Stuck in Open/Closed Position
In some cases, a gate valve may get stuck in either the fully open or closed position due to a malfunctioning actuator or operator. This can be fixed by inspecting and repairing or replacing any damaged components of the actuator or operator, such as the motor, gears, or pistons.
It is important to regularly inspect and maintain gate valves to prevent these common issues from occurring. This includes checking for any signs of leaks, cleaning out debris and lubricating the valve as needed, and ensuring all components are functioning properly.
Importance of Fixing Gate Valve
Gate valves are an essential part of any plumbing system, and it is crucial to ensure that they are functioning correctly at all times. These valves control the flow of liquids by opening and closing a gate, allowing for the regulation of water or gas flow.
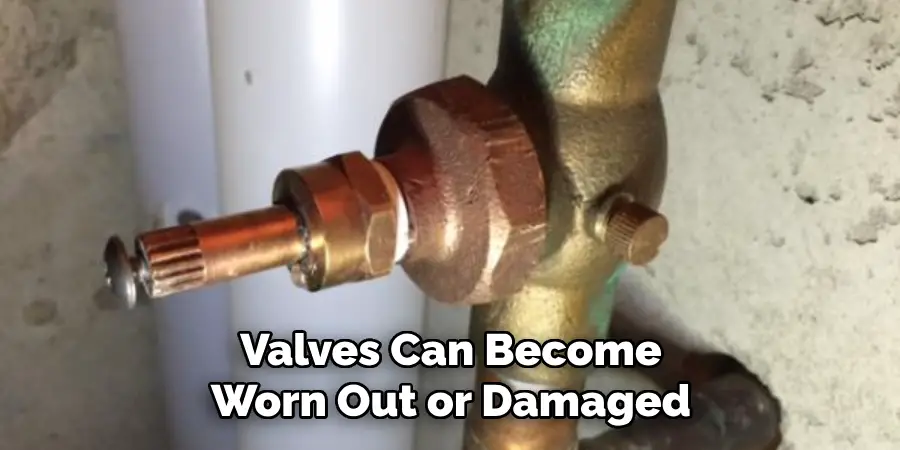
However, over time, these valves can become worn out or damaged, leading to various issues that can impact not only the plumbing system but also the safety and well-being of individuals. In this section, we will discuss seven reasons why it is essential to fix a gate valve promptly.
1. Prevent Water or Gas Leakages
One of the most common issues with faulty gate valves is that they may not close completely, leading to water or gas leakages. This can result in significant damage to property, as well as potential health hazards due to exposure to gas or contaminated water. By fixing the gate valve, you can prevent leakages and ensure the safety of your home and family.
2. Ensure Proper Flow Regulation
A damaged or malfunctioning gate valve may not be able to regulate the flow of liquids properly. This can lead to either too much or too little pressure in the plumbing system, which can affect the overall functioning of the system. By fixing the valve, you can ensure that the flow is regulated correctly, preventing any potential issues.
3. Increase Energy Efficiency
Leaky gate valves can also have a significant impact on energy efficiency. For example, a leaking hot water valve can cause water heaters to work harder and use more energy to maintain the desired temperature. By fixing the valve, you can reduce energy consumption and save on utility bills.
4. Improve Water Quality
A faulty gate valve can also affect water quality by allowing contaminants to enter the plumbing system or preventing proper filtration. This can lead to health risks for individuals consuming the water. Fixing the valve ensures that only clean and safe water flows through the system.
5. Avoid Costly Repairs
Ignoring a faulty gate valve can lead to more significant issues that may require costly repairs or replacements in the future. By fixing the valve promptly, you can prevent these expenses and save money in the long run.
6. Ensure Safe and Reliable Water Supply
In case of an emergency or natural disaster, having a working gate valve is crucial. It allows for the quick and efficient shut off of water supply to prevent flooding or contamination. By fixing the valve, you can ensure a reliable water supply in any situation.
7. Maintain Compliance with Regulations
Lastly, it is essential to fix gate valves to comply with regulations set by governing bodies. Non-compliance can lead to penalties and fines, as well as potential legal issues. By fixing the valve, you can avoid these consequences and ensure that your plumbing system meets all necessary standards.
These are just a few reasons why fixing gate valves is crucial. It not only ensures the proper functioning of your plumbing system but also promotes safety, energy efficiency, and compliance with regulations. Regular maintenance and prompt repairs are key to avoiding any potential issues and maintaining a safe and reliable plumbing system.
Techniques for Fixing Gate Valve
1. Inspect the Valve Body
Inspecting the valve body is an essential step in fixing a gate valve. Over time, the valve body may experience corrosion or erosion, which can lead to leaks and other issues. It is important to thoroughly inspect the valve body for any signs of damage before proceeding with any repairs.
2. Clean and Lubricate the Valve
Cleaning and lubricating the valve is another crucial step in fixing a gate valve. Dirt, debris, and built-up residue can cause the valve to become stiff or difficult to operate. Using a mild detergent and water, clean the exterior of the valve and use a lubricant specifically designed for valves to ensure smooth operation.
3. Replace Worn or Damaged Seals
The seals in a gate valve are responsible for creating a tight seal between the body and the gate. If these seals become worn or damaged, they can cause leaks and affect the overall performance of the valve. Inspect the seals and replace any that appear worn or cracked.
4. Check the Stem and Gasket
To ensure proper functioning of the gate valve, it is important to check the stem and gasket for any signs of wear or damage. The stem is responsible for opening and closing the valve, so it is crucial that it is in good condition. The gasket also plays a vital role in creating a tight seal, so any cracks or tears should be addressed.
5. Use Heat to Loosen Stuck Valves
If your gate valve is stuck or difficult to operate, using heat can help loosen it up. This is especially useful when dealing with valves that have been in place for a long time or are exposed to extreme temperatures. Use a heat gun or blowtorch (with caution) to gently warm the valve body and stem, which can make it easier to open and close.
7. Tap the Valve Gently
Sometimes, a gate valve may become stuck due to built-up dirt or rust. In these cases, gently tapping the valve body and stem with a rubber mallet can help dislodge any debris and restore proper function.
8. Seek Professional Help
If all else fails, it is important to seek professional help for fixing a gate valve. Valves are complex systems and attempting to fix them without proper knowledge and training can lead to further damage or safety hazards. A professional plumber or valve technician will have the necessary tools and expertise to properly repair the valve.
In addition to these techniques, it is important to regularly inspect and maintain your gate valves to prevent any major issues from occurring. This includes checking for leaks, cleaning and lubricating the valve, and replacing any worn or damaged parts.
Conclusion
In conclusion, fixing a gate valve can seem like a daunting task, especially if you don’t have much experience with plumbing or DIY projects. However, by following the steps outlined in this blog post and being patient and careful during the process, you can successfully fix a gate valve on your own.
One of the most important things to remember when fixing a gate valve is to turn off the main water supply before starting any work. This will prevent any accidents or further damage to the valve and plumbing system.
It is also important to use the right tools and materials for the job. This includes having a pipe wrench, pliers, Teflon tape, and replacement parts on hand. Using subpar or incorrect tools can lead to further damage and make the repair process more complicated and time-consuming. I hope this article has been beneficial for learning how to fix gate valve. Make Sure the precautionary measures are followed chronologically.

