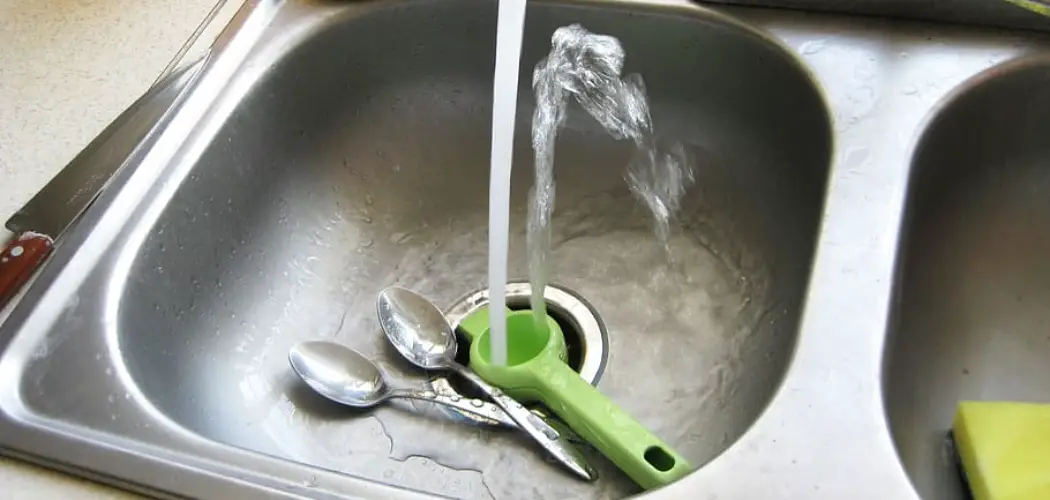
Are you experiencing gurgling noises coming from your kitchen sink? Don’t panic – this common plumbing issue is often a simple and easy fix. In this blog post, we’ll explain why gurgles might be happening in your sink and how to fix gurgling kitchen sink.
With the right advice and help from professionals if necessary, those pesky gurgles will soon be gone! Read on to find out everything you need to know about solving your kitchen sink’s gurgling troubles.
Step-by-step Guidelines on How to Fix Gurgling Kitchen Sink
Step 1: Inspect the Sink
Check for damages, debris, and clogs in the sink. You’ll want to make sure the drain is clear of anything that could be causing the gurgle. This includes checking the sink trap, drain pipe, and P-trap for any blockages. So, start by running hot water down the sink to clear out any debris or food particles.
Step 2: Unclog the Drains
If you’ve found a clog in the drain, use a plunger or an auger to break it up and clear out the blockage. For stubborn clogs, you may need to call in professionals with specialized tools like hydro-jets. You can also use a mix of baking soda and vinegar to break up clogs. You can also use baking soda and vinegar to clean out the P-trap.
Step 3: Check for Air Leaks
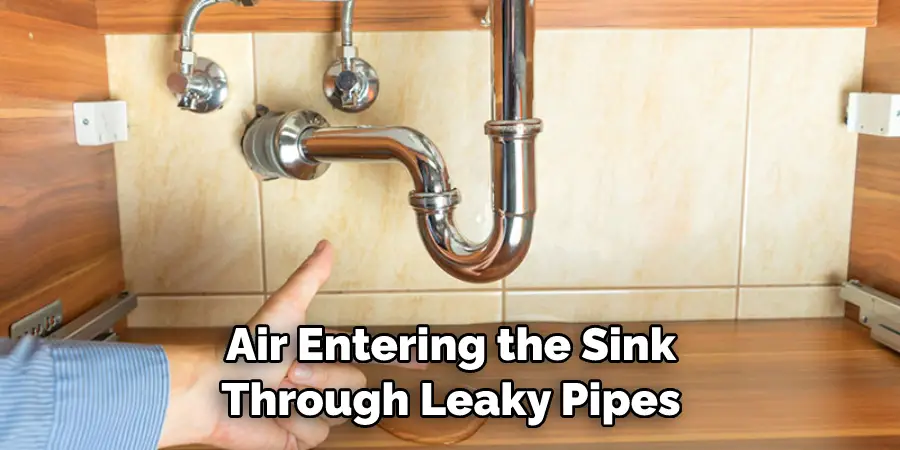
The gurgling sound may be caused by air entering the sink through leaky pipes or fixtures. Inspect all the parts of your plumbing system that are connected to your kitchen sink and look for any signs of cracks or leaks. It’s also a good idea to check the gaskets and seals around the drain. If you find any leaky pipes, it’s best to call a plumber to get them fixed.
Step 4: Check Your Ventilation System
Gurgles can sometimes occur if there isn’t enough ventilation going into your sink’s drainage system. Make sure the ventilation pipes for your kitchen sink are properly installed and working correctly. Before calling a plumber, check to make sure your ventilation system is up to code. It could be as simple as adjusting the vent pipe to ensure appropriate airflow. You should also make sure the vent pipes are clear of any debris or blockages.
Step 5: Check the Septic Tank
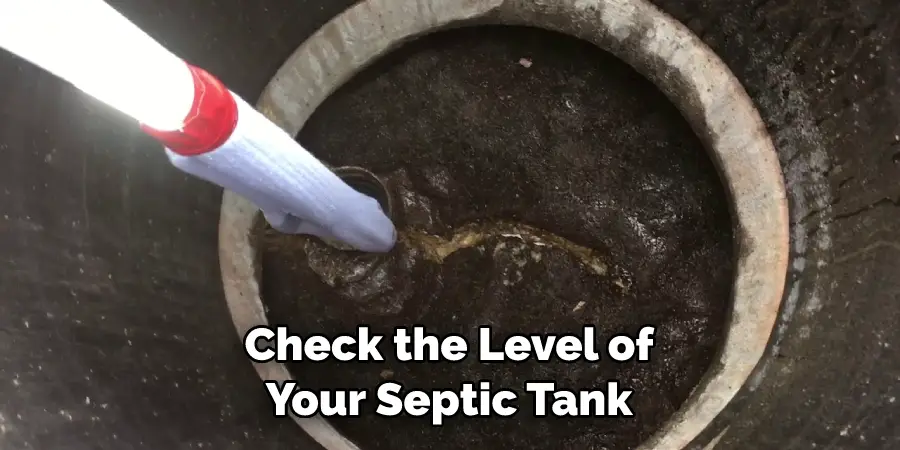
If you have a septic tank, it could be full or blocked – both of which can cause gurgling in the kitchen sink. Inspect your septic system and contact a professional if necessary to empty out any blockages or excess waste. You should also check the septic system’s settings to make sure they are correctly adjusted. The right settings will ensure your septic system is functioning correctly.
Step 6: Check the Water Pressure
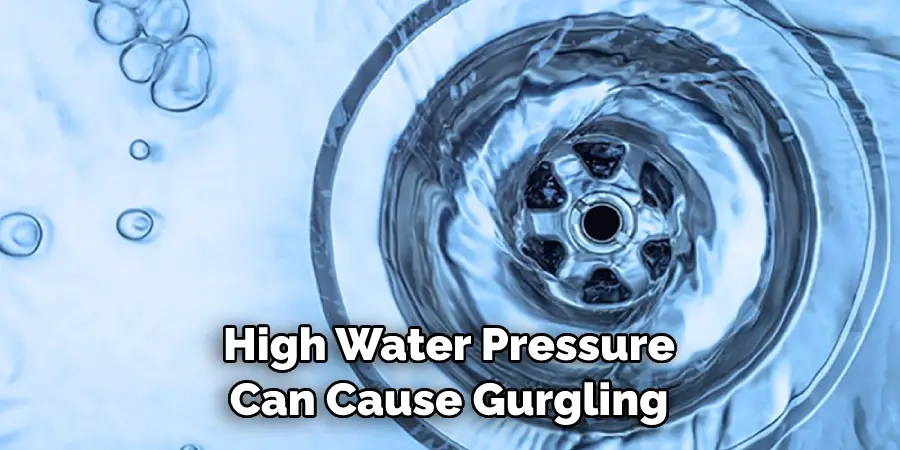
High water pressure can cause gurgling and other plumbing problems. Make sure that your water pressure is set to the optimal levels – usually around 50-60 psi (pounds per square inch). You can check the water pressure with a pressure regulator. This is an inexpensive device that can be purchased at most hardware stores. However, if you’re unsure of how to install the pressure regulator correctly, it’s best to call in a professional.
Step 7: Install an Air Admittance Valve
An air admittance valve, or AAV, is installed at the base of your kitchen sink’s pipe to allow air into the drain when needed. This helps to prevent gurgling noises by allowing extra air in and out of the system. That way, air can escape without having to travel up the pipes and out of your sink. You can buy an air admittance valve from most hardware stores. This is an easy and inexpensive way to fix your gurgling kitchen sink.
Step 8: Install a Backwater Valve
A backwater valve is another plumbing device that helps to prevent gurgling by preventing sewage water from entering your sink’s drainage system. If you have a basement or an area with a low-lying drain, installing this valve should help minimize the gurgling in your kitchen sink. You can purchase a backwater valve at most plumbing supply stores.
Step 9: Install a Trap Primer
A trap primer is a device that helps to prevent gurgling by allowing a steady flow of water into the sink’s drain. This prevents blockages and clogs from forming and keeps the system running smoothly. It’s a simple device that can be installed in minutes and it will help to keep your kitchen sink gurgle-free. Remember to check the manufacturer’s instructions before installing a trap primer as they vary depending on the model.
Step 10: Clean Out Your Sink
Sometimes, all you need to do is give your kitchen sink a good clean-out! Remove any debris or food particles from around the sink and make sure there are no blockages in the drain pipes. You can also use a cleaning solution or vinegar to help clear out any dirt or grime that has accumulated over time. Once the sink is clean, the gurgling should stop.

Step 11: Have Your Plumbing System Inspected
If all else fails, it may be time to call in the professionals for an inspection of your plumbing system. A plumber can identify any potential problems with your sink and make the necessary repairs or adjustments. You may even need to replace some parts of the system if they are beyond repair.
Step 12: Follow Up with Regular Maintenance
Once you’ve fixed the gurgling problem, it’s important to take steps to prevent it from happening again. This includes regular maintenance like running hot water down the sink every few weeks and using a plunger or auger occasionally to clear out any blockages.
It’s also important to inspect the pipes and drainage system for any signs of damage or leaks.
These are just some of the steps you can take when trying to figure out how to fix gurgling kitchen sink. With the right advice and help from professionals if necessary, those pesky gurgles will soon be gone!
Do You Need Professional Support?
If you have tried the above steps and are still struggling to solve your gurgling kitchen sink problem, it’s time to seek professional help. It’s best to contact an experienced plumber near you who can inspect the system and provide advice on how to fix it. They will be able to identify any underlying issues and make the necessary repairs or adjustments to your plumbing system.
Don’t let a gurgling kitchen sink ruin your day – take action now with these simple steps and you’ll have your kitchen sink running as good as new! Call a professional plumber today to get started on solving your gurgling kitchen sink problem. With the right help, you can soon be enjoying a peaceful and stress-free environment in your home.
Frequently Asked Questions
Q: How Can I Tell if My Septic Tank is Full?
A: You can check the level of your septic tank by using a measuring tape or dipstick to see how full it is. If it’s close to the top, then you may need to have your septic tank pumped or replaced.
Q: What Should I do if My Drain is Clogged?
A: If your drain is clogged, you can try using a plunger or auger to clear out the blockage. If that doesn’t work, then it may be time to call in a professional plumber for help.
Q: What Causes Gurgling Noises?
A: Gurgling noises are usually caused by a buildup of air in the plumbing system. This can be due to blockages, low water pressure, or an incorrectly installed drainage system. It’s important to identify and fix the source of the problem as soon as possible.
Q: What Are the Signs of a Leaking Pipe?
A: The signs of a leaking pipe can include wet patches on walls and floors, increased water bills, or strange odors coming from the pipes. If you notice any of these signs, it’s important to call in a professional plumber to fix the problem.
Q: How Often Should I Check My Plumbing System?
A: It’s a good idea to check your plumbing system on a regular basis, at least once every few months. Look out for any signs of damage, leaks, or blockages and take steps to fix them as soon as possible. This will help to keep your plumbing system running efficiently and prevent any costly repairs in the future.
Conclusion
Now that you have all the information on how to fix gurgling kitchen sink, it’s time to get to work. With proper care and the right tools, you can quickly repair that pesky gurgle without calling in a professional. And if you end up needing help on the job, remember that there are guides available online or at your local hardware store that can assist you in completing the task.
Finally, don’t forget to clean and inspect your sink regularly to keep it functioning properly. Doing this will also minimize any potential problems so your sink will be good as new.
Good luck with your endeavors and be sure to take every safety measure necessary while working. With these tips, you’ll soon have a quiet, functioning kitchen sink back in no time!

