Heat tape is a valuable tool for preventing pipes from freezing in colder climates, but like any device, it may occasionally require repairs or troubleshooting. Understanding how to fix heat tape ensures that your plumbing system remains protected during frigid temperatures. In this guide, we will outline common issues that may arise with heat tape, along with step-by-step instructions to address them effectively.
By following these guidelines, you can maintain the efficiency of your heat tape and safeguard your home from costly water damage caused by frozen pipes.
What is Heat Tape?
Heat tape, often referred to as heat cable or heat trace, is a flexible electric heating element used to prevent pipes from freezing in low temperatures. It works by applying heat directly to the pipe surface, ensuring that the temperature remains above freezing. Heat tape is typically made of a durable, weather-resistant material that can withstand various environmental conditions, making it suitable for both indoor and outdoor applications.
There are two main types of heat tape: self-regulating, which adjusts its heat output based on the surrounding temperature, and constant wattage, which provides a steady amount of heat but requires more careful monitoring to prevent overheating. When installed correctly, heat tape is an effective and reliable solution for plumbing systems vulnerable to freezing during the winter months.
Understanding How Heat Tape Works
Heat tape operates on the principle of resistive heating, where an electric current flows through the heating element, generating heat as it encounters resistance. This heat is then transferred to the pipes, effectively raising their surface temperature and preventing ice from forming. In self-regulating heat tape, the resistance of the material changes with temperature, allowing it to automatically adjust its heat output.
This feature makes it energy-efficient, as it reduces power consumption when the temperature rises. On the other hand, constant wattage heat tape maintains a fixed level of heat output regardless of the surrounding temperature. While it can provide consistent heating, it requires careful installation and monitoring to avoid overheating or causing damage to the pipes. Properly selected and installed heat tape is crucial for ensuring that pipes remain adequately protected during the coldest months of the year.
10 Methods How to Fix Heat Tape
1. Inspect the Heat Tape for Visible Damage
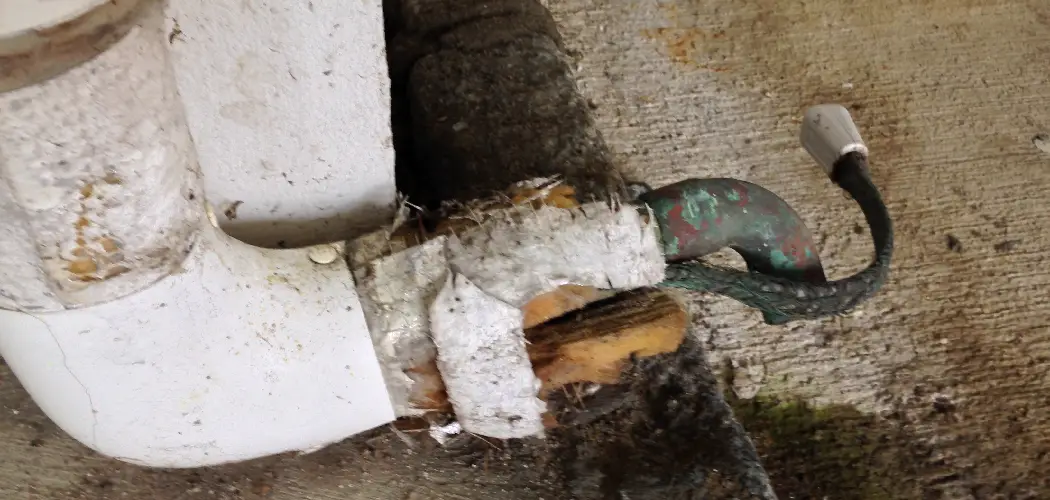
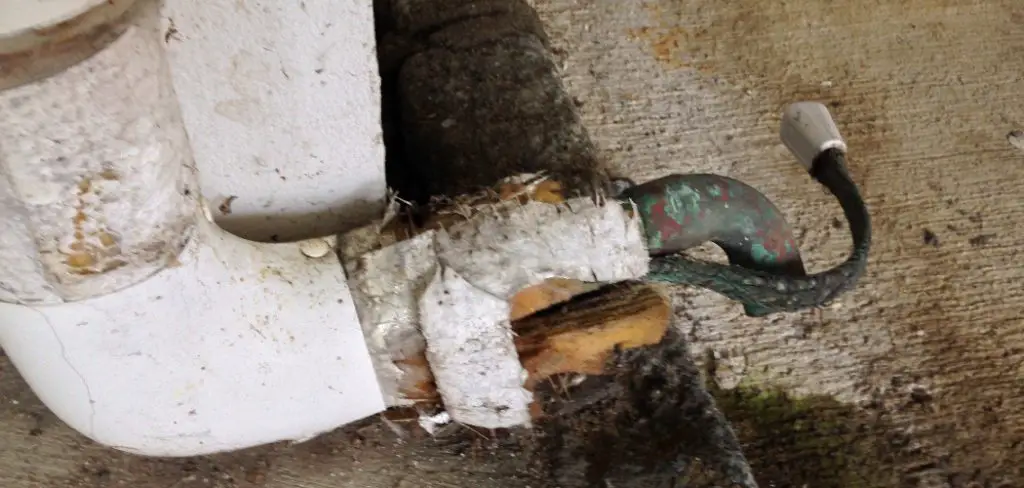
The first step in fixing any heat tape issue is to inspect it thoroughly for visible damage. Look for frayed wires, cuts, cracks, or burnt sections along the length of the tape. These types of damage can compromise the integrity of the heat tape, preventing it from working properly.
If the damage is localized to a small area, you may be able to repair it with electrical tape or wire connectors. However, if the tape is extensively damaged, replacing it may be the best option. Visual inspection should also include checking for any loose or disconnected plugs or connections.
2. Check the Power Source
Before assuming that the heat tape itself is faulty, it’s essential to check the power source. Ensure that the heat tape is plugged into a working outlet and that the circuit breaker hasn’t tripped. Test the outlet by plugging in another electrical device to confirm that it’s delivering power.
Additionally, check if the heat tape has an indicator light; if it’s not illuminated, it could indicate that the tape isn’t receiving power. Resolving power issues may simply involve resetting the breaker or replacing a faulty extension cord, which can save you from unnecessary repairs or replacements.
3. Use a Multimeter to Test Continuity
If you’ve confirmed that the power source is working, the next step is to test the heat tape itself using a multimeter. A multimeter allows you to check the continuity of the tape, ensuring that electricity is flowing through the wire. Set the multimeter to the resistance (ohms) setting and place the probes on the heat tape’s prongs (or exposed wire ends).
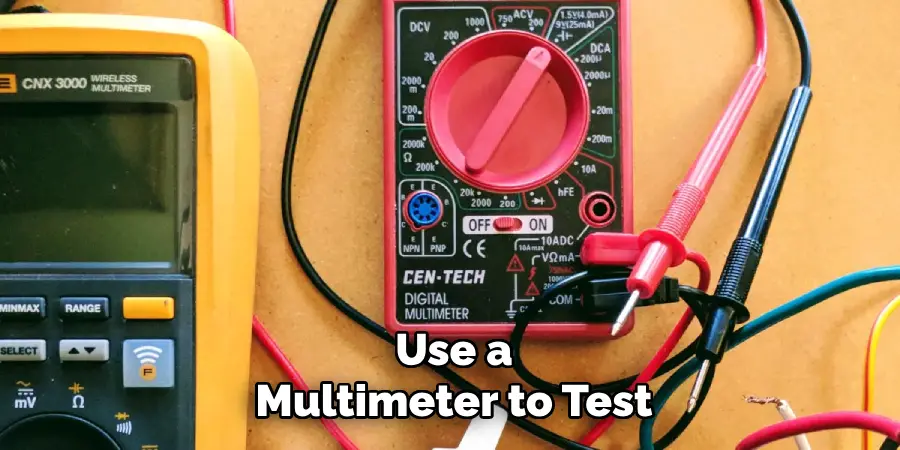
If the multimeter reads zero or close to zero, the heat tape is functioning correctly. However, if it shows no continuity or an infinite reading, it indicates a break in the wire or a malfunction in the tape, and repairs or replacement may be necessary.
4. Repair Small Breaks with Electrical Tape
For small, localized breaks or frays in the heat tape, you can repair them using electrical tape. First, turn off the power to the heat tape to avoid any risk of electrical shock. Cut away the damaged section of the tape, ensuring that you strip back any frayed or burnt wire.
Wrap the exposed wire with high-quality, waterproof electrical tape, ensuring that it is completely covered and insulated. This will restore the continuity of the tape while also protecting the wire from moisture. Once repaired, test the tape again to ensure it is heating properly.
5. Replace the Thermostat
Many heat tapes come equipped with an integrated thermostat that regulates when the tape turns on and off based on the surrounding temperature. If the heat tape isn’t activating despite the temperature being low, the thermostat may be faulty. Replacing the thermostat is a more complex task but can often fix a malfunctioning heat tape.
Disconnect the power supply and carefully remove the old thermostat. Install the new thermostat according to the manufacturer’s instructions, ensuring it is properly wired and secured. Test the tape afterward to confirm that the thermostat is working as it should.
6. Ensure Proper Installation
Sometimes, heat tape issues arise from improper installation rather than faulty components. If the heat tape is not wrapped correctly around the pipe or is installed too loosely, it may not distribute heat effectively.
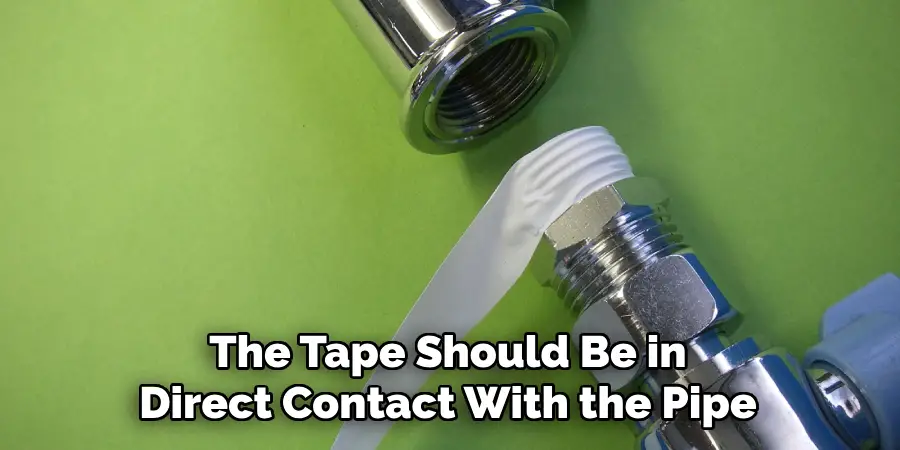
The tape should be in direct contact with the pipe along its entire length. Ensure that the tape is wrapped snugly but not so tightly that it becomes damaged. In addition, avoid crossing or overlapping the tape, as this can create hot spots that lead to failure. Proper installation is crucial for optimal performance, so take time to review and adjust the tape’s placement if necessary.
7. Replace Damaged Sections
If the heat tape has sustained damage beyond simple repairs with electrical tape, you may need to replace entire sections. Most heat tapes come in fixed lengths, but you can splice new sections if necessary. First, turn off the power and carefully cut away the damaged portion of the tape.
Use wire strippers to expose the ends of the wires and then connect the new section using heat-shrink wire connectors or wire nuts. Be sure to cover the connection points with waterproof electrical tape to prevent moisture intrusion. Once the new section is in place, restore power and test the heat tape.
8. Fix Connections with Wire Connectors
Over time, the connections between the heat tape and the power cord or thermostat can become loose or corroded, leading to poor performance. If you suspect a faulty connection, turn off the power and inspect the connections. If you find any loose or damaged wires, cut away the faulty section and use wire connectors to make a secure connection.
Wire connectors provide a strong, insulated joint that ensures electricity flows properly through the tape. After fixing the connections, cover them with electrical tape for added protection and test the heat tape to confirm it’s working.
9. Check for Overheating Issues
Heat tape is designed to prevent freezing by maintaining a stable temperature, but if it overheats, it can burn out or cause damage to the pipe it’s protecting. Overheating may be caused by improper installation, such as overlapping the tape or placing it too close to insulation.
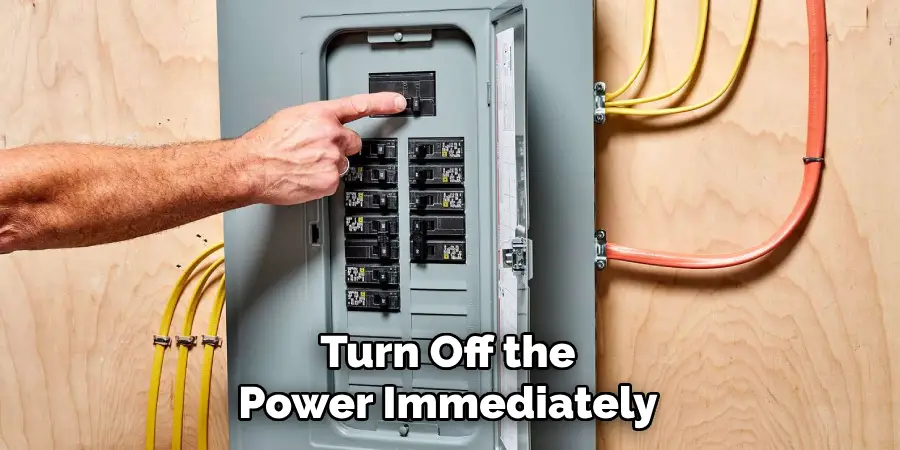
If you notice any signs of overheating, such as burnt marks or discoloration on the tape, turn off the power immediately and remove the affected section. Replace the damaged portion and ensure that the new tape is installed according to the manufacturer’s guidelines, avoiding areas where heat could become trapped.
10. Replace the Entire Heat Tape
If the heat tape is old, extensively damaged, or beyond repair, it may be time to replace it entirely. When replacing heat tape, choose a high-quality, modern tape that is appropriate for your specific application, whether it’s for pipes, gutters, or roofs. Ensure that the new heat tape is compatible with your pipes and that it meets the necessary safety standards.
Follow the manufacturer’s instructions for installation, taking care to avoid common mistakes like overlapping the tape or using improper insulation. A new heat tape can offer more reliable performance and energy efficiency compared to older models.
Conclusion
In conclusion, fixing heat tape can often be a simple task if you follow the right steps and have the appropriate tools. From inspecting the tape for visible damage to testing it with a multimeter, and from repairing small breaks with electrical tape to replacing entire sections, there are many methods you can use to restore your heat tape to full functionality. Thanks for reading, and we hope this has given you some inspiration on how to fix heat tape!

