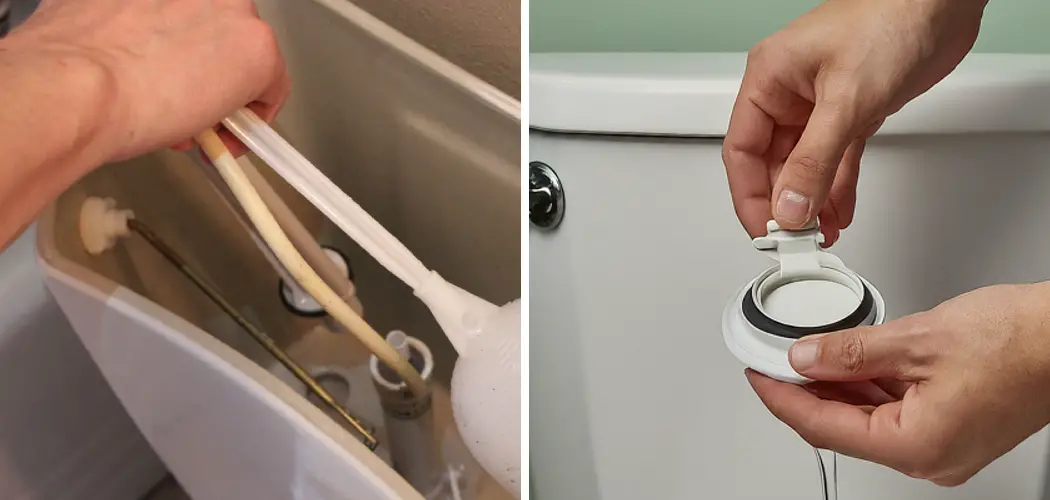
Are you tired of hearing a hissing noise coming from your toilet? Is it driving you crazy and keeping you up at night? Don’t worry, how to fix hissing toilet is actually a relatively simple task that can be done in just a few steps.
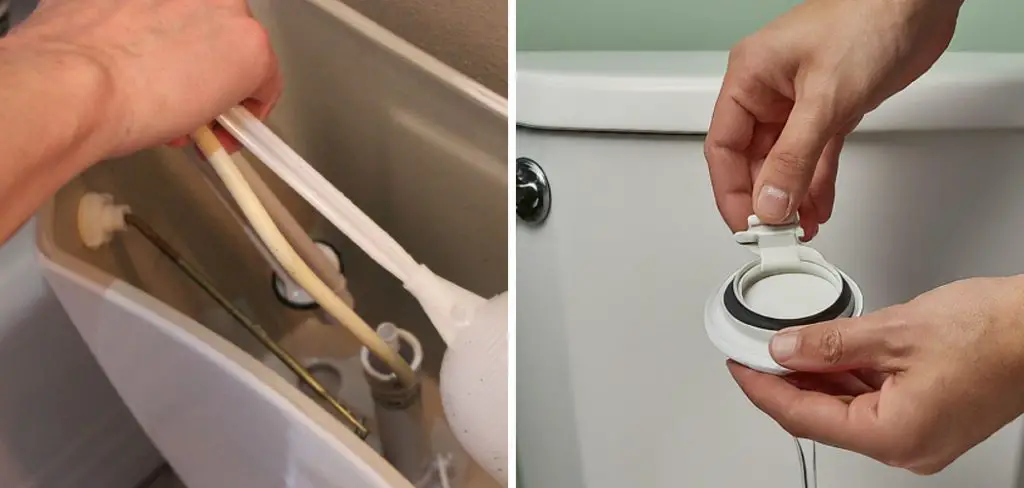
A hissing toilet can be an annoying and persistent problem that disrupts your peace, wastes water, and increases your utility bills. Understanding the common causes of this issue is the first step toward troubleshooting and repair.
In this guide, we will explore the typical reasons behind a hissing toilet, such as faulty flappers, deteriorated fill valves, or issues with water supply lines. Armed with this knowledge, you can take practical steps to fix the problem yourself, saving time and money while restoring the quiet functionality of your bathroom.
What Will You Need?
Before you begin the repair process, make a quick trip to your local hardware store and gather these essential items:
- Screwdriver
- Adjustable wrench
- Replacement parts (flapper, fill valve)
Once you have these items, you can start working on your hissing toilet. Let’s dive into the troubleshooting process!
10 Easy Steps on How to Fix Hissing Toilet
Step 1: Check the Water Level
Start by lifting the toilet tank lid and checking the water level. The water should be about one inch below the top of the overflow tube. If the water level is too high, it can cause a continuous flow into the overflow tube, resulting in a hissing sound. Adjust the float to lower the water level accordingly. You may need to either bend the arm of a float ball or adjust the screw on a float cup to achieve the correct height. If everything looks good with the water level, proceed to the next step to inspect the flapper valve, as it may still be the source of the issue.
Step 2: Inspect the Flapper Valve
Next, examine the flapper valve at the bottom of the tank. This rubber or plastic component controls water flow from the tank to the bowl during flushing. Over time, flappers can become worn, warped, or covered in mineral deposits, leading to leaks and a hissing sound.
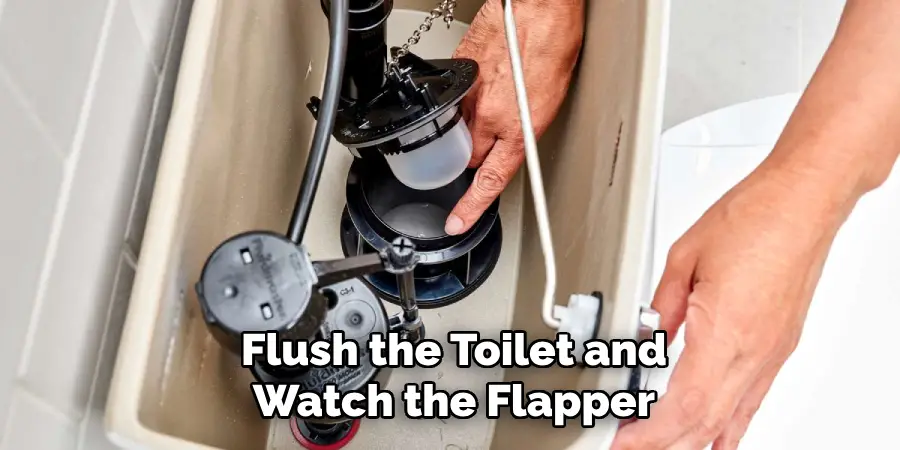
To inspect it, flush the toilet and watch the flapper as it lifts; it should seal tightly against the flush valve seat once the tank is empty. If you notice any wear or it doesn’t seat properly, it’s time to replace the flapper. Ensure you choose a flapper that matches your toilet model for a proper fit. After you’ve dealt with the flapper, move on to the next step: check the fill valve.
Step 3: Examine the Fill Valve
Now, focus on the fill valve, responsible for bringing water back into the tank after a flush. If the fill valve is malfunctioning or clogged, it can also lead to a hissing sound as water continuously leaks into the tank. To check the fill valve, look for any visible leaks or signs of wear. If you notice that the water is constantly running or the valve isn’t shutting off properly, it may need to be cleaned or replaced.
To clean it, turn off the water supply to the toilet, flush the toilet to empty the tank, and disassemble the fill valve according to the manufacturer’s instructions. Rinse any debris away and reassemble. If the problem persists, consider replacing the fill valve entirely. Once you’ve checked the fill valve, proceed to the next step: inspecting the water supply line.
Step 4: Inspect the Water Supply Line
The water supply line connects your toilet to the primary water source and is essential for filling the tank. Over time, this line can develop leaks or become loose, resulting in a hissing sound as water escapes. Start by examining the supply line for any visible signs of damage, such as cracks or leaks. Also, check the nuts at both ends of the line to ensure they are tightened securely. You may need to replace the water supply line if you notice a leak.
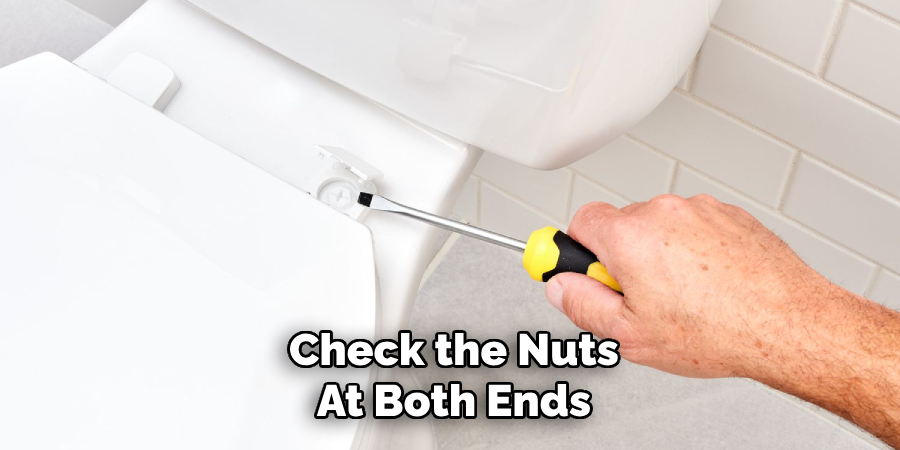
To do this, turn off the water supply, disconnect the line, and install a new one, ensuring all connections are snug and leak-free. Once you’ve inspected and secured the water supply line, you can move on to the next step: testing for any lingering issues.
Step 5: Check for Leaks
After inspecting the water supply line, it’s essential to check for any leaks around the base of the toilet and other connected components. Any leaks can lead to water pooling on the floor, increasing the chances of further issues and affecting the hissing sound. To do this, wipe down the area around the bolts that secure the toilet to the floor and observe if any water seeps out from underneath or around the connection points.
If you find moisture, you may need to tighten the bolts or replace the wax seal at the toilet’s base. Once you’ve ensured no leaks, it’s time to proceed to the next step: testing the toilet’s operation.
Step 6: Test the Toilet’s Operation
After ensuring that there are no leaks and that all components are functioning correctly, it’s time to test the toilet’s operation. Turn the water supply back on and wait for the tank to fill. Once filled, flush the toilet while observing the flapper and fill the valve to ensure they are working correctly. Listen for any hissing or running water sounds. If the noise persists, the issue may require further investigation into less common causes, such as a faulty float mechanism.
If everything is functioning quietly, congratulations! You’ve successfully fixed your hissing toilet. If the problem continues, consult a professional plumber for assistance.
Step 7: Check the Float Mechanism
If the hissing sound persists despite inspecting the previous components, it’s time to examine the float mechanism. The float is responsible for regulating the water level in the tank and can sometimes become stuck or malfunction. To check the float, lift the top of the tank and observe the float ball or cup as the tank fills. Ensure that it moves freely and that no obstructions are preventing it from rising. If the float is stuck low, it will cause the fill valve to continuously refill the tank, which can create a hissing sound.
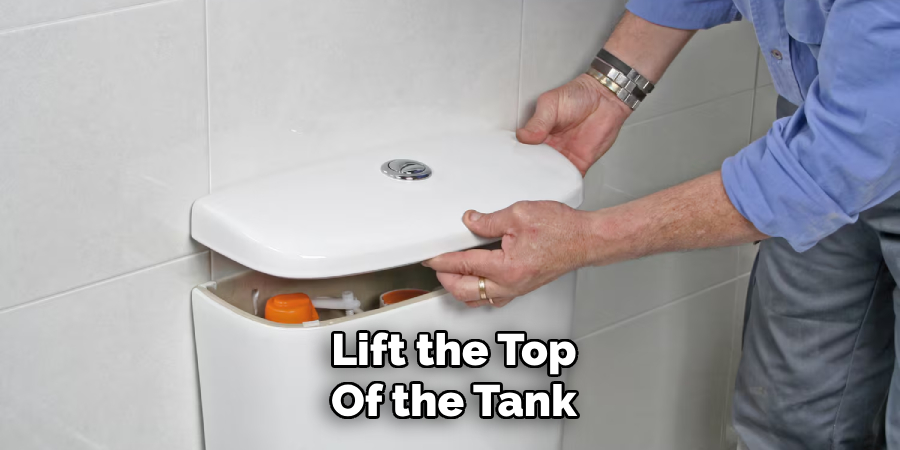
You may need to adjust the float arm or replace the float mechanism if it appears damaged. After addressing any issues with the float, make sure to retest the toilet’s operation once again.
Step 8: Clean the Tank and Components
Maintaining a clean toilet tank is essential for optimal functionality and to prevent future issues. Start by turning off the water supply and flushing the toilet to empty the tank. With the tank empty, use a mixture of vinegar and baking soda to scrub away any mineral deposits or buildup inside the tank. Pay close attention to the flapper, fill valve, and float mechanism, as these components can accumulate grime, affecting their performance.
After cleaning, rinse the tank thoroughly with water to remove any residue from the cleaning agents. Once the tank is clean, turn the water supply back on, allow the tank to fill, and check again for proper operation and any lingering sounds. Regular cleaning can prolong the life of your toilet components and reduce the likelihood of recurring issues.
Step 9: Regular Maintenance
Establishing a regular maintenance routine is crucial to ensure the longevity and proper functioning of your toilet. This can include checking the water level in the tank, inspecting for any leaks, and cleaning the tank components at least once a year.
Additionally, consider adding a toilet tank cleaner to help prevent mineral buildup and stains. If you notice any unusual sounds or changes in performance between checkups, address them promptly to avoid more significant issues. By adhering to a consistent maintenance schedule, you can help keep your toilet running smoothly and efficiently for years.
Step 10: Address Common Toilet Issues
Even with regular maintenance, toilets can still encounter various common issues that may require attention. One frequent problem is a weak flush, which can be caused by clogs in the trap or inadequate water pressure. If you experience this, consider using a plunger or drain snake to clear any blockages.
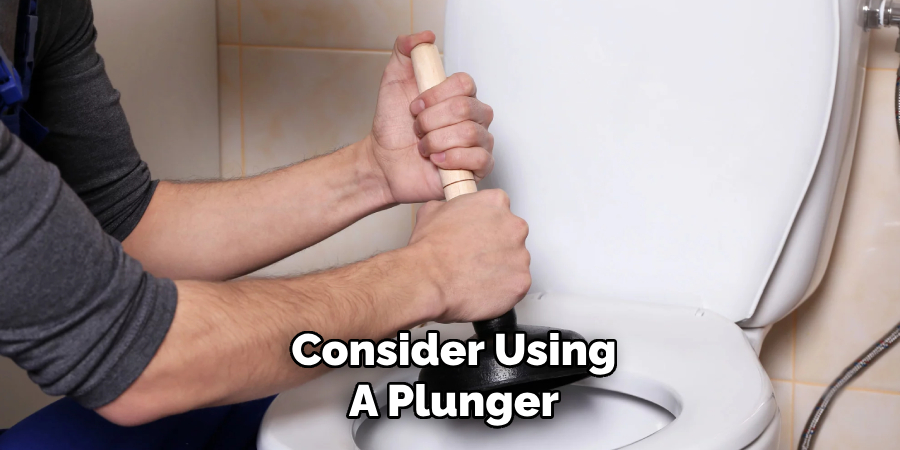
Another potential issue is a running toilet, which can increase water bills significantly. If the water constantly runs, revisit steps regarding the flapper and fill valve, as these are often the culprits. Should you encounter any strange noises, like gurgling or bubbling, it may indicate a venting issue in your plumbing system, prompting a more thorough inspection. By promptly addressing these issues, you can maintain the efficiency and functionality of your toilet.
By following these steps, you can effectively troubleshoot and fix a hissing toilet without the need for professional assistance.
Conclusion
In conclusion, how to fix hissing toilet can often be resolved through a series of methodical steps.
By inspecting each component—including the water supply line, flapper, fill valve, and float mechanism—you can identify and rectify the source of the noise. Regular maintenance and cleaning of the toilet tank and its components will not only prevent hissing but also enhance the toilet’s overall efficiency. If, after all these measures, the problem persists, it may be time to consult a professional plumber to ensure your plumbing system functions optimally.
By taking these proactive steps, you can enjoy a quieter, more reliable toilet for years.

