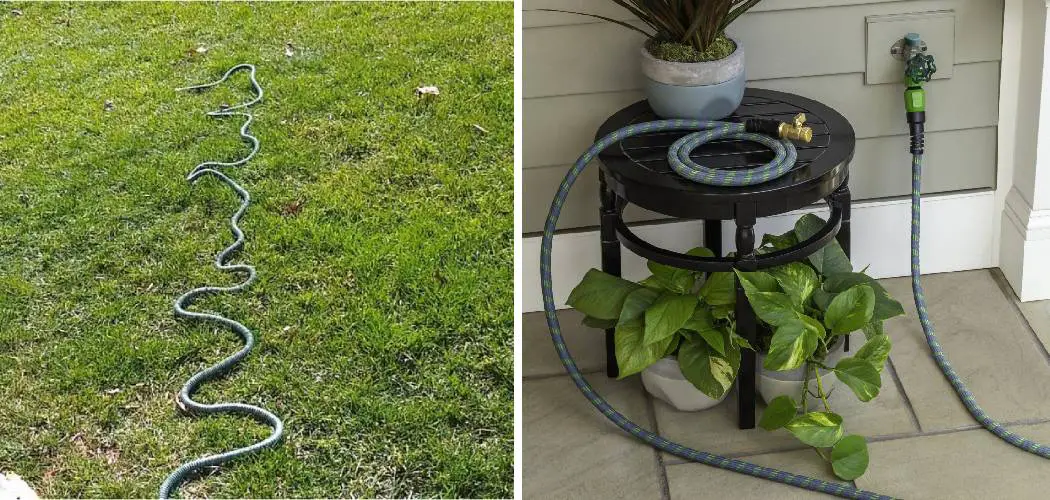
Are you struggling to figure out how to fix hydro tech hose? Fret no more! With the correct technique, it’s quite simple. In this blog post, we walk through step-by-step instructions for fixing your Hydro Tech hose so that you can connect all your sprinklers in no time.
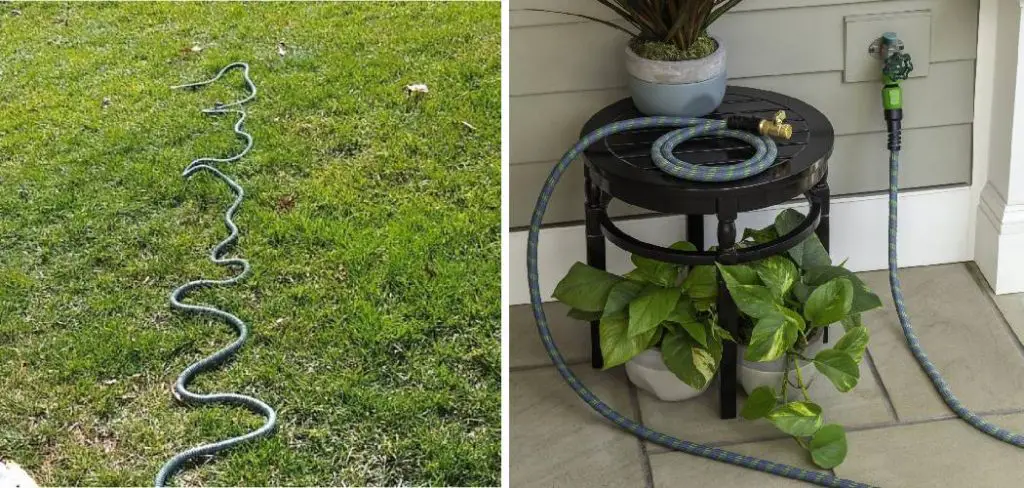
Hydro tech hose is a popular choice for irrigation systems due to its durability and flexibility. However, like any other equipment, it can experience wear and tear over time. If you notice that your hydro tech hose leaks or is not functioning correctly, follow these steps to fix it.
Read on to become an expert at connecting hydro tech hoses and ensure your lawn receives the perfect amount of water daily.
What Will You Need?
Before we get into the steps, ensure you have all the necessary tools to fix your hydro tech hose. You’ll need:
- A pair of scissors
- Plumber’s tape
- Replacement fittings (if needed)
Once you have all the tools ready, let’s get started!
10 Easy Steps on How to Fix Hydro Tech Hose
Step 1: Identify the Problem
The first step is to identify where the issue lies. Is there a leak? Are the fittings damaged? Once you know what needs to be fixed, it will be easier to follow the subsequent steps. You can also refer to the manual for your specific hydro tech hose model for troubleshooting tips.
Step 2: Turn Off the Water
Before proceeding with any repairs, turning off the water supply is crucial. Trying to fix the hose with the water running may lead to further damage and injury. Locate the main water valve for your irrigation system and turn it to the off position. Always ensure safety during the repair process.
Step 3: Remove the Damaged Section
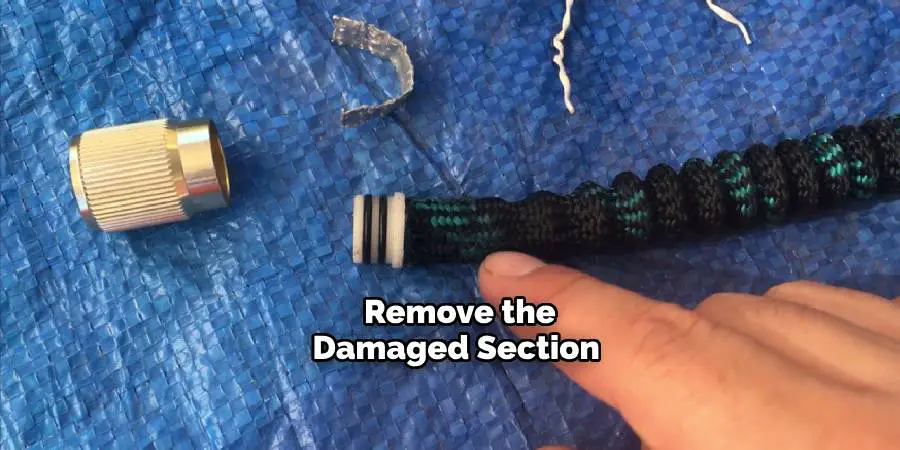
After identifying the problem area and ensuring the water supply is turned off, the next step is to remove the damaged section of the hydro tech hose. Use a pair of sharp scissors to make clean, straight cuts on both sides of the damaged area. Ensure that you only cut the necessary portion to avoid shortening the hose more than required. Remember, cutting more is easier if needed, but you can only undo a cut that’s manageable.
Step 4: Prepare the Replacement Section
If the damaged section is large, you might need a replacement hose piece to fill the gap. Ensure the replacement section is the same diameter as your existing hydro tech hose.
Use the scissors to cut the replacement piece to match the length of the section you removed. This will help to maintain the length and functionality of your hose. Be sure to cut the ends straight for a perfect fit.
Step 5: Attach the Replacement Section
Once you’ve prepared the replacement section, it’s time to attach it to the remaining parts of the hydro tech hose. Start by applying the plumber’s tape to the ends of the existing hose and the replacement section. This will ensure a tight, leak-free seal.
Next, attach your replacement fittings to each end of the existing hose. Finally, slide the replacement section onto the fittings and secure it firmly. Check the connections to make sure they are tight and secure before proceeding.
Step 6: Test the Repair
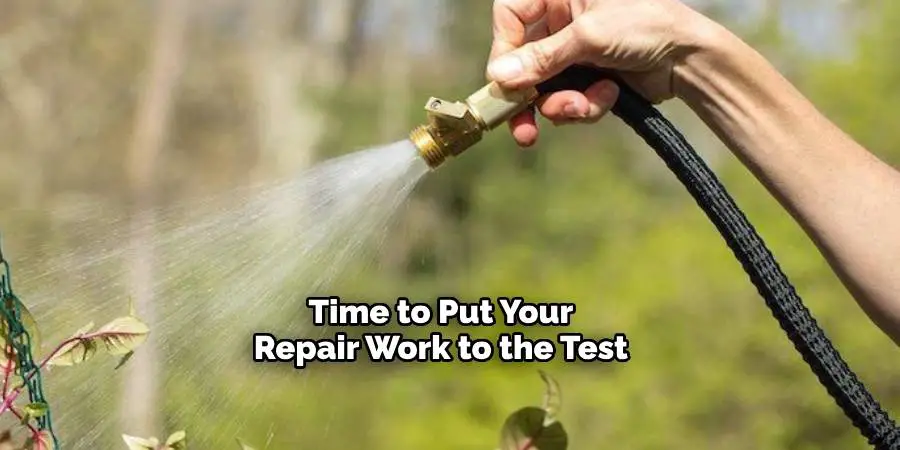
Now that the replacement section is securely attached, it’s time to put your repair work to the test. Gradually turn the water supply back on and observe the repaired section of the hydro tech hose. Check for any leaks or loose fittings and make any necessary adjustments.
If there are no leaks and the water flow appears normal, you’ve successfully fixed your hydro tech hose! Remember, testing your repair under pressure is essential to ensure it will hold up during regular use. Always turn the water supply off again if further adjustments are needed.
Step 7: Inspect the Entire Hose
Now that you’ve completed the repair, it’s time to inspect the entire hose for any other potential issues. Start from one end and slowly work your way to the other. Look out for any other leaks, damaged fittings, or signs of wear and tear that could lead to future problems. Paying attention to these more minor details will help prevent further issues and extend the life of your Hydro Tech hose.
Step 8: Regular Maintenance
Regularly maintaining your Hydro Tech hose is recommended to avoid future problems. This includes flushing the hose with clean water after use to remove any debris, keeping the hose stored out of direct sunlight and harsh weather conditions, regularly checking for leaks, and replacing worn out fittings as necessary. By following these maintenance tips, you can ensure that your Hydro Tech hose remains in top shape and lasts for a long time.
Step 9: Seek Professional Help if Needed
If you’ve followed all the steps and are still experiencing issues with your Hydro Tech hose, it may be time to seek help from a professional. Some problems may be due to a larger system issue or require specialized tools for repair. Don’t hesitate to contact a professional plumber or irrigation specialist. They have the necessary expertise and equipment to diagnose and fix more complex problems.
Step 10: Recap and Learn

The final step is to take a moment to recap what you have done and learn from the experience. Every repair process provides valuable insights that can be helpful in the future. Take note of the signs that led to the issue, how you identified the problem, and the steps you took to fix it.
This knowledge can help you troubleshoot faster when a similar issue arises. Remember, the key to efficient maintenance and repair is understanding your equipment and learning from past experiences.
By following these ten easy steps, you can successfully fix your Hydro Tech hose and keep your lawn watered efficiently. Regular maintenance and prompt repairs are crucial to ensuring the longevity of your irrigation system.
5 Additional Tips and Tricks
- Understand the Issue: The first step towards fixing your hydro tech hose is understanding the problem. Check for visible issues such as leaks, cracks, or bends, and pinpoint where the problem lies.
- Turn off the Water Supply: Before attempting any repair, turn off the water supply. This prevents further damage and makes the repair process safer.
- Use Quality Spare Parts: Always opt for high-quality spare parts designed for your specific model of hydro tech hose. These will ensure a secure fit and longer lifespan.
- Keep Spare Parts on Hand: It’s always a good idea to keep spare parts such as fittings, connectors, and hoses on hand for quick repairs in emergencies.
- Don’t Hesitate to Seek Help: If you need help with how to fix the issue or need the necessary tools, feel free to seek help from a professional. They can save you time and effort, and potentially prevent further damage.
With these additional tips and tricks, you can confidently tackle any issues with your hydro tech hose and keep it in top shape for years.
5 Things You Should Avoid
- Neglecting Regular Inspection: Even if your hydro tech hose seems to be functioning well, take regular inspections. Unnoticed damage or wear can eventually lead to more serious issues.
- Using Incompatible Parts: Always ensure that any replacement parts or fittings you use are compatible with your specific model of hydro tech hose. Using incompatible parts can lead to ineffective repairs and further damage.
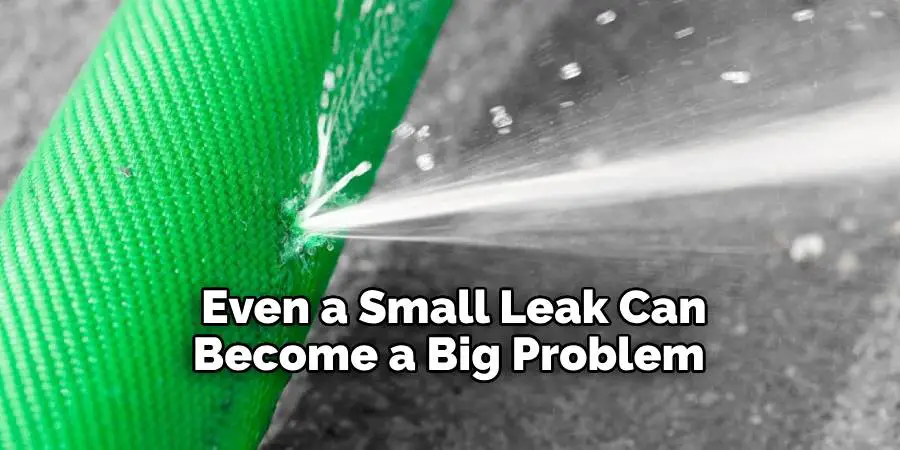
- Ignoring Small Leaks: Even a small leak can become a big problem if left unattended. If you notice any leakage, attend immediately to prevent further damage and water wastage.
- Improper Storage: Avoid storing your hydro tech hose in direct sunlight or icy environments. Prolonged exposure to harsh conditions can shorten the lifespan of the hose.
- Rushing Through Repairs: Avoid rushing through the repair process. Take the time to accurately diagnose the problem and carefully carry out each repair step, testing as you go to ensure everything is functioning correctly.
By avoiding these common mistakes, you can save time and money in the long run by keeping your hydro tech hose well-maintained.
Conclusion
In conclusion, if your hydro tech hose is malfunctioning, following the steps outlined in this blog post can help you troubleshoot and pinpoint the cause of the issue. And if any further assistance is needed, it’s worth considering consulting a professional local technician and purchasing the right parts to replace any worn down components.
A properly functioning hydro tech hose enables homeowners to make extensive home improvements with ease, so don’t let a malfunctioning hose bring your renovations to a standstill! Start fixing and enjoy all the beautiful benefits of having a functional hydro tech hose.
Hopefully, the article on how to fix hydro tech hose has been helpful in guiding you toward a successful repair. With regular maintenance and prompt repairs, your hydro tech hose will continue providing efficient watering for your lawn and garden for years. So remember, pay attention to the small issues and stay on top of regular maintenance to avoid bigger problems down the road. Happy fixing!

